TrueNAS
Enabling Settings on Nested-LAN
- On the ESXi server, navigate to the Nested-LAN network
- Edit the settings and go to the Security Section
- Press
Accepton the Promiscuous Mode, Forged Transmits, and Mac Address Changes
- Press
- Press Save
Deploying and Configuring TrueNAS VM
- In the Center UI, select the Virtual Machine tab on the side
- Select Create/Register VM
- Leave the default selection then press Next
- Select a name and guest OS
- Name the new VM
TrueNAS - Switch the Compatability to ESXi 6.5
- Select Other for the Guest OS family
- Select Other for the Guest OS version
- Press Next
- Name the new VM
- Select
datastore2-super5as the Storage, then press Next - Customize the Settings to match this:

Make sure to change the Disk Provisioning for the Hard Disks to Thin Provisioning
and Select TrueNAS for the Datastore ISO file - Review the configurations then press Finish
- Turn on and configure the "behind the scenes" configurations for the VM
- Select
Install/Update
- Select the first Hard Drive for the installation, then confirm that you want to proceed
- Then select
Fresh Install - Then enter a root password to use for logging into the web UI
- It will also ask at some point how you would like to boot it, select
BIOS
- Select
- After rebooting the VM a couple of times, it will take you to a menu with 11 options

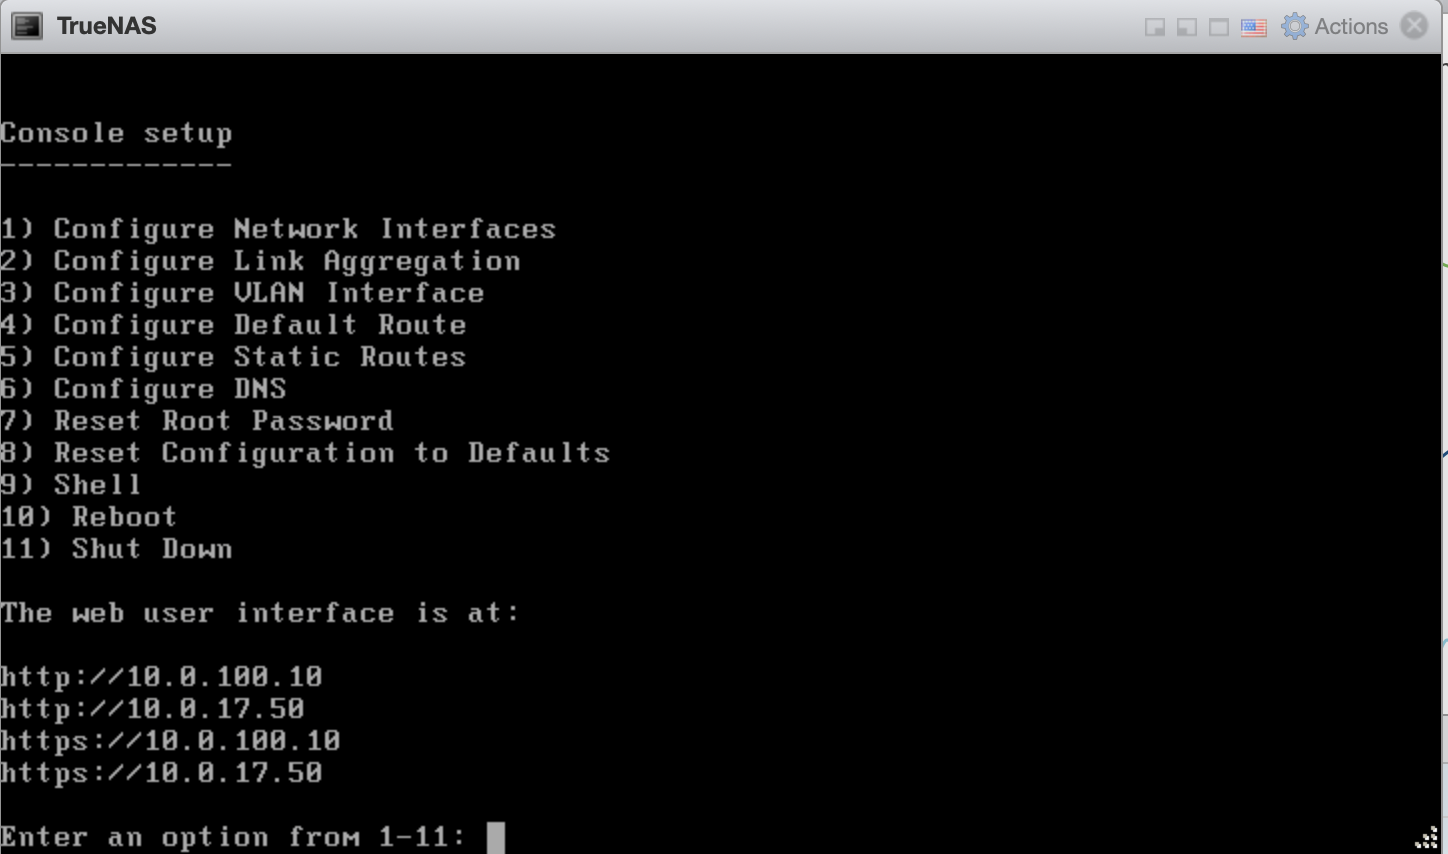
- Select
Configure Network Interfacesand change the IP address to the appropriate one - After another reboot, in a browser navigate to the IP Address to access the Web UI
- This resource can be used for the remainder of the lab to set up ISCSI and NFS shares within TrueNAS and connect them to our ESXi Server