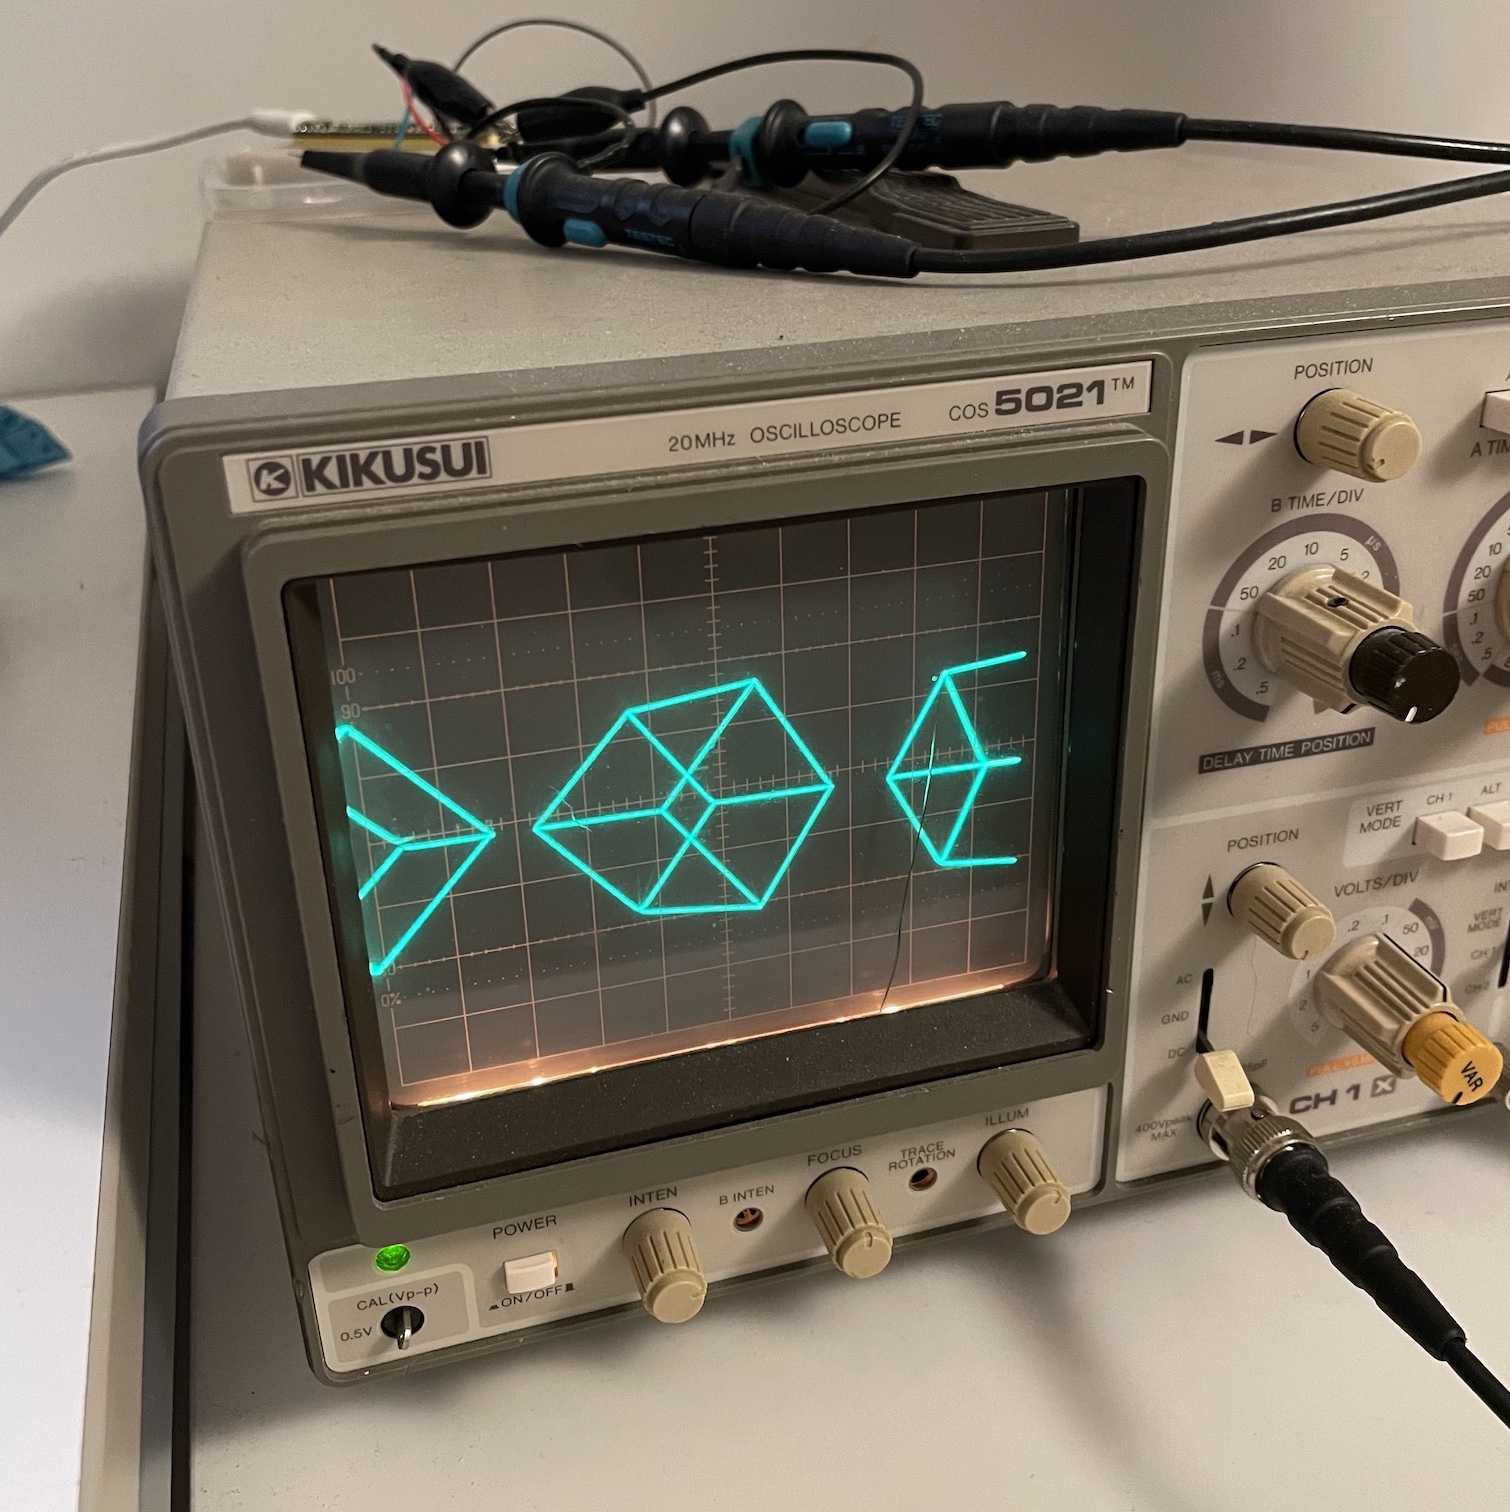
An oscillographics programming library for Teensy 3.6. The goal of the library is to provide a simple to use API for creating three-dimensional vector graphics similar to classic arcade games such as Battlezone or Star Wars.
The project depends on raylib's header-only math library. An external DAC can be used to control the brightness of individual lines.
- Connect Teensy's DAC0, DAC1 and GND pins to oscilloscope's X and Y inputs
- Download raymath.h header file and copy it under Voltage/src directory
- Install the library by copying the Voltage directory to Arduino libraries folder (e.g. ~/Documents/Arduino/libraries/ on macOS)
The rendering loop consists of three phases:
- Clear
Renderer's internal buffers withclearmethod call - Add geometry to be rendered with the overloaded
addmethod - Render all the added geometry with
rendermethod call
Voltage's rendering resolution is 12 bits, which is Teensy's maximum resolution. By default, every value along the line being drawn is being lit, yielding a smooth result, but requiring significant amount of CPU power and potentially causing flickering. The rendering can be made more performant by drawing only every nth pixel, which can be configured by setting a larger increment argument (default being one) when instantiating the renderer. For example, increment value of two usually improves the performance quite a lot without any significant visual changes.
3D meshes in .obj file format can be imported to Voltage with parse-obj.py Python script in utils directory. The script takes two command line arguments: the name of the obj file to be imported, and a name for a variable, which can be then accessed in Voltage code.
For example, running ./parse-obj.py example.obj mesh outputs code with the mesh definition in voltage::Mesh* mesh variable, which can be then pasted to the sketch. See import.ino for an example.
Alternatively, the mesh can be imported by first redirecting the output of the parser to a file (e.g. with ./parse-obj.py example.obj > example.h), copying the file to the sketch's directory, and then including the file in the sketch with #include "example.h.
An external Microchip MCP4922 DAC can be used for setting the brightness of individual lines. MCP4922 can be used with Teensy 3.6 by using the following connections:
| MCP4922 | Teensy 3.6 |
|---|---|
| Pin 1 (VDD) | 3.3V |
| Pin 3 (CS) | Pin 10 (CS0) |
| Pin 4 (SCK) | Pin 13 (SCK0) |
| Pin 5 (SDI) | Pin 11 (MOSI0) |
| Pin 8 (LDAC) | GND |
| Pin 9 (SHDN) | 3.3V |
| Pin 12 (VSS) | GND |
| Pin 13 (VREFA) | 3.3V |
The DAC output voltage is in pin 14 (VOUTA).
More examples can be found in examples directory.
#include <Voltage.h>

voltage::Renderer renderer;

void setup() {}

float phase = 0;
void loop() {
  renderer.clear();
  renderer.add({
    { cosf(phase), sinf(phase) },
    { cosf(PI + phase), sinf(PI + phase) }
  });
  renderer.render();

  phase -= 0.001;
}#include <Voltage.h>
using namespace voltage;
Renderer renderer;
Mesh *mesh = MeshBuilder::createCube(1.0);
Object *object = new Object(mesh);
FreeCamera camera;
void setup() {}
float phase = 0;
void loop() {
camera.setTranslation(0, 0, sin(phase) * 5.0);
object->setRotation(phase, phase, 0);
renderer.clear();
renderer.add(object, camera);
renderer.render();
phase += 0.001;
}Initialize the Renderer class as follows:
MCP4922Writer *brightnessWriter = new MCP4922Writer();
BrightnessTransform *brightnessTransform = new LinearBrightnessTransform(brightnessWriter);
Renderer renderer(brightnessWriter, brightnessTransform);
Enable hidden line shading and set the hidden line brightness:
void setup() {
  object->shading = Shading::Hidden;
  object->hiddenBrightness = 0.5;
}
The rest of the code works just as in previous examples.
Voltage can also be used without oscilloscope and Teensy. This can be useful for a bit more convenient testing and development. The oscilloscope/Teensy emulator can be found in emulator directory. main.cpp file includes the cube example above and contains further instructions how to modify/use the code.
- Install SDL2 with
brew install sdl2 - Build emulator with
make - Run the emulator with
./main