This project is a docker compose installation of a single site Wordpress instance using Nginx as the web server and MariaDB as the database.
- Let's Encrypt SSL enabled option using https://hub.docker.com/r/certbot/certbot/
- Work inspired by: Dockerizing Wordpress with Nginx and PHP-FPM on Ubuntu 16.04
What is Wordpress?
- WordPress is open source software you can use to create a beautiful website, blog, or app.
- More information at https://wordpress.org
Review the Optional configuration section to determine which apply to your deployment.
A Renew certificate section has also been created as a guide of what to expect for post deployment certificate renewal if using Let's Encrypt.
There are 6 steps to deploying this docker Wordpress
- Clone the repository
- Using the template
env.template.non-rootconfigure the .env file with your authentication - Create & edit the
wordpress.confandwordpress_ssl.conffiles - Use
./letsencrypt-init.shto build the containers images and setup the required directories this script also guids you through setting-up the Let's Encrypt certificates - Run the containers (nginx, mysql, wordpress)
- setup crontab to renew the certificates etc.
e.g.
$ git clone git clone https://github.com/afolarin/wordpress-nginx-docker.git
It's more convenient to use the .env file and passing in the values for the relevant parameters related to database auth and users etc. It is essential you have this setup before building the container images in step 3. or the correct db users are not setup. In particular set values for MYSQL_DATABASE_USERNAME, MYSQL_DATABASE_PASSWORD, and MYSQL_ROOT_DATABASE_PASSWORD
$ cp env.template.non-root .env

$ vi .env
$ cat .env
#------------------------------------------------------------------------------
# Docker Compose environment variables file
#------------------------------------------------------------------------------
# host nginx, and cert mounted volume paths
# defaults are folders in the top parent directory
NGINX_PATH="./nginx"
NGINX_LOG_PATH="./logs/nginx"
CERTS_PATH="./certs"
CERTS_DATA_PATH="./certs-data"
# host wordpress web mounted volume path
WORDPRESS_FILE_PATH="./wordpress"
# database, path, name, authentication and wordpress table prefix (use "wp_")
MYSQL_PATH="./mysql"
MYSQL_DATABASE_NAME="wordpress"
MYSQL_DATABASE_USERNAME=wpuser
MYSQL_DATABASE_PASSWORD=really-hard-password
MYSQL_ROOT_DATABASE_PASSWORD=something-secure-password
WORDPRESS_TABLE_PREFIX="wp_"see: WordPress environment variables. See the official image for additional information.
Copy the template files wordpress.conf.example and wordpress_ssl.conf.example in the nginx dir naming as wordpress.conf and wordpress_ssl.conf and replace the DOMAIN_NAME with your domain name e.g. example.com
Enter the letsencrypt/ dir and run the script
$ cd letsencrypt/
$ ./letsencrypt-init.sh example.org
This is the main setup script and does several things:
Firstly directories are created on the host to persist data for the containers to volume mount from the host.
- mysql: The database files for MariaDB
- wordpress: The WordPress media files
- logs/nginx: The Nginx log files (error.log, access.log)
- certs: SSL certificate files (LetsEncrypt)
- certs-data: SSL challenge/response area (LetsEncrypt)
Next it will setup the certs depending on what you want HTTP or HTTPS (of which there are a few ways to provide the certificate).
If you plan to run your WordPress site over http on port 80, then do the following.
- Change the name of
nginx/wordpress.conf.exampletonginx/wordpress.conf - Update the
DOMAIN_NAMEinnginx/wordpress.confto be that of your domain - Run
$ docker-compose up -d - Navigate to http://DOMAIN_NAME in a browser where
DOMAIN_NAMEis the name of your site
If you plan to run your WordPress site over https on port 443, then do the following.
Choose a method for SSL certificates
-
Let's Encrypt
If you plan on using SSL certificates from Let's Encrypt it is important that your public domain is already DNS registered and publically reachable.
Run: from the ./letsencrypt/ folder
./letsencrypt-init.sh DOMAIN_NAME, whereDOMAIN_NAMEis the publicly registered domain name of your host to generate your initial certificate. (Information about updating your Let's Encrypt certificate can be found further down in this document)
$ cd ./letsencrypt/
$ ./letsencrypt-init.sh example.com
mysql uses an image, skipping
wordpress uses an image, skipping
nginx uses an image, skipping
Creating mysql ...
Creating mysql ... done
Creating wordpress ...
Creating wordpress ... done
Creating nginx ...
Creating nginx ... done
Reloading nginx: nginx.
Saving debug log to /var/log/letsencrypt/letsencrypt.log
Plugins selected: Authenticator webroot, Installer None
Enter email address (used for urgent renewal and security notices) (Enter 'c' to
cancel): mjstealey@gmail.com

-------------------------------------------------------------------------------
Please read the Terms of Service at
https://letsencrypt.org/documents/LE-SA-v1.1.1-August-1-2016.pdf. You must agree
in order to register with the ACME server at
https://acme-v01.api.letsencrypt.org/directory
-------------------------------------------------------------------------------
(A)gree/(C)ancel: a

-------------------------------------------------------------------------------
Would you be willing to share your email address with the Electronic Frontier
Foundation, a founding partner of the Let's Encrypt project and the non-profit
organization that develops Certbot? We'd like to send you email about EFF and
our work to encrypt the web, protect its users and defend digital rights.
-------------------------------------------------------------------------------
(Y)es/(N)o: y
Obtaining a new certificate
Performing the following challenges:
http-01 challenge for example.com
http-01 challenge for www.example.com
Using the webroot path /data/letsencrypt for all unmatched domains.
Waiting for verification...
Cleaning up challenges

IMPORTANT NOTES:
    ssl                       on;
 - Congratulations! Your certificate and chain have been saved at:
   /etc/letsencrypt/live/example.com/fullchain.pem
   Your key file has been saved at:
   /etc/letsencrypt/live/example.com/privkey.pem
   Your cert will expire on 2018-02-06. To obtain a new or tweaked
   version of this certificate in the future, simply run certbot
   again. To non-interactively renew *all* of your certificates, run
   "certbot renew"
 - Your account credentials have been saved in your Certbot
   configuration directory at /etc/letsencrypt. You should make a
   secure backup of this folder now. This configuration directory will
   also contain certificates and private keys obtained by Certbot so
   making regular backups of this folder is ideal.
 - If you like Certbot, please consider supporting our work by:

   Donating to ISRG / Let's Encrypt:   https://letsencrypt.org/donate
   Donating to EFF:                    https://eff.org/donate-le

Stopping nginx     ... done
Stopping wordpress ... done
Stopping mysql     ... done
Going to remove nginx, wordpress, mysql
Removing nginx     ... done
Removing wordpress ... done
Removing mysql     ... done
INFO: update the nginx/wordpress_ssl.conf file
-  4:   server_name example.com;
- 19:   server_name               example.com www.example.com;
- 46:   ssl_certificate           /etc/letsencrypt/live/example.com/fullchain.pem;
- 47:   ssl_certificate_key       /etc/letsencrypt/live/example.com/privkey.pem;
- 48: ssl_trusted_certificate /etc/letsencrypt/live/example.com/chain.pem;-
Self signed
If you plan on using self signed SSL certificates, run:
./letsencrypt/self-signed-init.sh DOMAIN_NAME, whereDOMAIN_NAMEis theCNyou want to assign to the host (commonlylocalhost).
$ cd letsencrypt/
$ ./self-signed-init.sh localhost
INFO: making certs directory
Generating a 4096 bit RSA private key
................................................................................................................................................................................................................................................++
....................................................++
writing new private key to 'key.pem'
-----
INFO: update the nginx/wordpress_ssl.conf file
-  4:   server_name localhost;
- 19:   server_name               localhost www.localhost;
- 46:   ssl_certificate           /etc/letsencrypt/live/localhost/cert.pem;
- 47:   ssl_certificate_key       /etc/letsencrypt/live/localhost/privkey.pem;
- 48: #ssl_trusted_certificate /etc/letsencrypt/live/DOMAIN_NAME/chain.pem; <-- COMMENT OUT OR REMOVE-
Bring your own
If you plan to use pre-existing certificates you will need to update the
nginx/wordpress_ssl.conffile with the appropriate settings to the kind of certificates you have.
Check the docker-compose configuration is ok and the correct .env variables are substituted
$ docker-compose configrun the containers
$ docker-compose up -dPoint your browser at your domain example.com and you should see the Wordpress setup screen, this will enable you to manually complete the configuration of Wordpress. See example below "Initial Wordpress setup" for a brief view of this.
What is the lifetime for Let’s Encrypt certificates? For how long are they valid?
- Let's Encrypt certificates are valid for 90 days. You can read about why here.
- There is no way to adjust this, there are no exceptions. Let's Encrypt recommends automatically renewing your certificates every 60 days.
A script named letsencrypt-renew.sh has been provided to update your certificate as needed. This script can be run at any time along side of your already running site, and if the certificate is due for renewal, it will be renewed. If it is still valid or not yet close to the expiry date, then you'll see a Cert not yet due for renewal message such as the one below.
$ ./letsencrypt-renew.sh
Saving debug log to /var/log/letsencrypt/letsencrypt.log

-------------------------------------------------------------------------------
Processing /etc/letsencrypt/renewal/example.com.conf
-------------------------------------------------------------------------------
Cert not yet due for renewal

-------------------------------------------------------------------------------

The following certs are not due for renewal yet:
  /etc/letsencrypt/live/example.com/fullchain.pem (skipped)
No renewals were attempted.
-------------------------------------------------------------------------------
Killing nginx ... done
This script can be scheduled to run via a cron task every 15 days or so to ensure an automatic renewal of your certificate.
Prior to certificate expiration the user will receive an email from The Let's Encrypt Team with expiry information.
Example email:
Hello,
Your certificate (or certificates) for the names listed below will expire in 10 days (on 18 Sep 18 02:01 +0000). Please make sure to renew your certificate before then, or visitors to your website will encounter errors.
We recommend renewing certificates automatically when they have a third of their total lifetime left. For Let's Encrypt's current 90-day certificates, that means renewing 30 days before expiration. See https://letsencrypt.org/docs/integration-guide/ for details.
For any questions or support, please visit https://community.letsencrypt.org/. Unfortunately, we can't provide support by email.
If you are receiving this email in error, unsubscribe at http://mandrillapp.com/track/unsub.php?u=12345678&id=abcdefghijklmnopqrstuvwxyz.0123456789&r=https%3A%2F%2Fmandrillapp.com%2Funsub%3Fmd_email%3Dexample%2540example.com
Regards, The Let's Encrypt Team
Running the letsencrypt-renew.sh script during an active renewal period would renew the site's certificates assuming the site has remainined in good standing.
Example renewal:
$ ./letsencrypt-renew.sh
Saving debug log to /var/log/letsencrypt/letsencrypt.log

-------------------------------------------------------------------------------
Processing /etc/letsencrypt/renewal/example.com.conf
-------------------------------------------------------------------------------
Cert is due for renewal, auto-renewing...
Plugins selected: Authenticator webroot, Installer None
Renewing an existing certificate
Performing the following challenges:
http-01 challenge for example.com
http-01 challenge for www.example.com
Using the webroot path /data/letsencrypt for all unmatched domains.
Waiting for verification...
Cleaning up challenges

-------------------------------------------------------------------------------
new certificate deployed without reload, fullchain is
/etc/letsencrypt/live/example.com/fullchain.pem
-------------------------------------------------------------------------------

-------------------------------------------------------------------------------

Congratulations, all renewals succeeded. The following certs have been renewed:
  /etc/letsencrypt/live/example.com/fullchain.pem (success)
-------------------------------------------------------------------------------
Killing nginx ... done# m h dom mon dow command
##### refresh Let's Encrypt Certs At every 5th minute past hour 0 on day-of-month 1 in every 2nd month. (i.e. ~60 days into the 90 day limit)
#renew attempt every 1st min of every 14days
1 * */14 * * cd /home/ubuntu/wordpress-nginx-docker/letsencrypt && bash /home/ubuntu/wordpress-nginx-docker/letsencrypt/letsencrypt-renew.sh >> /home/ubuntu/wordpress-nginx-docker/logs/crontab.cert-renew.log
#restart docker to 5th min of every 14days (seemingly needed for the cert to renew)
5 * */14 * * sudo docker restart nginx
From the top level of the cloned repository, create host directories to preserve the container contents and create a basic Nginx configuration file.
cd wordpress-nginx-docker/
### optional: directories would be created by docker if not done manually
mkdir -p certs/ certs-data/ logs/nginx/ mysql/ wordpress/
cp nginx/wordpress.conf.example nginx/wordpress.conf
Update nginx/wordpress.conf by changing the server_name value from DOMAIN_NAME to 127.0.0.1.
$ diff nginx/wordpress.conf.example nginx/wordpress.conf
3c3
<     server_name DOMAIN_NAME;
---
>     server_name 127.0.0.1;
Launch and daemonize the containers with docker-compose up -d
$ docker-compose up -d
Creating mysql ... done
Creating wordpress ... done
Creating nginx ... doneNavigate your browser to http://127.0.0.1 and follow the installation prompts
-
Set language

-
Create an administrative user
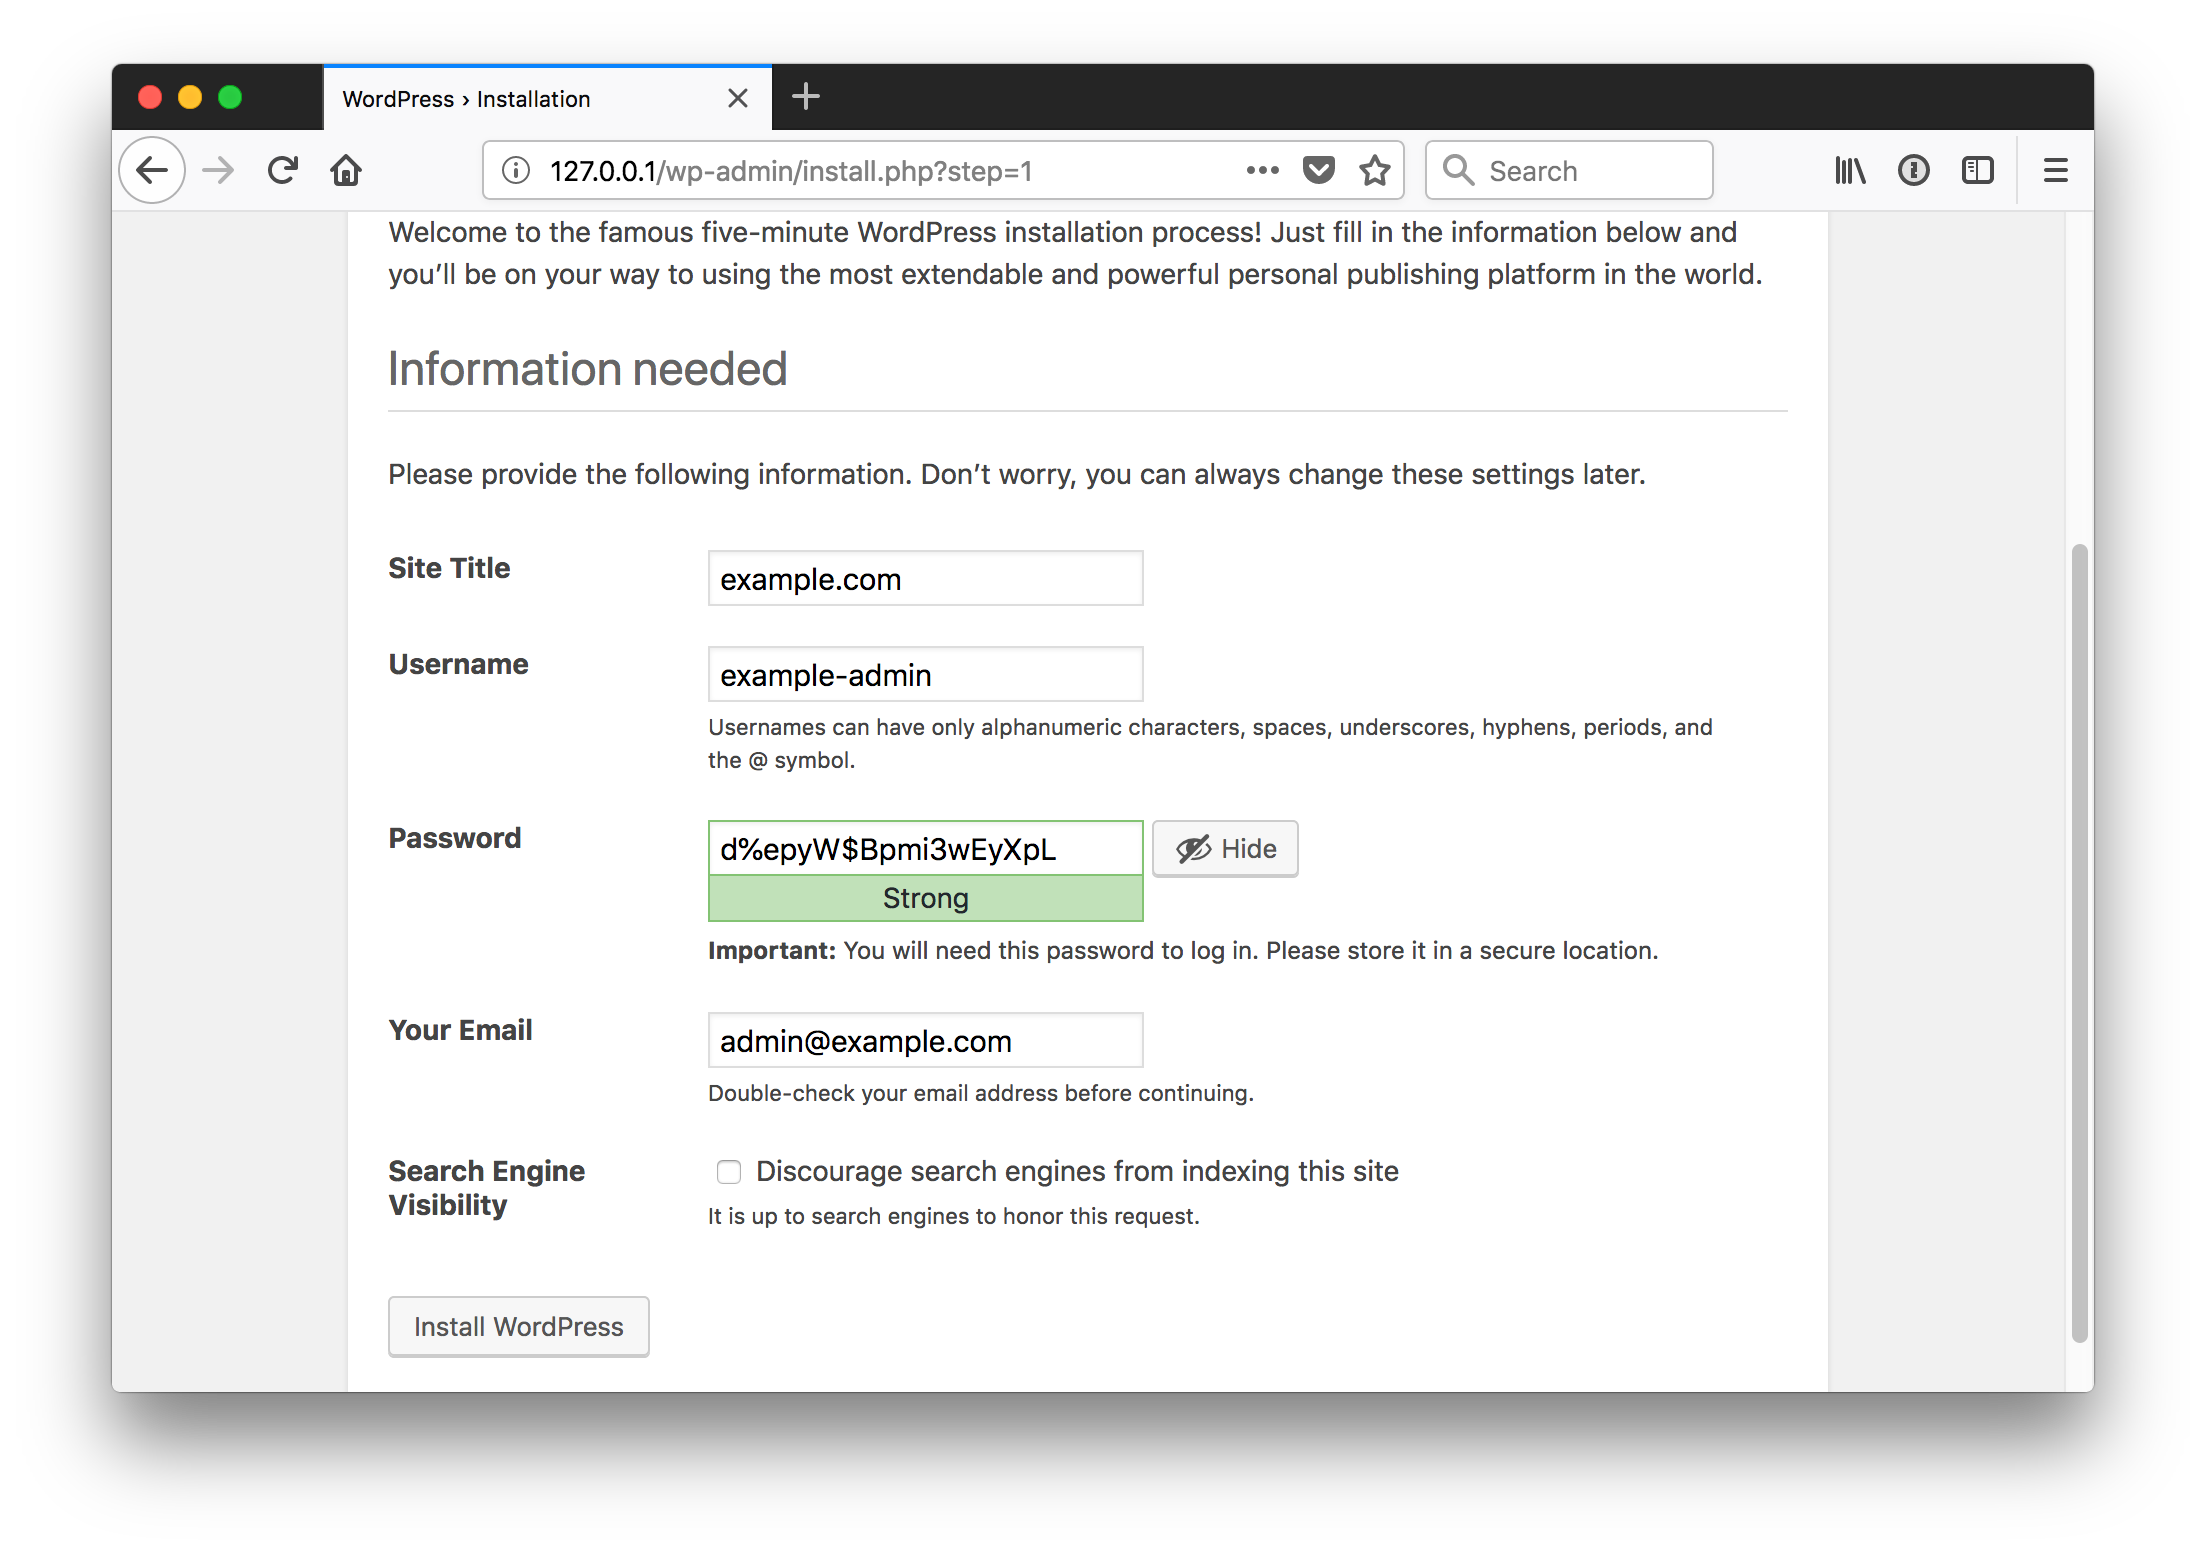
-
Success

-
Log in as the administrative user, dashboard, view site

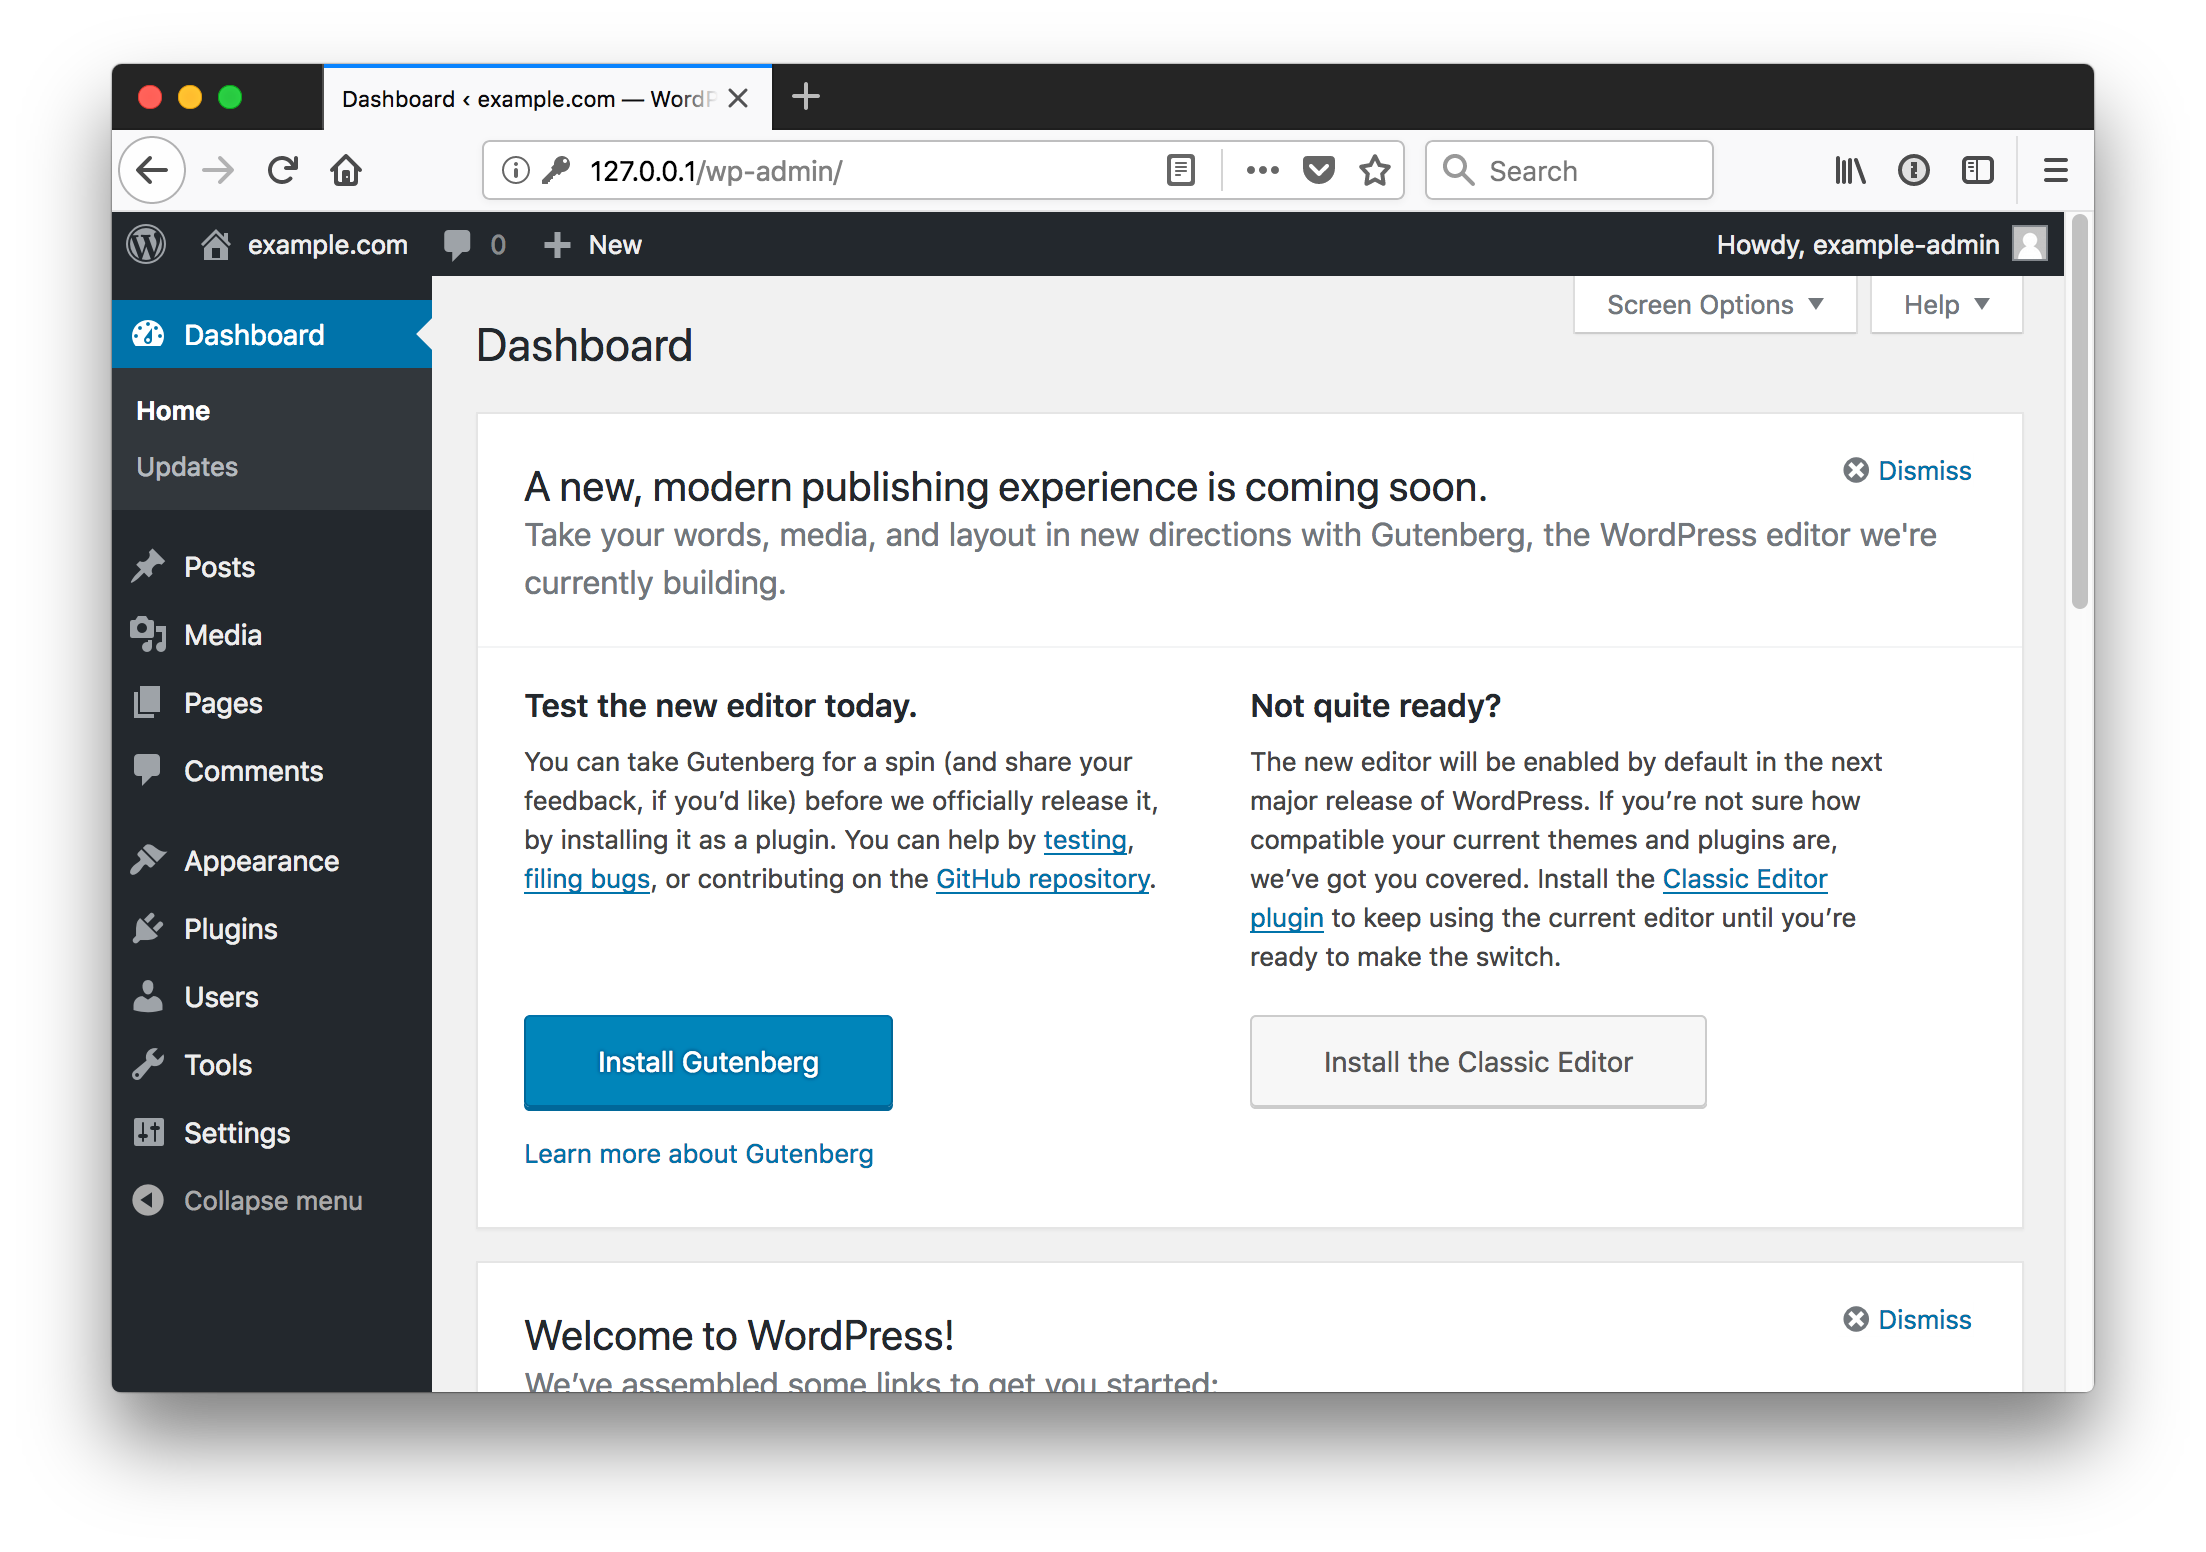
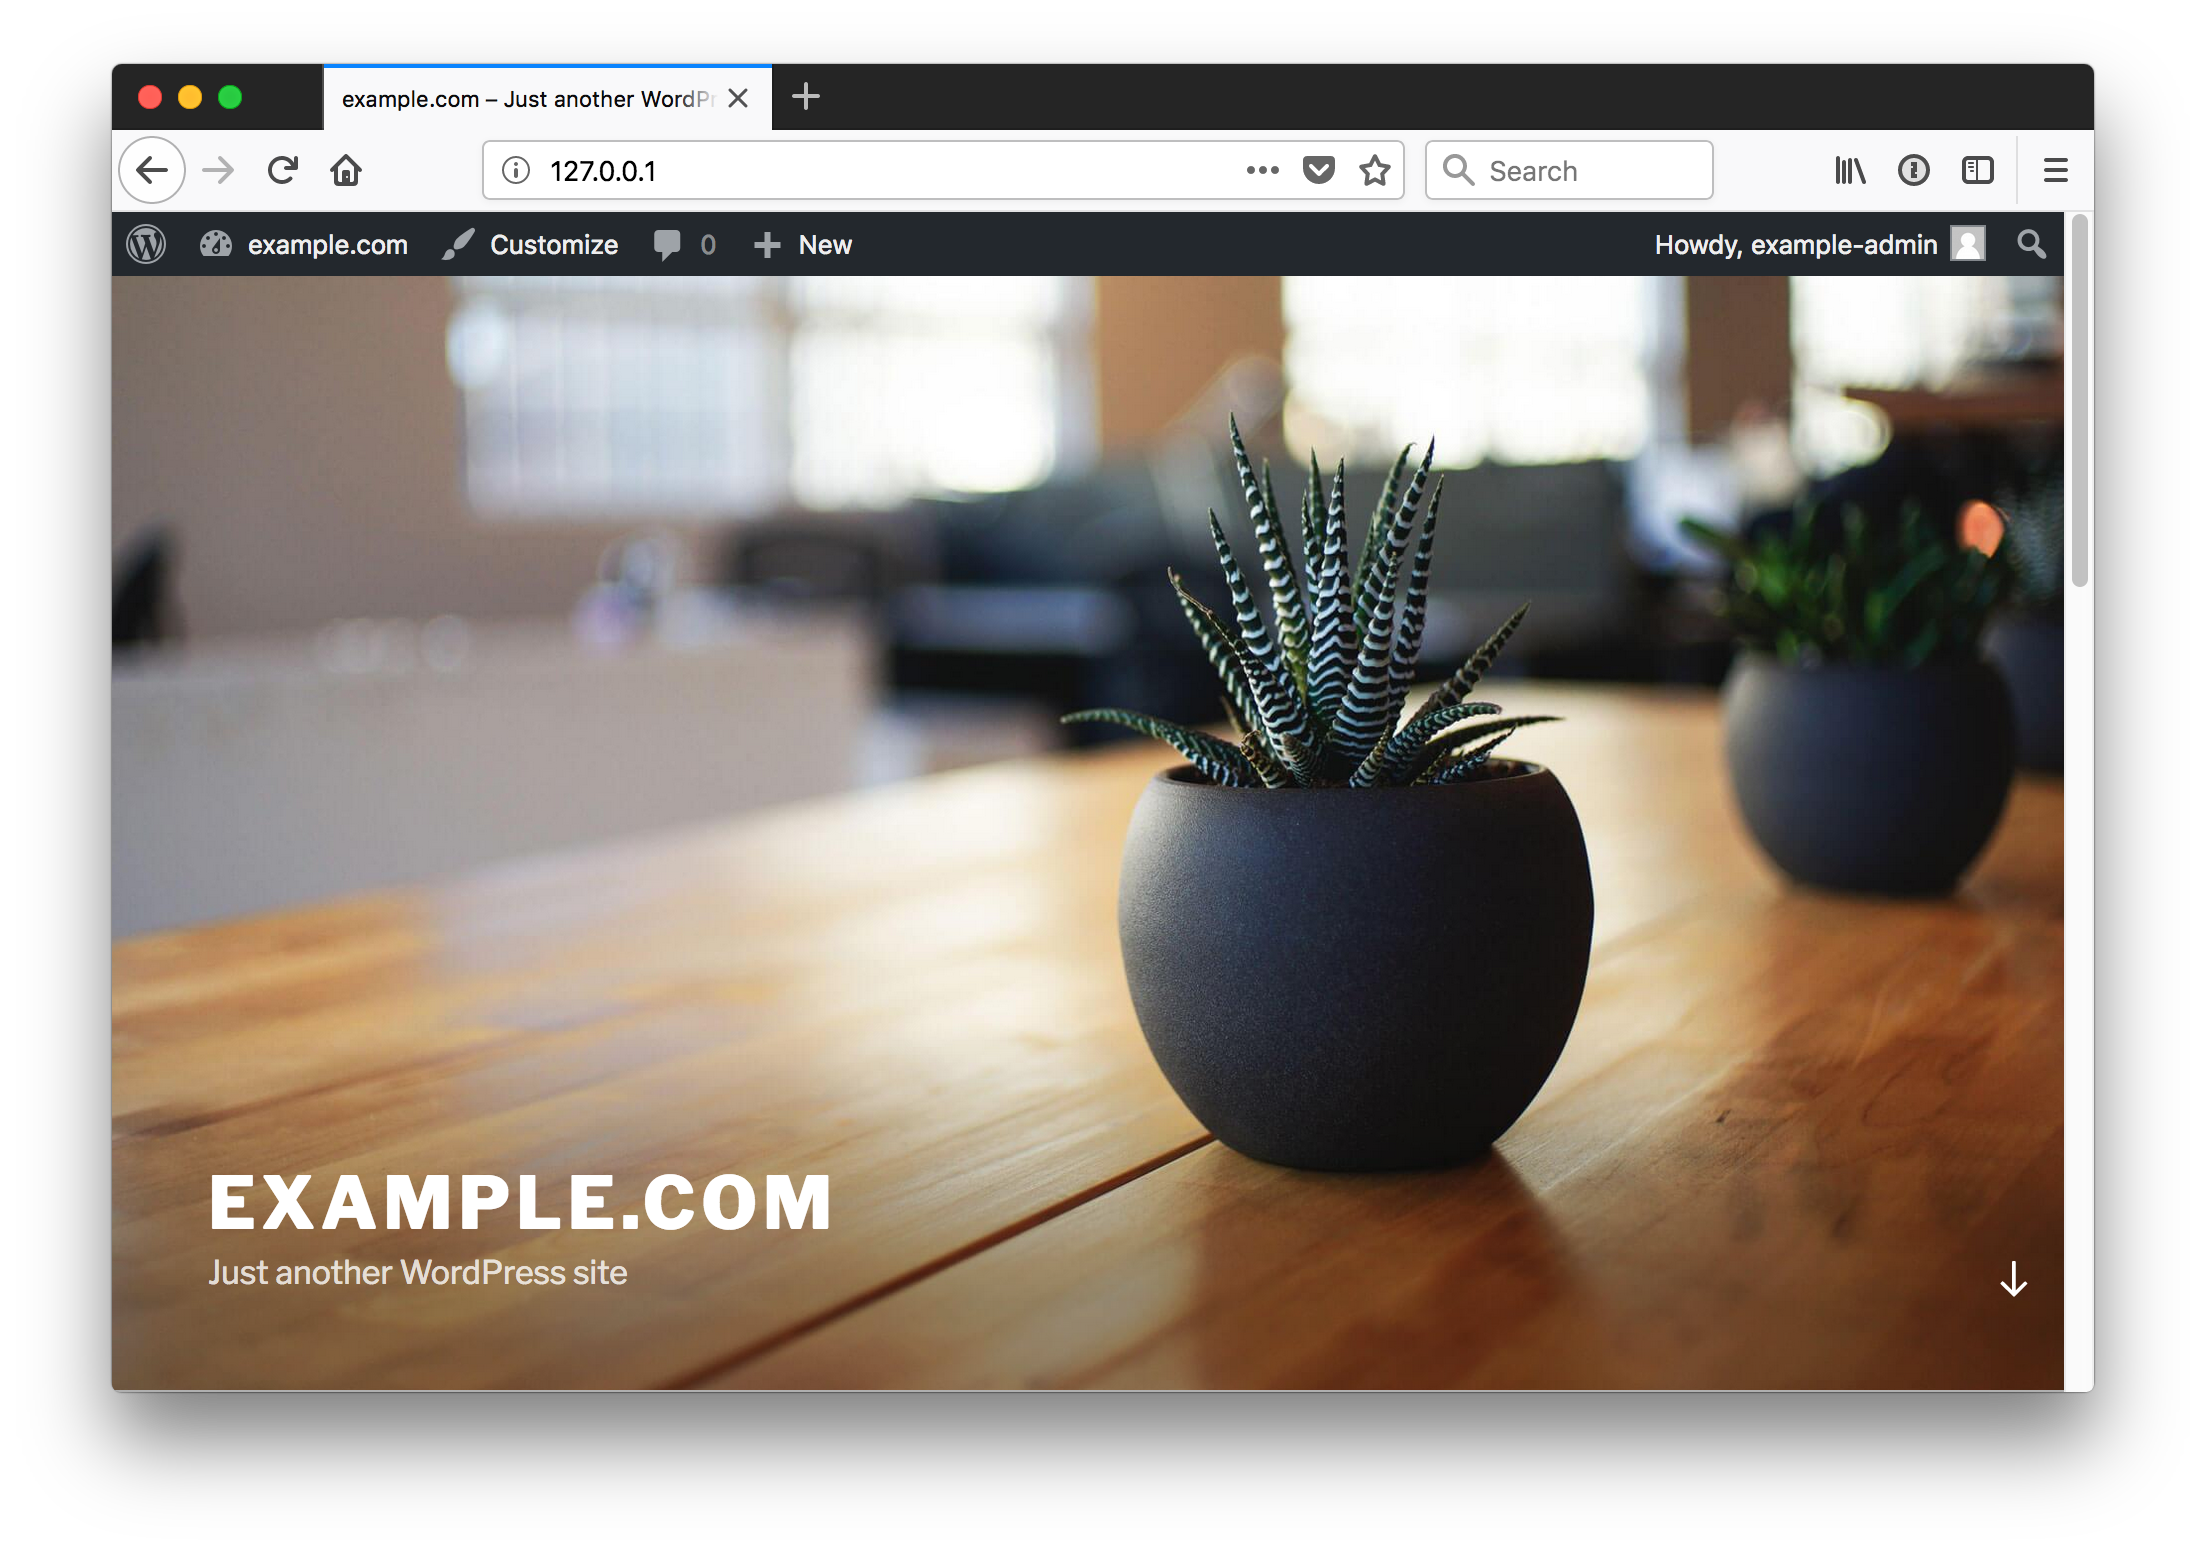
Once your site is running you can begin to create and publish any content you'd like in your Wordpress instance.
Neither the mysql container nor the wordpress container have publicly exposed ports. They are running on the host using a docker defined network which provides the containers with access to each others ports, but not from the host.
If you wish to expose the ports to the host, you'd need to alter the stanzas for each in the docker-compose.yml file.
For the mysql stanza, add
    ports:
      - '3306:3306'
For the wordpress stanza, add
    ports:
      - '9000:9000'
Because docker-compose was used to define the container relationships it can also be used to stop and remove the containers from the host they are running on.
Stop and remove containers:
$ cd wordpress-nginx-docker
$ docker-compose stop
Stopping nginx     ... done
Stopping wordpress ... done
Stopping mysql     ... done
$ docker-compose rm -f
Going to remove nginx, wordpress, mysql
Removing nginx     ... done
Removing wordpress ... done
Removing mysql     ... done
Removing all related directories:
$ rm -rf certs/ certs-data/ logs/ mysql/ wordpress/443 -- https 80 -- required for certbot renewal (via HTTPS-01)