


Onboarder is an Android library for easing up the onboarding process to Apps.
- Written in Kotlin
- No boilerplate code
- Easy initialization
- Supports Lottie Animation View and Images with a Title and Description.
- Add the JitPack repository to your project's build.gradle file
allprojects {
    repositories {
        ...
        maven { url 'https://jitpack.io' }
    }
}- Add the dependency in your app's build.gradle file
dependencies {
    implementation 'com.github.akshaaatt:Onboarding:1.1.3'
}To use Onboarder, you simply have to create a new Activity that extends OnboardAdvanced or OnboardLegacy like the following:
class MyCustomOnboarder : OnboardAdvanced() {
    override fun onCreate(savedInstanceState: Bundle?) {
        super.onCreate(savedInstanceState)
        // Make sure you don't call setContentView!

        // Call addSlide passing your Fragments.
        // You can use OnboardFragment to use a pre-built fragment
        addSlide(OnboardFragment.newInstance(
                title = "Welcome...",
                description = "This is the first slide of the example"
        ))
        addSlide(OnboardFragment.newInstance(
                title = "...Let's get started!",
                description = "This is the last slide, I won't annoy you more :)"
        ))
    }

    override fun onSkipPressed(currentFragment: Fragment?) {
        super.onSkipPressed(currentFragment)
        // Decide what to do when the user clicks on "Skip"
        finish()
    }

    override fun onDonePressed(currentFragment: Fragment?) {
        super.onDonePressed(currentFragment)
        // Decide what to do when the user clicks on "Done"
        finish()
    }
}
Please note that you must NOT call setContentView. The OnboardAdvanced superclass is taking care of it for you.
Also confirm that you're overriding onCreate with a single parameter (Bundle) and you're not using another override (like onCreate(Bundle, PersistableBundle)) instead.
Finally, declare the activity in your Manifest like so:
<activity android:name="com.example.MyCustomOnboard"
    android:label="My Custom Onboard" />
We suggest to don't declare MyCustomOnboard as your first Activity unless you want the intro to launch every time your app starts. Ideally you should show the OnboardAdvanced activity only once to the user, and you should hide it once completed (you can use a flag in the SharedPreferences).
The entry point to add a new slide is the addSlide(fragment: Fragment) function on the OnboardAdvanced or OnboardLegacy class.
You can easily use it to add a new Fragment to the carousel.
The library comes with several util classes to help you create your Slide with just a couple lines:
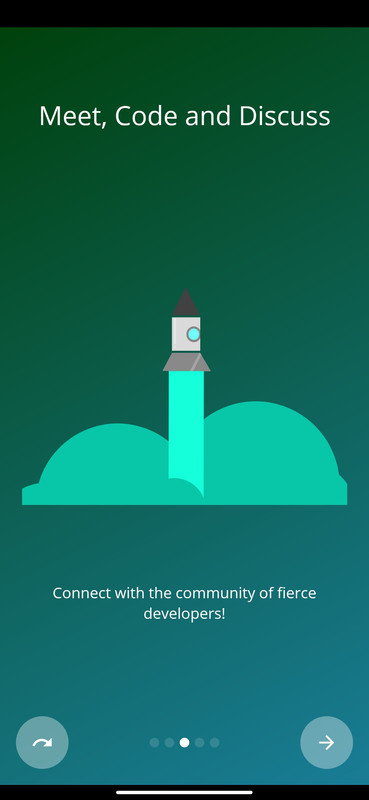
You can use the OnboardFragment if you just want to customize title, description, image and colors.
That's the suggested approach if you want to create a quick intro:
addSlide(OnboardFragment.newInstance(
    title = "The title of your slide",
    description = "A description that will be shown on the bottom",
    resourceId = R.drawable.the_central_icon, //or R.raw.your_json for LottieAnimationView
    backgroundDrawable = R.drawable.the_background_image,
    titleColor = Color.YELLOW,
    descriptionColor = Color.RED,
    backgroundColor = Color.BLUE,
    titleTypefaceFontRes = R.font.opensans_regular,
    descriptionTypefaceFontRes = R.font.opensans_regular,
    isLottie = true //To hide the imageView and enable the LottieAnimationView
))
All the parameters are optional, so you're free to customize your slide as you wish.
If you need to programmatically create several slides you can also use the SliderPage class.
This class can be passed to OnboardFragment.newInstance(sliderPage: SliderPage) that will create
a new slide starting from that instance.
Inspired by AppIntro
You are most welcome to contribute to this project!