Provisioning a cloud based GPU instance
Article prepared by tgmerritt
This guide uses AWS, but other clouds that support GPU resources should more or less have a similar flow.
We will use a g4dn.xlarge instance which will cost ~$0.7 including storage cost.
- Login to your AWS account (if you don't have any account - make one. You will be asked for a credit card). You will start in the N Virginia region (us-east-1), this should be fine.
- In the top left, select Services then search for EC2 and click.
- Select the orange Launch Instance button and the "Launch Instance" from the drop-down.
- Locate the search field in the new page and search for "ubuntu".
- You should see search results like the following:

- Click the blue Select button on the right side of the Ubuntu 18.04 image.
- Find the All Instance Types drop down and click it - then choose GPU Instances to filter the list.
- Click the box next to the g4dn.xlarge option (You must have vCPU capacity in order to use this instance. type - if you get to the end of this process and an error message from Amazon says you only have 0 vCPU available - you're literally going to have to open a support request to have them increase this limit - that process might take 12 hours for them to respond fully - just follow their link to open a support case and say "I want 4 vCPU" and wait).
- Click Next: Configure Instance Details
- Leave everything on this screen at defaults unless you know what you want to change and why.
- Click Next: Add Storage
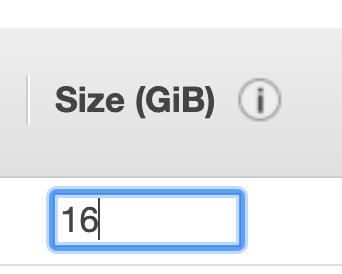
- Change the size of the volume to at least 16 GB:
- Click Review and Launch.
- You will see a page about your instance not being eligible for free tier - this is fine. Click Launch.
- You will see a window about SSH keys - select new keypair, give the key a name (any name is fine) and click the accept box. The SSH pem key file will download to your machine.
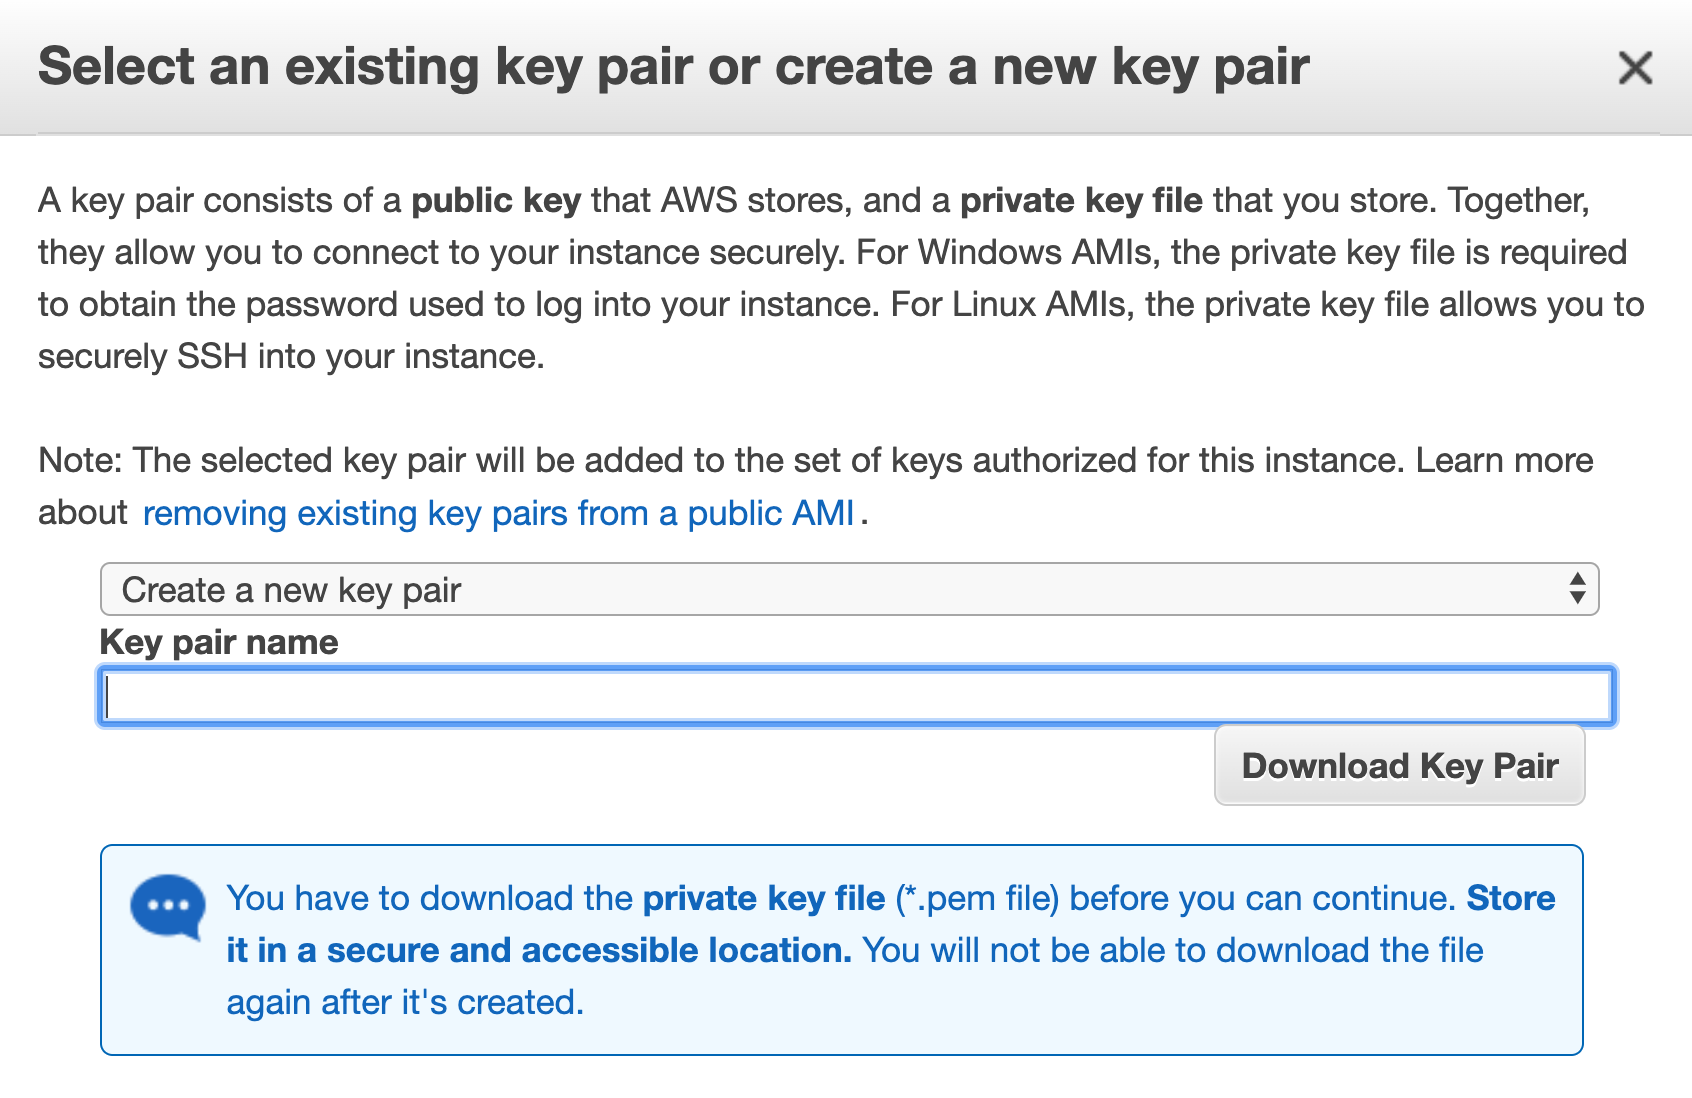
- Click Launch.
- It will take less than a minute for your instance to be up. You'll see a Public DNS address with the hostname of your instance:
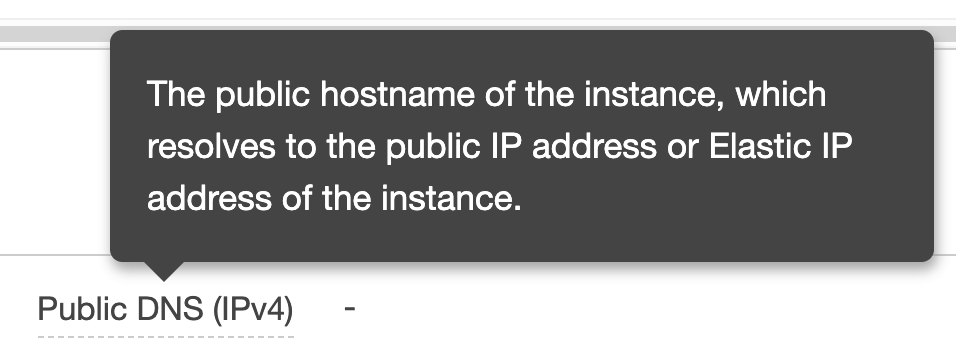
-
You can copy the hostname by clicking the two little squares that appear at the end when you mouse over it (you can highlight the whole thing and cmd & c it also, but the icon is convenient!)
-
You can now SSH into that machine (do not forget to
chmod 400 your_pem_file.pembecause AWS won't allow you to SSH in with open permissions) -
Here is a list of commands to run against the machine to get it going - you will be prompted at certain points (Continue? [Y/n] type stuff). Make sure you run the commands one at a time and agree to the prompts when necessary. The Amazon Guide for installing NVIDIA drivers provides a good explanation.
-
You'll need to add an IAM user to this EC2 instance in order to copy the NVIDIA driver files from AWS S3 to your machine. For that you'll also need the aws cli installed. These commands are in the GIST above, but what they don't cover is actually creating the IAM user It's fairly straight forward to
aws configureonce you have the aws cli installed and add the access key and secret key for your IAM user. -
Lastly - you'll need to allow TCP and UDP from your IP Address to your EC2 instance:

- Click the Launch Wizard link in your instance, then click the Security Group listed - with it's long random ID.
- Finally click
- You'll need to add a rule for TCP 5556 where the IP is My IP and Amazon will automatically find your IP address if you select this. Personally I opened all TCP and UDP from my IP to keep it simple - but you only need the single port above.