Varnish Bans Manager (VBM) is a simple server and web UI designed to ease management of bans in complex Varnish deployments where non-technical users need to be able to invalidate cached contents. Using the web interface you and your users will be able to:
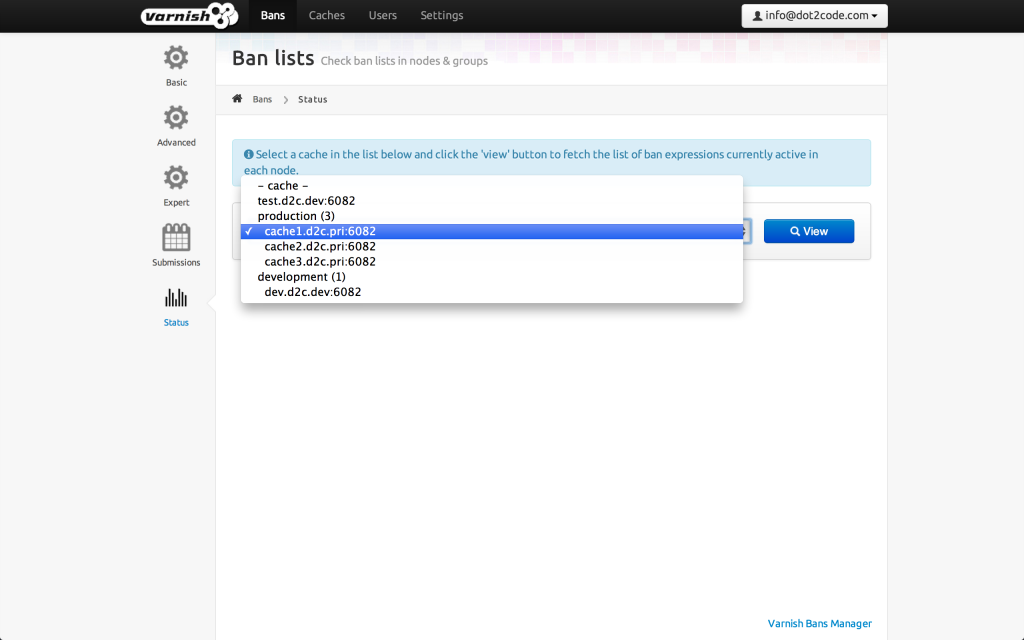
- Define Varnish cache nodes.
- Organize caches in groups to ease bulk operations.
- Manage per-node and per-group bans. Basic, advanced and expert modes are available.
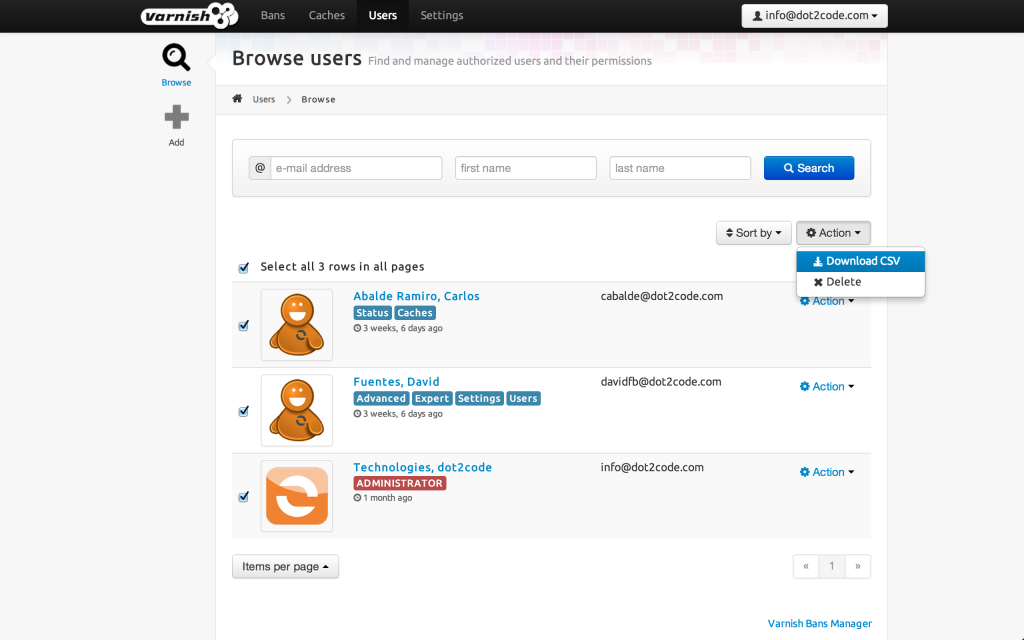
- Restrict who can ban what using user permissions and predefined ban templates.
- Monitor current bans and check past ban submissions.
VBM implements a subset of the functionality provided by the Varnish Administration Console (VAC). If you are already using VAC, you are probably not interested in using VBM. However, VAC is part of the Varnish enterprise subscriptions services and it's not available as standalone software for free. Unlike VAC:
- VBM is open source.
- VBM does not require changes in the configuration of your Varnish nodes.
- VBM does not require installing extra components such as the Varnish Agent.
- VBM is only focused in the management of bans, not in monitoring caching nodes or managing their configurations. Use the right tool for the right job: use well-known and flexible tools such as Zabbix or Puppet for that.
 |
 |
 |
 |
 |
 |
 |
 |
You probably already have this, but if not, install Python virtual environment creator:
$ sudo pip install virtualenvChoose an user (e.g.
www-data) a location for the VBM environment (e.g./var/www/varnish-bans-manager), create and activate it:www-data:~$ virtualenv /var/www/varnish-bans-manager www-data:~$ source /var/www/varnish-bans-manager/bin/activateInstall the OS packages required by your preferred RDBM. For example, for MySQL and Ubuntu:
$ sudo apt-get install python-dev libmysqlclient-dev
(varnish-bans-manager)www-data:~$ pip install MySQL-python
VBM depends on the Python Image Library (Pillow) to perform some image manipulations. It will be installed as a dependency when installing VBM, but some OS packages need to be installed previously. For example, for Ubuntu:
$ sudo apt-get install libjpeg8 libjpeg62-dev libfreetype6 libfreetype6-dev zlib1g-devNote that on Ubuntu 64 bits some symbolic links need to be created manually. If not, when installing Pillow, it will not include JPEG, ZLIB and FREETYPE2 support:
$ sudo ln -s /usr/lib/x86_64-linux-gnu/libjpeg.so /usr/lib
$ sudo ln -s /usr/lib/x86_64-linux-gnu/libfreetype.so /usr/lib
$ sudo ln -s /usr/lib/x86_64-linux-gnu/libz.so /usr/lib
Create an empty database in your preferred RDBM and grant access to some existing or new user. You'll need it during VBM configuration. For example, for MySQL:
mysql> CREATE DATABASE varnish_bans_manager;
Query OK, 1 row affected (0.00 sec)

mysql> CREATE USER 'bob'@'localhost' IDENTIFIED BY 's3cr3t';
Query OK, 0 rows affected (0.00 sec)

mysql> GRANT ALL PRIVILEGES ON varnish_bans_manager.* TO 'bob'@'localhost';
Query OK, 0 rows affected (0.00 sec)

mysql> QUIT
Bye
Follow next steps running all commands in a terminal with the newly created virtualenv active.
Install VBM and all its dependencies:
(varnish-bans-manager)www-data:~$ pip install varnish-bans-managerOnce everything is installed in your virtual environment, you should be able to execute the VBM CLI, via
varnish-bans-manager, and get something like the following:(varnish-bans-manager)www-data:~$ varnish-bans-manager Usage: varnish-bans-manager [command] [options]Adjust VBM configuration. Most important stuff is the configuration of the relational database and the HTTP frontend. Initialize your configuration from a template running the following command:
(varnish-bans-manager)www-data:~$ varnish-bans-manager init > varnish-bans-manager.conf
$ sudo mv /var/www/varnish-bans-manager.conf /etc/varnish-bans-manager.conf
Check out the next section for a detailed description of all available configuration options.
VBM provides a built-in webserver (note configuration is assumed to be located in
/etc/varnish-bans-manager.conf. If not, use theVARNISH_BANS_MANAGER_CONFenvironment variable to set its location). Lauch it using the following command:(varnish-bans-manager)www-data:~$ varnish-bans-manager startVBM also depends on two additional services named celeryd and celerybeat for correct operation. For a quick test you can launch them manually using the following comand in some other terminal (don't forget to activate the same virtualenv environment in that terminal):
www-data:~$ source /var/www/varnish-bans-manager/bin/activate (varnish-bans-manager)www-data:~$ varnish-bans-manager celery worker --no-execv --beat -s /tmp/varnish-bans-manager-celerybeat-schedule --loglevel=info- If not changed in the configuration, VBM's server runs on port 9000. If locally installed, you should now be able to test the service by visiting
http://localhost:9000. Use the VBM CLI to create the first VBM administrator in yet another terminal. You'll be able to add extra users later using the web UI:
www-data:~$ source /var/www/varnish-bans-manager/bin/activate
(varnish-bans-manager)www-data:~$ varnish-bans-manager users --add --administrator --email "bob@domain.com" --password "s3cr3t" --firstname "Bob" --lastname "Brown"
- If you want to bind VBM's HTTP frontend to port 80, simply set up a reverse proxy using your preferred web server. Always avoid running VBM as a privileged user for this! Check out the sample configuration files for extra information.
- In a production environment you should run VBM HTTP frontend, celeryd and celerybeat as OS services. Use whatever software you are most familiar with, such as upstart, supervisord or a simple init.d script. Check out the sample init.d scripts if you need some inspiration.
VBM configuration is located in a file usually stored in /etc/varnish-bans-manager.conf. Next you can find an annotated version of a sample VBM configuration:
# HTTP server settings. All Gunicorn server settings are supported. Check
# out Gunicorn documentation (http://docs.gunicorn.org/en/latest/configure.html)
# for further details and for a full list of options. Note that 'debug' and
# 'secure_scheme_headers' Gunicorn settings will always be overriden
# by VBM internal settings.
[http]
base_url: http://varnish-bans-manager.domain.com
bind: 0.0.0.0:9000
worker_class: eventlet
forwarded_allow_ips: 127.0.0.1

# SSL settings. Enable SSL only for proxied VBM deployments.
[ssl]
enabled: false
secure_proxy_ssl_header_name: HTTP_X_FORWARDED_PROTO
secure_proxy_ssl_header_value: https

# Relational database settings. Check out Django documentation for
# more information about alternative database engines (PostgreSQL,
# Oracle, etc.).
[database]
engine: django.db.backends.mysql
name: varnish_bans_manager
user: bob
password: s3cr3t
host: 127.0.0.1
port: 3306

# Filesytem settings. VBM internally generated files and user
# uploaded files will be stored in some folder inside the
# 'root' path.
#
# Publicly accessible files will be stored under 'root'/public/,
# so, when using a reverse proxy, remember to setup it to serve
# those files directly.
#
# Files under 'root'/private/ and 'root'/temporary/ require some
# app-level access control checks. Never serve those files
# directly from the reverse proxy.
#
# Depending on what reverse proxy you are using, you can boost
# performance using the adequate sendfile backend:
#
#      nginx: varnish_bans_manager.filesystem.sendfile_backends.nginx
#      Apache: varnish_bans_manager.filesystem.sendfile_backends.xsendfile
[filesystem]
root: /var/www/varnish-bans-manager/files/
sendfile: varnish_bans_manager.filesystem.sendfile_backends.stream

# Mailing settings.
[email]
host: 127.0.0.1
port: 25
user:
password:
tls: false
from: noreply@varnish-bans-manager.domain.com
subject_prefix: [VBM]
contact: info@varnish-bans-manager.domain.com
notifications: you@varnish-bans-manager.domain.com

# i18n settings. English (en) and Spanish (es) are the available
# languages at the moment.
[i18n]
default: en

# Misc settings.
[misc]
# Service timezone.
timezone: Europe/Madrid

# Internal secret key.
secret_key: Fgebt?qVUNr41mQ9OEmi8)z6yzy&?(>.7kZ+7$9p}Pl|0E=:2qM1aW|VRdMz{_gQ

# For development purposes only. Always keep this value to false, or,
# even better, remove it from the configuration file.
development: falseSimply execute in a terminal with the proper active virtualenv:
(varnish-bans-manager)www-data:~$ pip install --upgrade varnish-bans-managerVBM transparently supports migrations since version 0.4.1 by using South or Django's own migration mechanism (depending on the version) so you don't need to do anything special to keep the database up to date. To upgrade from a previous version, the easiest solution is to clear the whole database prior to restarting VBM's webserver.