This is a demo repository containing two Pluto notebooks that are automatically converted to HTML by a github action, and published to github pages! 🌝
See the github pages deployment of this repository: https://juliapluto.github.io/static-export-template/
More info here: https://www.notion.so/Interactive-web-articles-bf3af6de77854660807e674148c27b1f#1a997e538e0d48e0bf54d2d5f29dfc2b
Don't use the code in this repository for your own project just yet.
Create a GitHub account, and click on "Use this template". Choose a new name!

Click on Add files, and then Upload files. In the next page, upload your .jl notebook files.

Your notebooks will run on github every time that you update the files in this repository. To check the progress, click on "Actions", you will find the workflow for the last commit.
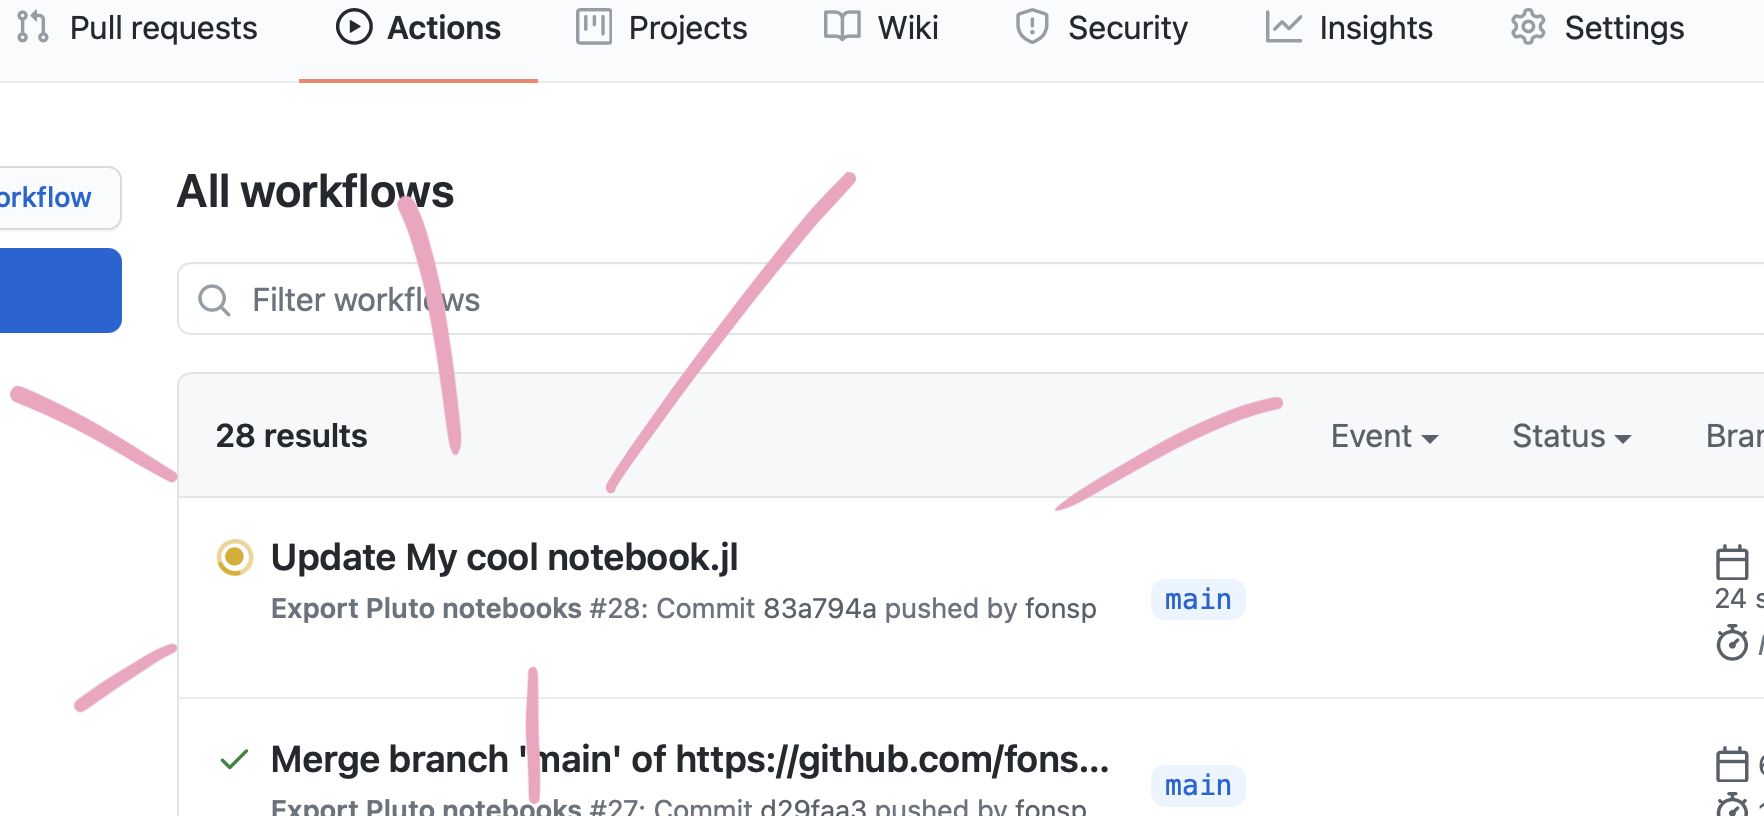
Wait for the Action to finish running your notebook.
Go to the "Settings" page of your repository, and scroll down to "GitHub Pages". For the "Source", choose gh-pages. Wait a minute for everything to initialize, and the URL to your web page will be shown!

Don't worry if it doesn't work immediately! It can take a while for the web page to be ready, even after your settings page says it's done. (Github pages says 20 minutes, but it can take even longer.)
To update an existing notebook file, simply repeat Step 2 above! (You can also use Add files > Upload files to update upload a file that already exists on the repository.)
If you already have a github repository with some pluto notebooks in it, you may want to add a web view like the one for this repository. In that case, the steps are slightly different. In this case, I assume that you are familiar with adding files to a repository. If not, follow the steps above.
Make sure that all your Pluto notebooks can be run from a fresh Julia environment. See the tips below about packages.
From this repository, download ExportPluto.yaml.
Save the file in your own repository, in the same location: make a folder .github in the main directory, within that a folder workflows, and add the file there, with the name ExportPluto.yaml. Commit the new file to your repository.
Note: The yaml file states that github should use the github notebooks in the main branch or master branch of your repository. If you changed the name of your default branch, or you want to use a different branch, change main in line 5 in the yaml file to the name of your favourite branch.
Your notebooks will run on github every time that you update the files in this repository. To check the progress, click on "Actions", you will find the workflow for the last commit.
Go to the "Settings" page of your repository, and in the left pane, choose the category "Pages". For the "Source", choose gh-pages. Wait a minute for everything to initialize, and the URL to your web page will be shown!
Don't worry if it doesn't work immediately! It can take a while for the web page to be ready, even after your settings page says it's done. (Github pages says 20 minutes, but it can take even longer.)
When your notebook runs on github, no packages are installed. To solve this, you need to declare a package environment inside the notebook, using Pkg.
For example, instead of:
using Plotsusing PlutoUIYou should write:
begin
    import Pkg
    # activate a clean environment
    Pkg.activate(mktempdir())

    Pkg.add([
        Pkg.PackageSpec(name="Plots"),
        Pkg.PackageSpec(name="PlutoUI"),
        # ... keep adding your packages
    ])

    using Plots
    using PlutoUI
    # ... place all usings and imports into this one cell
end
You can use this helper tool to generate these commands!
Important to note:
- Place the Pkg commands and the imports in the same cell.
- You can use the same setup when running your notebook locally. Julia will re-use existing package installations, so this will only download and install packages the first time.
In the future, Pluto will automate this process for you! 🙈
If you go to the (GitHub Pages) URL of repository, you will see a small index of the notebooks in this repository. You can customize this page, two options are:
- Create your own
index.htmlorindex.mdfile, it will be used as the homepage. - Rename one of your notebooks to
index.jl, and it will be the default notebook!