-
First of all, you should have a Bluemix account and a Git account.
-
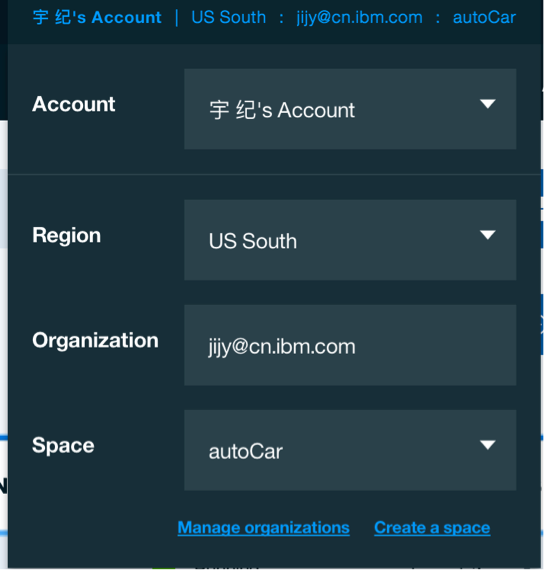
Login your account and create a workspace. Click the button on the top right link to scan your profile. Make sure your ‘Region’ is in the US South.
-
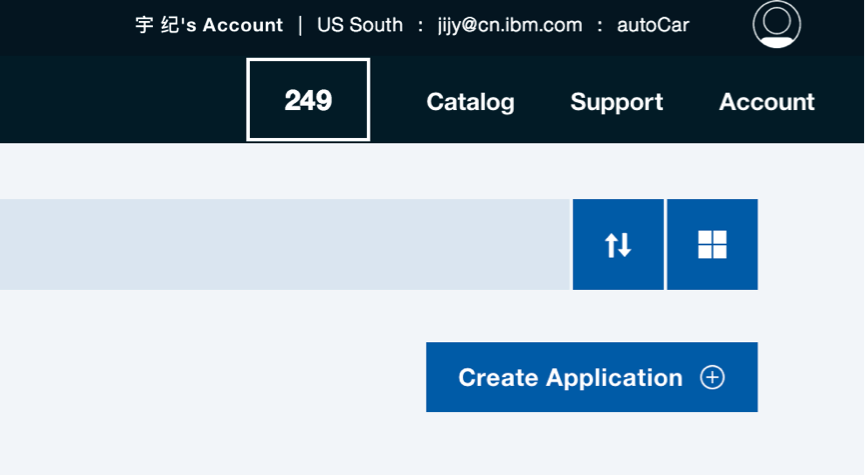
Click the “Create Application” button.
-
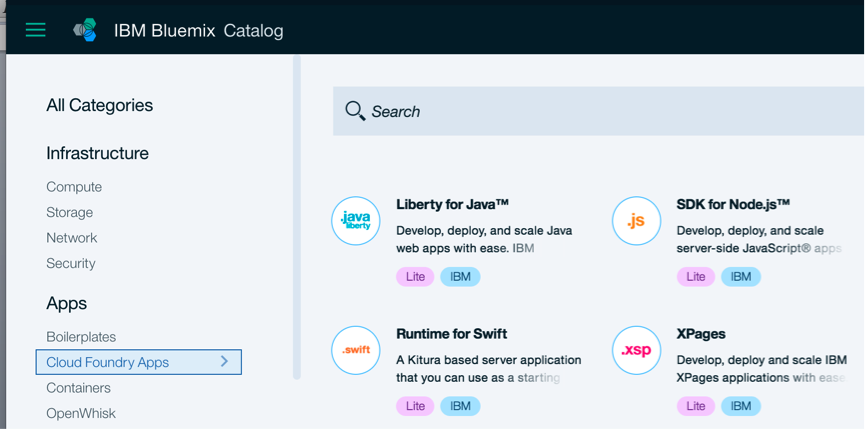
Select “Cloud Foundry App” in the left sidebar. Click “SDK for Node.js”.
-
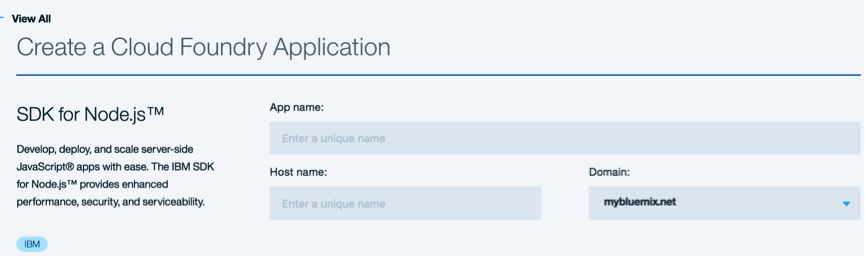
Named your app. Your app name will generate the host name automatically.
-
Click “Create” button in the bottom right. The page will jump to the “Getting Started” page.
-
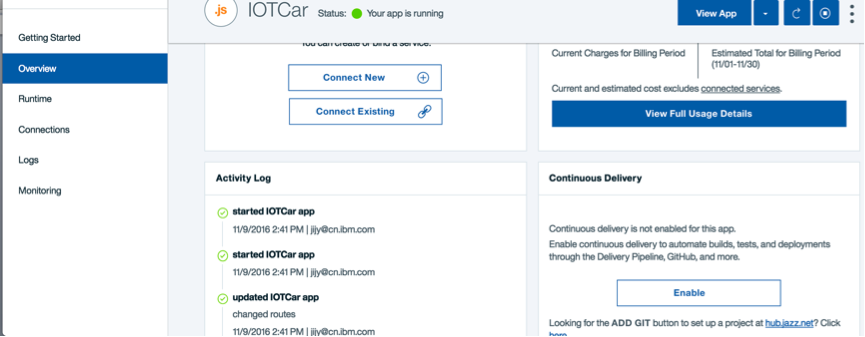
Select “Overview” item from the menu on the left. Click the button “Enable” on the right bottom page.
-
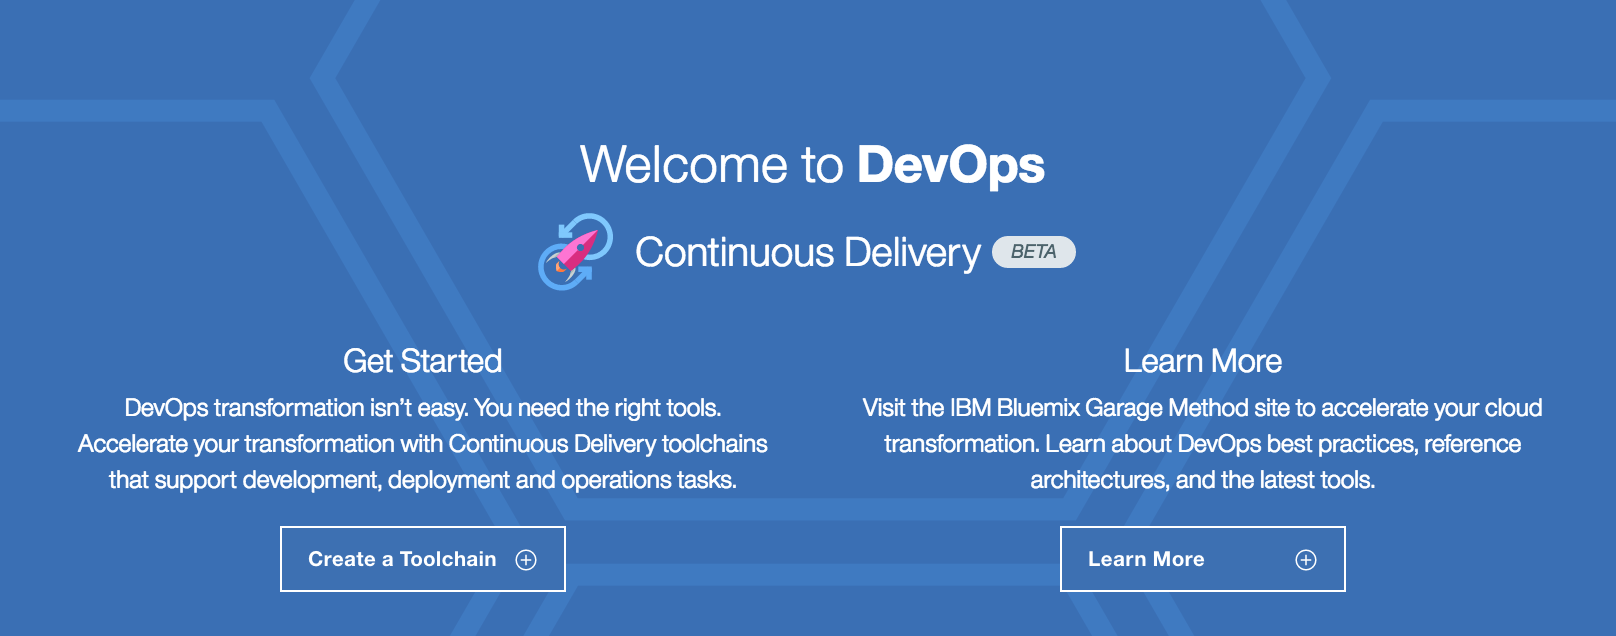
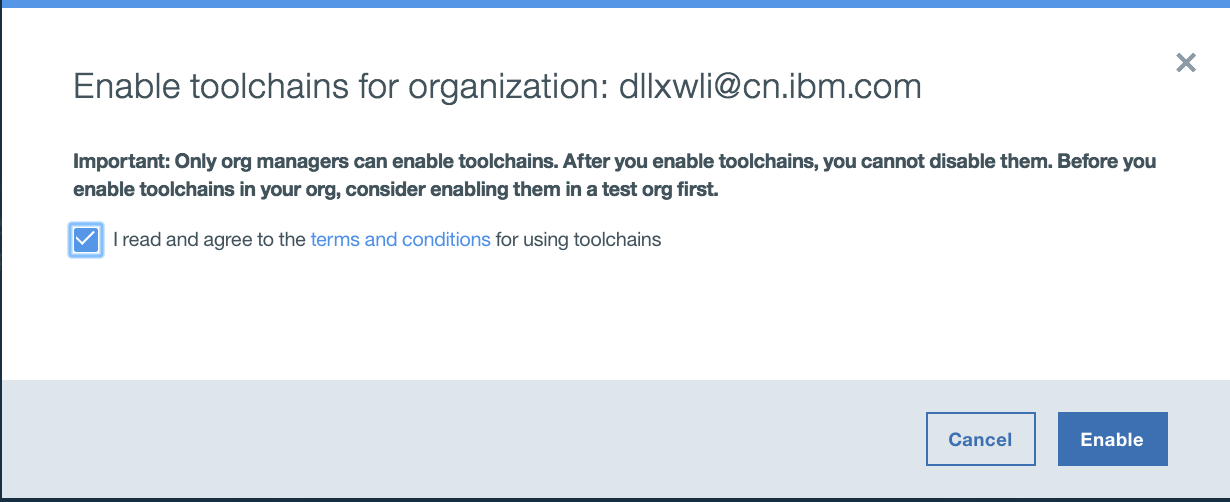
If you are a new user, you will enter a welcome page. Click “Get Started”to jump to next page. Select the agree checkbox and click “Enable”.
-
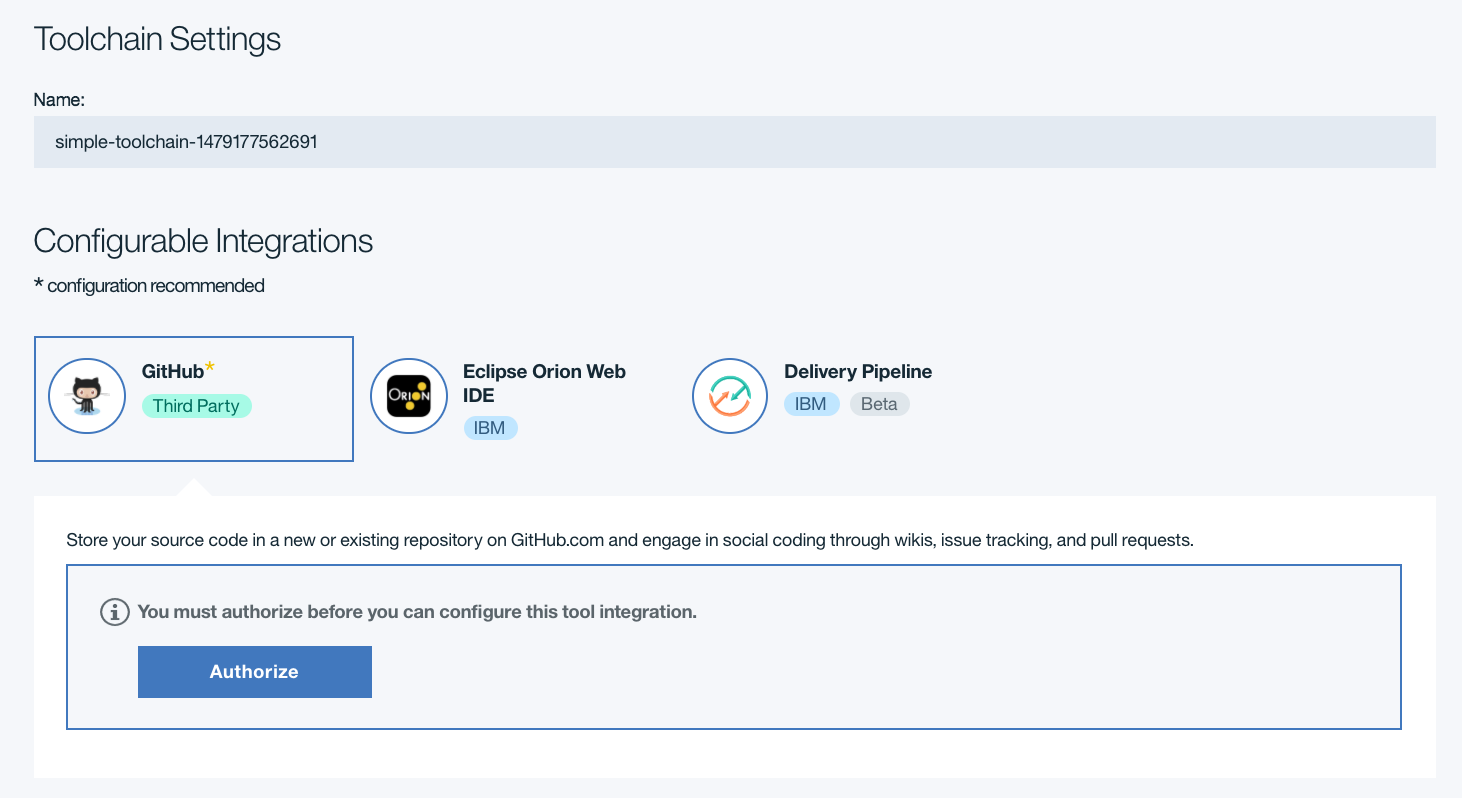
Click “Create Toolchain from Template”. Select “Simple Cloud Foundry toolchain” in the next page.

-
Click on “GitHub” button to Authorize the access to the GitHub, then you'll be navigated to GitHub website.
-
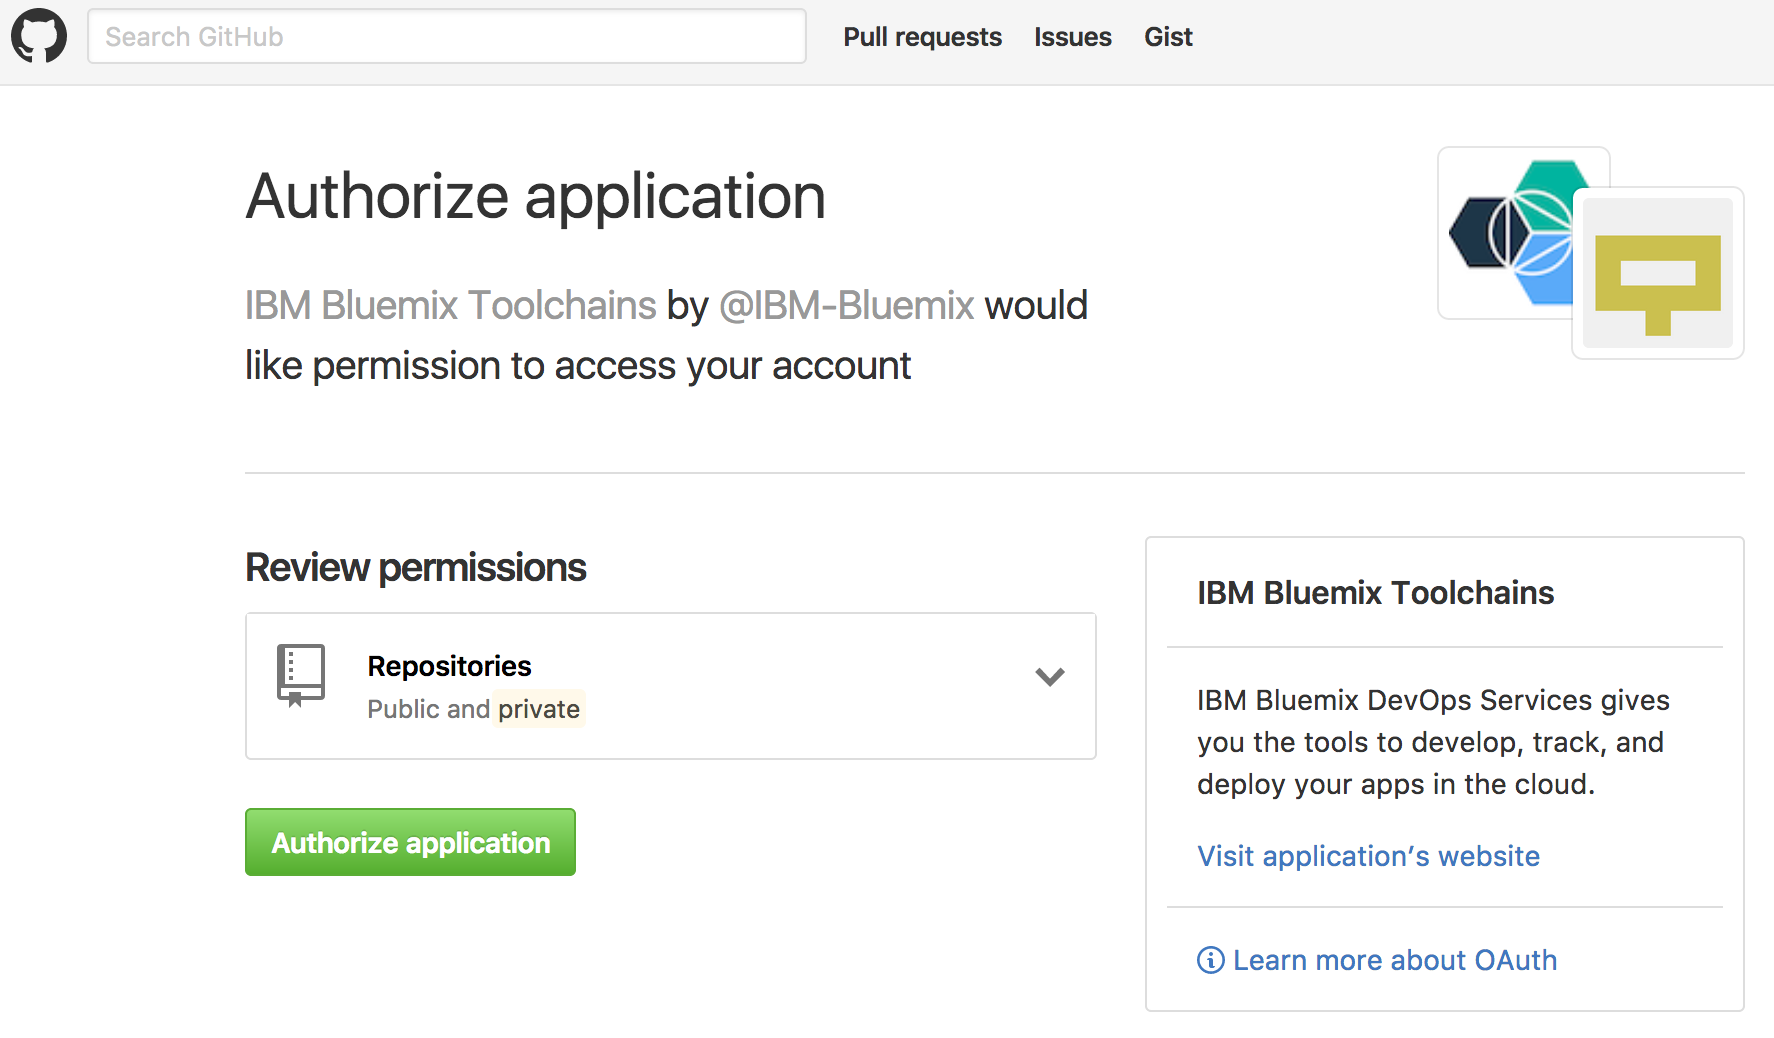
On the Github, click on "Authorize application" button to grant the access form Bluemix DevOps service.
-
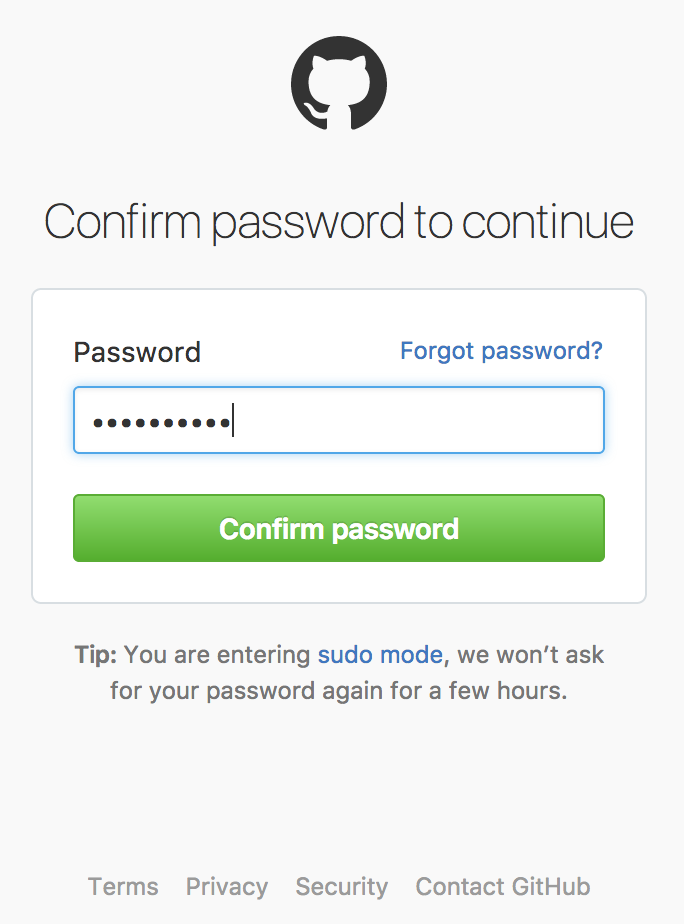
Type Github password to confirm the operation.
-
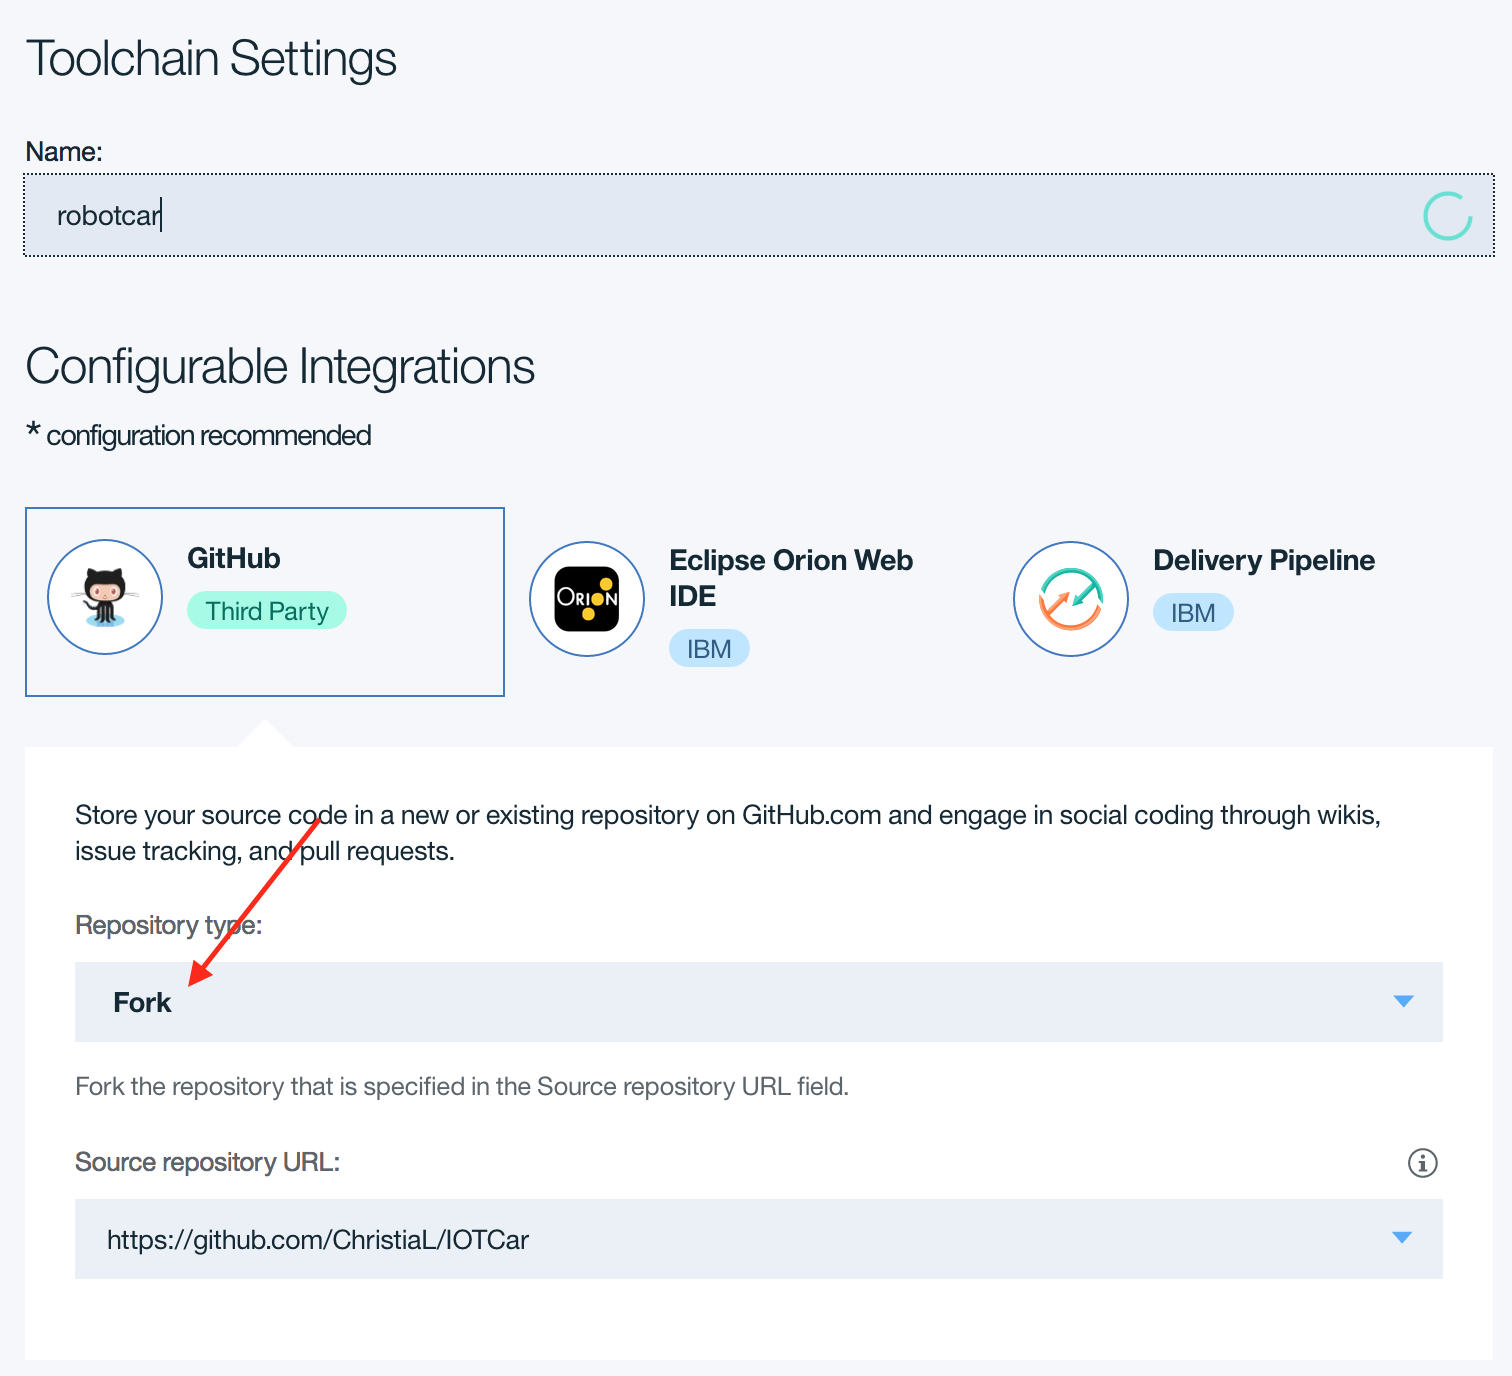
After authorization, select "Fork" as Repository type. Change the source repository URL to "https://github.com/ChristiaL/IOTCar". Click “Create”.
-
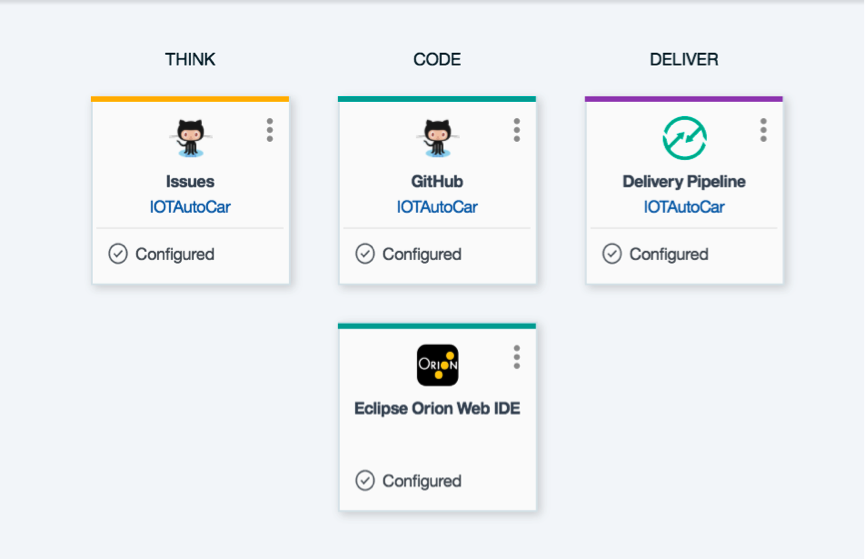
Select the second item “CODE” to explore the code on your git repository.
-
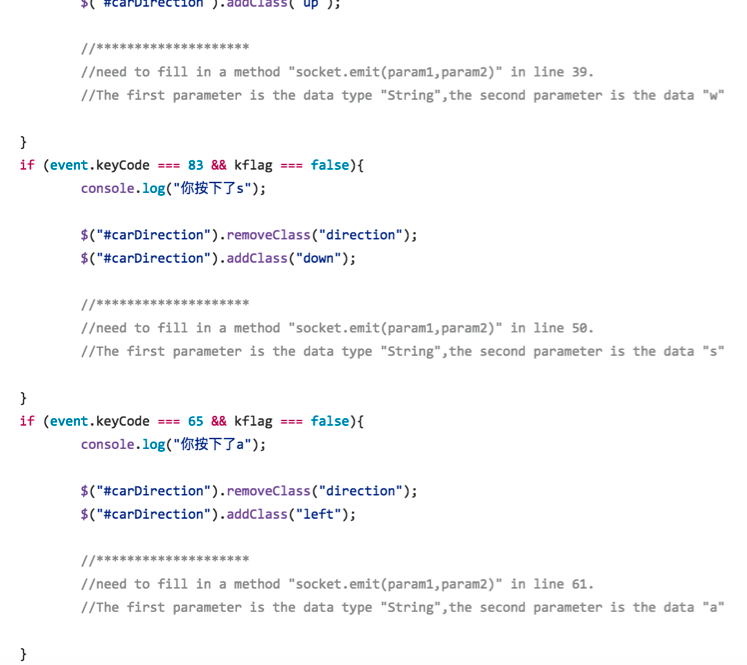
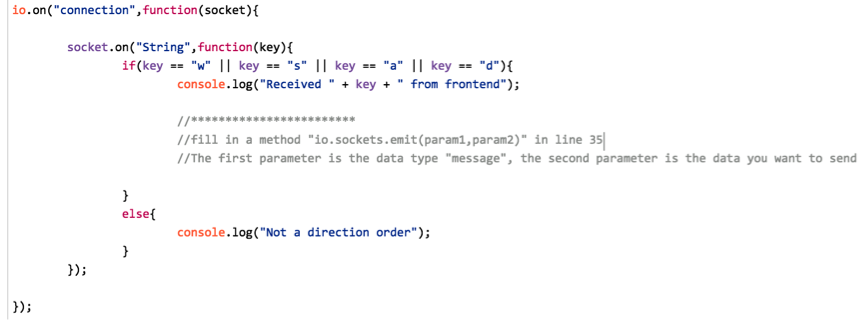
The code is missing some key code about sending data with socketIO which needs user to fill in. If you are not good at coding, please open the folder “document” to scan and copy the answer to the code.
- Open “index.html” under the public folder. Line 39,50,61,72 need to fill in a common method “socket.emit()”. The first parameter declares the data type is “String”. The second parameter defines the data is “w” or ”s” or ”a” or ”d”(up/down/left/right).
- Open “app.js” in the root directory. Fill in a method in line 35. The first parameter declares the data type is “message”. The second parameter defines the data is the parameter “key” in the callback function.
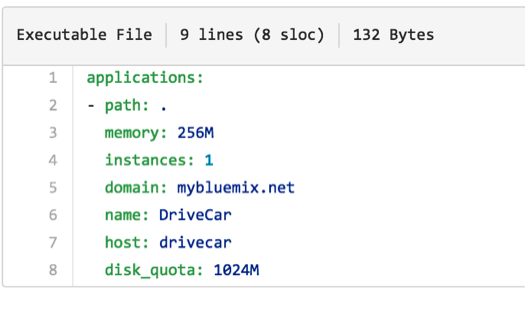
- Open “manifest.yml” in the root directory. Change the name and host name to yours.
-
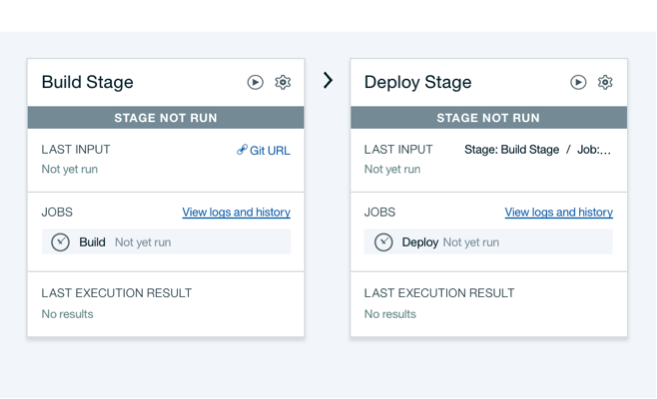
Back to the DevOps page (step 9). Click the third item(DELIVER). Click the start button on the top right in “Build Stage” field. After build success, click the start button on the right in “Deploy Stage”.
-
The last step, after deploy success, open your bluemix link (yourname.mybluemix.net) to view your new program.
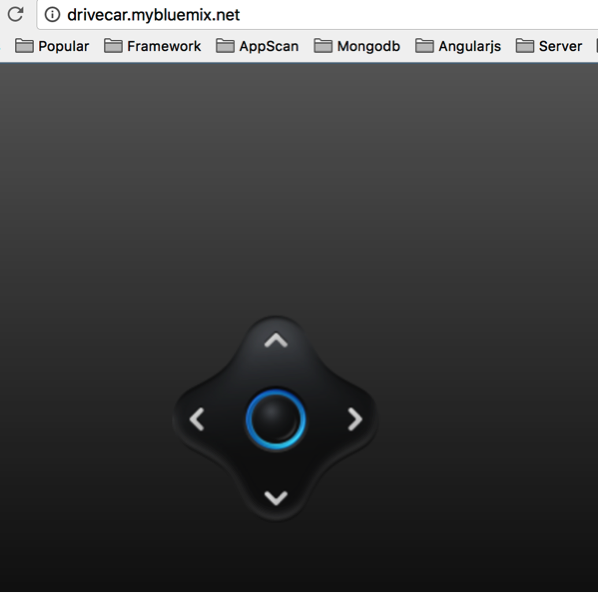
###Congratulations! You have successful deploy a node.js program to bluemix!