A Python lightweight image processing library
Explore the docs »
Example
·
Changelog
·
Todo List
.
PyPi

IStacky is a Python lightweight image processing library based on the ipywidgets library and designed to be used in Jupyter Notebooks. The main idea is to provide a simple and intuitive interface to stack images and apply number of modifications to them, such as cropping, resizing or background removal.
This project has been made to be used in the context of machine learning and computer vision projects, where the user needs to quickly and easily create output images that combines several images: plots, photos, logos etc.
using pip: (recommended)
pip install istackyfrom source code:
Clone the repo, create a virtual environment and install using pip:
git clone https://github.com/antoineedy/istacky.git
cd istacky
python3 -m venv .
source bin/activate
pip install -e .IStacky is meant to be used in Jupyter Notebooks. Do not forget to have a look at the documentation for more details! You can also access the a look at the example notebook for an example you can run at home.

Access the French version here.
In our example, we want to create an output image, with a tennis point in background, and some plots, a circle and a logo on top of it. We will first import the libraries needed:
from PIL import Image
import istacky
Then load the images we want to stack:
background = Image.open("image/background.png")
plot = Image.open("image/plot.png")
circle = Image.open("image/circle.png")
logo = Image.open("image/logo.png")
Create a BlendedImage object and display it:
blended = istacky.BlendedImage(background, [plot, circle, logo])
blended.show()
The images are just stacked on top of each other! Let's apply some modifications to them:
blended.editor()
Calling editor displays a widget that allows you to apply modifications to the images. You can crop, resize, change the opacity, remove the background, add images, change the orders of the layers etc. In our case, we want to put the logo in one corner, circle the position of the ball and add a plot of the trajectory of the ball. After the changes, here is the final result:
blended.show()
Now, if we want to apply the same modifications to another image, we can have access to the code that was used to create the final image, and apply it to another one:
my_code = blended.get_code()Let's import the new images.
background2 = Image.open("image/background2.png")
plot2 = Image.open("image/plot2.png")
circle2 = Image.open("image/circle2.png")
We specify the code that was used to create the first image, and apply it to the new images:
new_blended = istacky.BlendedImage(
    background=plot2,
    images = [plot2, circle2, logo],
    code=my_code
    )

new_blended.show()
We can see that the modifications have been applied to the new images!
| Widget | Function | Values |
|---|---|---|
 |
Switch between layers |
|
 |
Reposition the image ( |
|
 |
Change the opacity of the selected layer |
|
 |
Remove one color of the selected layer |
|
 |
How close the removed colors must be from the selected color |
|
 |
The height of the selected image in % of the background height |
|
 |
Percentage of the selected image cropped in all 4 directions, and reseting the crop |
|
 |
Show the selected layer in the final image |
|
 |
Crop or expand the background image (in pixels) in all 4 directions |
|
 |
Reset the cropping of the background | |
 |
Copy the code of the current output to the clipboard | |
 |
Make a red border appear on the selected layer for editing purposes (does not appear on the final output) |
|
 |
Set the size of the image displayed in pixels to fit all screen sizes (does not change the output size) |
|
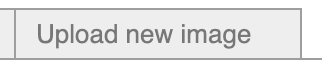 |
Upload a new image to stack. Creates a new layer. | |
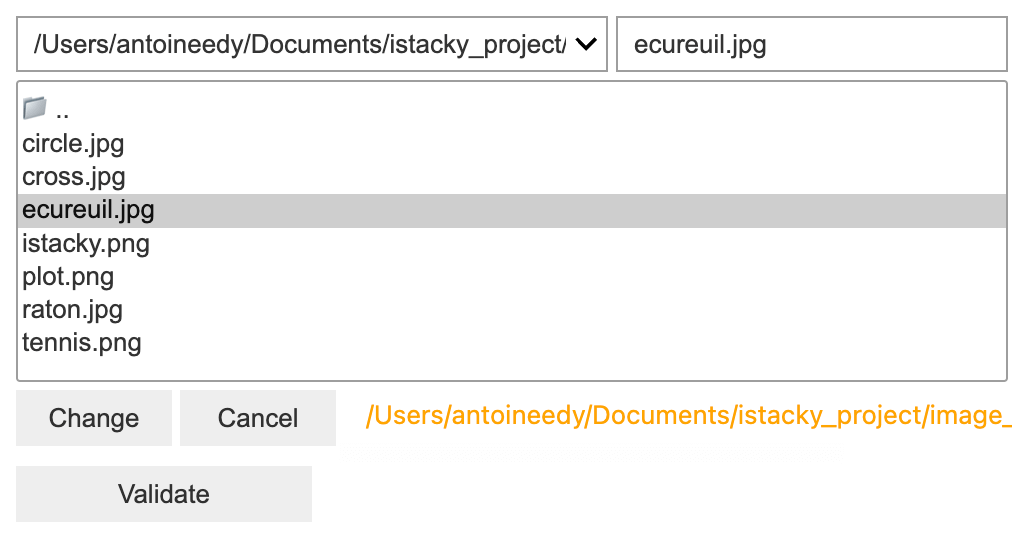 |
To choose the new image to add from the user's computer. Made with ipyfilechooser | |
I wonder if I (we?) should extend this project to create a Photoshop-like interface using the ipywidgets library. I really don't know any use to this project. Either way, click here to access the todo list which contains the list of things to do for the project, and let me know if you have any ideas!
If you have a suggestion that would make this better, please fork the repo and create a pull request. You can also simply open an issue with the tag "enhancement".
- Fork the Project
- Create your Feature Branch (
git checkout -b feature/MyFeature) - Commit your Changes (
git commit -m 'Would be great!') - Push to the Branch (
git push origin feature/MyFeature) - Open a Pull Request
Distributed under the MIT License. See LICENSE for more information.
My name is Antoine EDY. Here are my LinkedIn and my Github profiles, and you can send me an email to antoineedy@outlook.fr.