This example walks you through using Builder.io with a minimal Next.js application.
Before using this example, make sure you have the following:
- A Builder.io account. Check out the plans, which range from our free tier to custom.
- npm
A basic understanding of the following is helpful too:
- The command line
- JavaScript and React
- Next.js
- What it means to clone a GitHub repo
To use this project, you need to do three things:
- Get a copy of this repo.
- Create a corresponding space in your account on Builder.io.
- Connect the two.
The next sections walk you through each step.
This example provides you with a ready-made application that you can copy locally and configure for use with your Builder.io account.
-
At the command line, run the following command to create a local copy of the Builder.io repo:
git clone https://github.com/BuilderIO/builder.git
-
Change into the example application by using the
cdcommand:cd builder/examples/next-js-simple -
Open this directory in your favorite code editor. You'll come back here when you're ready to connect your application to your Builder space.
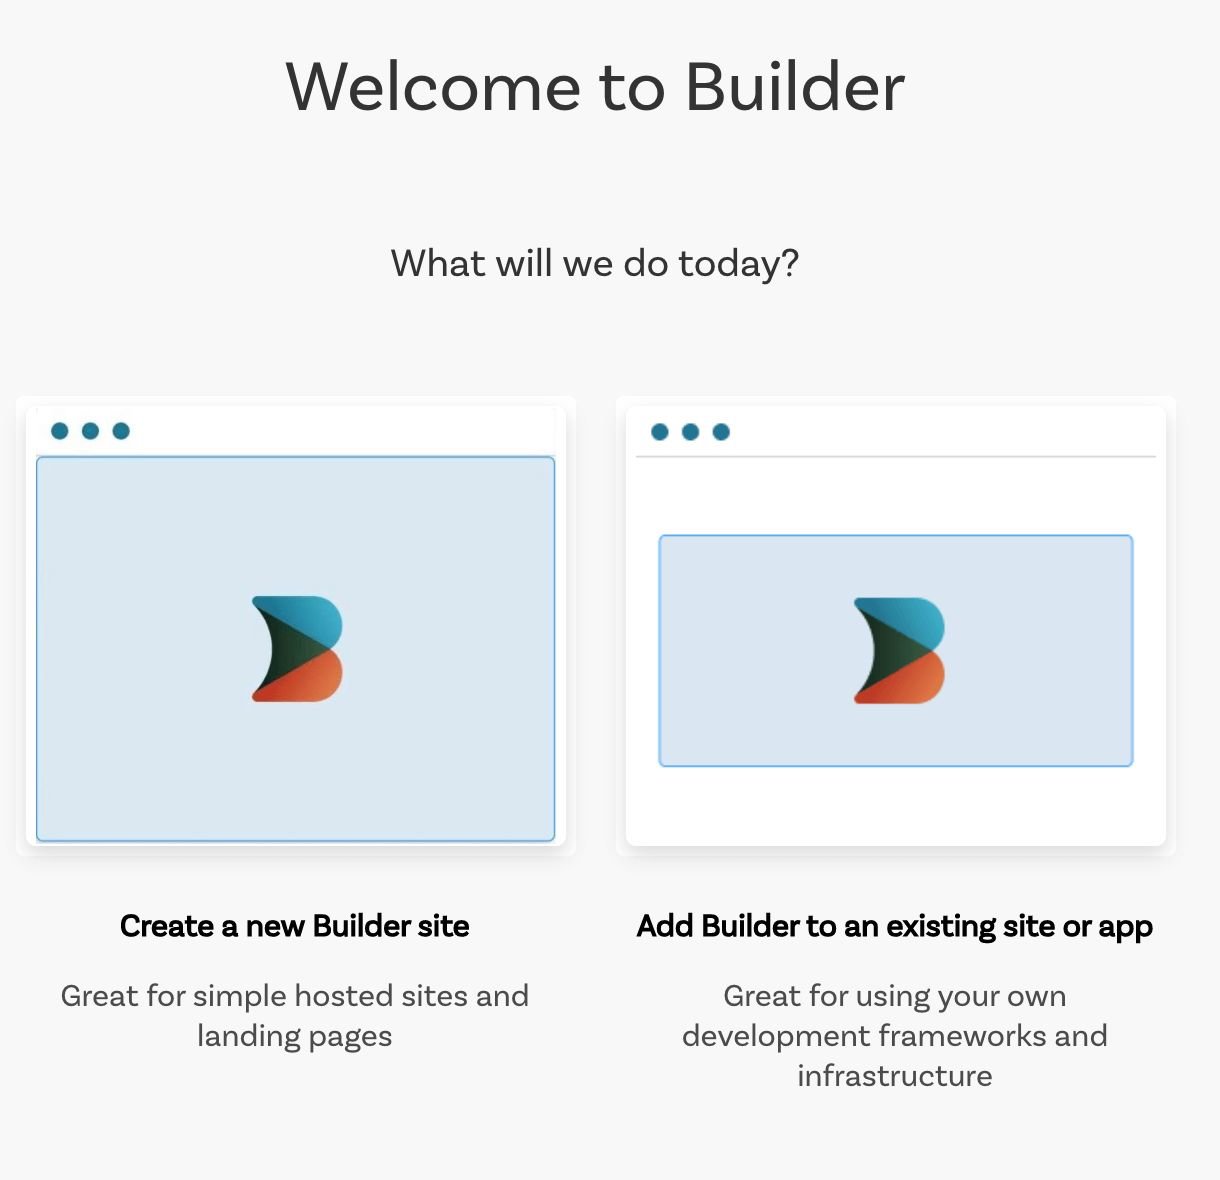
If you've just created your Builder.io account and logged in for the first time, Builder prompts you to create a space with a new Builder site or add Builder to an existing application. For this example, click Add Builder to an existing site or app.
If you don't have the introductory prompt for creating a space, take the following steps. If you do have the prompt in the previous step, skip to step 4.
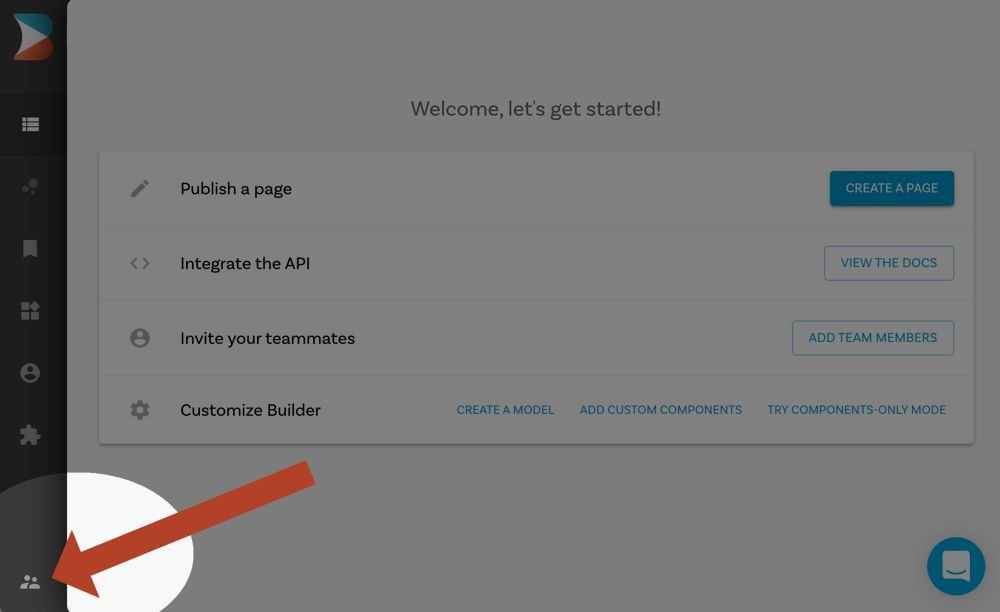
- Click on the Organization icon on the bottom left.
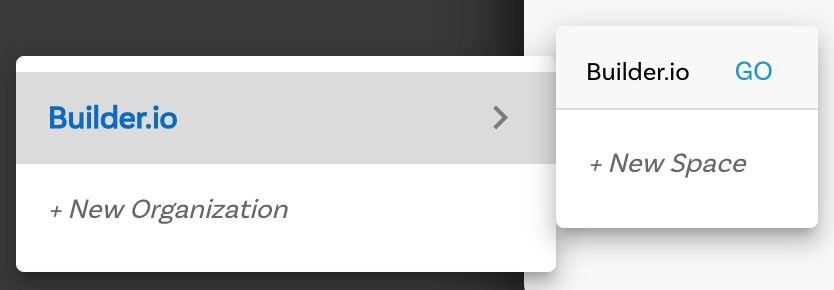
- Hover over Builder.io and choose + New Space.
-
Click Add Builder to an existing site or app.
-
When Builder asks you which ecommerce platform you use, select None.
-
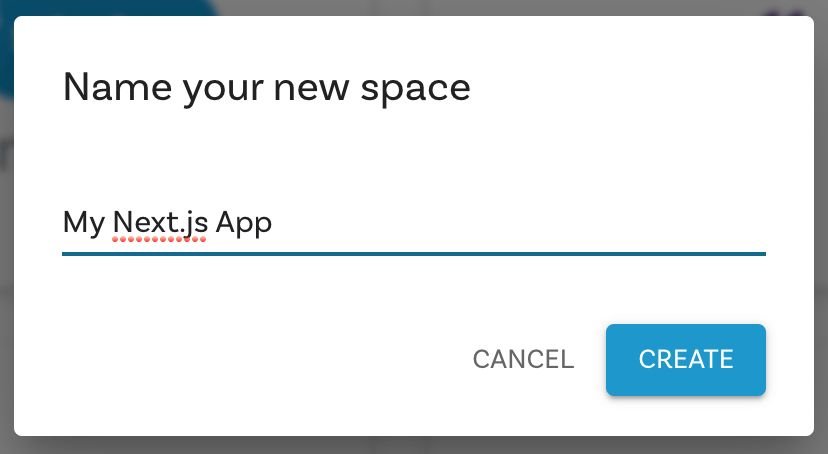
Name your new space by entering "My Next.js App" and click Create.
Now that you have a new space, the next step is connecting "My Next.js App" with your application.
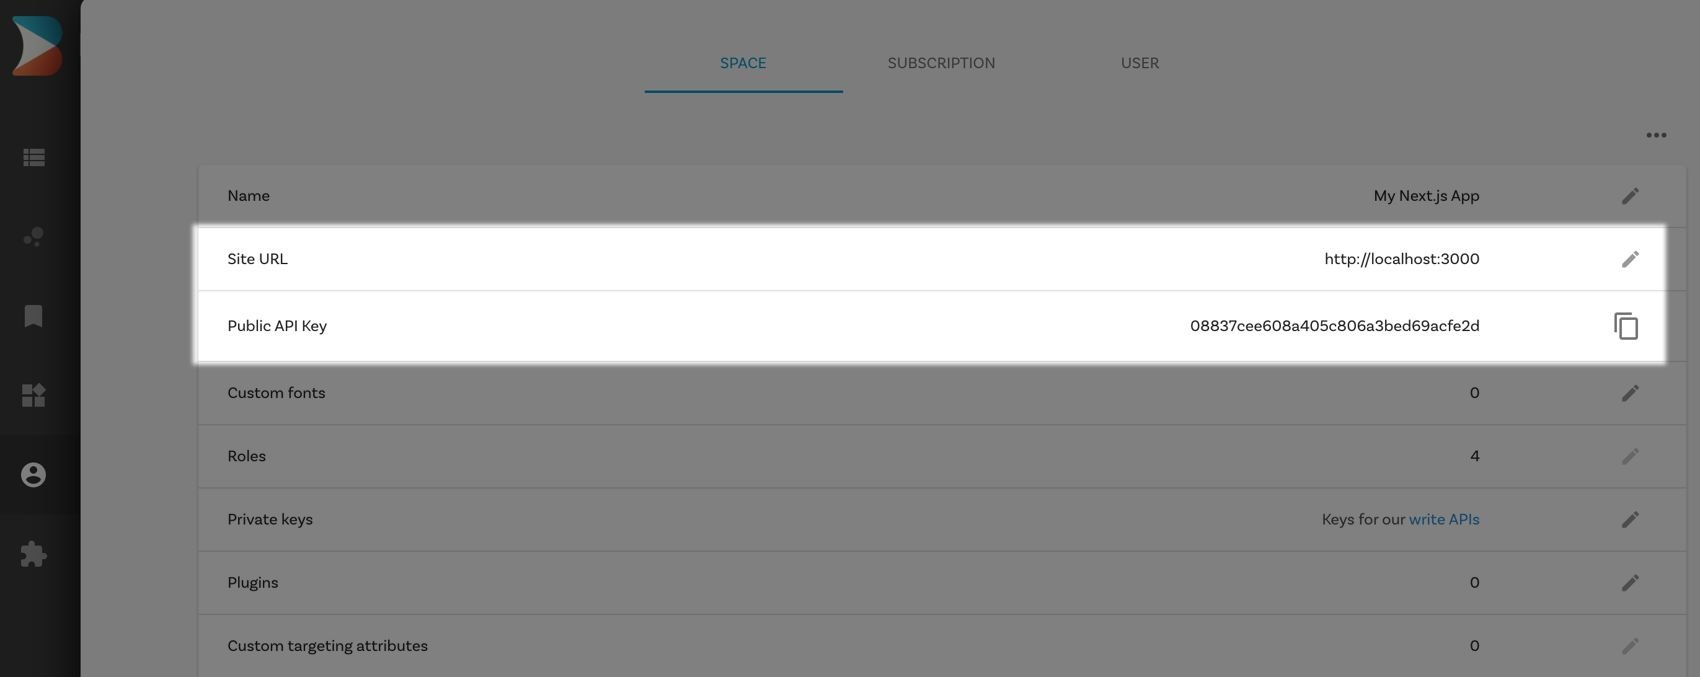
To connect your Builder.io space and your application, set the site URL and get the API key as follows:
- In Builder.io, click on the Account icon on the left sidenav.
- Change the Site URL to
http://localhost:3000and click to copy the Public API Key.
-
In your code editor, configure
.env.productionand.env.developmentwith the Public API Key by adding a line to each file as follows, but using your Public API Key that you copied in the previous step. For example:BUILDER_PUBLIC_KEY=08837cee608a405c806a3bed69acfe2d <-- replace this with your API Key
To serve your application locally, install dependencies, serve, and view your preview.
-
Install dependencies by entering the follw\owing at the command line.
npm install -
Serve your application by running the following at the command line:
npm run dev -
In your browser, go to
http://localhost:3000to see your application.
Now that you have a configured Builder.io application, you can try different features, such as creating a page. Create a new page entry, assign any URL, publish and preview. For more detail and ideas on creating pages, see Creating a landing page in Builder .
You can deploy anywhere you like, but for this project we recommend Vercel.
- Learn how to use your react components in our visual editor
- For more information on previewing your applications, see Editing and previewing directly on your site.
- See Getting started with the visual editor for an introduction to editing your pages without having to code.
- Check out Builder best practices for guidance on how to approach site development with Builder.