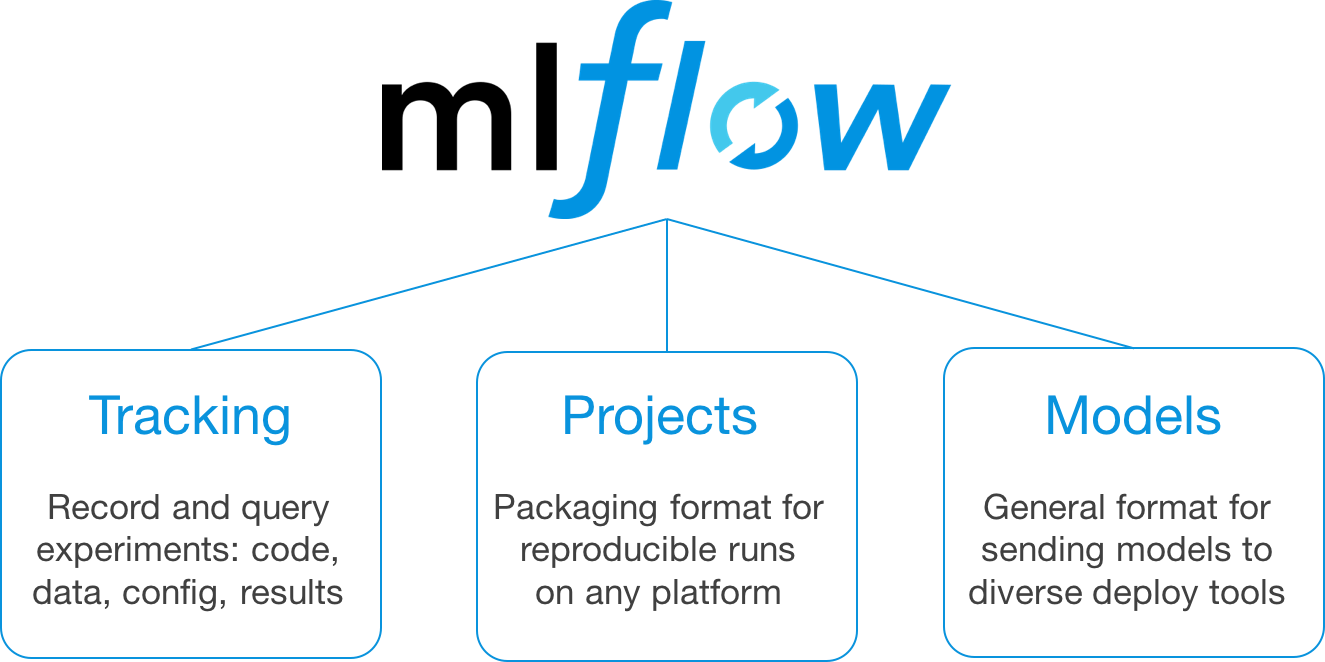
- MLflow is opensource platform to Manage the ML Life Cycle.
- It includes experimentation, reproducibility, deployment and central model registry.
- Advantage of Use MLFlow is Transparency and Standardization.
- It helps you to train, reuse and deploy the model.
- Installation of MLflow.
pip install mlflow- Once you will install with this now time to setup Central Repository Database where we will log all our tracking information and also will create the artifacts folder to store our models and its relevant information.
# Terminal Command
mlflow server --backend-store-uri sqlite:///mlflow.db --default-artifact-root ./artifacts --host 0.0.0.0
or
mlflow server --backend-store-uri sqlite:///mlflow.db --default-artifact-root ./artifacts --host 127.0.0.1 --port 5000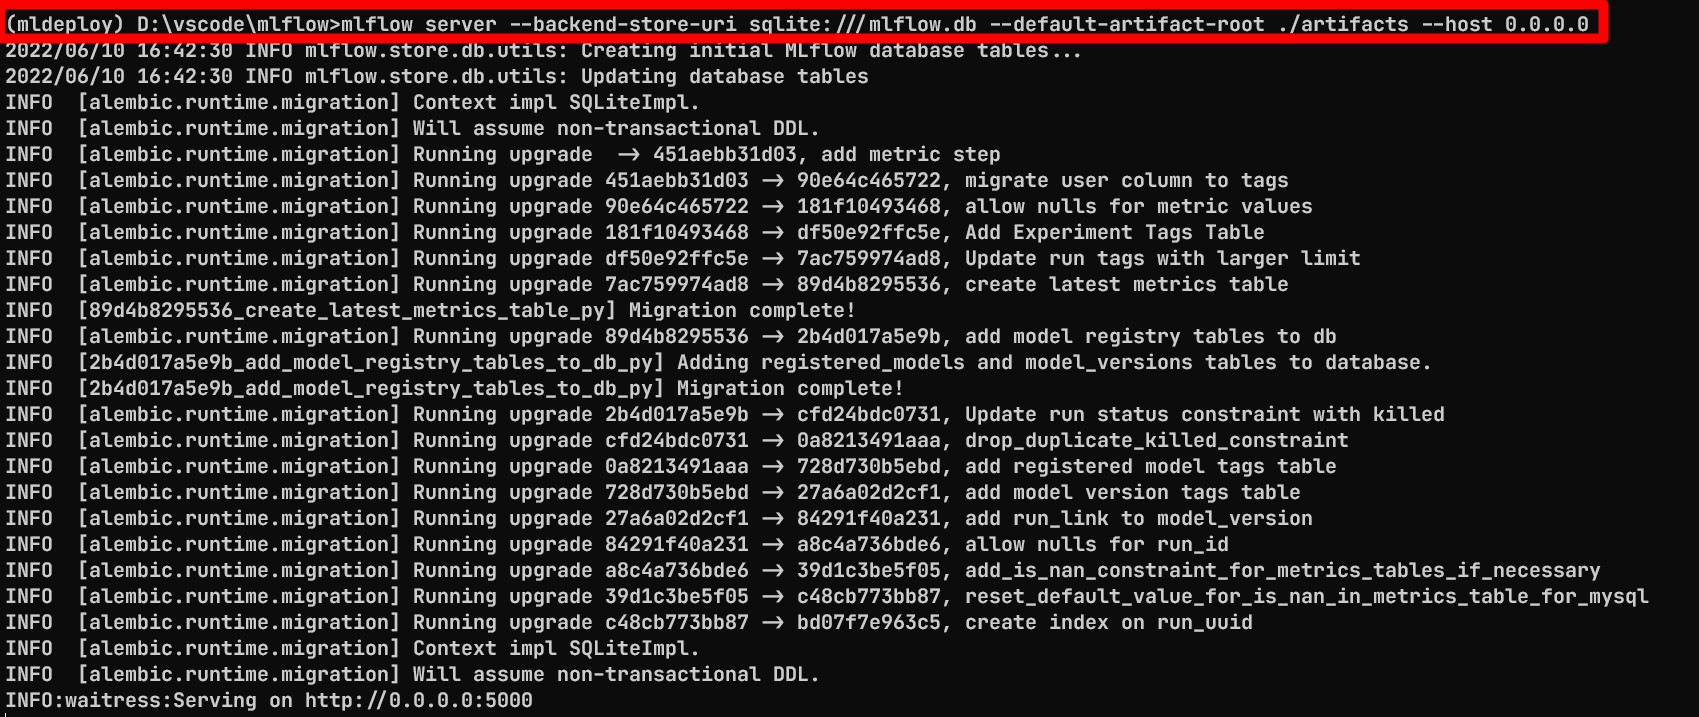
Output
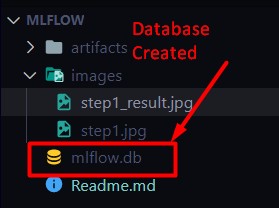
This Command create the
mlflow.dbandartifactsfolder.
mlflow ui
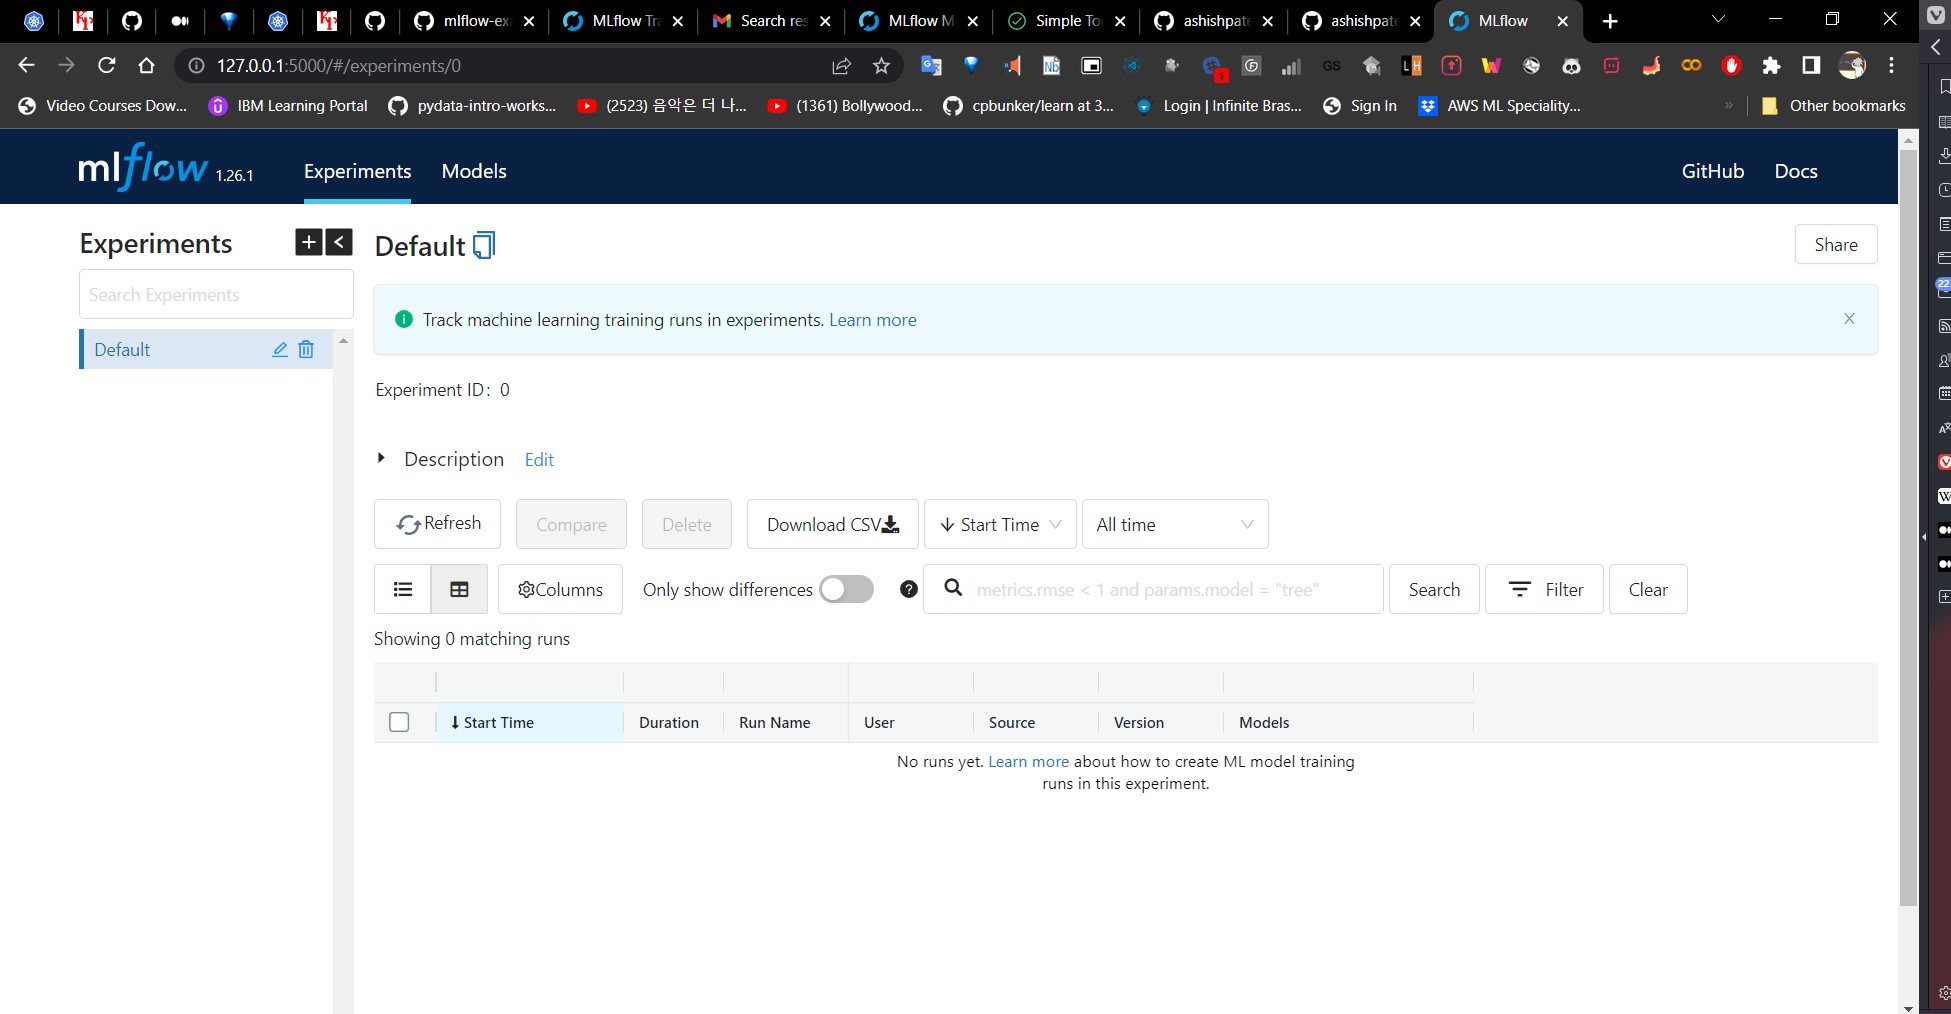
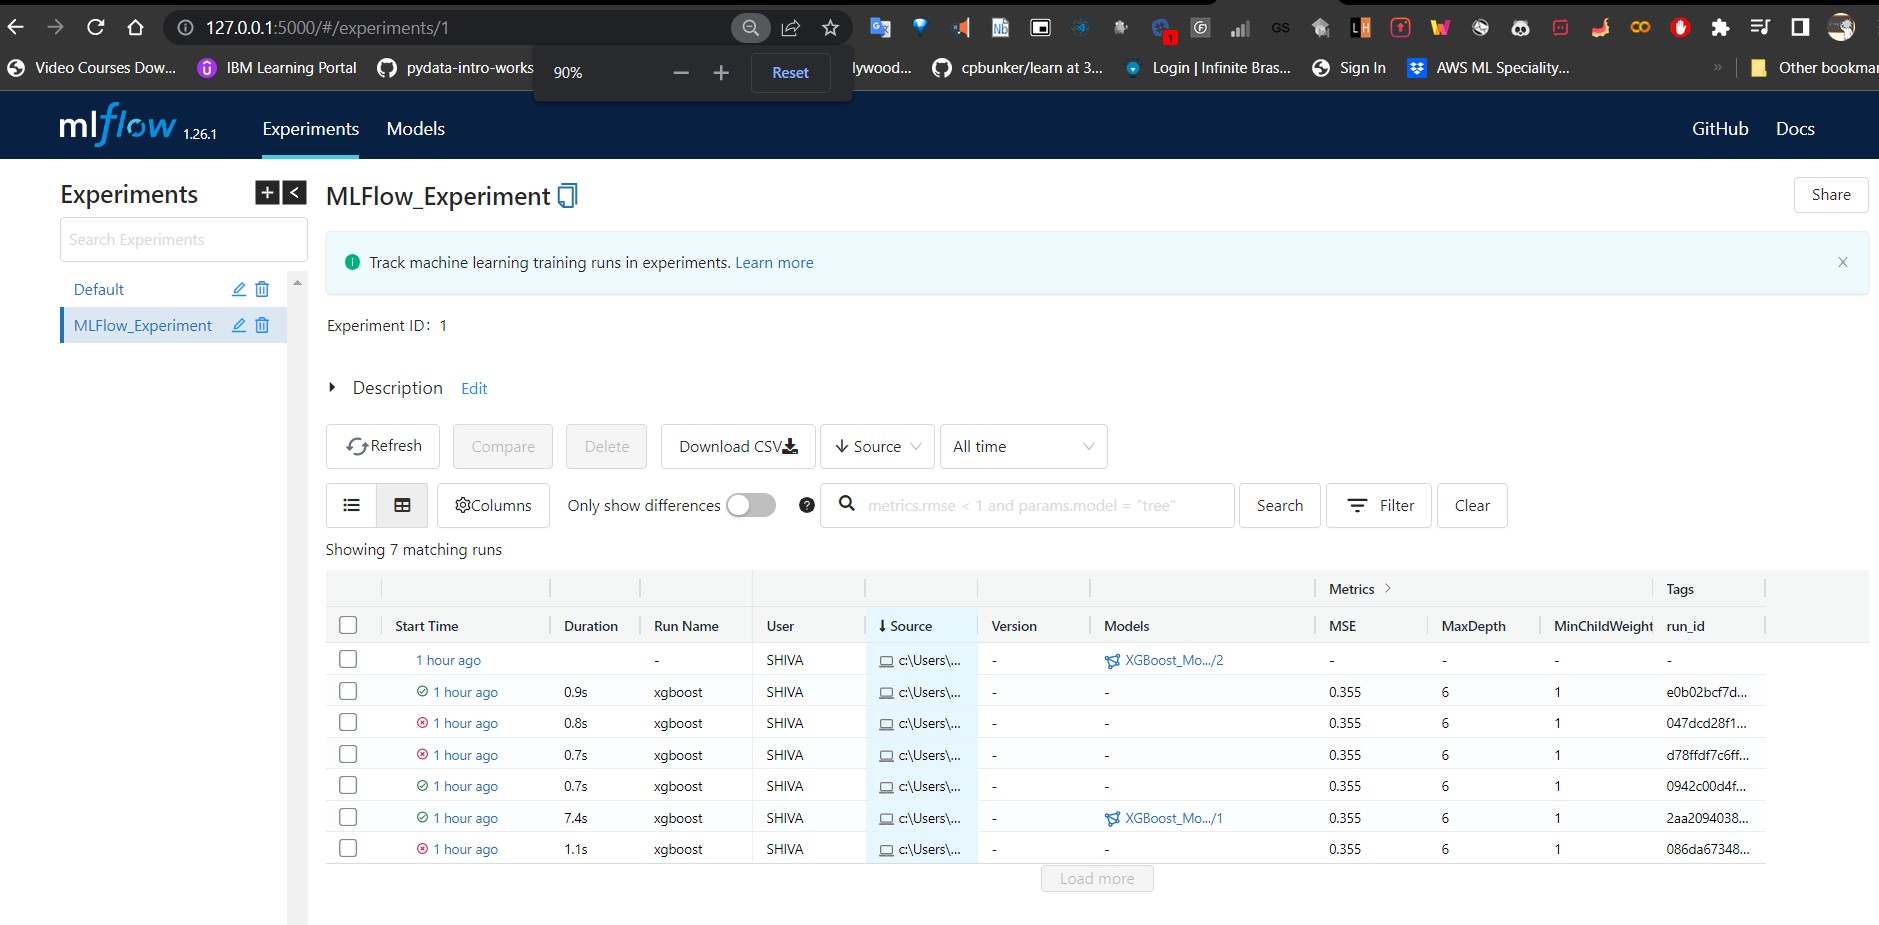
- MLflow Tracking is an API and UI for Logging Parameter, Code Versions, Metrics, and Output files.
- We have to create the notebook for tracking server will run in. and we have to set the tracking URI. In our example,
localost:5000is the tracking URI but you can setup any other tracking host and port in theset_tracking_urifunction call. - Initially we have to default experiment created which you can get with
get_experimentfunction call.
⭐ mlflow.py
experiment_id = mlflow.create_experiment("my_experiment")
experiment = mlflow.get_experiment(experiment_id)mlflow.set_tracking_uri("http://localhost:5000")
experiment = mlflow.get_experiment('0')
print("Name: {}".format(experiment.name))
print("Artifact Location: {}".format(experiment.artifact_location))
print("Life Cycle Stage: {}".format(experiment.lifecycle_stage))
print("Experiement ID: {}".format(experiment.experiment_id))For Experiment Run Notebook, we have to create the notebook with the following steps.
| Notebook | Link |
|---|---|
| Notebook | Open |
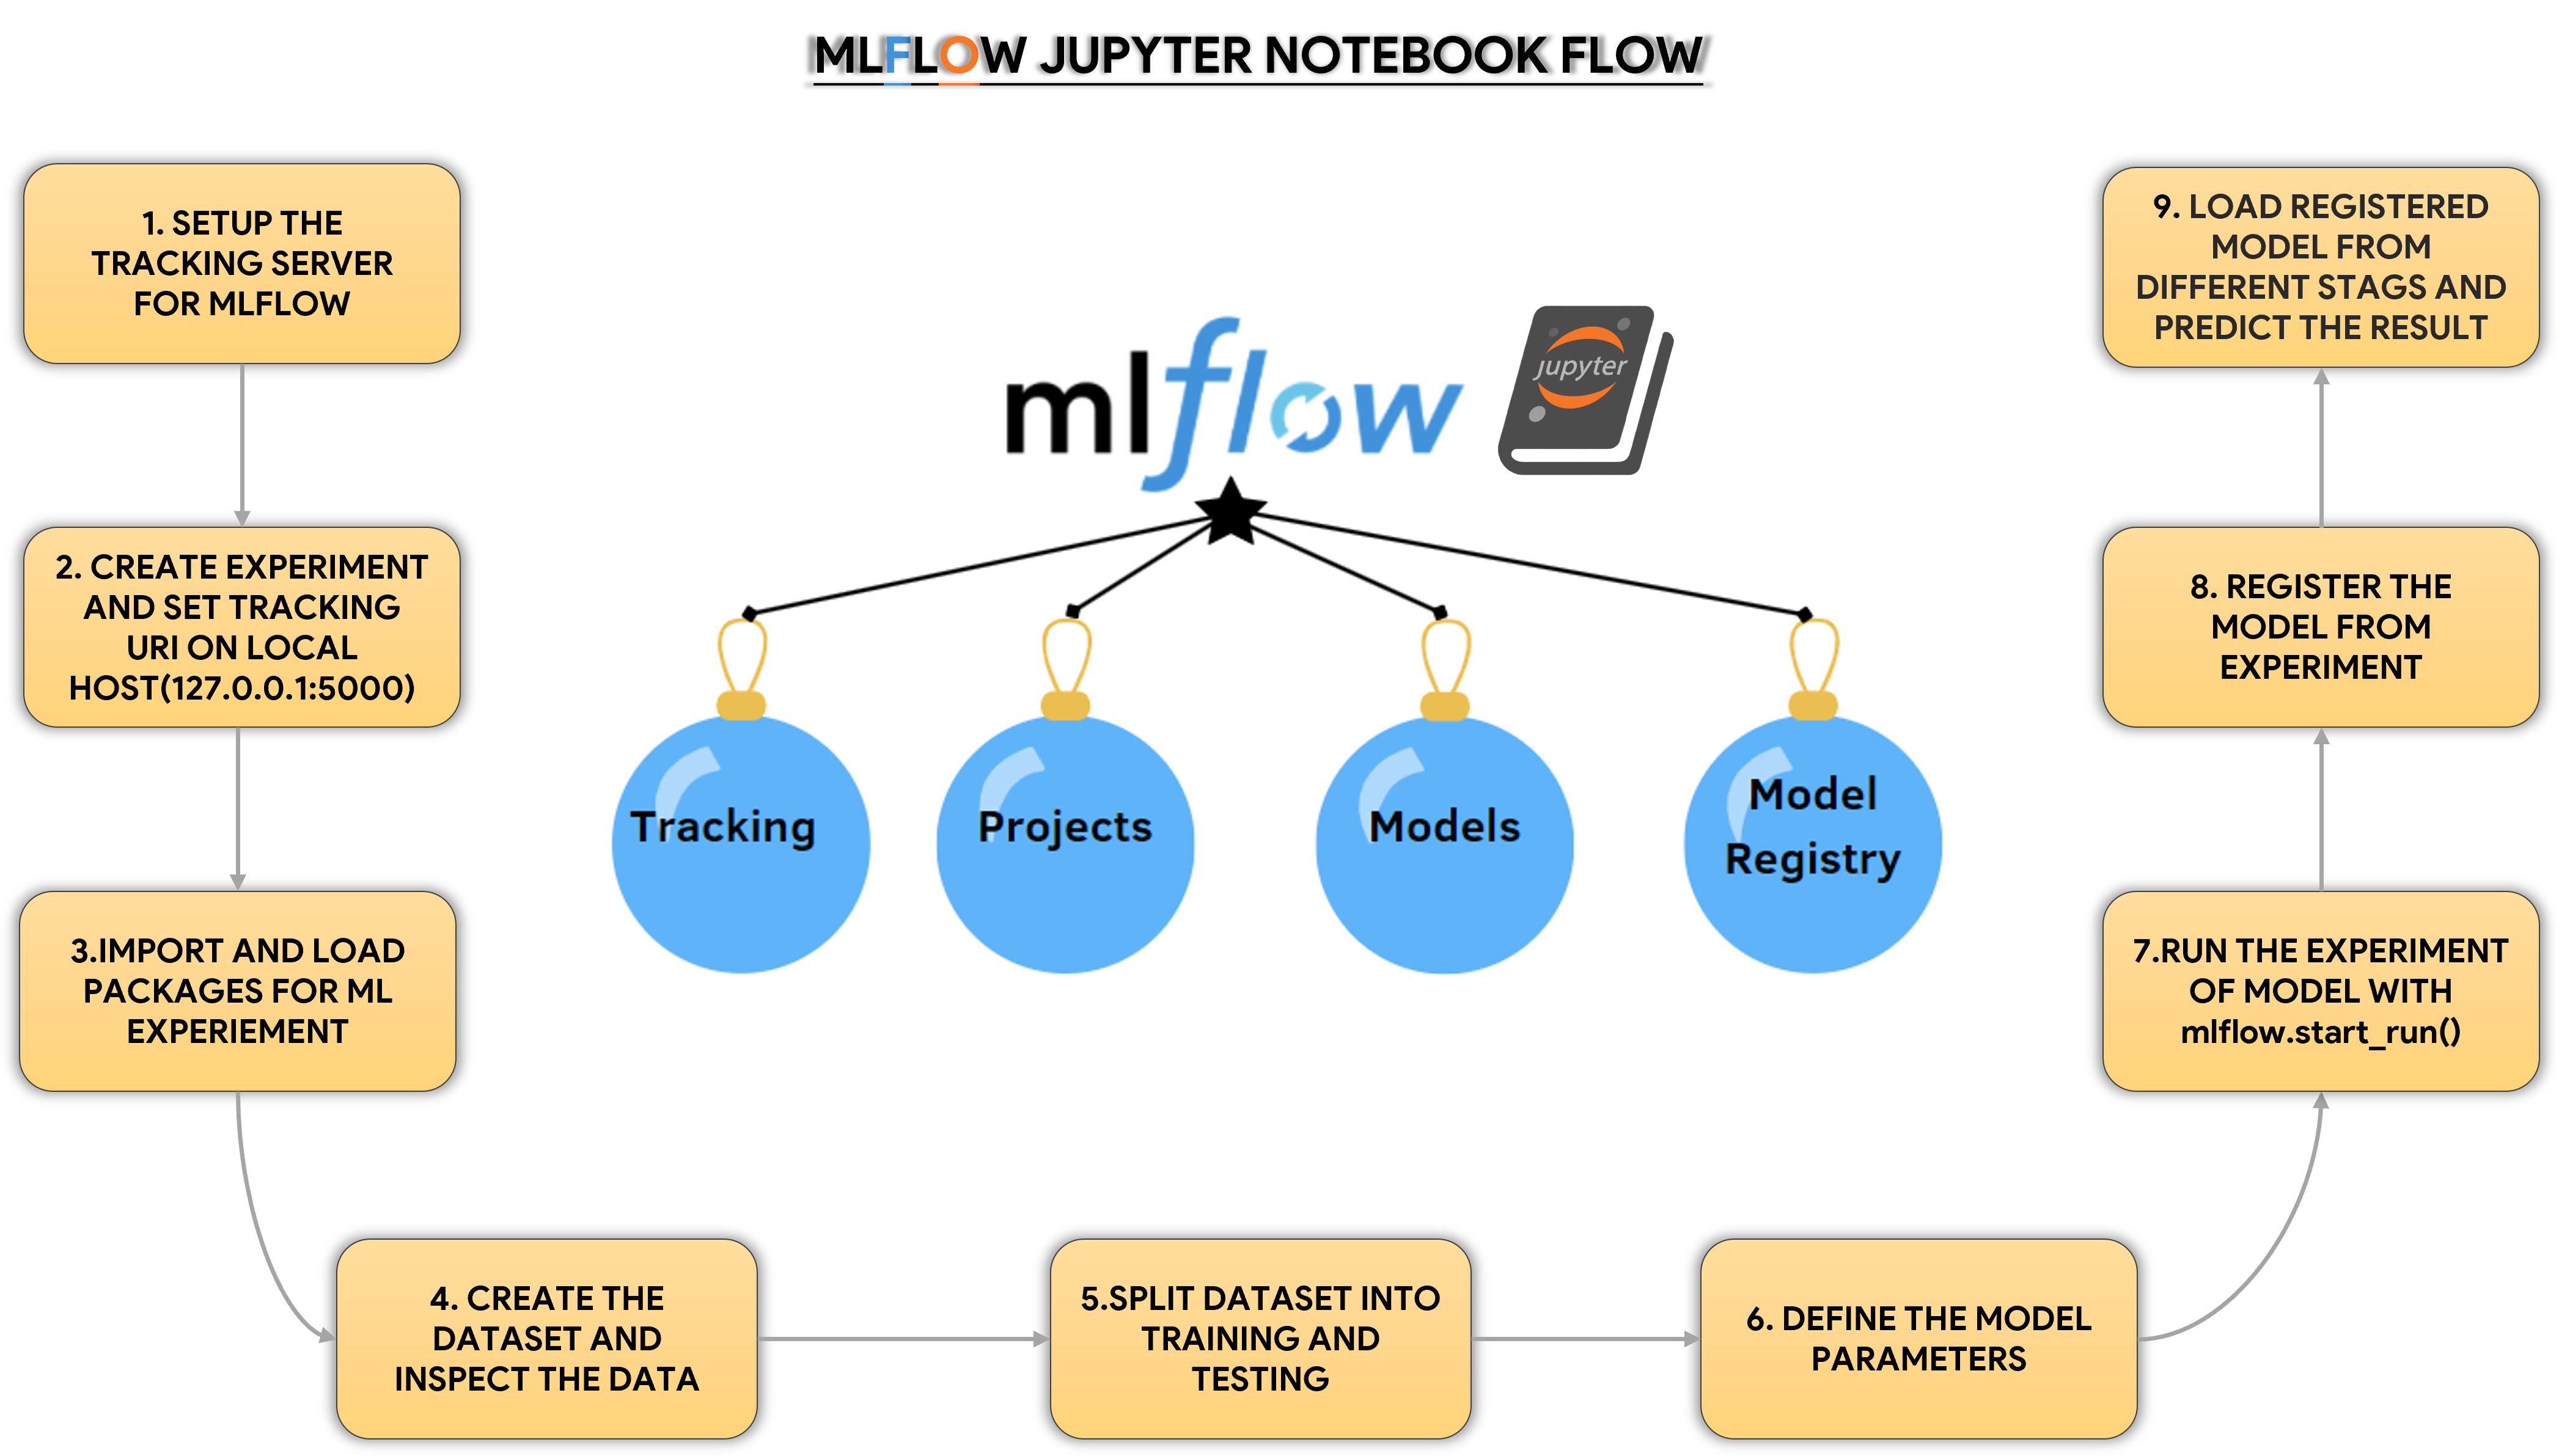
Notebook Flow
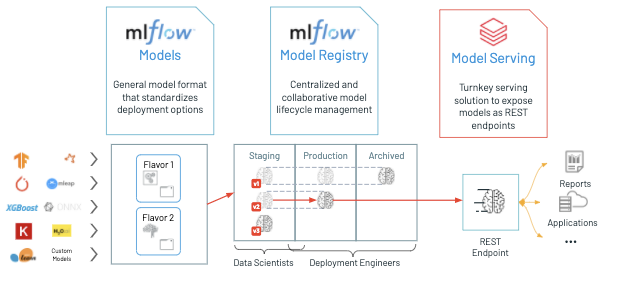
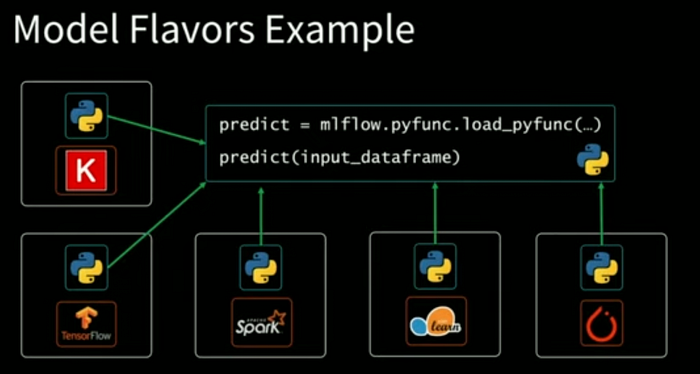
The model can be used with tools that support either the
sklearnorpython_functionmodel flavors.
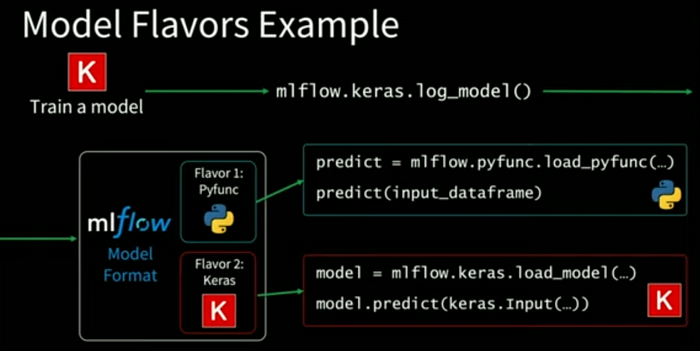
MLflow provides tools to deploy many common model types to diverse platforms.
# Predict with MLflow Model
print("Predict with MLflow Model:")
# models:///XGBoost_Model/{Stage} -- Stage Contains Two Stage 1. Staging 2. Production(Current)
model = mlflow.xgboost.load_model("models:///XGBoost_Model/Production")
print("="*50)
print("Model:\n", model)
print("="*50)
prediction = model.predict(X_test)
# print("Prediction.type:", type(prediction))
# print("="*50)
# print("Prediction.shape:", prediction.shape)
# print("="*50)
print("Prediction:\n", prediction)
print("Prediction Done.")