Enter the world of Azure Bot Service, Skype integration, and the game-changing platform, Make.com. In this blog post, we will show you how to revolutionize your Jenkins job notifications by seamlessly sending job and pipeline details directly to your Skype messages. Say goodbye to cluttered inboxes and hello to a streamlined, organized workflow.
By the end of this article, you'll have a comprehensive understanding of how to harness the power of Azure Bot and Make.com to effortlessly connect Jenkins with Skype, ensuring you receive timely job notifications without the hassle. Let's dive in and transform the way you manage Jenkins job notifications!
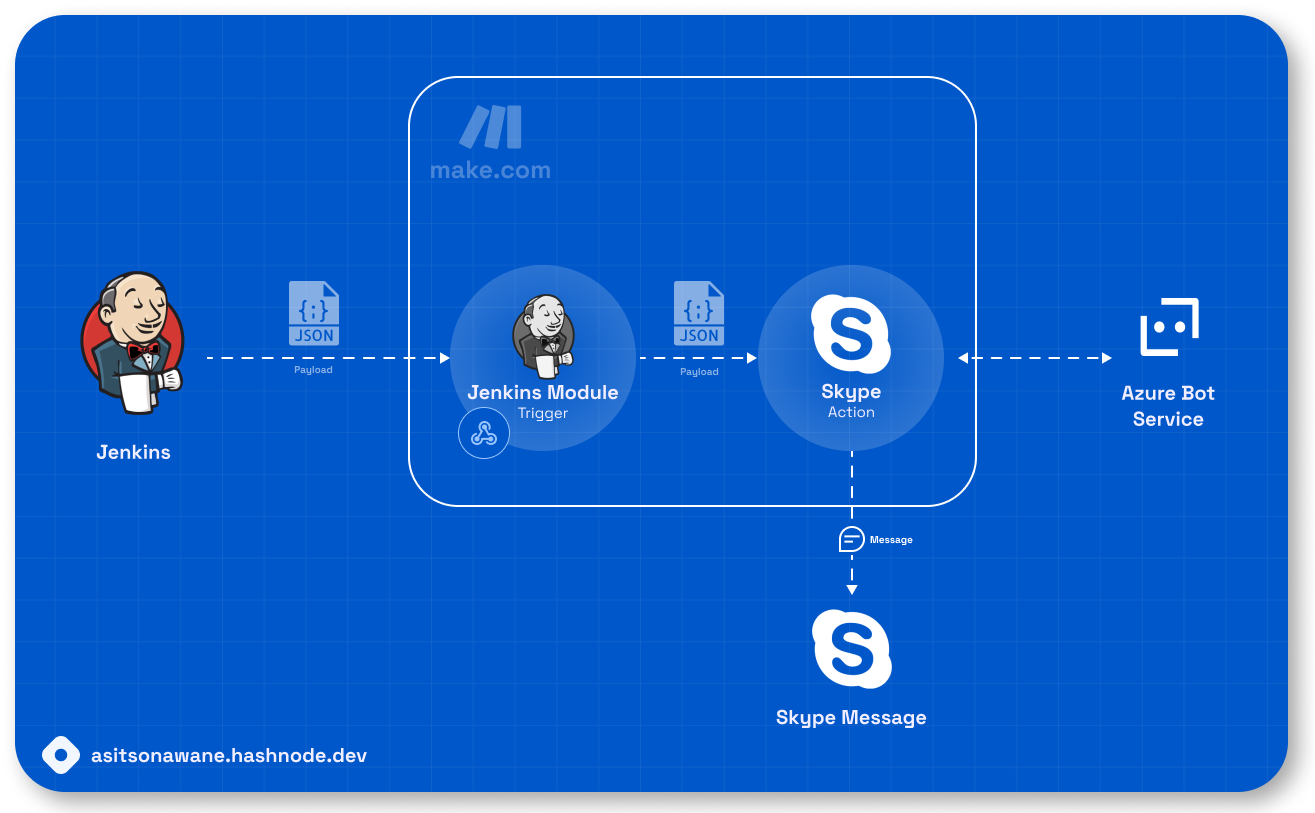
In this architecture, it will follow the following flow:
-
The Jenkins App will send a payload in the form of JSON using WebHook to the Jenkins Module on make.com.
-
Jenkins Module would Transfer this payload to Skype Action on make.com.
-
Skype Action on make.com will connect with Azure Bot Services
-
Finally, the JSON payload sent to Skype Action will be converted to the desired message and will be sent to the predefined receiver on Skype
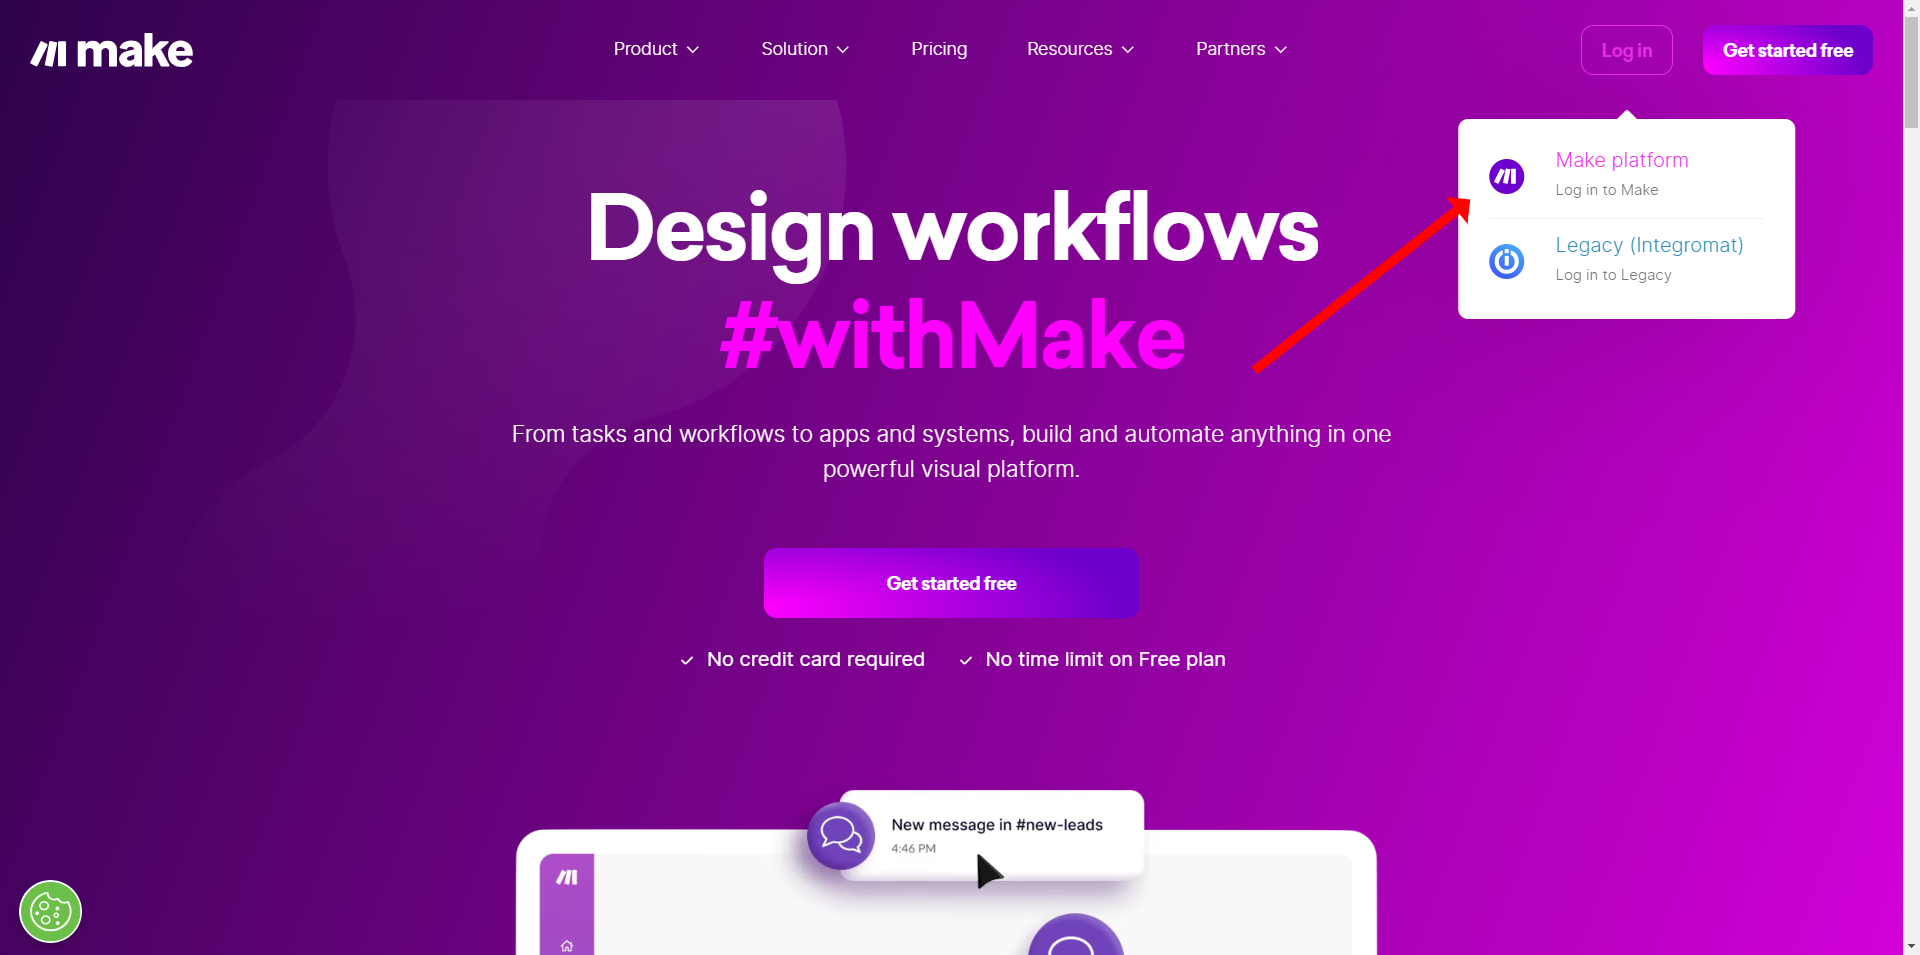
Visit https://www.make.com/en and create an account:
Log in / Sign up on make.com.
NOTE: Integromat is the older version of make.com, we want to use make.com for this integration.
Now visit the dashboard and navigate to scenarios.
Now create a new scenario and search for Jenkins module

Now copy the webhook and save it somewhere like Notepad as we are going to use this in the Jenkins pipeline.
Prerequisites
-
A Skype account (create an account at skype.com)
-
Microsoft Azure Account (create an account at azure.microsoft.com/free)
To connect your Skype account to Make, you need to create a bot and obtain the Microsoft App ID and password in your Microsoft Azure account.
-
Log in to your Azure Portal.
-
Click Create a resource.
-
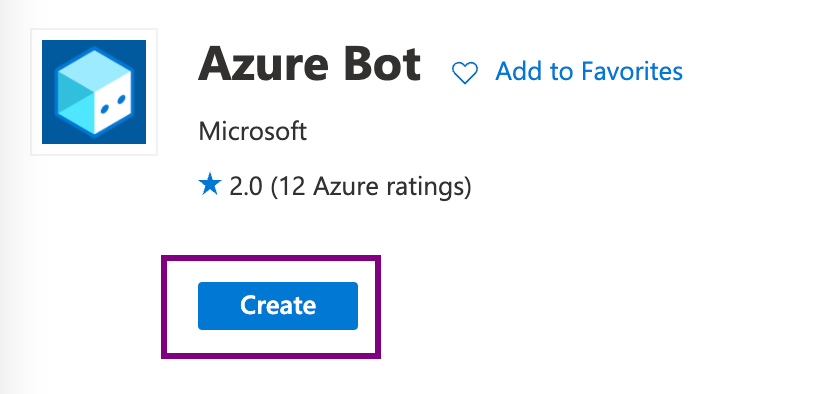
In the top centre search bar, type bot. From the drop-down list, select Azure Bot.
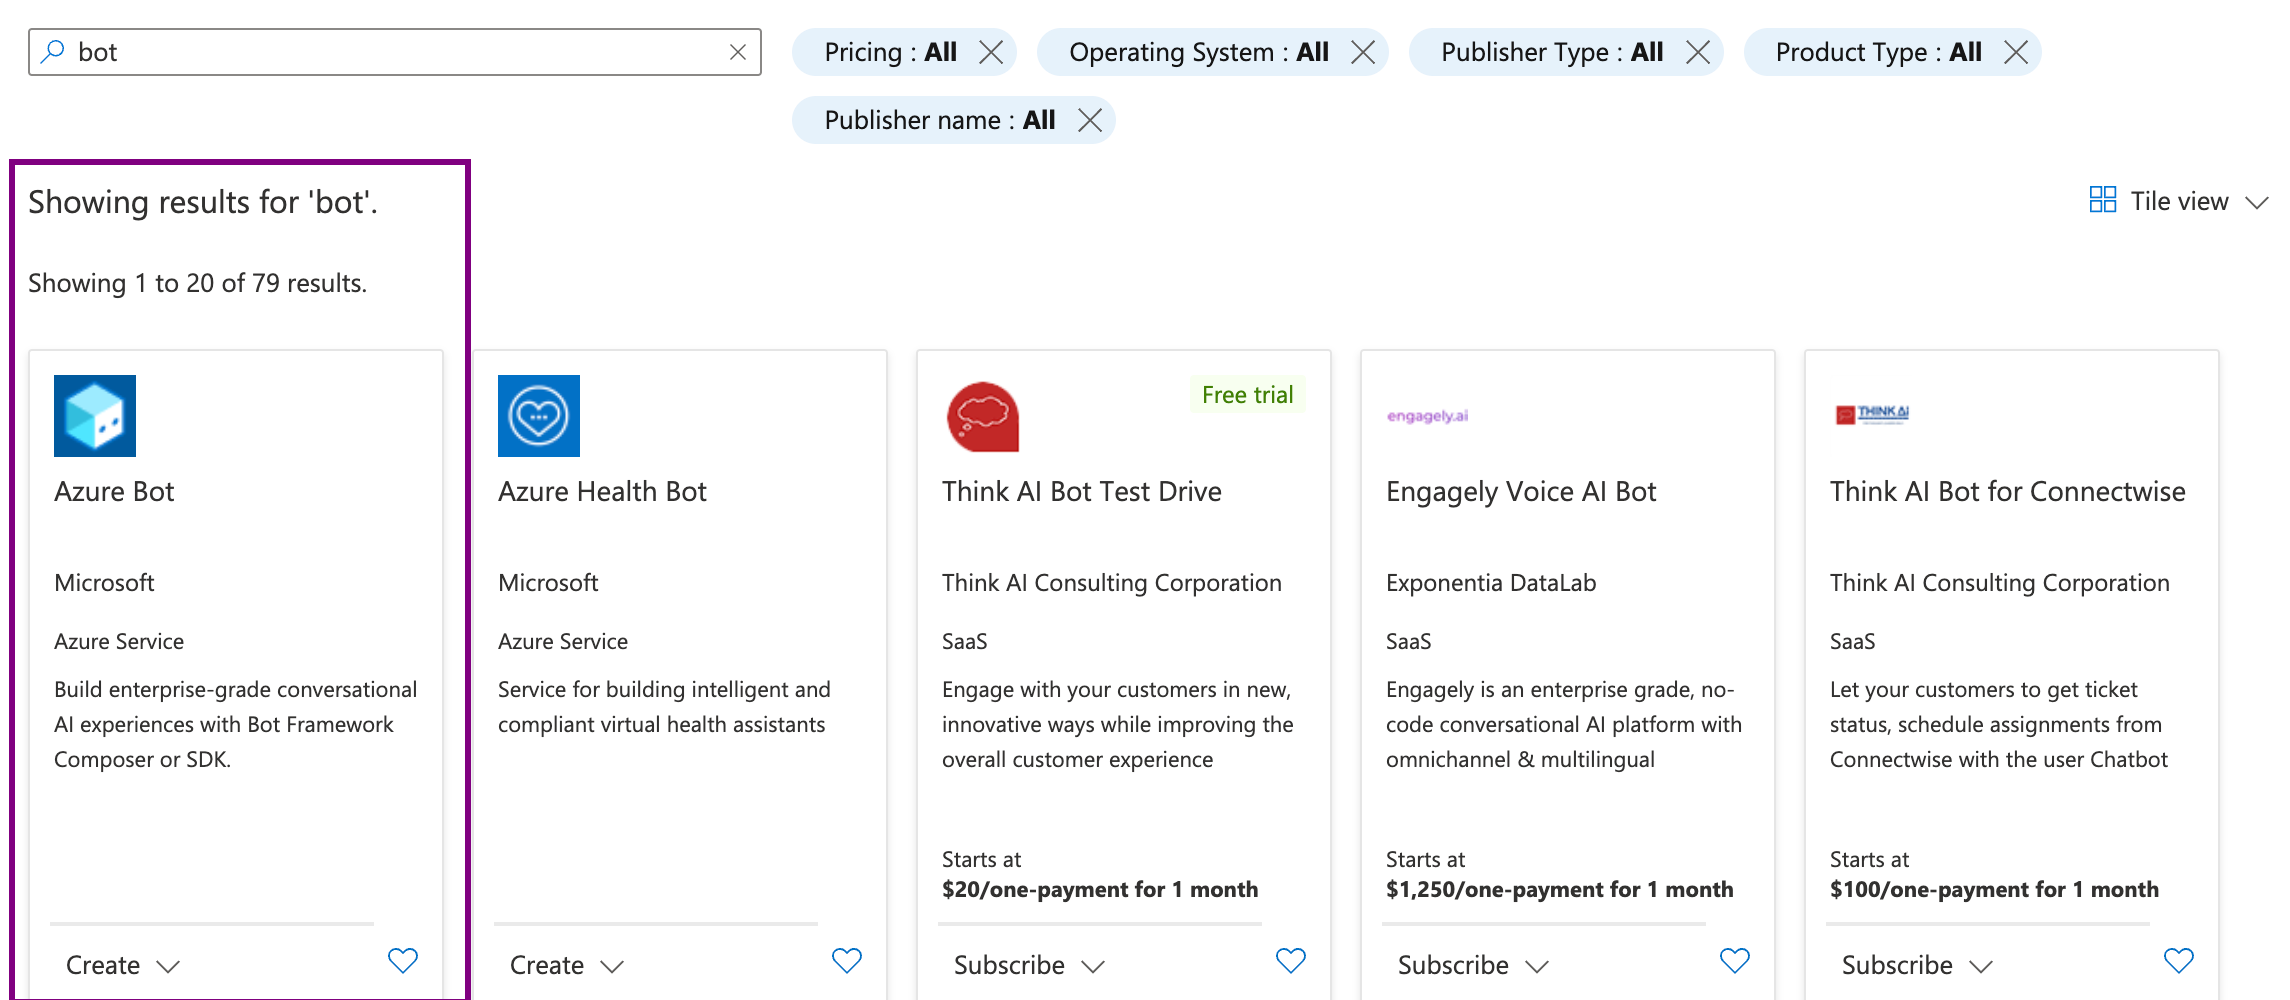
- Click the Create button.
- In the Azure Bot form, provide the required information about your bot, as follows:
Bot handle | Enter the name of your bot. |
Subscription | Select the Azure subscription you want to use. |
Resource Group | Create a new resource group, or select an existing one. |
Location | Choose the geographic location for your resource group. It's usually best to choose a location close to you. |
Pricing Tier | Select a pricing tier. You may update the pricing tier at any time. For more information, see Bot Service pricing. |
Type of App | Select Multi Tenant from the drop-down. |
Creation type | Create a new Microsoft App ID. |
-
Click Review + Create. When Microsoft successfully validates the new bot, click Create.
-
Go to the new resource and open Channels.
-
Choose Skype and configure the app. Optionally, you can also configure the other settings in the dialog box, e.g., Disable adding of bot to group conversations option in the Groups tab. Close channel settings.
-
Click Add to Skype in the Connected Channels list, and add the bot to your Skype contacts.
-
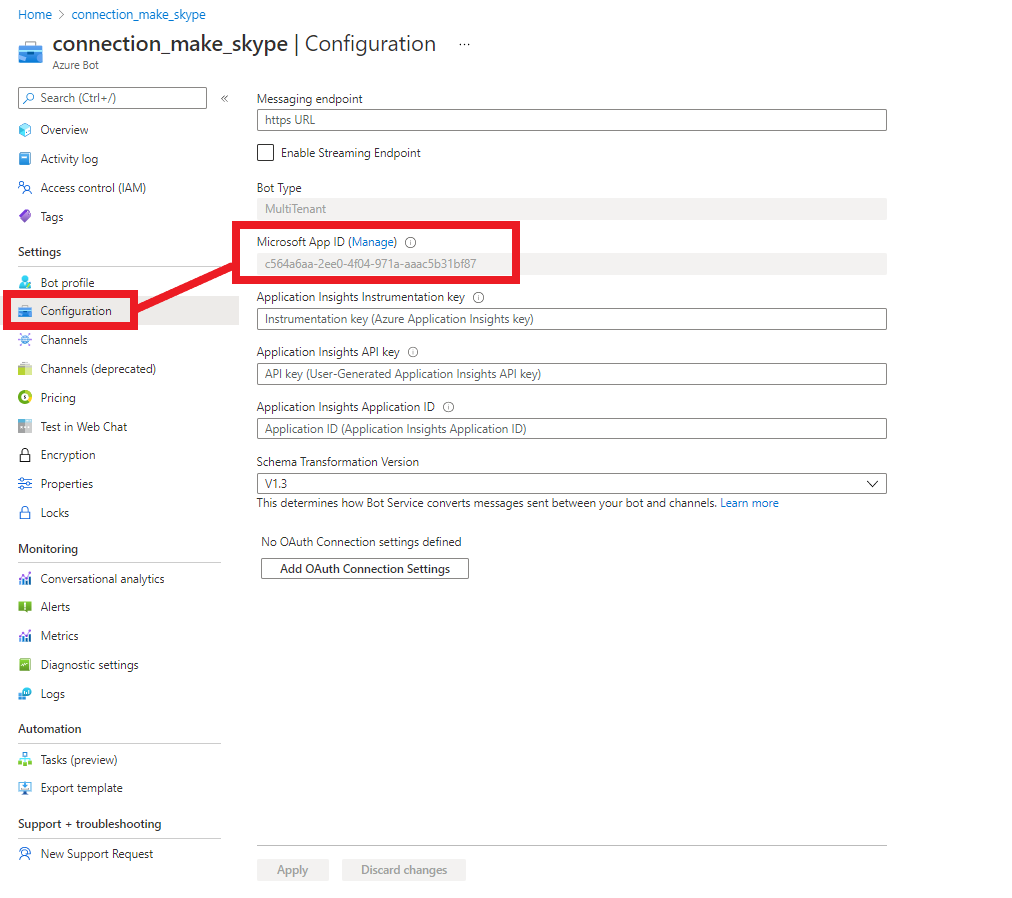
Open Configuration, where you will find the Microsoft App ID.
-
Click Manage > + New client secret to create a password.
-
Copy the password now.
-
Go to Make, and open the Skype module's Create a connection dialog. Click Add.
-
Enter the Microsoft App ID (see step 9 above) and Password (see step 11 above) in the respective fields, and click the Continue button to establish the connection.
-
The connection has been established. You can proceed with setting up the module.
-
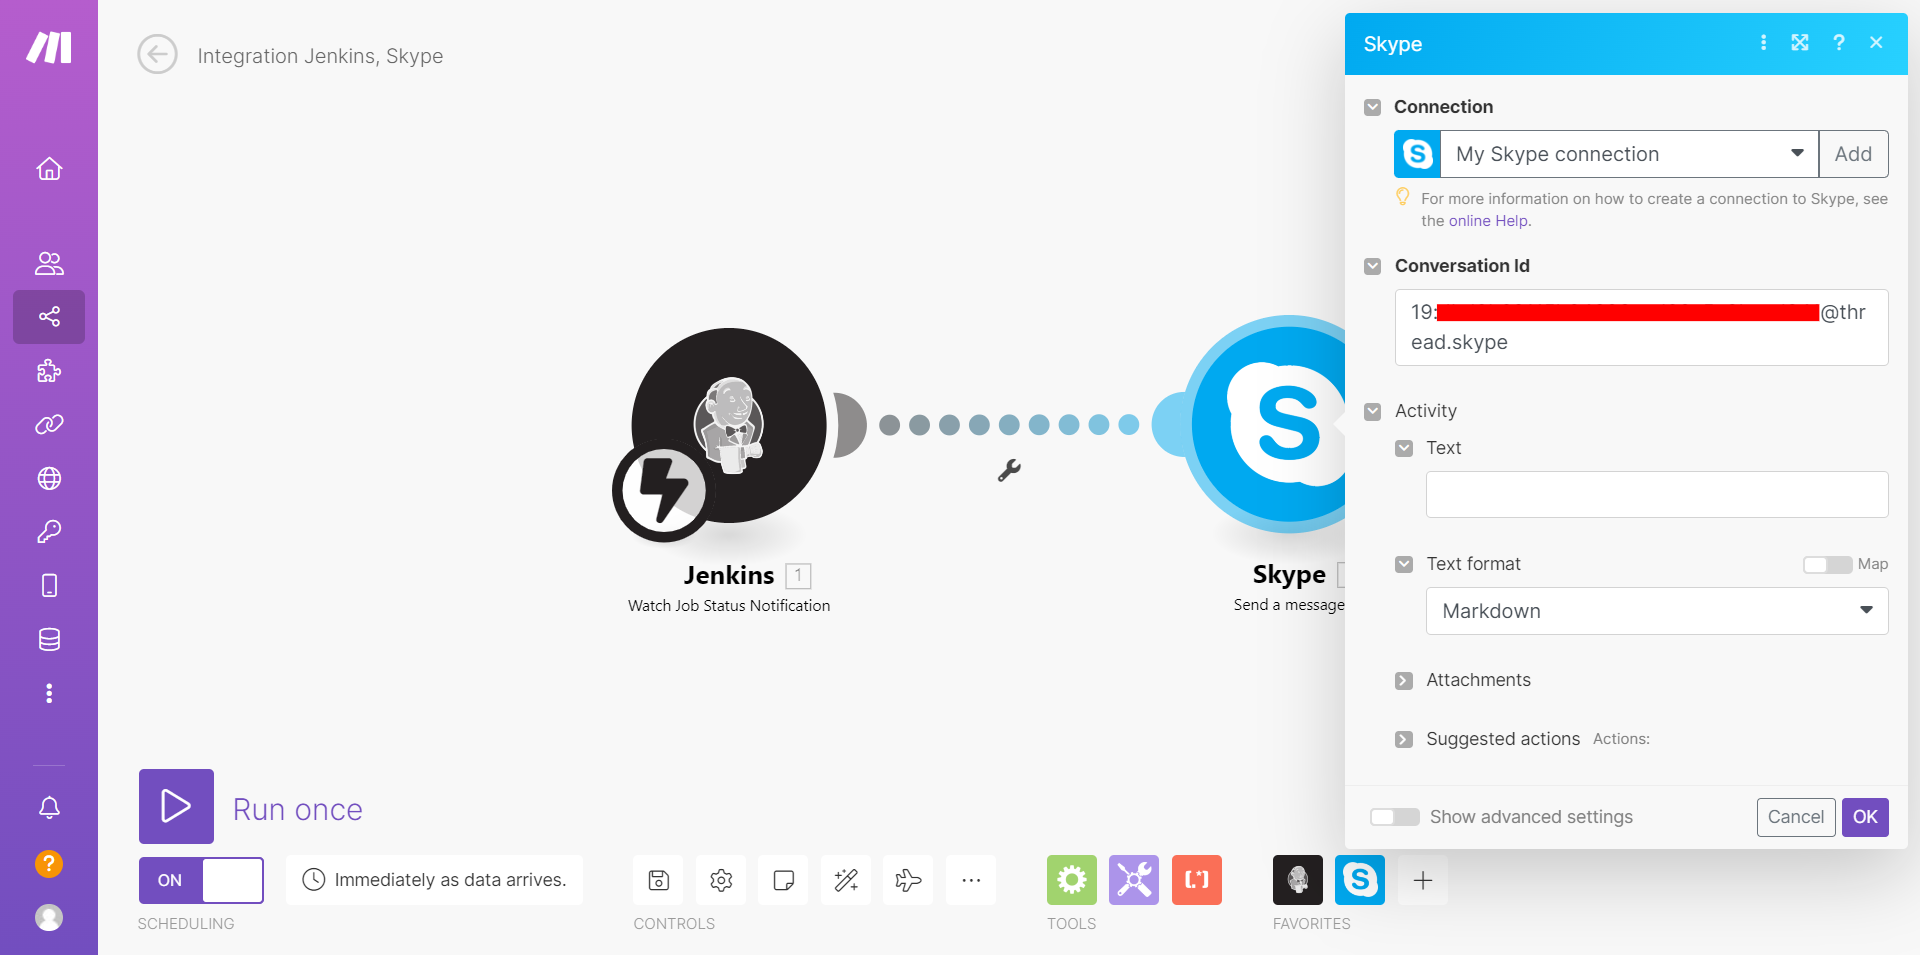
Now you need a conversation ID:
-
To get a conversation ID we can use Skype's web application and inspect the networks:
-
Login to your Web Skype using Chrome,
-
press F12 to open the developer tool,
-
switch to the "Network" tab, then send some messages in the chat group you need to know the ID,
-

Request URL: https://client-s.gateway.messenger.live.com/v1/users/ME/conversations/19%3Axxxxxxxxxxxxxxxxxxxxxxxxxxxxxxxxx%40thread.skype/messages?x-ecs-etag=xxxxxxxxxxxxxxxxxxxxxxxxxxxxxxxxxxxxxxxxxxxxxxxx....
after "conversations" in the path, "19:xxxxxxxxxxxxxxxxxxxxx...@thread.skype" is the chat group id as you want. (%3A is :, %40 is @)
Replace the required things in the id and put it in the "Conversation ID" in make.com's Skype module.
And Save your scenario. We will get back to make.com later.
For Detail steps, you can also visit this tutorial from Digital Ocean.
If you already have docker installed, you can skip to step 2
To guarantee we install the most up-to-date version of Docker, we won't rely on the Docker installation package provided in the standard Ubuntu repository. Instead, we'll opt for the official Docker repository. This involves adding a new package source, importing the Docker GPG key for download verification, and subsequently installing the package.
Start by refreshing your current list of packages with the following command:
sudo apt updateNext, install a few prerequisite packages that let apt use packages over HTTPS:
sudo apt install apt-transport-https ca-certificates curl software-properties-commonThen add the GPG key for the official Docker repository to your system:
curl -fsSL https://download.docker.com/linux/ubuntu/gpg | sudo apt-key add -Add the Docker repository to APT sources:
sudo add-apt-repository "deb [arch=amd64] https://download.docker.com/linux/ubuntu focal stable"This will also update our package database with the Docker packages from the newly added repo.
Make sure you are about to install from the Docker repo instead of the default Ubuntu repo:
apt-cache policy docker-ceYou’ll see output like this, although the version number for Docker may be different:
docker-ce:
  Installed: (none)
  Candidate: 5:24.0.6-1~ubuntu.20.04~focal
  Version table:
     5:19.03.9~3-0~ubuntu-focal 500
        500 https://download.docker.com/linux/ubuntu focal/stable amd64 Packages
Notice that docker-ce is not installed, but the candidate for installation is from the Docker repository for Ubuntu 20.04 (focal).
Finally, install Docker:
sudo apt install docker-ceDocker should now be installed, the daemon started, and the process enabled to start on boot. Check that it’s running:
sudo systemctl status dockerThe output should be similar to the following, showing that the service is active and running:
● docker.service - Docker Application Container Engine
     Loaded: loaded (/lib/systemd/system/docker.service; enabled; vendor preset: enabled)
     Active: active (running) since Thu 2023-09-28 22:29:20 UTC; 8h ago
TriggeredBy: ● docker.socket
       Docs: https://docs.docker.com
   Main PID: 513 (dockerd)
      Tasks: 42
     Memory: 72.3M
        CPU: 15.769s
     CGroup: /system.slice/docker.service
             ├─ 513 /usr/bin/dockerd -H fd:// --containerd=/run/containerd/containerd.sock
Installing Docker now gives you not just the Docker service (daemon) but also the docker command line utility, or the Docker client.
By default, the docker command can only be run by the root user or by a user in the docker group, which is automatically created during Docker’s installation process. If you attempt to run the docker command without prefixing it with sudo or without being in the docker group, you’ll get an output like this:
Outputdocker: Cannot connect to the Docker daemon. Is the docker daemon running on this host?.
See 'docker run --help'.
If you want to avoid typing sudo whenever you run the docker command, add your username to the docker group:
sudo usermod -aG docker ${USER}To apply for the new group membership, log out of the server and back in, or type the following:
su - ${USER}You will be prompted to enter your user’s password to continue.
Confirm that your user is now added to the docker group by typing:
groupsIf you need to add a user to the docker group that you’ve not logged in as declare that username explicitly using:
sudo usermod -aG docker usernameThe rest of this article assumes you are running the docker command as a user in the docker group. If you choose not to, please prepend the commands with sudo.
Let’s explore the docker command next.
Visit tags from jenkins/jenkins repository on Docker Hub: https://hub.docker.com/r/jenkins/jenkins/tags
I want to use the latest Long-Term Support (LTS) version of Jenkins so I will search LTS on the "Filter Tags" option.
Check the compatibility of OS/ARCH with your VM/PC's OS/ARCH
I am using Linux ubuntu OS with amd64 architecture on AWS. So I will pull the following docker image.

To run the docker, I am using the following command in my ubuntu terminal:
docker run -d --name jenkins -p 8080:8080 -p 50000:50000 -v jenkins_home:/var/jenkins_home --restart=unless-stopped jenkins/jenkins:2.414.2-lts-jdk11
Let's break down the command step by step:
-
docker run: This is the command used to create and start a Docker container. -
-d: This flag stands for "detached" mode, which means the container will run in the background. You won't see the container's output in your terminal unless you explicitly view the logs. -
--name jenkins: This flag assigns the name "jenkins" to the container. You can use this name to manage the container later. -
-p 8080:8080: This flag specifies port mapping. It maps port 8080 from your host machine to port 8080 within the container. This is typically the port where the Jenkins web interface will be accessible. -
-p 50000:50000: This flag also specifies port mapping. It maps port 50000 from your host machine to port 50000 within the container. Port 50000 is used for Jenkins agent communication. -
-v jenkins_home:/var/jenkins_home: This flag defines volume mapping. It maps a Docker volume named "jenkins_home" to the "/var/jenkins_home" directory within the container. This is done to persistently store Jenkins data and configurations, allowing you to retain your Jenkins data even if the container is stopped or removed. -
--restart=unless-stopped: This flag instructs Docker to automatically restart the container unless it is explicitly stopped by the user. This ensures that Jenkins will automatically restart if the host machine is rebooted or if the Docker daemon is restarted. -
jenkins/jenkins:2.414.2-lts-jdk11: This is the Docker image you want to use for the Jenkins container. It specifies the image name along with a tag. In this case, it's using the Jenkins LTS (Long-Term Support) image version 2.414.2 with Java 11 (JDK11).
This Docker command creates a Jenkins container with specific port mappings for web access and agent communication, sets up a persistent volume for Jenkins data, and configures the container to restart automatically unless explicitly stopped. It uses the Jenkins LTS image with JDK 11 as the base image for the container.
Now make sure you have added inbound access to port 8080 on your virtual machine from the Security Group.
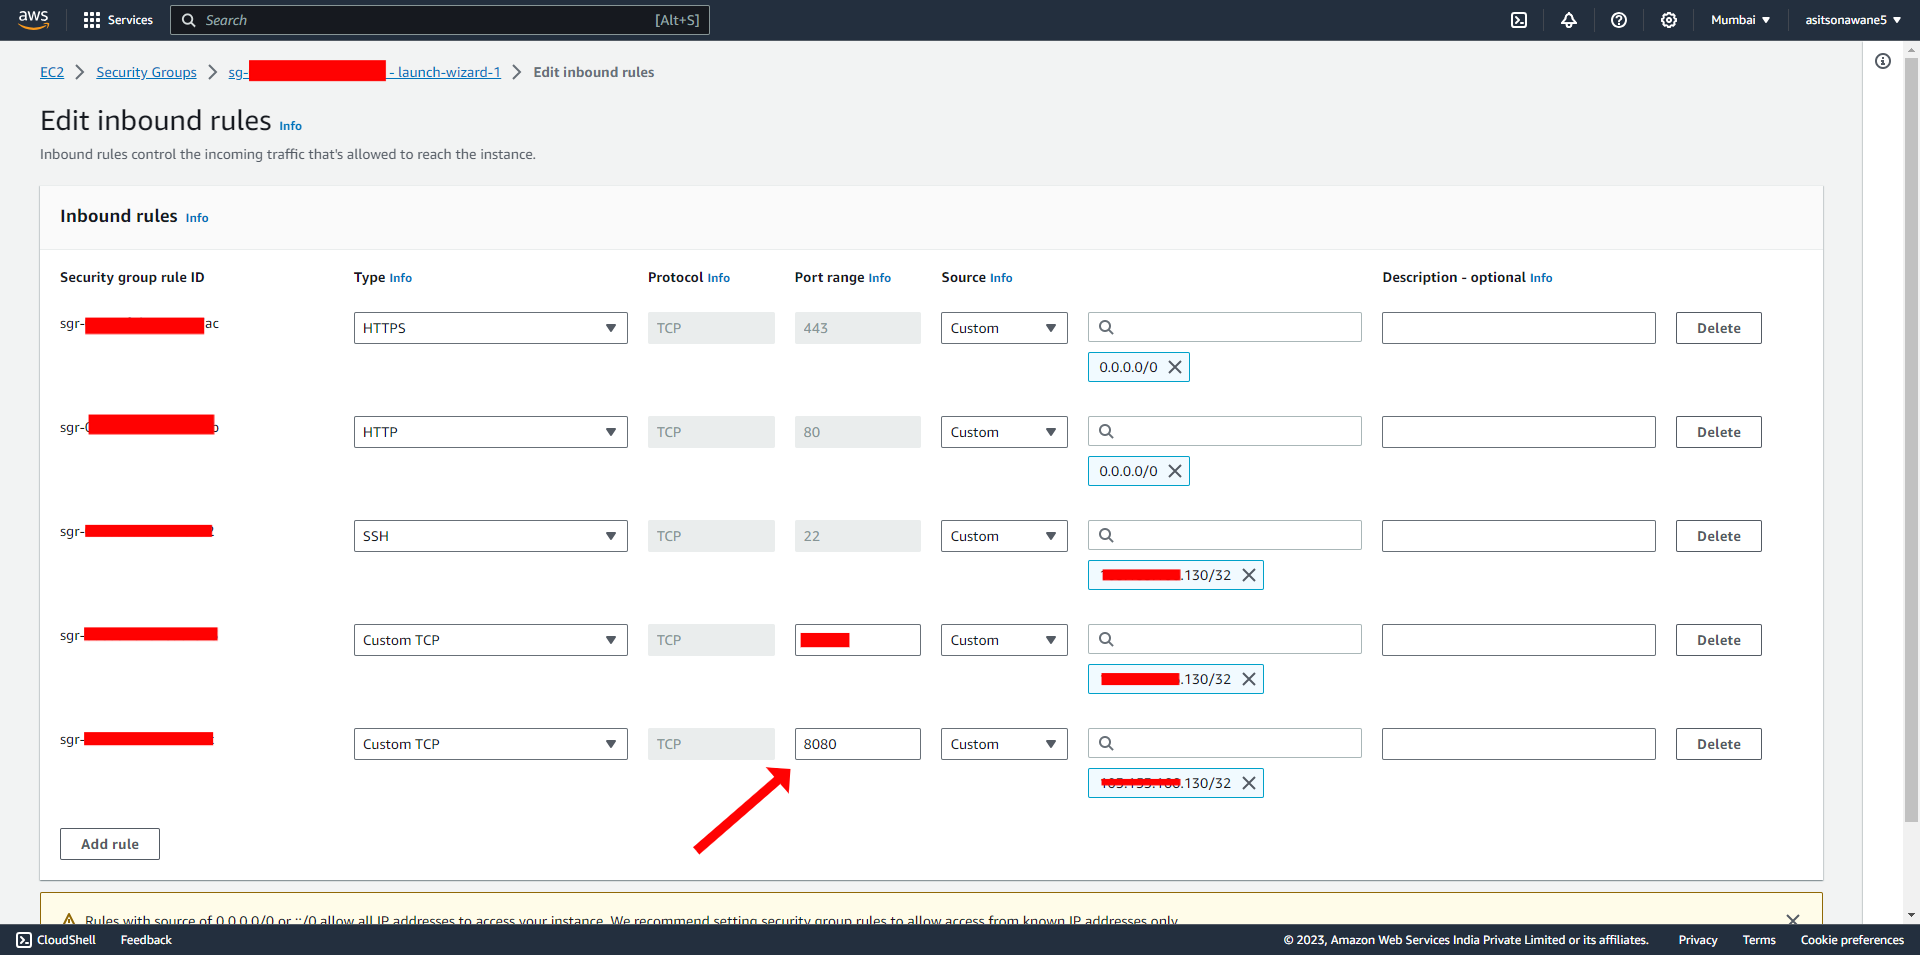
Now check if you can access the Jenkins Application through http://ipaddress:8080
Make sure you replace ipaddress with your VM's public IPv4 if you are running this project on a VM.
Considering that your Jenkins container is running, to set up Jenkins we will need to visit ipaddress:8080.
Here you will notice it is asking to Unlock Jenkins using an Administrator password.
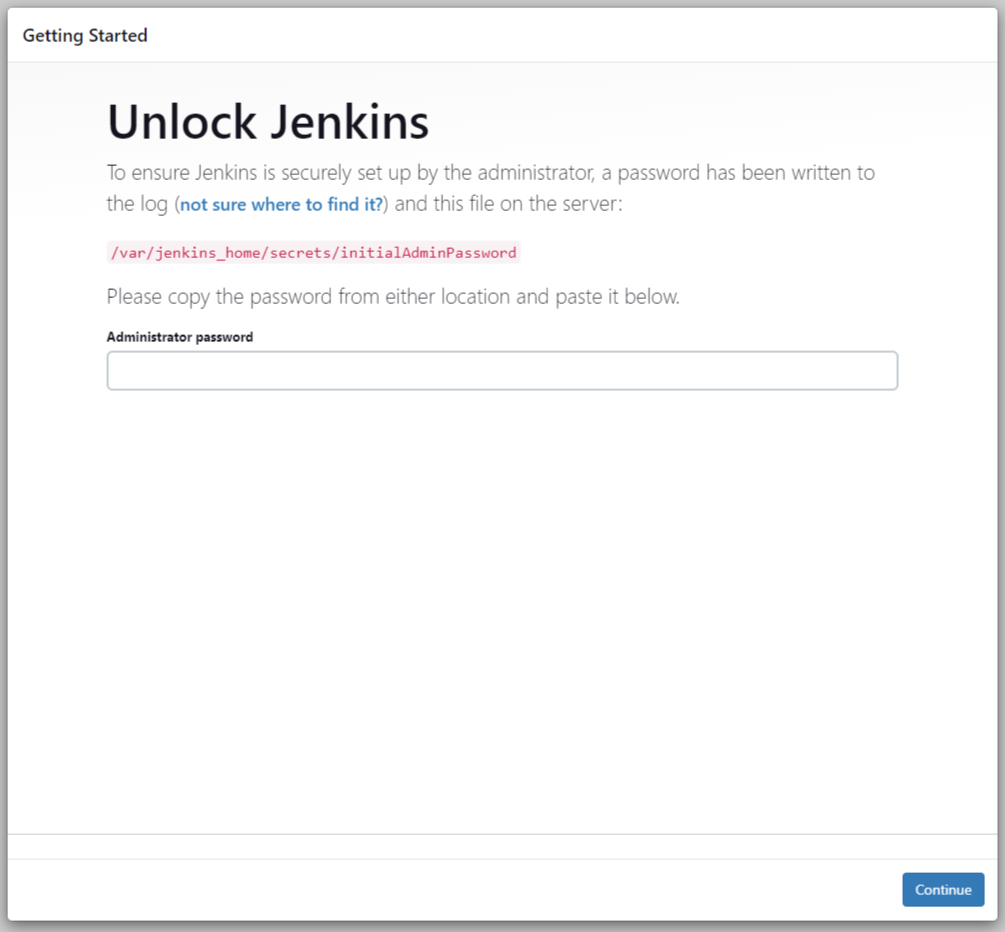
To get this Administrator password, we will now visit the Jenkins app and connect with Jenkins Container's shell using the following command:
docker exec -it jenkins shThis code uses the Docker command "docker exec" to run an interactive shell ("sh") inside a Docker container named "jenkins." It allows you to access and interact with the operating system within the "jenkins" container.
Use the following command to get the password:
cat /var/jenkins_home/secrets/initialAdminPassword
output:
df9946643XXXXXXXXXXXXXXXXXXXXXXXXXXXXXXXXXXXXXXXXXXcaeabccc
Copy and use this password to unlock your Jenkins.
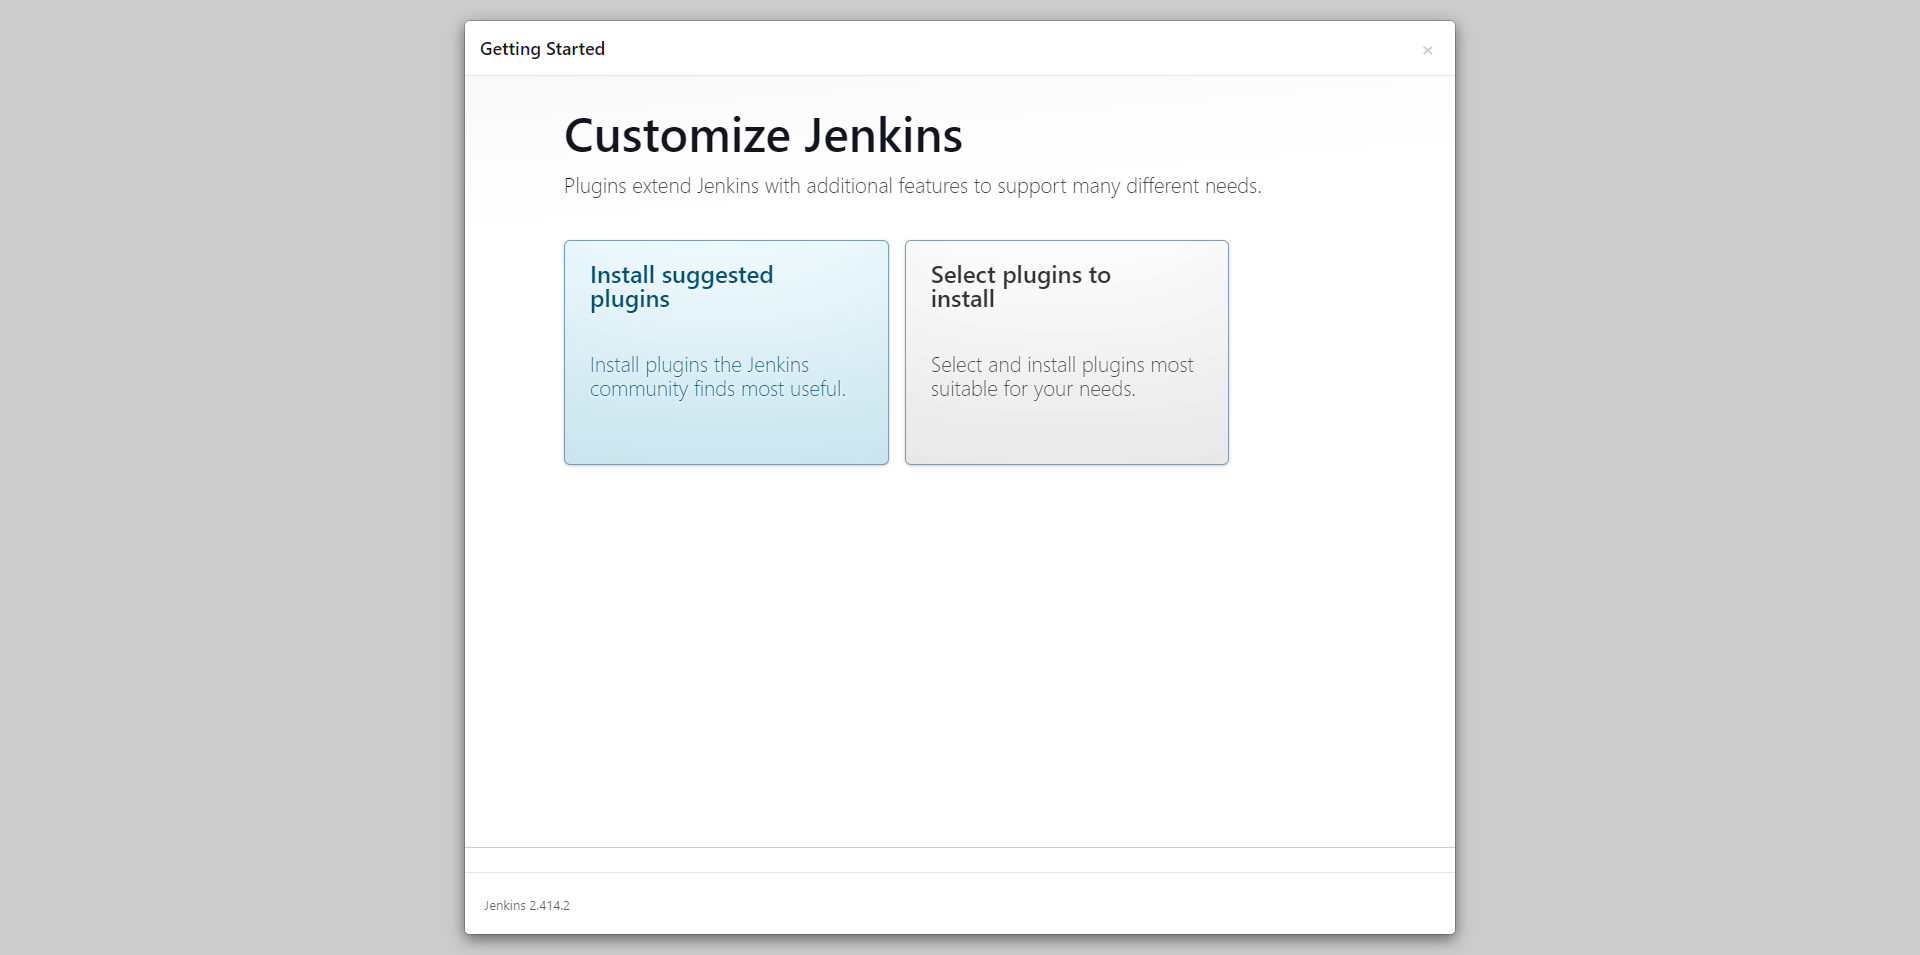
Now we will set up Jenkins, and for that, you need to install plugins, for the sake of this project we will go ahead with "Install Suggested Plugins".
Once it is installed, you will be prompted to create the first admin user.
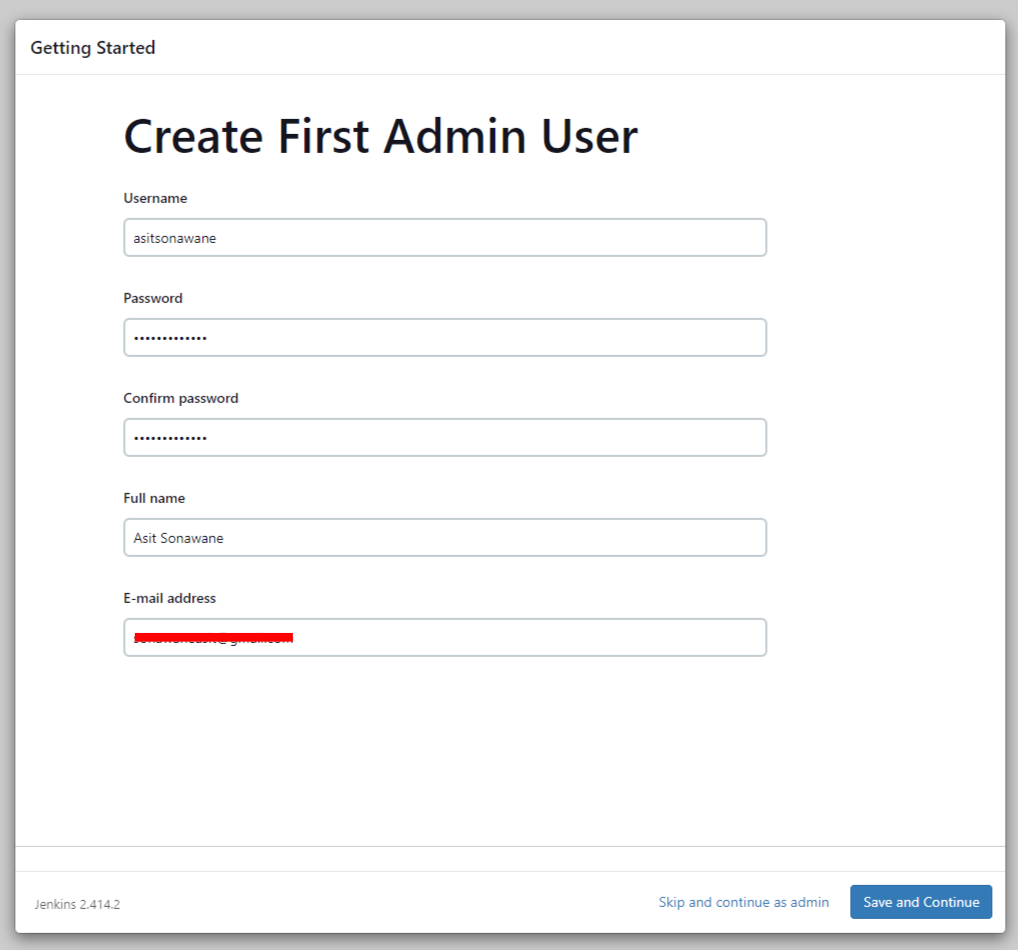
Input all the necessary details and then click on save and continue.
Now let's create a pipeline job and name it Jenkins-Skype.
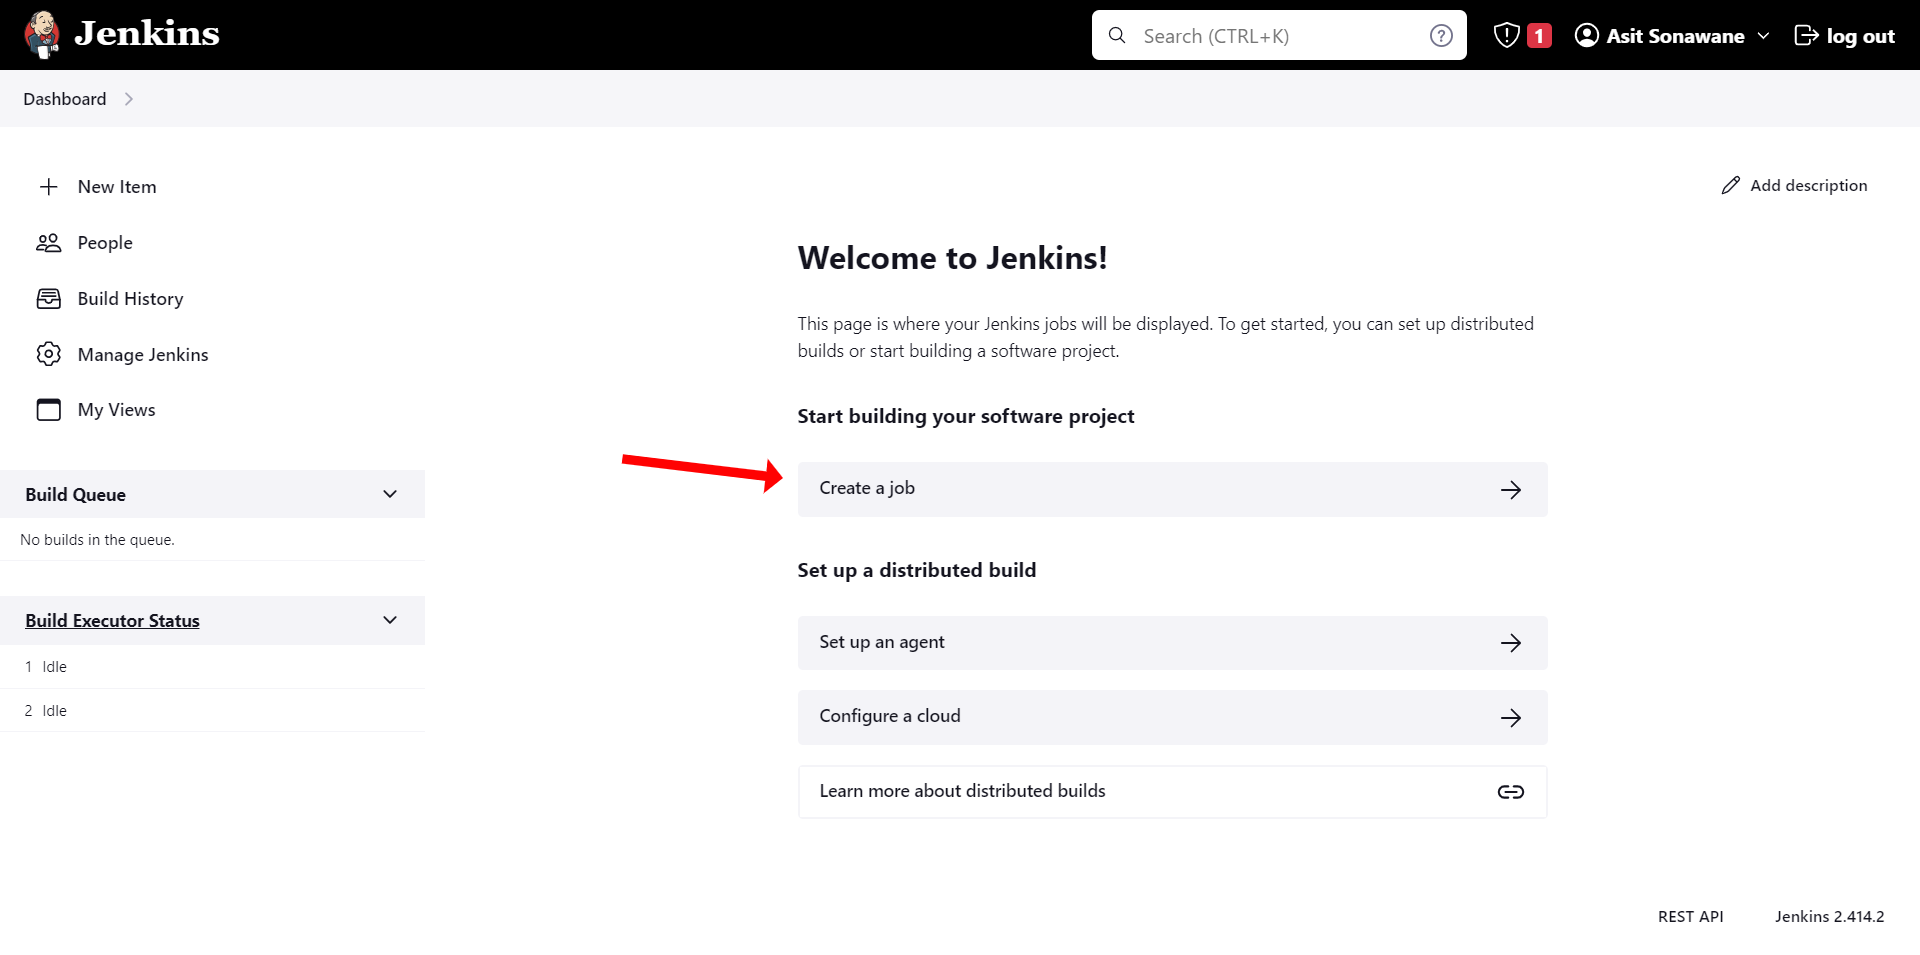
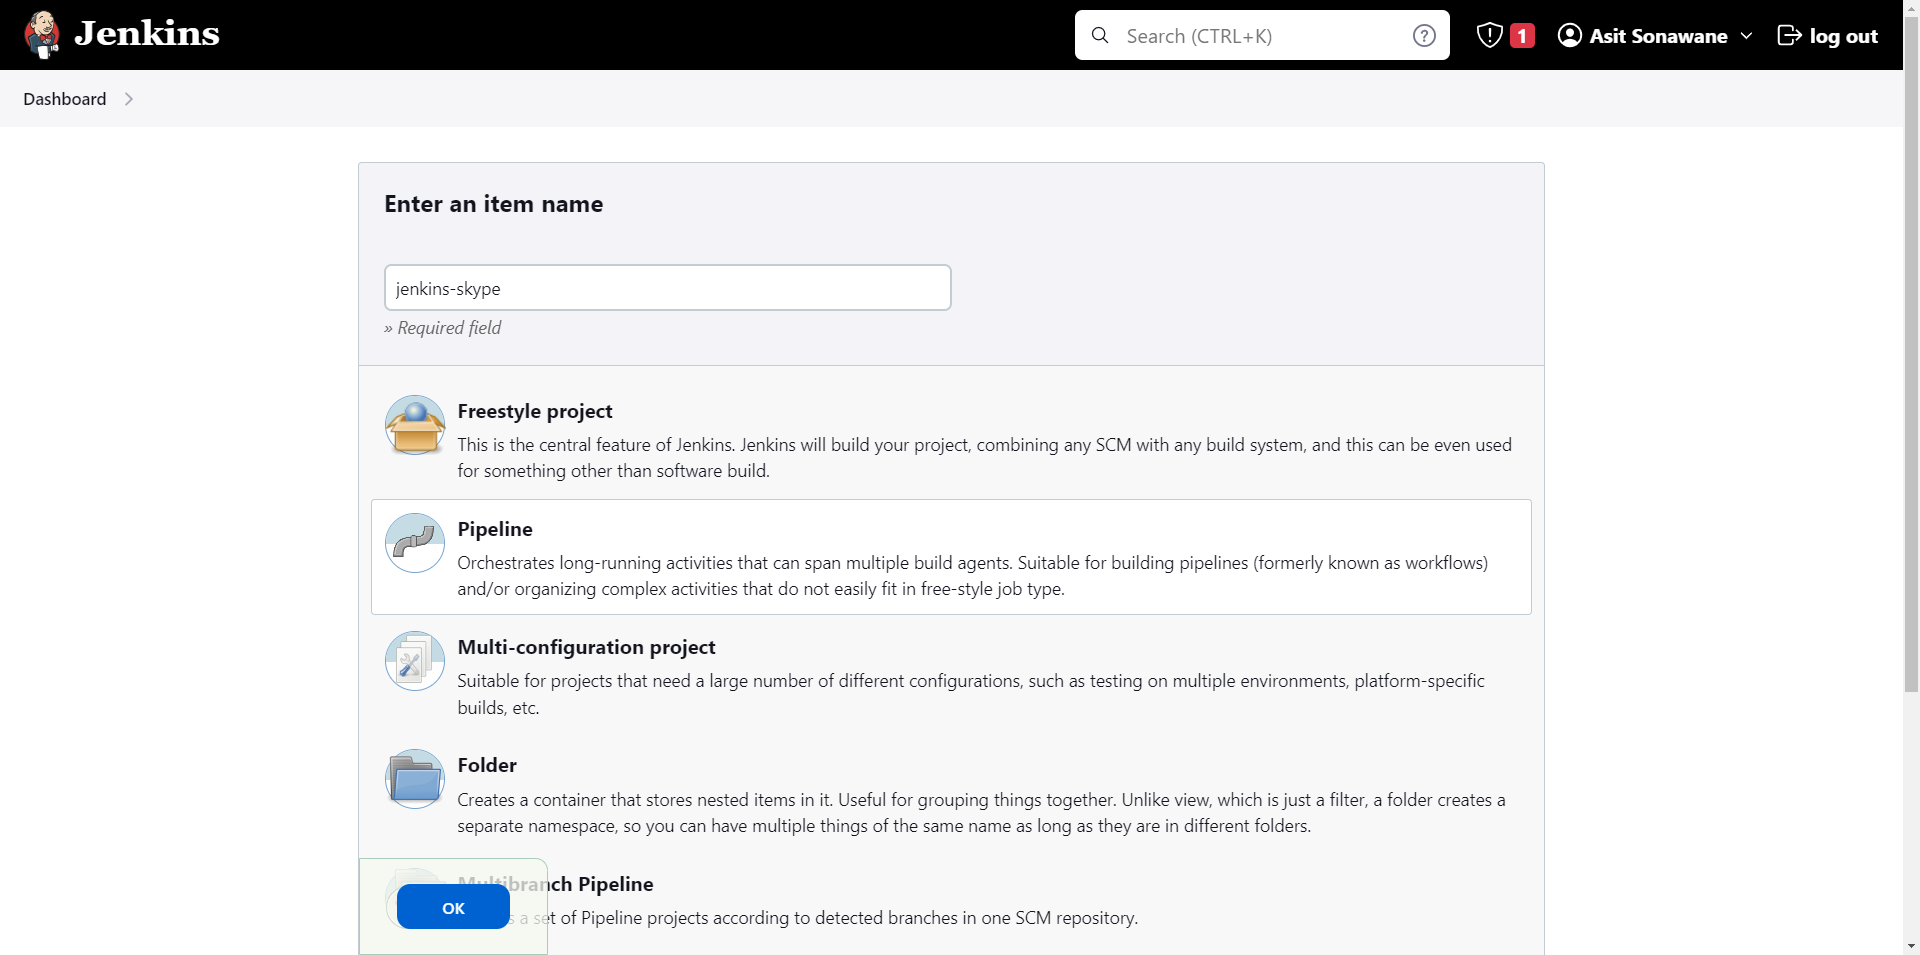
For now, we will just create and save it as it is and come back to it later in this blog.
For this project, we will create a pipeline that just prints "Pipeline Running"
But before that, we need to make a few changes to our Jenkins.
We will be needing a plugin called HTTP Request plugin.
Go to Dashboard > Manage Jenkins > Plugins, click on Available plugins and then search HTTP Request and install the plugin.
Then we will select the option to restart Jenkins.
This plugin will help us in our script to send webhook payload
Now go to your Jenkins PIPELINE and enter the following script. This script has code that:
1. Sends Notification when the pipeline has started
2. It will print "Pipeline Running"
3. Sends Notification when the pipeline has finished
def FAILED_STAGE = null // Define the variable at the beginning of the script
pipeline {
agent any
environment {
webhookUrl = 'https://hook.eu2.make.com/XXXXXXXXXXX' // Enter your webhook from make.com
pipelineName = 'jenkins-skype' // Define Pipeline's name for notification
}
stages {
stage('Send Notification') {
steps {
catchError(buildResult: 'SUCCESS', stageResult: 'FAILURE') {
script {
FAILED_STAGE = env.STAGE_NAME // Set the stage name
// Define variables for post-build notification message
def buildStatus = "Started"
def istTimeZone = TimeZone.getTimeZone("Asia/Kolkata")
def buildTimestampStart = System.currentTimeMillis()
def formattedTimestampStart = new Date(buildTimestampStart).format("hh:mm a", istTimeZone)
//Define Payload for sending through webhook
def payload = """
{
"pipelineName": "<b>Pipeline:</b> ${pipelineName}",
"buildTimestampStart": "<b>Start Time:</b> ${formattedTimestampStart}",
"buildStatus": "<b>Status:</b> ${buildStatus}<span> ⏳ </span>"
}
"""
// Send notification to the webhook
def response = httpRequest(
url: webhookUrl,
httpMode: 'POST',
requestBody: payload,
contentType: 'APPLICATION_JSON'
)
// Print this if sending response if failed
if (response.status != 200) {
error "Failed to send notification to the webhook. HTTP Status: ${response.status}"
}
}
}
}
}
stage('Upgrade and Update') {
steps {
script {
FAILED_STAGE = env.STAGE_NAME
echo "Update and upgrade completed"
}
}
}
}
post {
always {
script {
def buildStatus = currentBuild.resultIsBetterOrEqualTo("SUCCESS") ? "Completed <span>🎉</span>" : "Failed <span> ❌ </span>"
def istTimeZone = TimeZone.getTimeZone("Asia/Kolkata")
def buildTimestampEnd = System.currentTimeMillis()
def formattedTimestampEnd = new Date(buildTimestampEnd).format("hh:mm a", istTimeZone)
def durationMillis = currentBuild.duration
def secondsBigDecimal = new BigDecimal(durationMillis).divide(new BigDecimal(1000)).setScale(2, BigDecimal.ROUND_HALF_UP) // Convert milliseconds to seconds with two decimal places
def finalDuration = (secondsBigDecimal / 60)
def formattedDuration = String.format("%.2f mins", finalDuration)
def FAILED_STAGE_Deets = currentBuild.resultIsBetterOrEqualTo("SUCCESS") ? null : FAILED_STAGE
//Define Payload for sending through webhook
def payload = """
{
"pipelineName": "Pipeline: ${pipelineName}",
"buildTimestampEnd": "End Time: ${formattedTimestampEnd}",
"buildStatus": "Status: ${buildStatus}",
"buildDuration": "Duration: ${formattedDuration}",
"failedStage": "Failed Stage: ${FAILED_STAGE_Deets}"
}
"""
// Send notification to the webhook
def response = httpRequest(
url: webhookUrl,
httpMode: 'POST',
requestBody: payload,
contentType: 'APPLICATION_JSON'
)
// Print this if sending response if failed
if (response.status != 200) {
error "Failed to send notification to the webhook. HTTP Status: ${response.status}"
}
}
}
}
}CHANGE THE WEBHOOK URL TO THE URL FROM MAKE.COM
Insert this script into your Jenkins pipeline's Script section at the end of the configuration page and click on save:
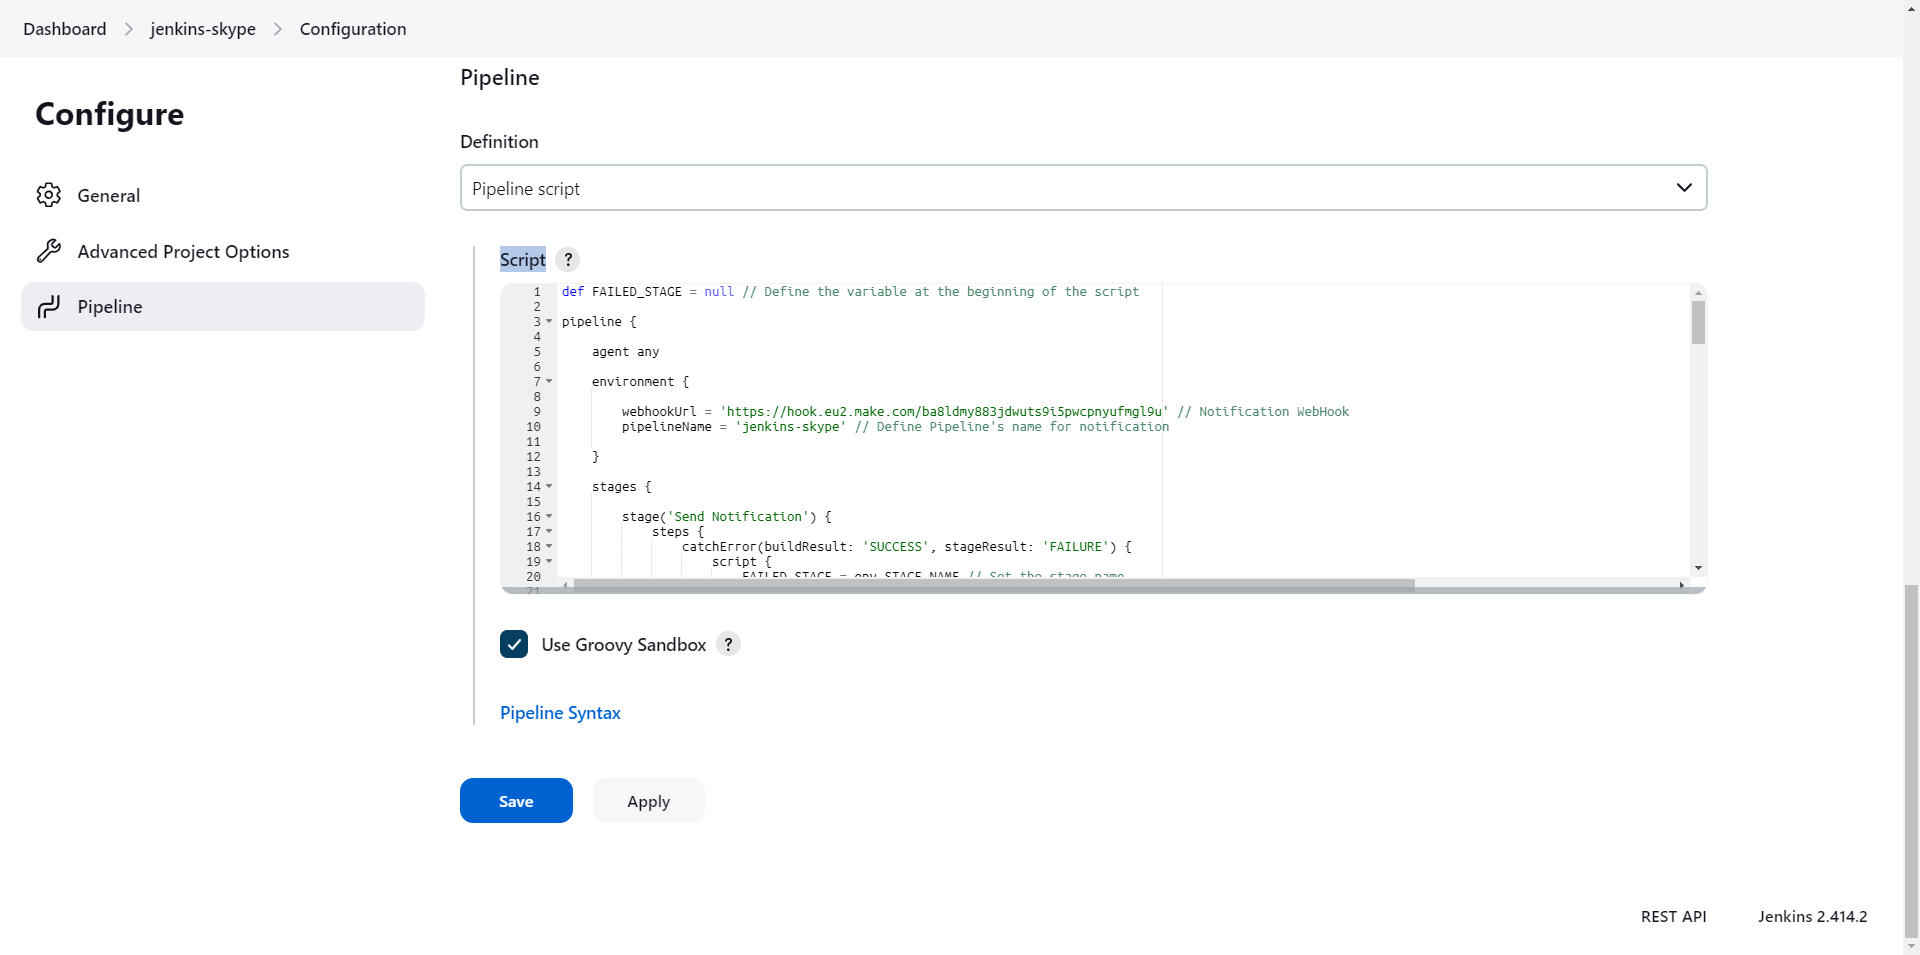
You will notice the pipeline didn't run. This is because Multiple scripts are not permitted to be used.
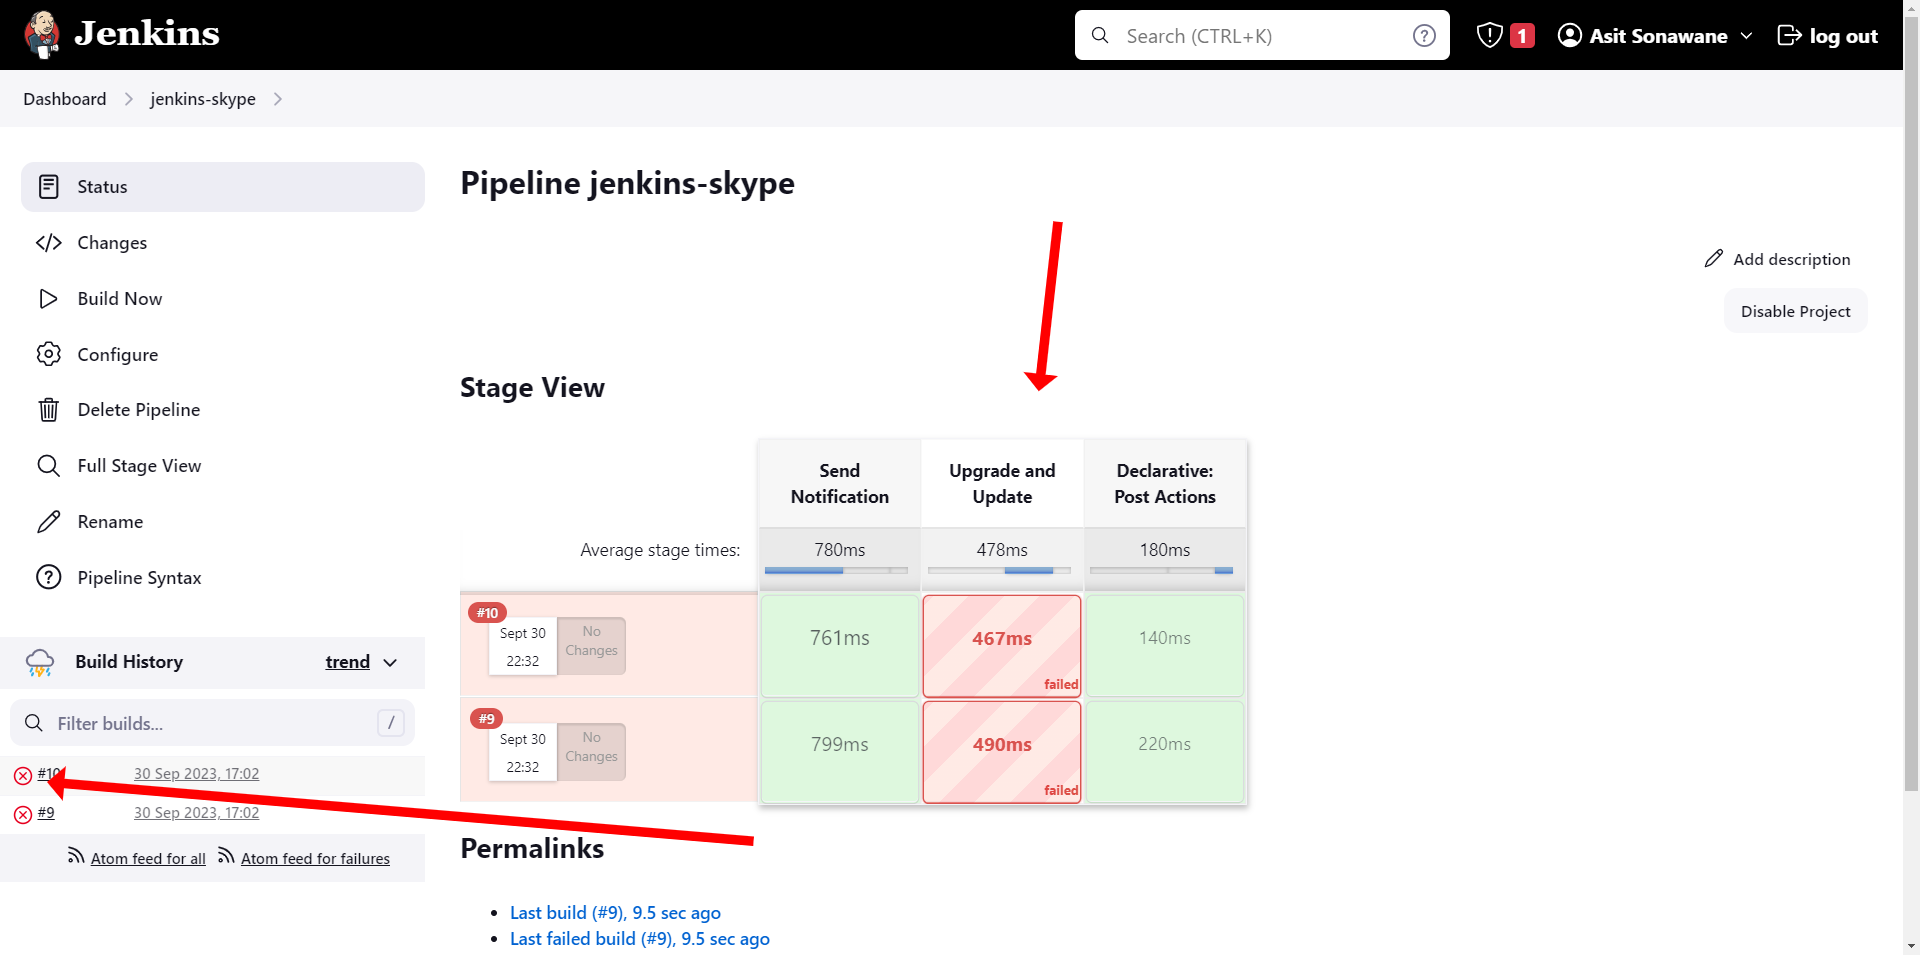
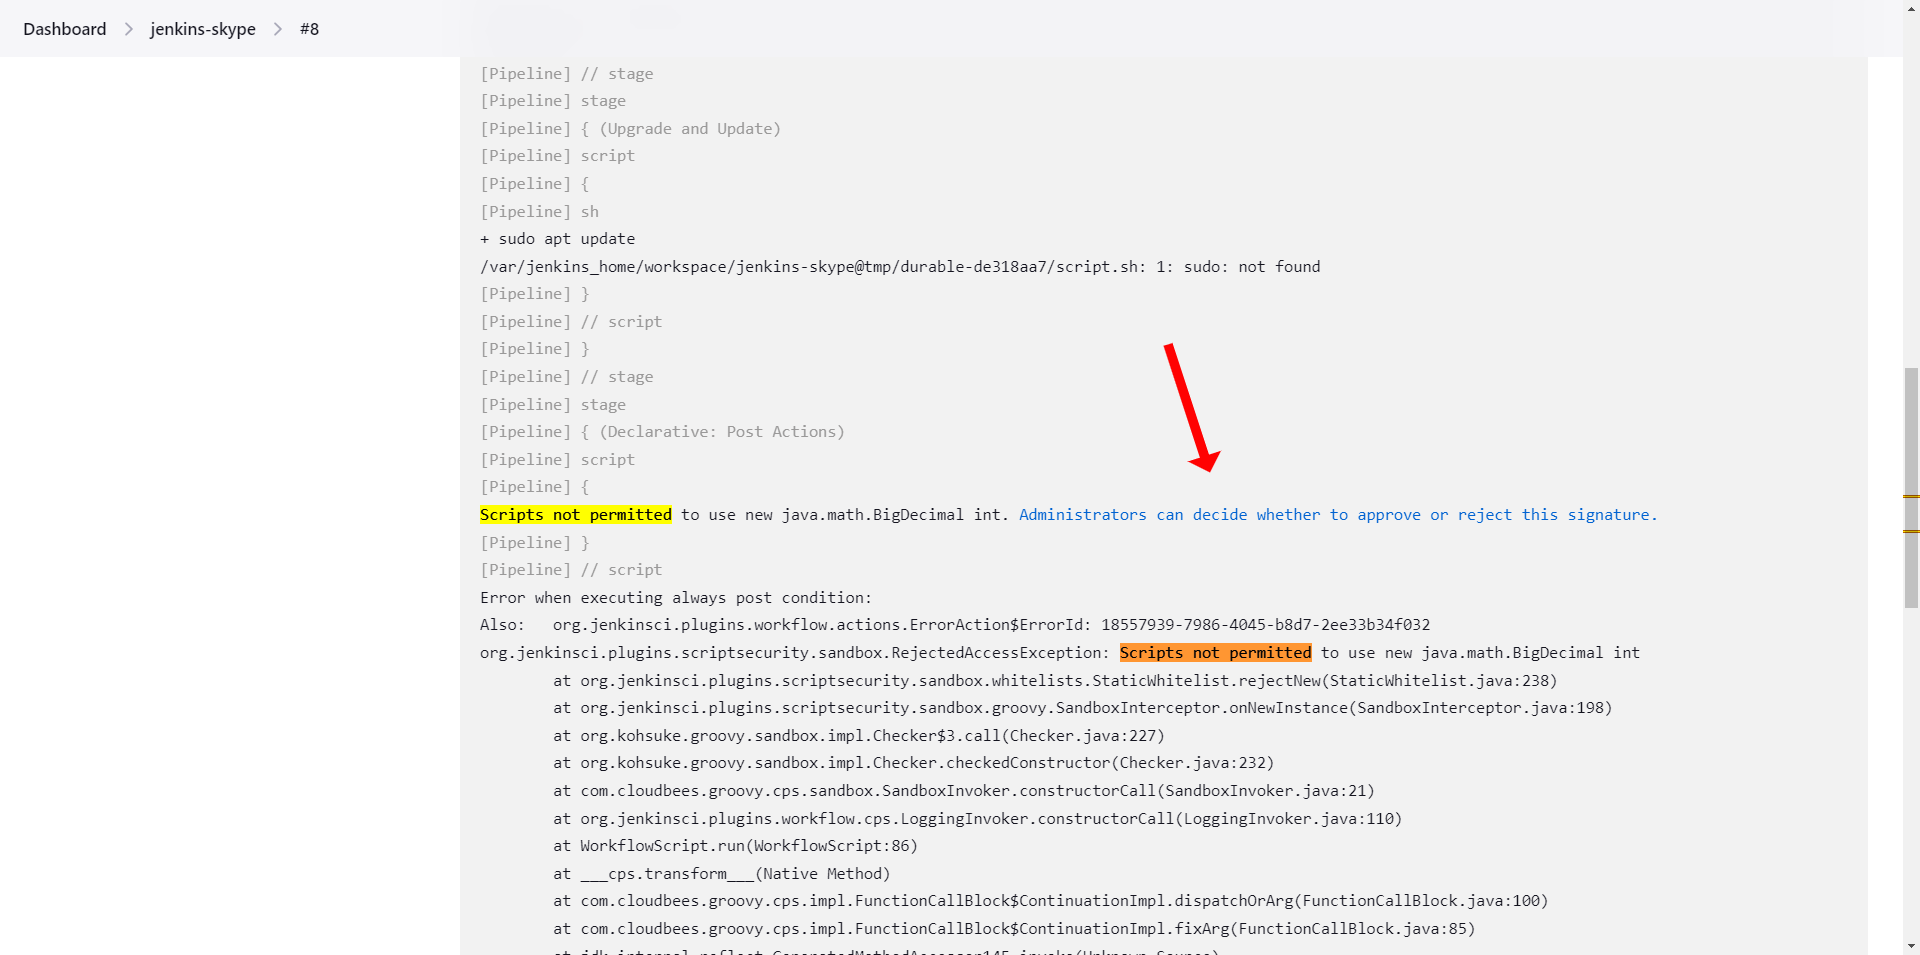
To fix "Scripts not permitted to use new java.math.BigDecimal int" click on X shown in the image below to check the console output and search for Scripts not permitted
Then click on Administrators can decide whether to approve or reject this signature.
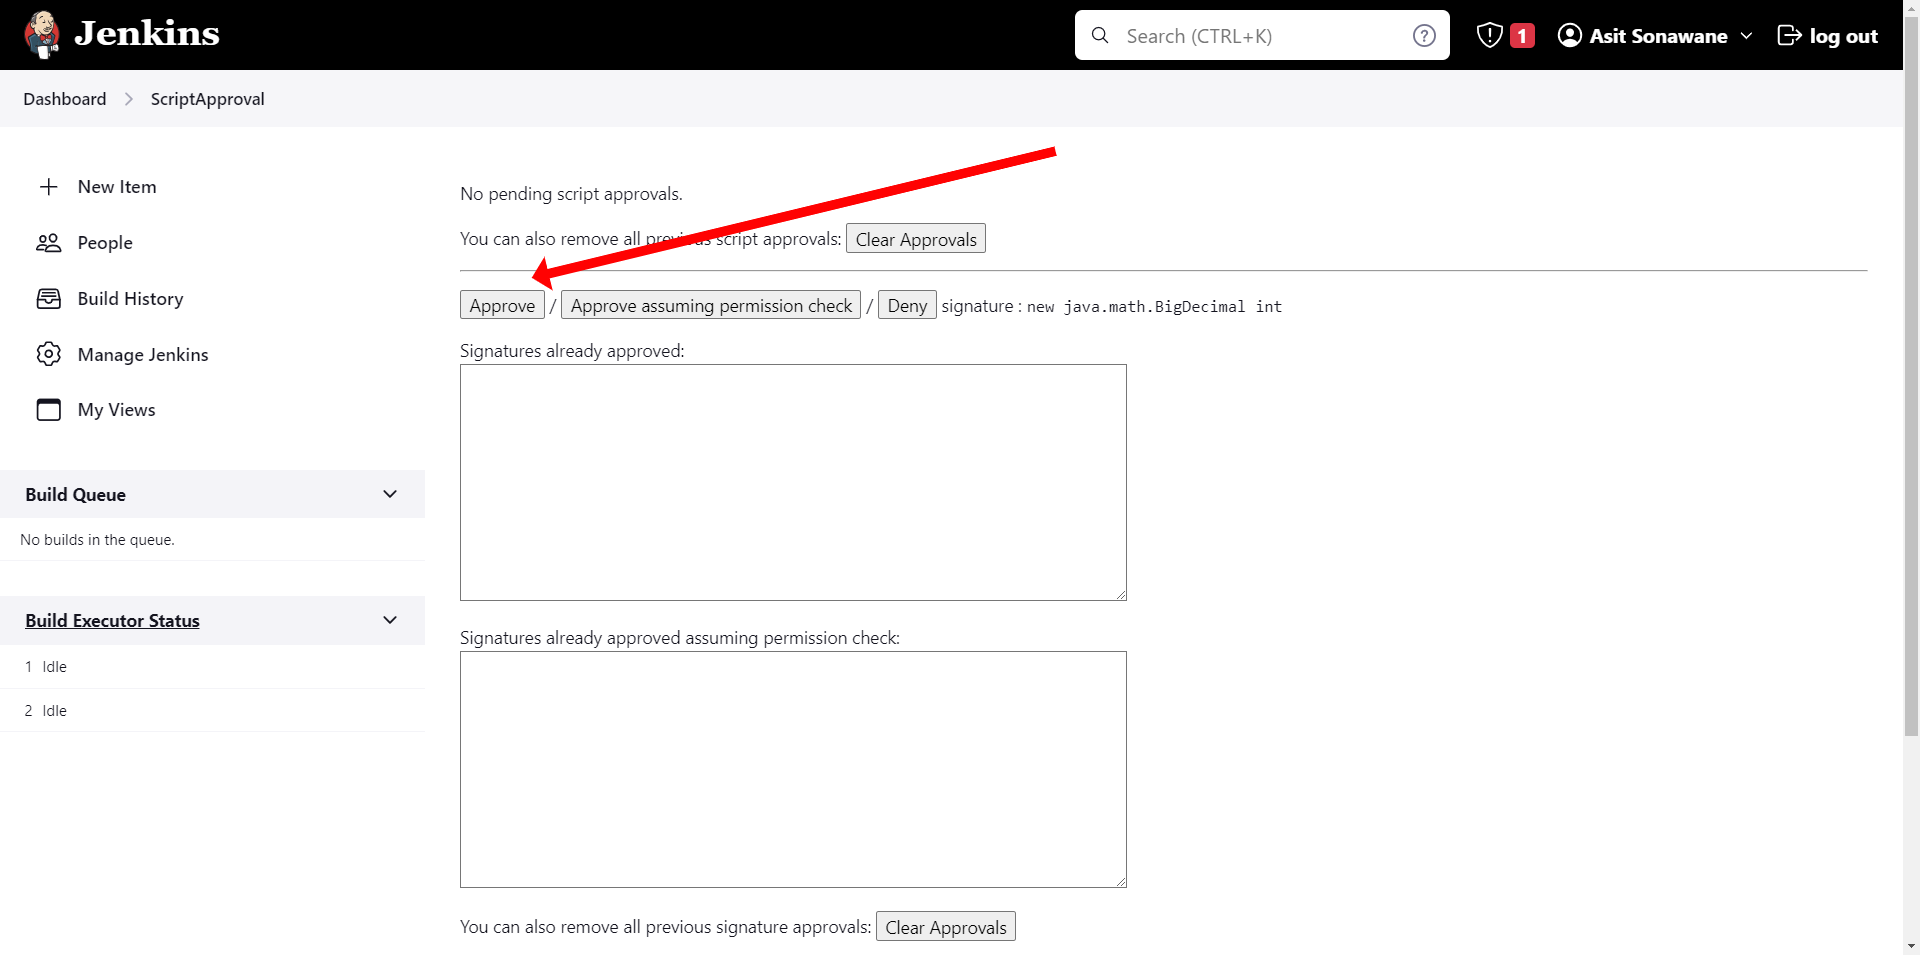
Repeat this step multiple times until you do not see this error anymore.
You will end up with the following lines in the "Signatures Already Approved" section:
method java.math.BigDecimal divide java.math.BigDecimal
method java.math.BigDecimal setScale int int
new java.math.BigDecimal int
staticField java.math.BigDecimal ROUND_HALF_UP
Once you have added all these, go to make.com and click on run.
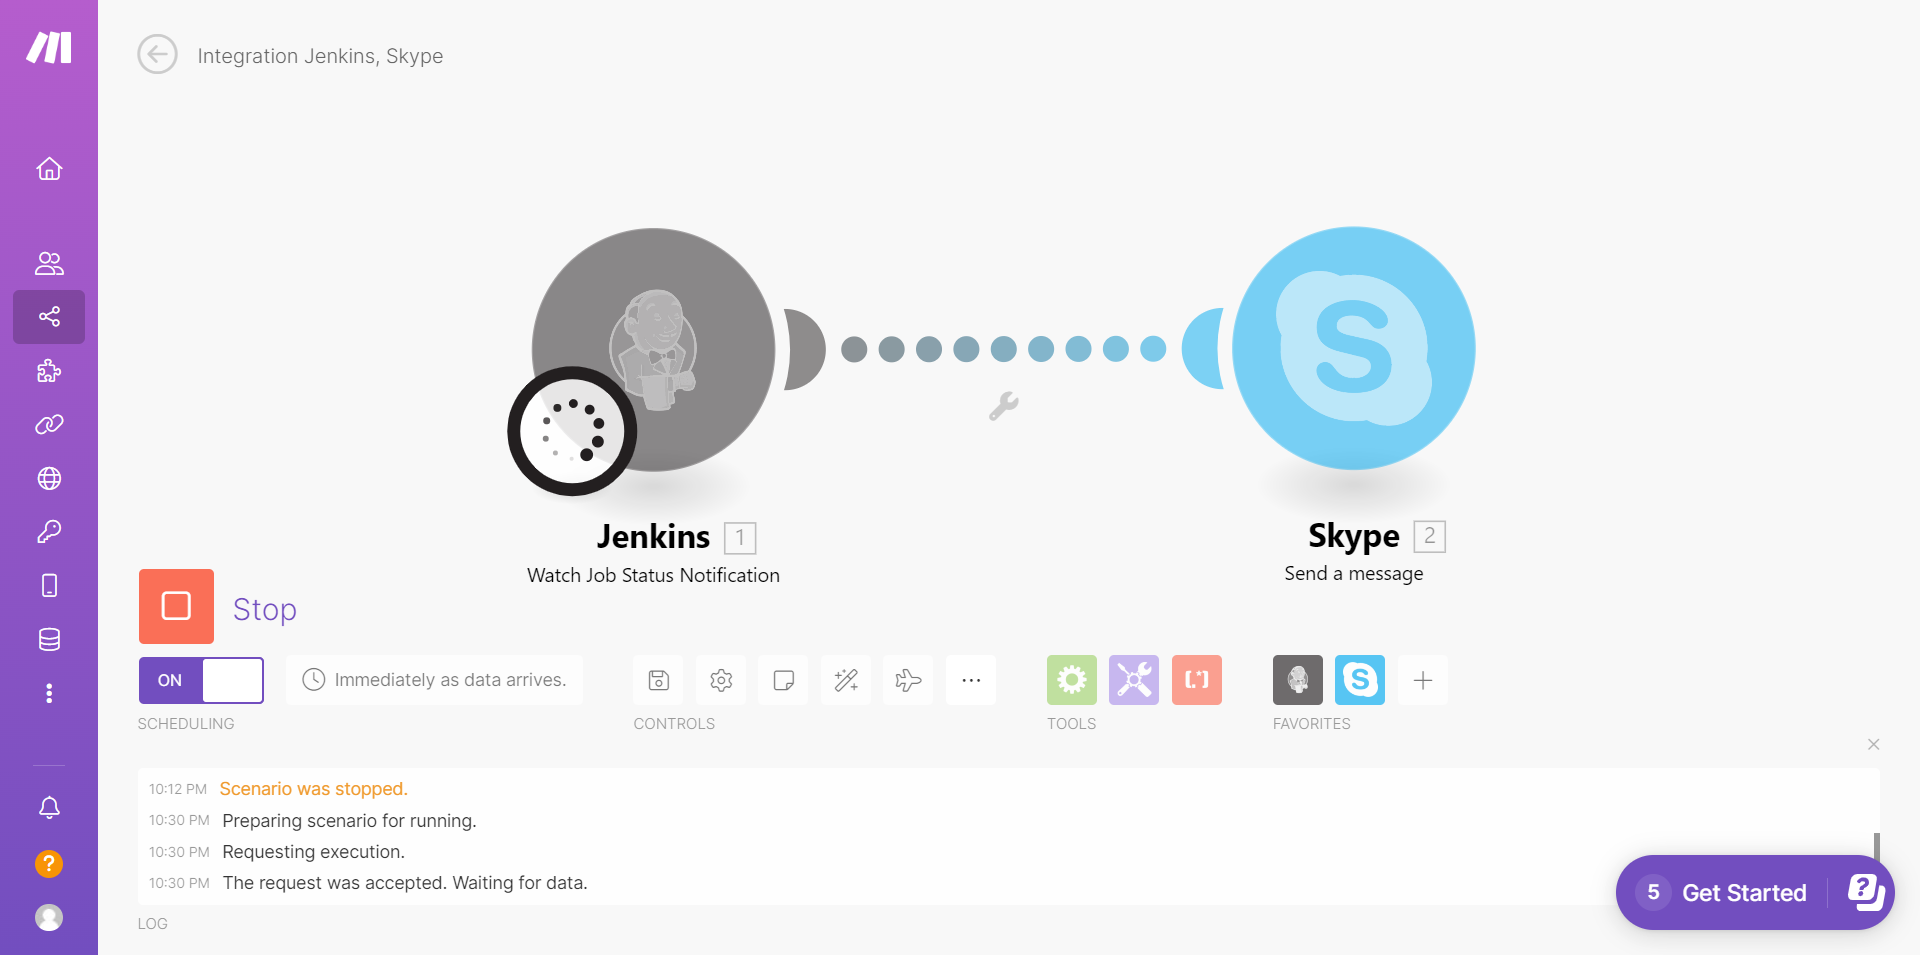
Go back to Jenkins and build the pipeline, now the Jenkins module should've received payload from the Jenkins application. Now we need to add the variables in Skype.
Once this is done, save the scenario and start the scenario.
Then try running your Jenkins pipeline, you will receive a message on Skype regarding your pipeline status.
We have used containerized Jenkins with Make.com, Skype and Azure bot to send pipeline status notifications using webhooks.
Here are the list of resources that would help you follow along: