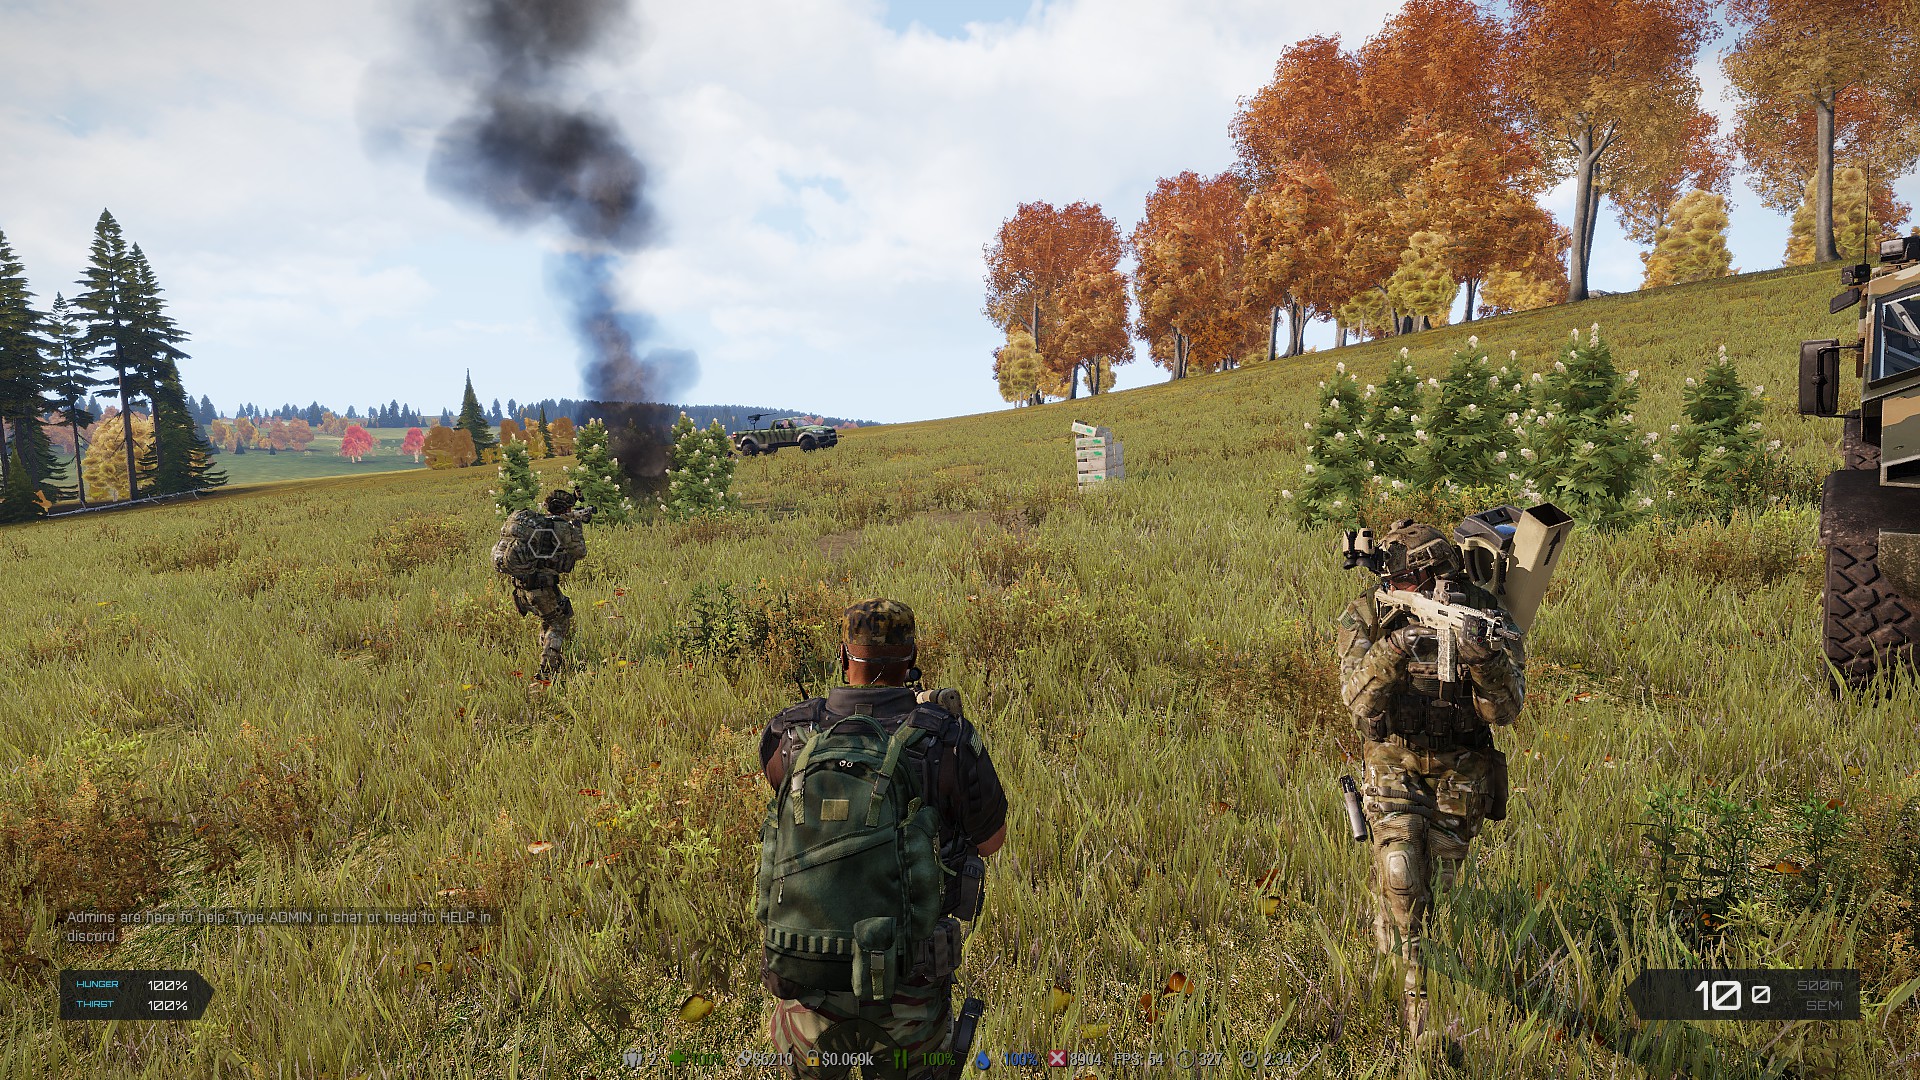
Description: Recruit Ai Body guards from your XM8 or from placed objects on the map.
How it works: Deploy a statue from your Xm8 using beef parts. Scroll on the spawned statue & choose "Recruit Bodyguard". The statue despawns & an ai will appear in your group.
Rules: Can't deploy the ai guard in a safe zone. Ai despawns on restarts. Ai only attacks mission ai (only tested on DMS Ai).
Command Ai movement:
-
Press ESC>Configure>Controls>Show:Command
-
Change the "ACTION" of "Select Unit 1" to the key of your choice (I used "semicolon"). Press "OK" and go back to the game.
-
Press "semicolon" to select your Ai, then hit "space bar"
-
Move your mouse to the position you wish the Ai to hold or vehicle you wish the Ai to enter. Now hit the "space bar" :)
Command Ai to drive:
- Exist a vehicle from a passenger seat.
- Order the Ai will hop in the vehicle.
- Get in the vehicle & mark waypoints on the map. You can also take over driving.
I would like to change the ai behaviour to help kill other Exile Players out of the players group. Let me know if you have any ideas.
Install: Recruit Ai from your XM8.
-
Install ExAd by @Janski https://goo.gl/VBxFFa
-
Drop the DeployVehicle folder into your.mission\ExAdClient\XM8\Apps\DeployVehicle
Make sure you drop the Deploy Vehicle server file in your @ExileServer/addons folder found here https://goo.gl/VopP4g
-
In config.cpp search for class CFGXM8
Add the following to extraApps[] = { };
"ExAd_Unit"
The line should now read: extraApps[] = {"ExAd_Unit"};
- Underneath the extraApps line should read:
class CfgXM8
{
	extraApps[] = {"ExAd_Unit"};

		class settings
	{
		controlID = 4070;
		appID = "App01";
		title = "Settings";
	};

	class healthScanner
	{
		controlID = 4120;
		appID = "App02";
		title = "Health Scanner";
	};

	class slothMachine
	{
		controlID = 4140;
		appID = "App03";
		title = "Sloth Machine";
	};

	class ExAd_Unit
    {
        title = "Recruit Soldier: x2 Beef Parts needed";
        logo = "ExAdClient\XM8\Apps\Unit\dog.paa";
        bambiState = 0;
        vehicleClass = "Land_AncientStatue_01_F";
        recipe[] = {{"Exile_Item_BeefParts",1}};
        packable = 0;
        autoCleanUp = 0;
        quickFunction = "['ExAd_Unit'] call ExAd_XM8_DV_fnc_spawnVehicle";
    };
};
/*
	XM8 Extra apps, the Exile way of doing it

	Here is an example app layout:
	class XM8_App01_Button: RscExileXM8AppButton1x1
	{
	    textureNoShortcut = "";  	// Path to picture. This can be via mission file or client side PBO
	    text = "";					// The name of the app to be display on the button
	    onButtonClick = "";			// The code to fire when the app is clicked
	    resource = "";				// The name of the resource to load for the app, leave as an empty string if you just want to run code without a GUI, like BOOM or spawning a bike
	};
*/

class XM8_App01_Button: RscExileXM8AppButton1x1
{
    textureNoShortcut = "\exile_assets\texture\ui\xm8_app_settings_ca.paa";
    text = "Settings";
    onButtonClick = "['settings', 0] call ExileClient_gui_xm8_slide";
    resource = "XM8SlideSettings";
};

class XM8_App02_Button: RscExileXM8AppButton1x1
{
    textureNoShortcut = "\exile_assets\texture\ui\xm8_app_health_scanner_ca.paa";
    text = "Health Scanner";
    onButtonClick = "['healthScanner', 0] call ExileClient_gui_xm8_slide";
    resource = "XM8SlideHealthScanner";
};

class XM8_App03_Button: RscExileXM8AppButton1x1
{
    textureNoShortcut = "\exile_assets\texture\ui\xm8_app_slothMachine_ca.paa";
    text = "Sloth Machine";
    onButtonClick = "['slothMachine', 0] call ExileClient_gui_xm8_slide";
    resource = "XM8SlideSlothMachine";
};

class XM8_App04_Button: RscExileXM8AppButton1x1
{
    textureNoShortcut = "\exile_assets\texture\ui\xm8_app_boom_ca.paa";
    text = "BOOM!";
    onButtonClick = "call ExileClient_system_breaching_detonate";
    resource = "";
};

class XM8_App5_Button: RscExileXM8AppButton1x1
{
textureNoShortcut = "ExAdClient\XM8\Apps\Unit\dog.paa";
text = "Recruit Soldier: 1x Beef Parts needed";
onButtonClick = "ExileClientXM8CurrentSlide = 'apps';closeDialog 0;[] execVM 'ExAdClient\XM8\Apps\Unit\bodyguard.sqf'";
resource = "";
};

class XM8_App06_Button: RscExileXM8AppButton1x1
{
    textureNoShortcut = "";
    text = "";
    onButtonClick = "";
    resource = "";
};

class XM8_App07_Button: RscExileXM8AppButton1x1
{
    textureNoShortcut = "";
    text = "";
    onButtonClick = "";
    resource = "";
};

class XM8_App08_Button: RscExileXM8AppButton1x1
{
    textureNoShortcut = "";
    text = "";
    onButtonClick = "";
    resource = "";
};

class XM8_App09_Button: RscExileXM8AppButton1x1
{
    textureNoShortcut = "";
    text = "";
    onButtonClick = "";
    resource = "";
};

class XM8_App10_Button: RscExileXM8AppButton1x1
{
    textureNoShortcut = "";
    text = "";
    onButtonClick = "";
    resource = "";
};

class XM8_App11_Button: RscExileXM8AppButton1x1
{
    textureNoShortcut = "";
    text = "";
    onButtonClick = "";
    resource = "";
};

class XM8_App12_Button: RscExileXM8AppButton1x1
{
    textureNoShortcut = "";
    text = "";
    onButtonClick = "";
    resource = "";
};

class XM8_App13_Button: RscExileXM8AppButton1x1
{
    textureNoShortcut = "";
    text = "";
    onButtonClick = "";
    resource = "";
};

class XM8_App14_Button: RscExileXM8AppButton1x1
{
    textureNoShortcut = "";
    text = "";
    onButtonClick = "";
    resource = "";
};
- In config.cpp search for BeefParts and change the line to:
class Exile_Item_BeefParts { quality = 1; price = 50000; sellPrice = 14;}; // change the buy/sell price to whatever suits.
++++++++++++++++++++++++++++++++++++++++++++++++++++++++++
UPDATE 21.11.18:
In your description.ext turn on the commanding menu (change to 1):
showHUD[] =
{
    1,   // Scripted HUD (same as showHUD command)
    1,   // Vehicle + soldier info
    1,   // Vehicle radar
    1,   // Vehicle compass
    1,   // Tank direction indicator
    1,  // Commanding menu
    0,  // Group Bar
    1,   // HUD Weapon Cursors
    1   // Squad Radar
};
Then players can see the command ai menu. ++++++++++++++++++++++++++++++++++++++++++++++++++++++++++
Want to make changes?
- Change the XM8 logo at:
your.mission\ExAdClient\XM8\Apps\DeployVehicle\dog.paa
In config.cpp under "class ExAd_Unit", change the line to suit your logo name
logo = "ExAdClient\XM8\Apps\DeployVehicle\dog.paa";
- Change the soldiers at:
your.mission\ExAdClient\XM8\Apps\DeployVehicle\bodyguard.sqf (line 7)
Here are the classnames: https://community.bistudio.com/wiki/Arma_3_CfgVehicles_GUER
Infistar Settings (thanks to @1man): Add "Craft Vehicle" to the allowedActions section:
allowedActions[] = {"Break free","Use AutoLockPicker","Craft Vehicle","Hack UAV"};
Future Updates:
Would love the ai to attack players not in your group. Let me know if you have ideas on how to do this.
Thanks to @Janski for making the cool EXAD XM8 Apps and @BetterDeadThanZed for the custom buildings to server addons script.
Enjoy!! aussie