I have no idea why built this, but I love video games and building things


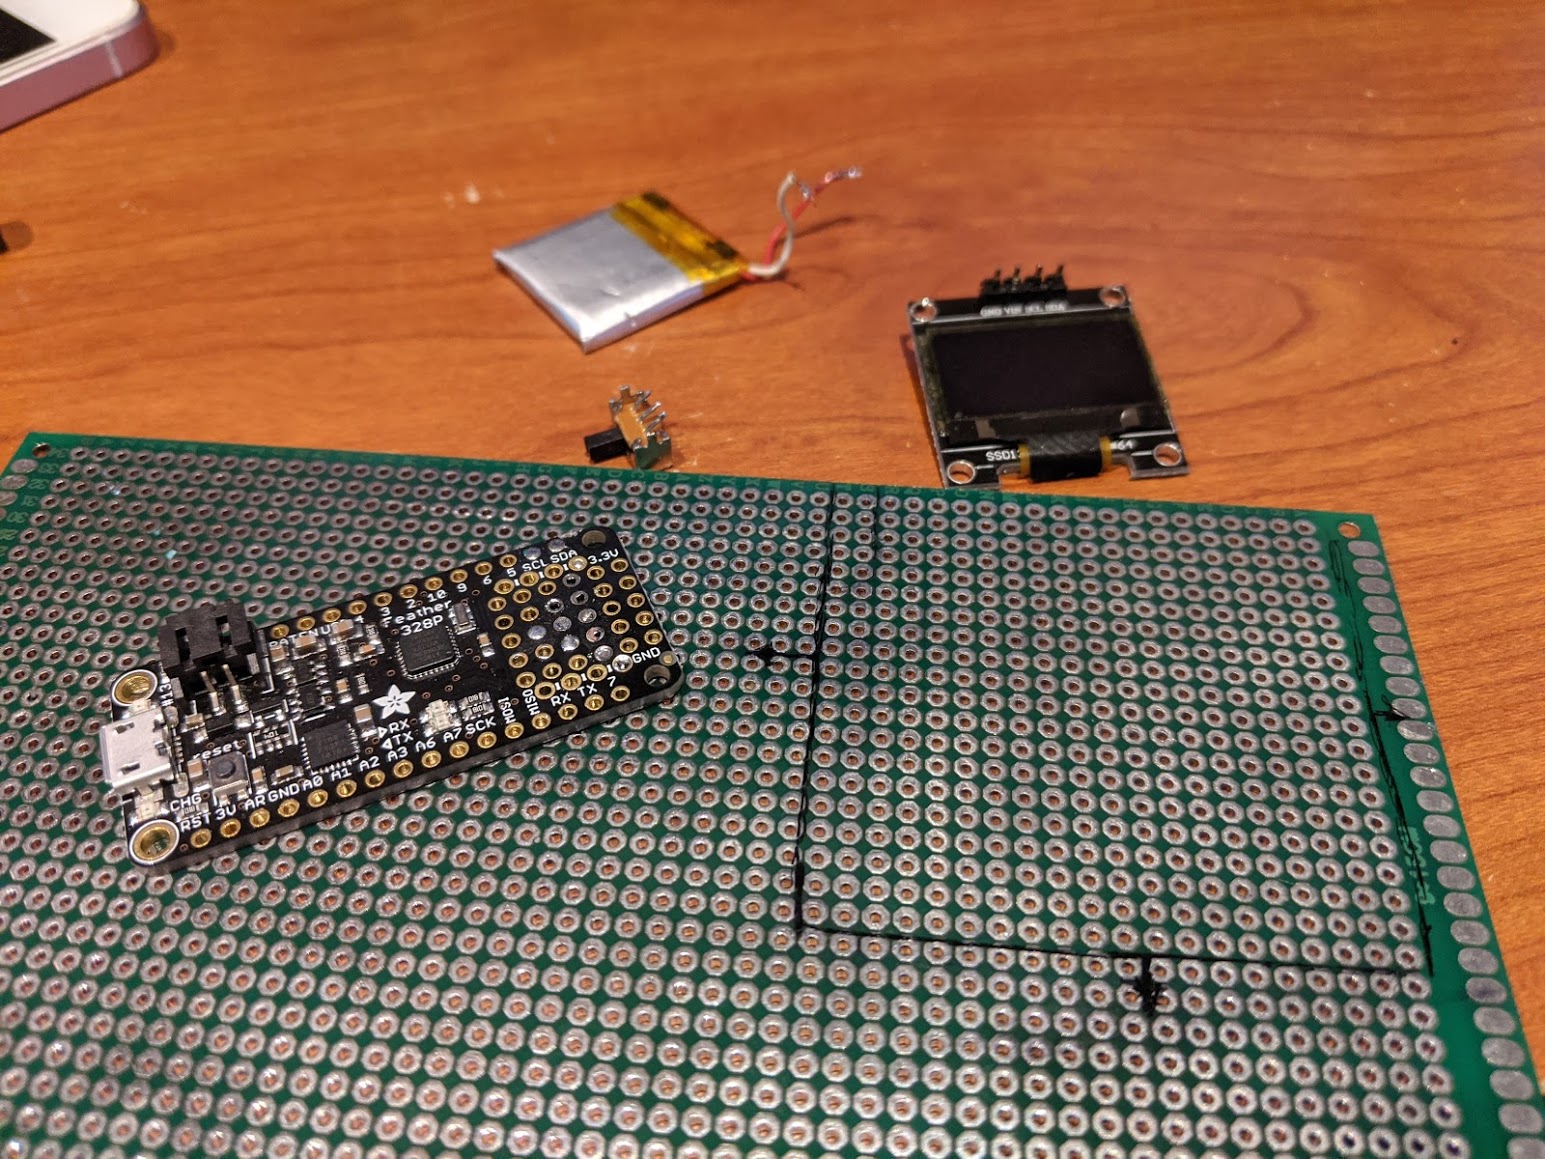
- Some PCB Power Switch
- Adafruit Feather 328P
- 4 Tactile Switches
- Double Sided Protoboard
- Some random LiPo battery I ripped from some portable speaker
- OLED Display 128x64 Pixel I2C, 0.96 inch, SSD1306
- 3D printed parts


Took inspiration from the Nintendo Switch Joy-Con Grip.
Sepearted into two parts PCB mount and Grip (original grip: https://www.thingiverse.com/thing:2774595).


Not too crazy of a build. Measured everything to fit onto a square piece of protoboard that I dremeled.
Followed by some soldering which required some wires because I didn't think too much about the protoboard really only having one double sided layer

The fact that all the componenets fit on one side and that they all fit perfectly makes me sooo happy
Instructions to install SSD1306 and GFX libraries to your Arduino IDE https://learn.adafruit.com/monochrome-oled-breakouts/arduino-library-and-examples
Writing most of the code and installing the libraries was pretty straight foward. But when it comes to rendering images, ohhh boy thats abit of a hassle
You first have to convert your image to only have two colors (OLED only deals with 2) with a high enough contrast between them
Then you have to transform your image into a format that can be stored in your Arduino's flash memory easily. This site https://javl.github.io/image2cpp/ makes that process easy. You can fiddle around with the threshold and image size here
When your done messing with the image settings make sure to set the Code output format to Arduino Code. Then copy and paste the output code to your code
The output code with the array we get has the PROGMEM keyword because we want the image array to be stored in the Arduino's Flash memory where your program resides instead of RAM, because of how little RAM most microcontrollers have
Read more about PROGMEM https://www.arduino.cc/reference/tr/language/variables/utilities/progmem/