Here we will download and start RabbitMQ instance from scratch.
-
Because RabbitMQ is built on Erlang, we must first install Erlang. - Go to the Erlang downloads page and get the erlang binary file for Windows.
-
Now download RabbitMQ installation from the RabbitMQ downloads page.
-
The RabbitMQ command prompt should have been installed as part of the previous installation.It should be opened. To use the command, go to the RabbitMQ Server Location and type it in:
rabbitmq-server start -
If RabbitMQ already running we get the above message

-
The reason you are getting the error might be because of any running instance. To know the status use the following command:
rabbitmqctl.bat status -
If it is up, this could the reason you are getting the error
-
You can use the following command to make the server down:
rabbitmqctl.bat stop

-
Now you can try starting the rabbitmq-server by hitting the following command:
rabbitmq-server start

-
Step in to RabbitMQ Server-->rabbitmq_server-3.9.8-->sbin, which is inside the program files directory in C drive.

-
Use the following command to ask RabbitMQ about its running status:
rabbitmqctl status
-
In order to enable the web interface of Rabbit MQ (by default it is disabled), use the following command:
rabbitmq-plugins enable rabbitmq-management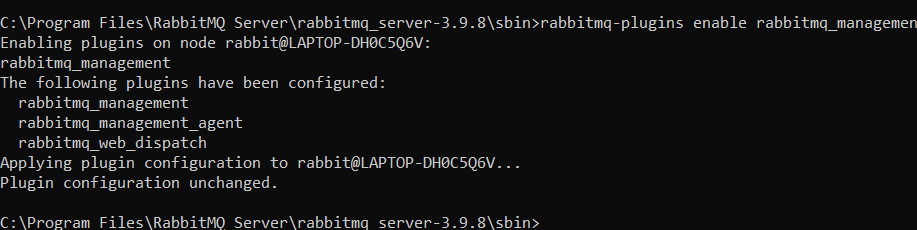
-
Now let's check the running status of RabbitMQ and see if the web interface is enabled
rabbitmqctl status
Here you can see in the listerner's section we have an http listener for web request on port 15672
-
Now open a browser window:
 Login with guest and you are already on the overview page with couple of tabs as shown below