I have been using the Netatmo weather station for years, but unfortunately I can only access the data via the app or browser. However, weather stations from other manufacturers with a display are difficult to read or too bright and simply not smart.
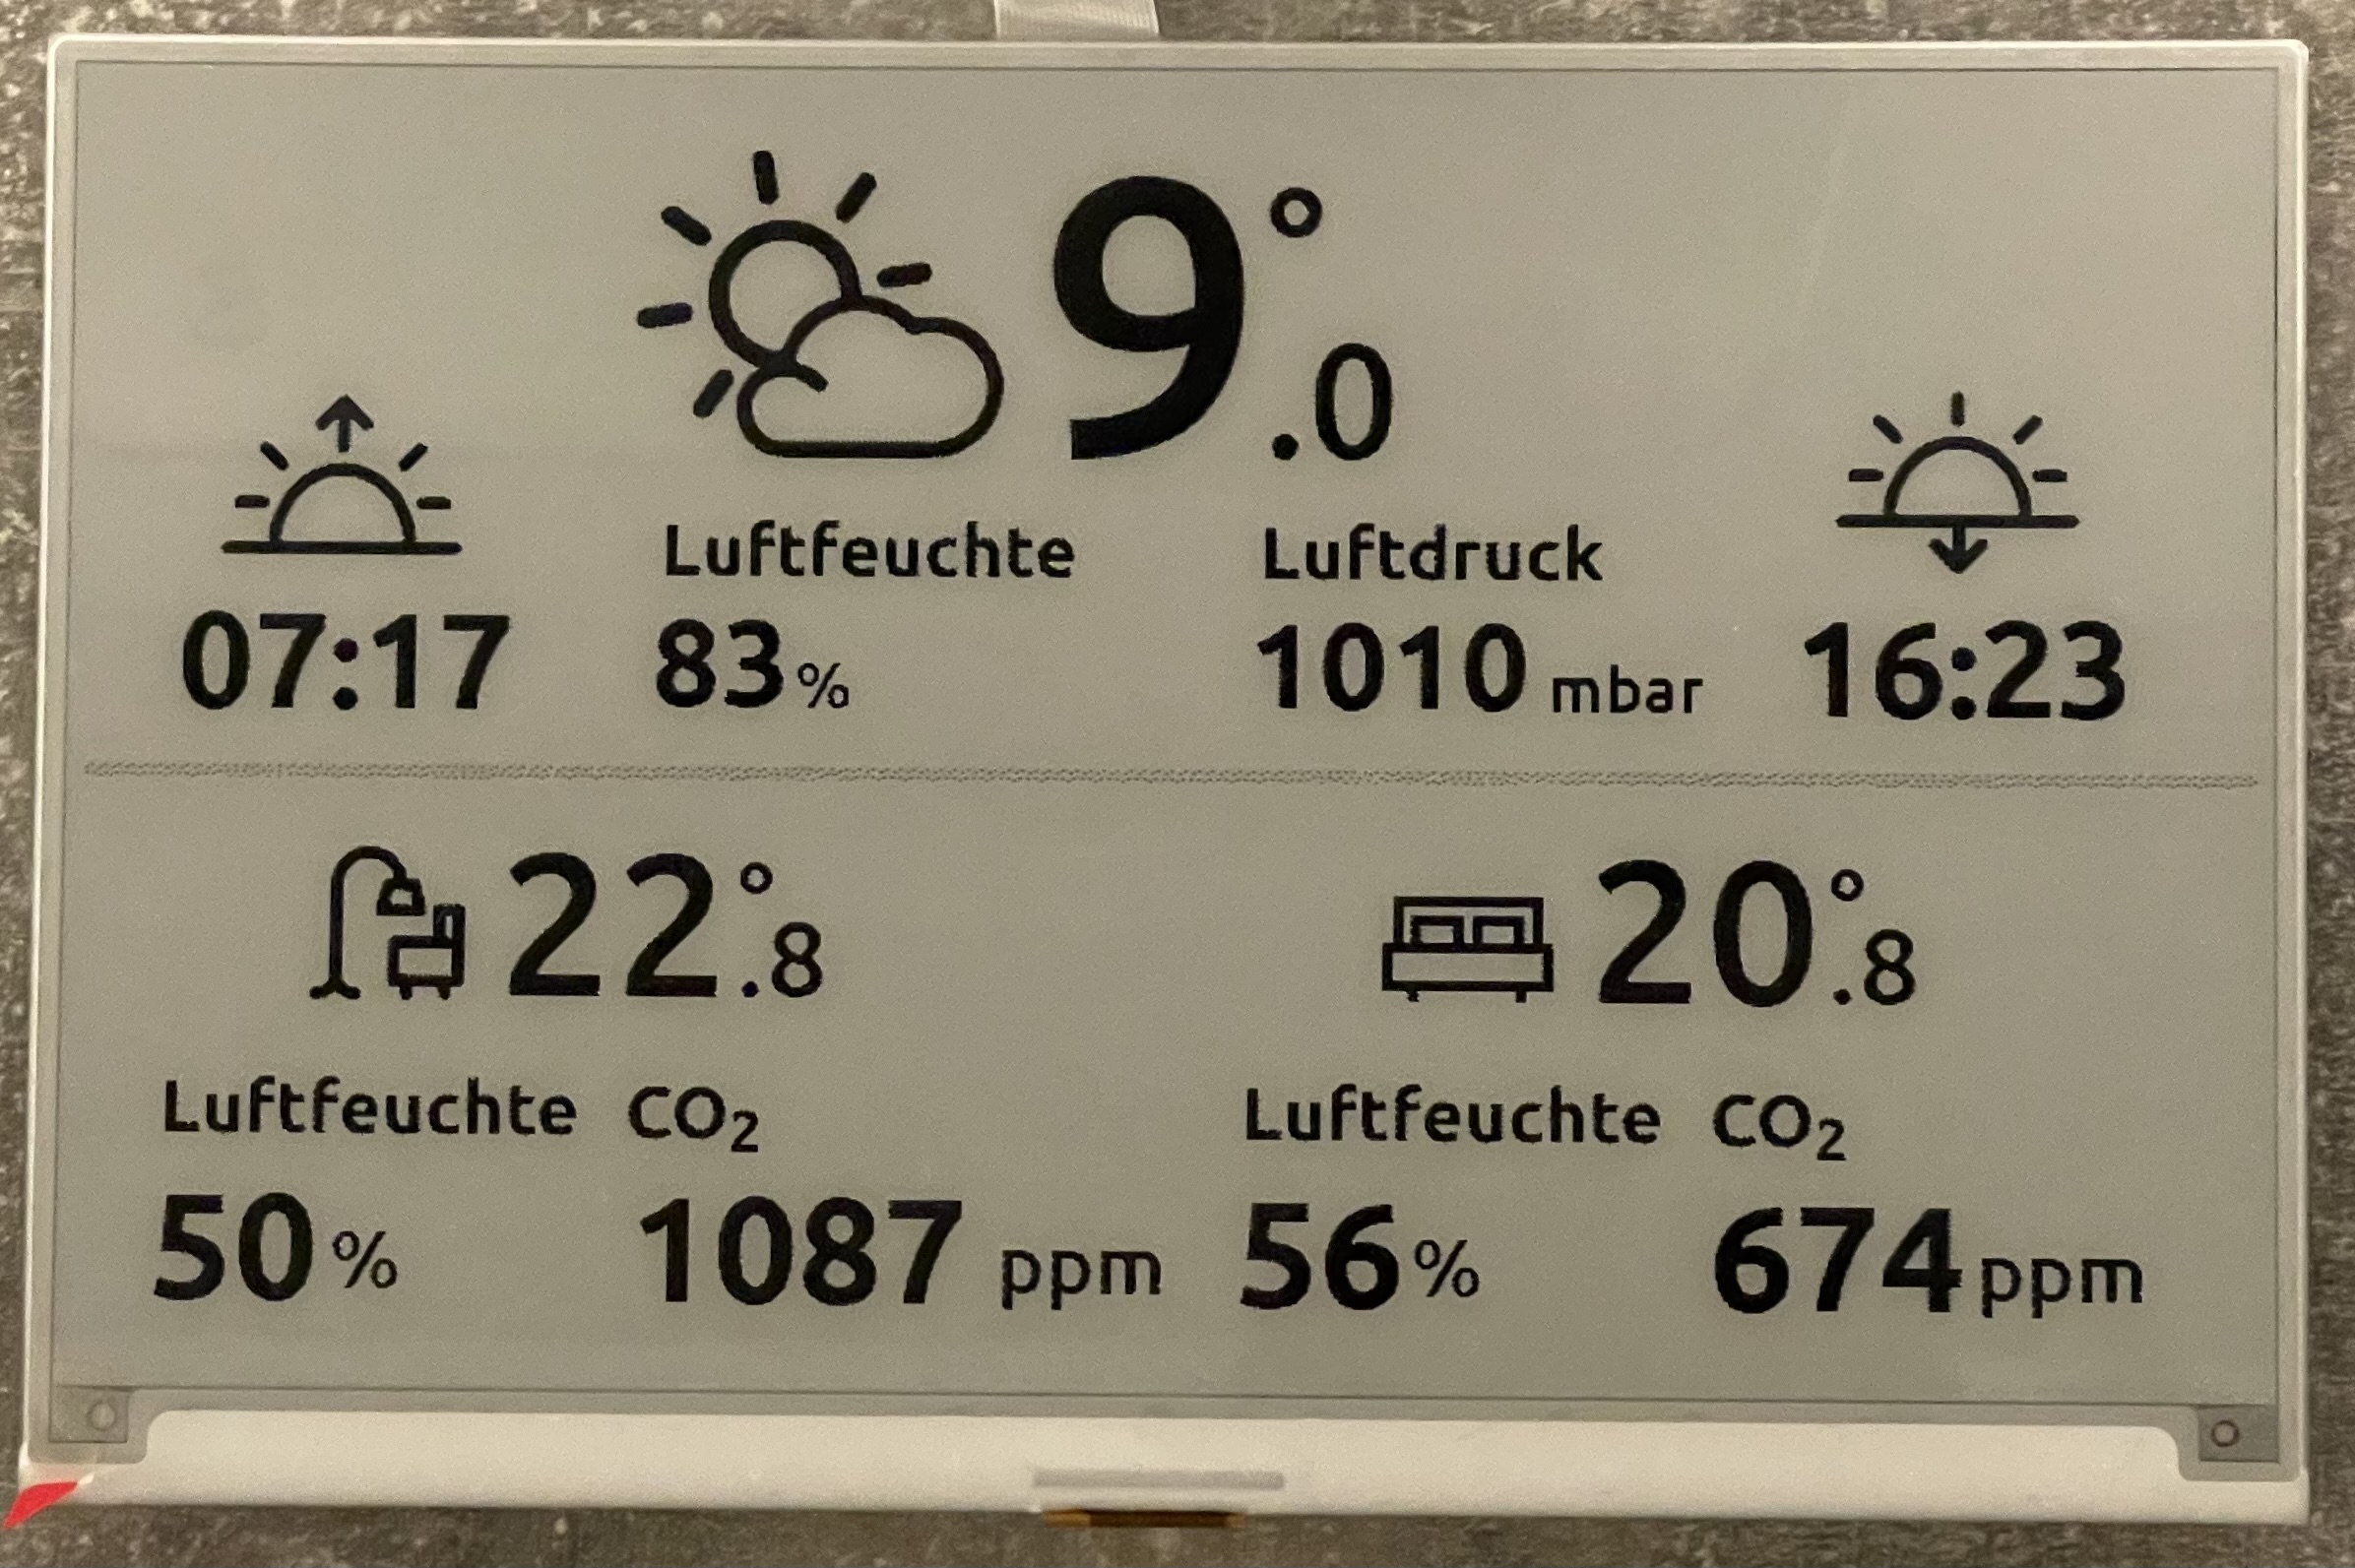
Netatmo brings a lot of data: Temperature, humidity, air pressure, CO2, these can be displayed excellently on a 7.5" eInk display from Waveshare.
What hardware is needed?
- Raspberry PI (doesn't matter which one, but you need an internet connection)
- Micro SD card
- Power cable Micro USB (~2.1A)
- Waveshare 7.5 Inch E-Paper Display HAT Module V2 (for Raspberry PI)
Install Raspberry Pi OS
You can easily install Raspberry Pi OS on a MicroSD card, instructions can be found at the following link. You should use at least 16 GB. (Graphical User Interface is not needed) https://www.raspberrypi.com/software/
Enable SSH and WiFi on your Raspberry Pi
Open the memory card on your computer Create a file called "ssh" without any suffix
If you don't use LAN and want the Raspberry Pi to automatically connect on your local WiFi network: Open the memory card on your computer
Go to folder boot Open the file wpa_supplicant.conf Paste the following and replace the "country", "ssid" and "psk".
ctrl_interface=DIR=/var/run/wpa_supplicant GROUP=netdev
update_config=1
country="your_ISO-3166-1_two-letter_country_code"

network={
    ssid=""your_SSID""
    psk=""your_PSK""
    key_mgmt=WPA-PSK
}
Connect through SSH Open the Terminal or your SSH Client and type the following command
$ ssh pi@raspberrypi.local
Enable the SPI
You can easily enable SPI via the $ raspi-config. You find this setting under Interface > SPI
Install the Netatmo API Python API (from https://github.com/rene-d/netatmo)
$ sudo pip3 install netatmo
Clone or Unzip this project on your Raspberry PI
You can easily unzip or clone this project into your Raspberry Pi home directory.
Configure
Go to the folder of the project on your device and open the file "config.json".
Enter your data from https://dev.netatmo.com, you have to create a new APP for this, the client_id and client_secret will be created automatically. For the device the MAC address of the Netatmo base station is used, you can find it in the app.
username and password are your login data from Netatmo https://dev.netatmo.com
Latitude and longitude for your location you can easily google, these are used to show you the current weather as an icon and sunrise sunset.
{
    "client_id": "XXXXXXXX",
    "client_secret": "XXXXXXXX",
    "username": "mail@domain.de",
    "password": "XXXXXXXX",
    "device": "70:ee:XX:XX:XX",
    "latitude": 52.31,
    "longitude": 13.24
  }
Add a Cronjob to refresh the Screen all X Minutes.
$ crontab -e
*/5 * * * sudo python3 ~/netatmodisplay/start.py >/dev/null 2>&1
In my example, the project is located in the home directory of the user under 'netatmodisplay', the cronjob refreshes the screen every 5 minutes, this is sufficient for Netatmo.
The display should now update itself, but you can also start the program manually $ sudo python3 ~/netatmodisplay/start.py
Have fun with the display.