This is the demo project linked to the blog article available on the Zühlke Blog.
Follow the steps outlined in this document to set up a minimal continuous integration workflow with Fastlane and Jenkins.
- Mac OS 10.11 El Capitan
- Xcode 7.1
- iOS 9 project with cocoapods setup for Alamofire 3.1.1
- RubyGems 2.4.8
- Fastlane 1.37.0
- Jenkins 1.634
- Cocoapods 0.39.0
Before installing the CI server, the lane needs to run on your machine. Make sure the following works before starting to [configure Jenkins](## Install and configure Jenkins).
See the official documentation: https://github.com/fastlane/fastlane#installation
At the time of the writing:
sudo gem install fastlane --verbosexcode-select --install- If you experience slow launch times, try
gem cleanup - The lane we will be using also requires Cocoapods to be installed:
sudo gem install cocoapods
Initialize Fastlane with fastlane init, in the root of your Xcode project. Enter an App Identifier, your apple ID and the scheme name of the App. If you want to start simple, do not setup deliver, snapshot and sigh. They can be initialized later on, for example with deliver init. Check the full console output of my installtion for more details.
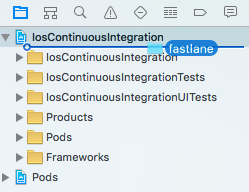
For an easier access to Fastlane files, drag the fastlane folder inside your Xcode project.
Open fastlane/Fastfile and create a simple testing lane. These are the key elements:
-
Build the app with:
gym(scheme: "IosContinuousIntegration", workspace: "IosContinuousIntegration.xcworkspace", use_legacy_build_api: true)workspaceallows to build a project where cocoapoads are installed.- if a
workspaceis specified, theschemeis mandatory. There are indeed 3 schemes in this demo app: IosContinuousIntegration, Alamofire and Pods. use_legacy_build_apifixes an issue of the Apple build tool
-
Run the tests with:
scan(device: "iPhone 6s")devicedefines which simulator will run the testsscancan be configured through a Scanfile. In this example, it is used to set the scheme of the application.
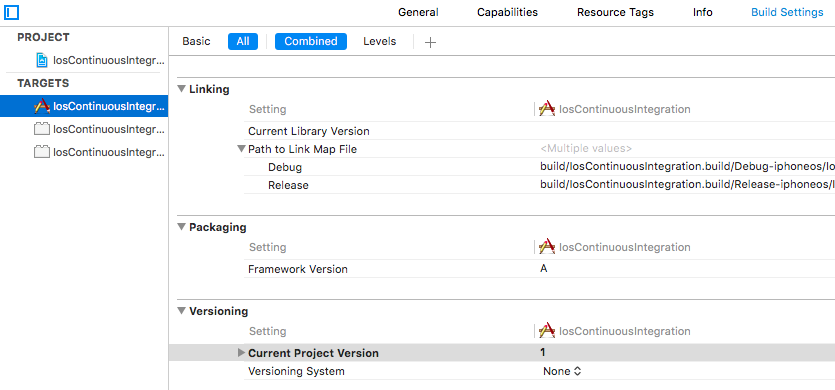
The lane called test uses the action increment_build_number which requires a Build number set in Xcode. Set it by clicking on the target / Build Settings tab and search for CURRENT_PROJECT_VERSION
Make sure the lane is working by running fastlane ios test. Thanks to gym, an archive will be added in the Xcode organizer. The Unit and UI tests will also be executed in the simulator.
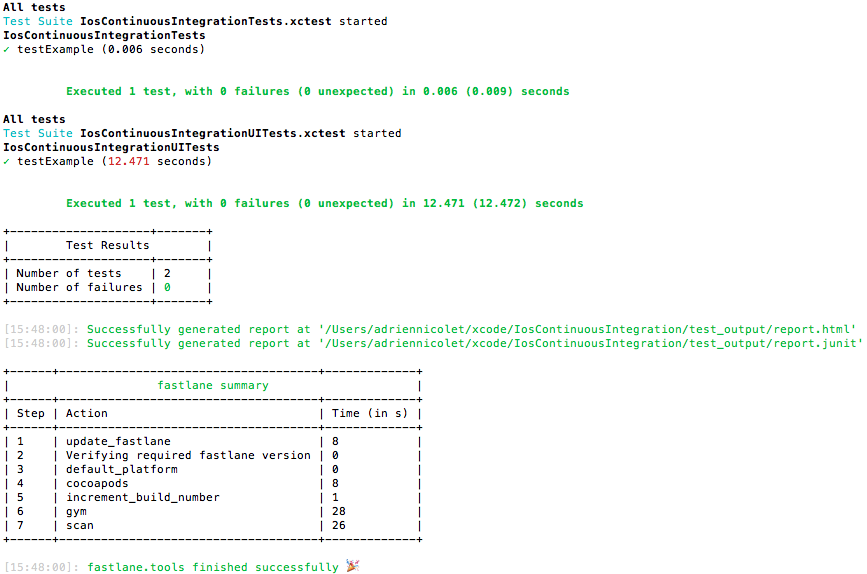
fastlane ios test. 1 Unit Test and 1 UI Test have been executed.
Now that you have a lane running the tests, you need a CI server executing it automatically for every commit.
Note: to be able to run tests for an iOS project, you need a Mac with Xcode and Fastlane installed. In a real-life setup, Jenkins runs on a centralized server, where every developer can check the current state of the project.
- Install Jenkins:
brew update && brew install jenkins - Start Jenkins:
jenkins - Browse Jenkins on http://localhost:8080
- Install Jenkins plugins:
- On http://localhost:8080, go to Manage Jenkins / Manage plugins / Available
- Search for the following plugins and click "Download and install after restart":
- AnsiColor: show colored output of Fastlane log files
- GIT: allow the use of Git as a build SCM
- Slack Notification Plugin: can publish build status to Slack channels.
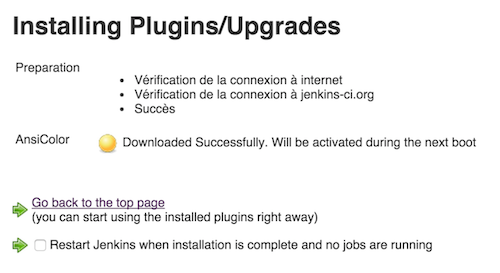
- Restart Jenkins by checking "Restart Jenkins when installation is complete and no jobs are running".
What can be seen while installing a plugin.
- The installed plugins are visible in Manage Jenkins / Manage plugins / Installed.
The build job is what will start the lane for every new commit pushed to the repository.
-
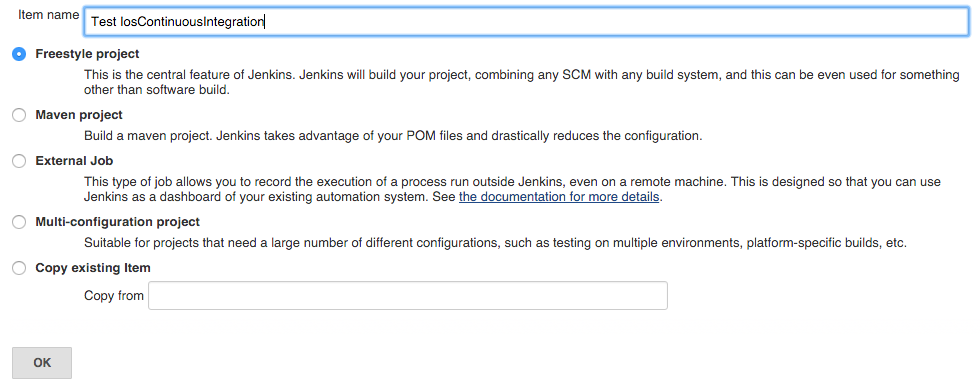
New Item / Freestyle project, enter a build job name and click ok
-
Configure Source Code Management by choosing GIT and entering the SSH URL of the repository.
-
If you get a Permission denied error, make sure the user running Jenkins has an SSH key set in his Github profile.
-
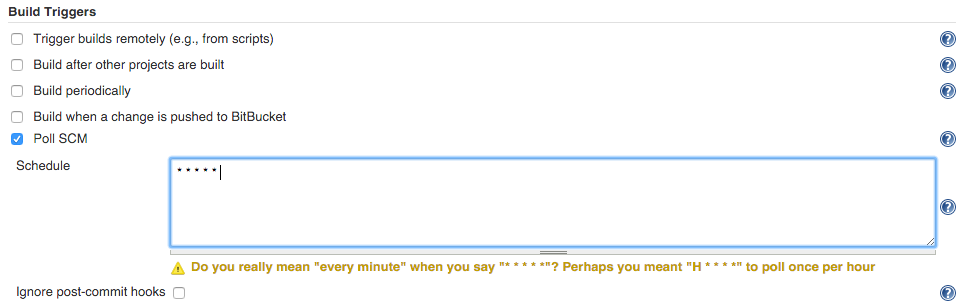
Configure Build Triggers to periodically check whether there is a new commit in the repo. We use here the polling approach from Jenkins to the repository. Push notifications from the repository to Jenkins is another alternative.
-
Configure AnsiColor to get the right colors in the console output of Jenkins.
-
Configure Slack Notification Plugin so that every information about the build gets posted in a channel.
-
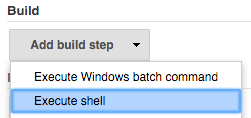
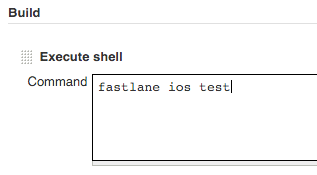
Add a build step which will run the lane:
-
Configure the build step by writing the same command we ran locally:
-
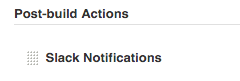
Add a post-build action to enable Slack notifications
-
Click save to persist the changes.


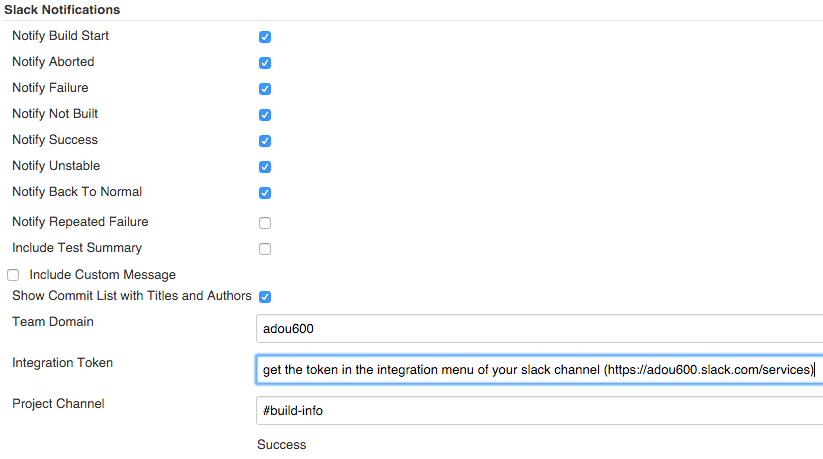
Don't forget to activate a Jenkins Integration in your Slack channel.
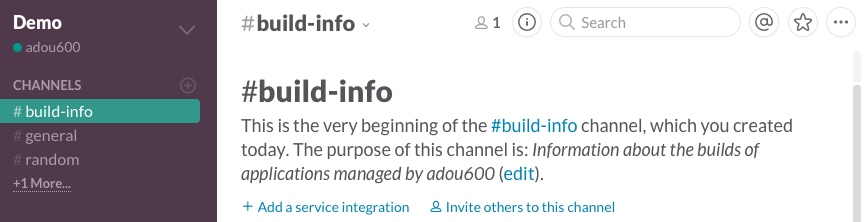
Posting all the build info into a Slack channel allows the team to get informed about build failures. They can discuss about it and get notified when everything is back to normal. Slack works on every OS and push notifications can be enable on the Slack's mobile app.
-
On Jenkins Webapp, click Build Now to make sure the build step is working.
-
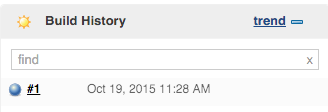
If everything worked as expected, you should see a blue bubble in the left of your build history in Jenkins.
Example of a build history on Jenkins containing only 1 successful build
-
Click on the build number to get more information like the full console output.
-
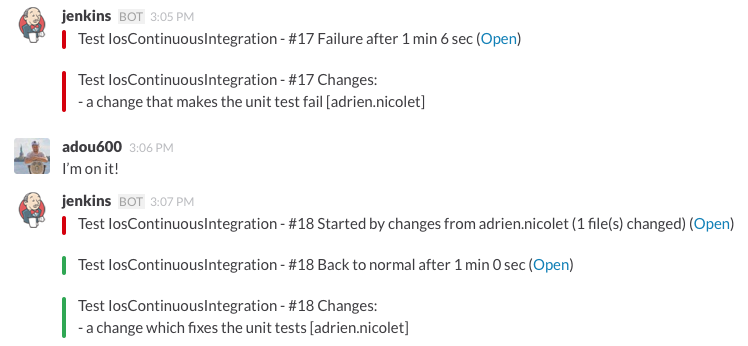
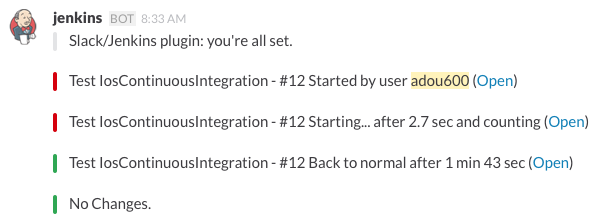
Notifications should also have been sent to the configured slack channel.
What you should see in your Slack channel after this manual test build
-
As a final test, find a way to make your tests fail, and then commit and push the change. After max 1 minute, the build job should automatically start. After about a minute or two, the build history should contain a red bubble, identifying a failed build.
-
Fix the test, commit and push again and make sure the Jenkins returns to blue.
Example of a build history on Jenkins, with 2 sussessful builds (#1 and #3) and 1 failed build (#2)

- Continous Delivery Book, by Jez Humble and David Farley: http://martinfowler.com/books/continuousDelivery.html
- Integrate Jenkins and Fastlane, by Felix Krause: https://github.com/KrauseFx/fastlane/blob/master/docs/Jenkins.md
- Setting up Jenkins on a Mac, by Eric Cerney: http://www.cimgf.com/2015/05/26/setting-up-jenkins-ci-on-a-mac-2/
- Automated UI testing in Xcode 7, by Richard North: https://rnorth.org/11/automated-ui-testing-in-xcode-7
- Fastlane is now part of Fabric, by Felix Krause: https://krausefx.com/blog/fastlane-is-now-part-of-fabric
- Apple headhunts UCLAN student: http://www.uclan.ac.uk/news/apple_headhunts_uclan_student.php