


- PHP 8.0+
- XenForo 2.2+
- BTCPay Server (self-hosted / third party)
- Store On BTCPay Server
- Connected Wallet on BTCPay Server
- The add-on does not support recurring payments
- The add-on does not support refunds
- Download the add-on from the releases page
- Install the add-on via control panel or manually
- Go to XenForo Admin Panel (/admin.php)
- Click on [Setup] -> [Payment Profiles]
- Click on [Add Payment Profile]
- Choose "BTCPay Server" in the "Provider" dropdown
- Click on "Proceed..."
- In the field "Host", enter the full URL of your host (including the https) – https://btcpay.mydomain.com
- Go to your BTCPay Server
- Click on [Account] -> Manage Account on the bottom left
- Go to the tab "API Keys"
- Click [Generate Key]
- Check the following permissions:
- Create an invoice (btcpay.store.cancreateinvoice)
- View your stores (btcpay.store.canviewstoresettings)
- Below the permissions click on [Select specific stores] and select the store created already (this ensures the API key is restricted to this single store)
- Click on [Generate API Key]
- Copy the generated API Key to your BTCPay Server payment profile settings form
- Go to your BTCPay Server
- Click on [Settings]
- Go to the tab "Webhooks"
- Click [Create Webhook]
- Enter the following URL, replacing "https://mydomain.com" with your forum URL, in the "Payload URL" field: https://mydomain.com/payment_callback.php?_xfProvider=btcPayServer
- Below "Which events would you like to trigger this webhook?" choose "Send me specific events" and select "An invoice has been settled"
- Click on the eye icon near the "Secret" field and copy the secret to your BTCPay Server payment profile settings form
- Click on [Add Webhook]
Note: When testing a webhook, it may produce a 403 error - this is normal.
- Go to your BTCPay Server
- Click on [Settings]
- Copy the "Store ID" to your BTCPay Server payment profile settings form
- Click on [Save]
You can use this integration wherever payment goes through XenForo payment profiles.
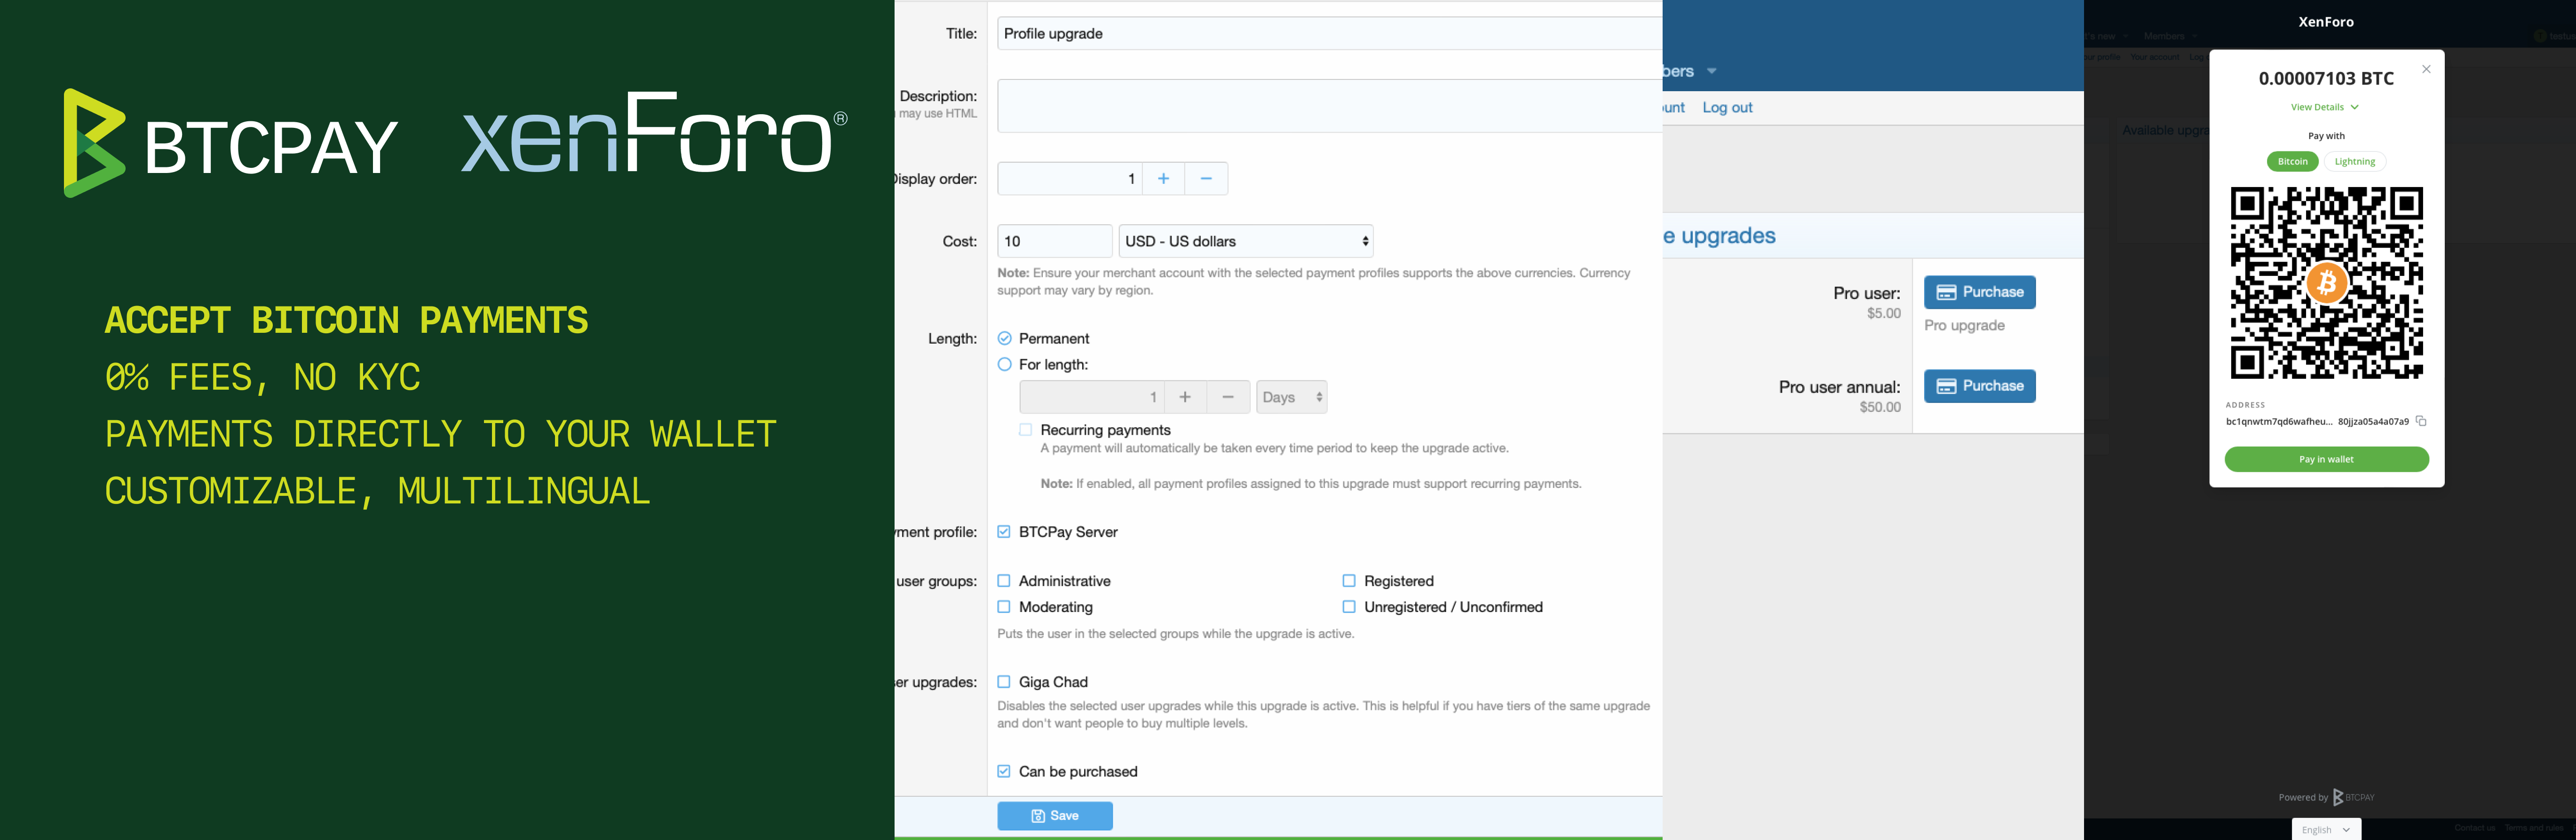
In most cases, a newly created payment profile requires activation in certain contexts. Let's look at an example of activating a newly created profile for user upgrades:
- Go to XenForo Admin Panel (/admin.php)
- Click on [Setup] -> [Users] -> [Users customization]-> [User upgrades]
- Click on the user upgrade you want to activate the payment profile for
- Select the payment profile you created in the "Payment profile" select box
- Click on [Save]