Create and deploy your own smart contract to mint a video NFT with Livepeer.
If you don't want to use Livepeer's contract, you can deploy your own contract. One thing to note is that you must deploy your contract to the Polygon network in order to use the UI to mint your NFT.
We'll be walking through deploying an ERC721 Contract with Alchemy, an RPC provider which runs the node to give you access to write to the blockchain.
- Sign up for a free account with Alchemy here.
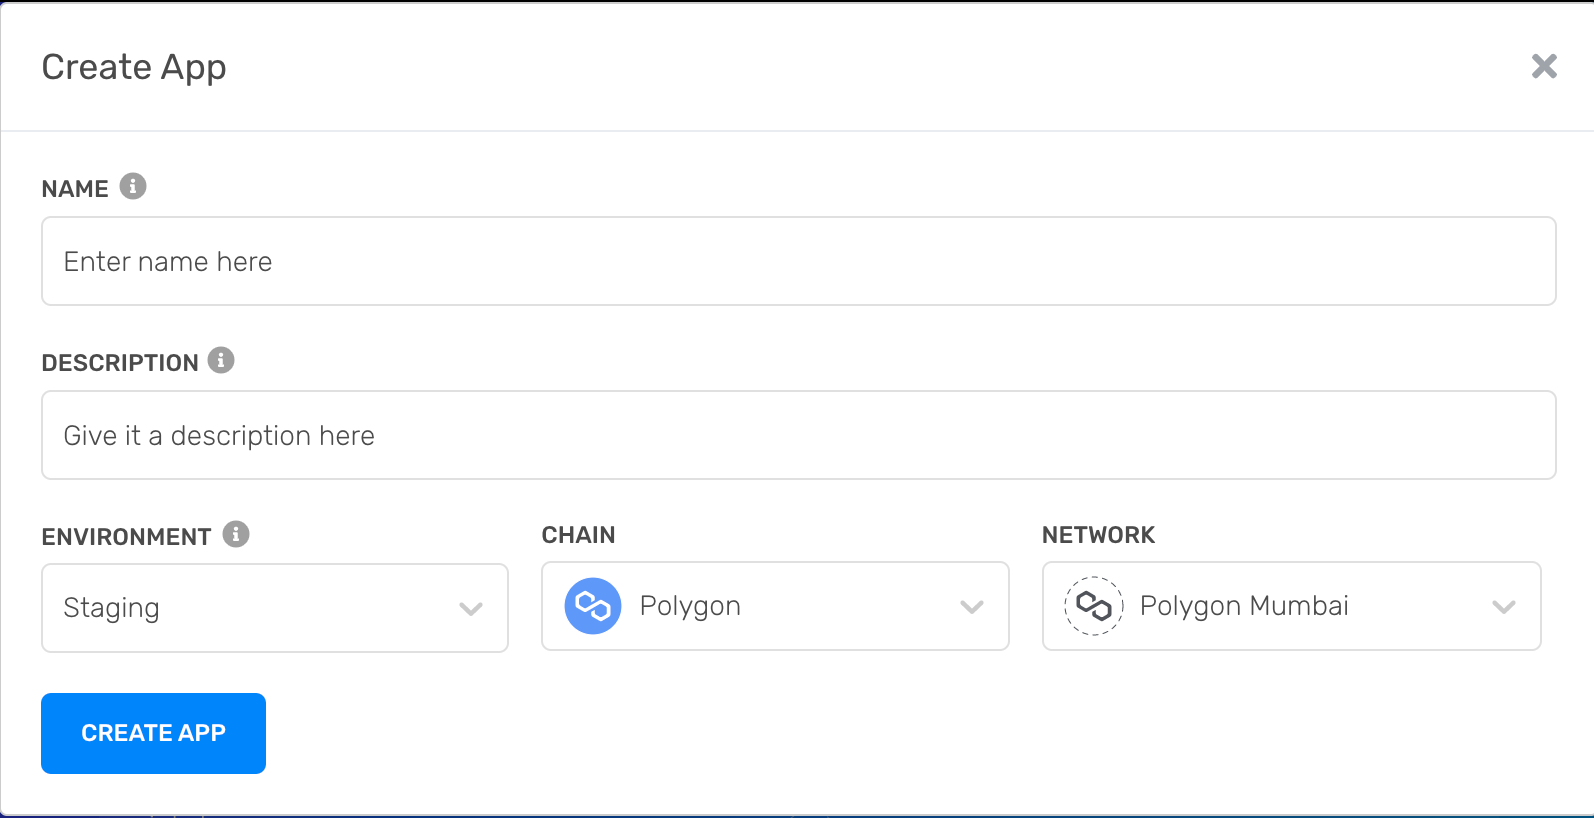
- Once signed in, create an app in the dashboard. For network, select Polygon Mumbai net so that you don't have to spend real money deploying your smart contract.
Once you're confident in your contract, you can repeat these steps and set it to Polygon mainnet.

Metamask Network Parameters
Network Name: Mumbai Testnet
New RPC URL: https://rpc-mumbai.maticvigil.com
Chain ID: 80001
Currency Symbol: MATIC
Block Explorer URL: https://polygonscan.com/

Double check that the network was added to your wallet:

- Get some fake MATIC from a facuet. In order to deploy your contract to the Polygon blockchain, your wallet address needs to have some MATIC to make the transaction. Because we're on the Mumbai Testnet, we'll use fake MATIC which you can get from a faucet like this one.
- Copy your wallet address from Metamask


Now that we're all set up, we're ready to start coding our smart contract.
- In your terminal, navigate to your Desktop (or whatever directory you want to use to house this project's code.)
- Create a new folder and then move into that new directory by running the following commands, one after the other:
mkdir project-name-herecd project-name-here - Initalize your project:
npm init - Enter the information requested, but it doesn't really matter how you answer these. Approve the package.json at the end and then you're good to go!
- Download Hardhat, a devleopment envirtonment to compile and deploy your smart contracts by running this command in the terminal in your project directory:
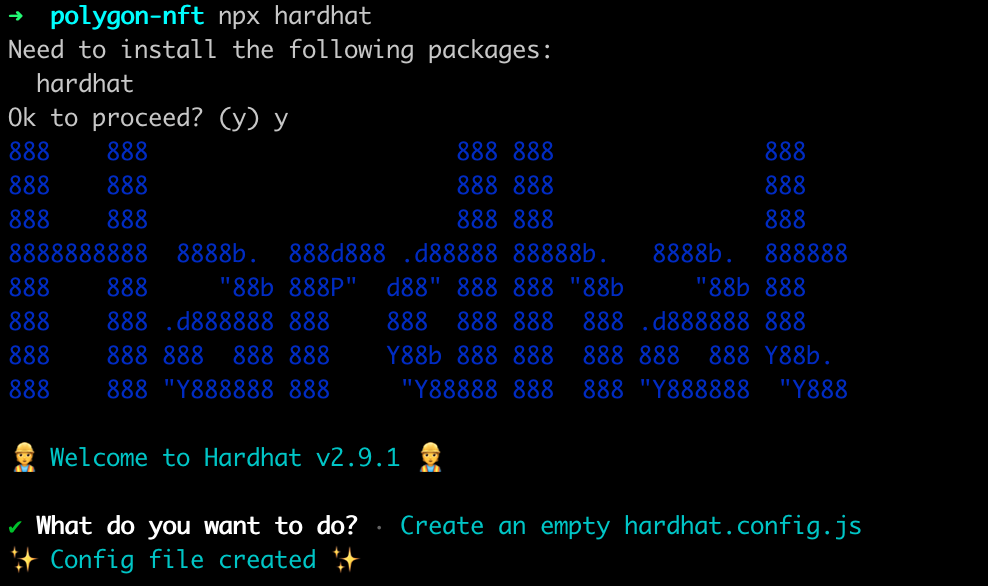
npm install --save-dev hardhat - Create a Hardhat project by running the following command in your project directory:
npx hardhat - Select
Create an empty hardhat.config.js
-
Our smart contract code will be based on the OpenZepplin ERC721 implementation. To get access to the classe from OpenZepplin contracts, run the following command in the terminal in your project directory:
npm install @openzeppelin/contracts@3.1.0-solc-0.7 -
NEED TO FIGURE OUT HOW TO GET RID OF THIS ERROR, WHICH PACKAGE DO I NEED TO INSTALL TO GET ACCESS TO THESE CLASSES<

pragma solidity ^0.8.0;

import "@openzeppelin/contracts/token/ERC721/ERC721.sol";
import "@openzeppelin/contracts/utils/Counters.sol";
import "@openzeppelin/contracts/token/ERC721/extensions/ERC721URIStorage.sol";

contract VideoNFT is ERC721URIStorage {
    using Counters for Counters.Counter;
    Counters.Counter private _tokenIds;

    constructor() ERC721("Video NFT", "VIDEO") {}

    event Mint(
        address indexed sender,
        address indexed owner,
        string tokenURI,
        uint256 tokenId
    );

    function mint(address owner, string memory tokenURI)
        public
        returns (uint256)
    {
        require(
            owner == msg.sender,
            "Can only mint NFT for yourself on default contract"
        );
        _tokenIds.increment();

        uint256 newItemId = _tokenIds.current();
        _mint(owner, newItemId);
        _setTokenURI(newItemId, tokenURI);

        emit Mint(msg.sender, owner, tokenURI, newItemId);
        return newItemId;
    }

    function uri(uint256 tokenId) public view returns (string memory) {
        return tokenURI(tokenId);
    }
}Our contract is all done, now we have to deploy it. In order to perform any transaction on the blockchain, you need to sign the signature using your private key. Because we want to sign a tranaction from our smart contract, we need to give our program access to this key. You don't want to expose this private key to anyone when you push your project up to Github. We can give our app access to this key while protecting it by using something like Dotenv which loads a module that loads environemnt variables from a .env file.
- Install the dotenv package into your project by running the following command in the terminal:
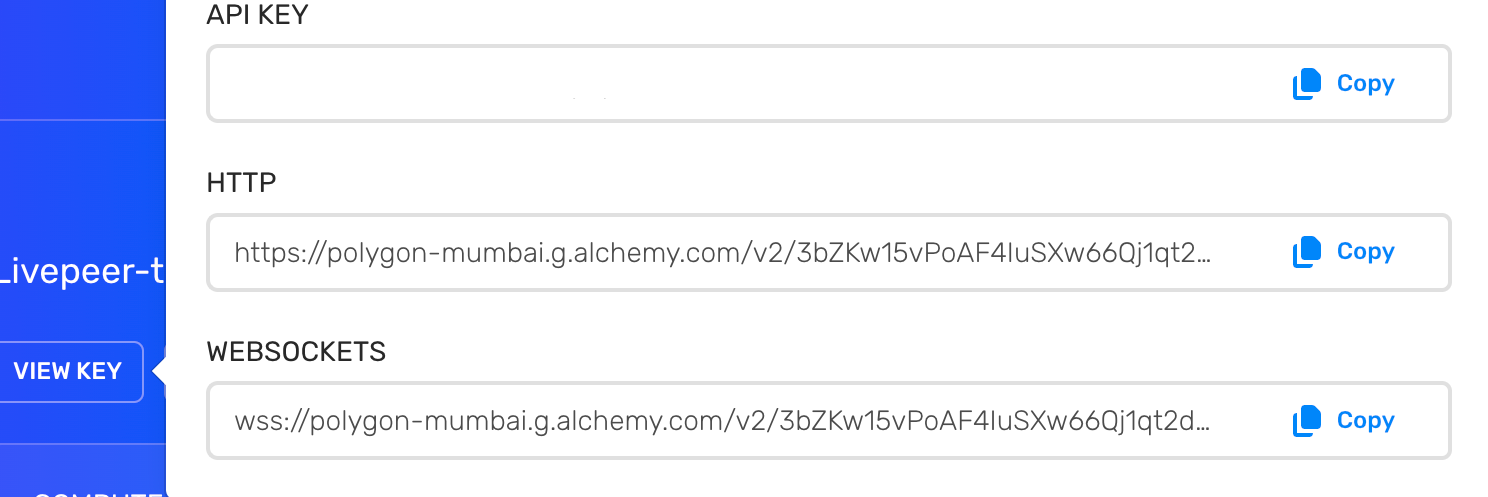
npm install dotenv --save - Copy your app's HTTP URL API from Alchemy.
- Export your private key from Metamask. Instructions for how to do that can be found here.
- Go to your newly created .env file in your project in your code editor and update the file to look like this:
API_URL = "https://polygon-mumbai.g.alchemy.com/v2/your-http-here"
PRIVATE_KEY = "your-metamask-private-key-here"
- Instal Ether.js, a library for interacting with the blockchain:
npm install --save-dev @nomiclabs/hardhat-ethers "ethers@^5.0.0" - Update your hardhat.config.js file to tell your hardhat environment how to find your private keys, as well as update our dependecies.
/**
* @type import('hardhat/config').HardhatUserConfig
*/
require('dotenv').config();
require("@nomiclabs/hardhat-ethers");
const { API_URL, PRIVATE_KEY } = process.env;
module.exports = {
   solidity: "0.7.3",
   defaultNetwork: "matic",
   networks: {
      hardhat: {},
      matic: {
         url: API_URL,
         accounts: [`0x${PRIVATE_KEY}`]
      }
   },
}- Now that everything is configured, compile your contract by running this command in the terminal:
npx hardhat compile - Write the script to deploy your smart contract to the network. You can do this by creating afile inside the scripts folder called
deploy.js
async function main() {
   // Grab the contract factory
   const MyNFT = await ethers.getContractFactory("MyNFT");

   // Start deployment, returning a promise that resolves to a contract object
   const myNFT = await MyNFT.deploy(); // Instance of the contract
   console.log("Contract deployed to address:", myNFT.address);
}

main()
  .then(() => process.exit(0))
  .catch(error => {
    console.error(error);
    process.exit(1);
});- You're finally ready to execute this script and deploy your contract. You can do that by running the following command in your terminal:
npx hardhat run scripts/deploy.js --network matic - Once your contract is deployed, you'll get the address of where your contract lives. Copy this address and paste it in the Livepeer UI we walked through earlier.