This workshop will walk you through creating your first subgraph. In this workshop, we'll be building a subgraph API for Fame Lady Squad, an NFT project whose metadata is stored on IPFS. To read more about what The Graph is and its role in the web3 stack, check out this blog post.

Query the subgraph here.
The repo with the code for this project can be found here.
A cheatsheet for working with AssemblyScript in your mappings.ts file.
Note: The Graph offers two products: the Hosted Service and Subgraph Studio. Subgraph Studio is the fully decentralized version of the Hosted Service. Hosted Service will eventually be sunset once Studio reaches feature parity. Because our project’s metadata is stored in IPFS, we will be using the Hosted Service.
You can spin up a subgraph in just a few minutes with the help of The Graph’s CLI.
1. Head to the Hosted Service and sign up with Github.
2. Navigate to “My Dashboard”, then hit “Add subgraph” and give it a name and description. The other details are optional. Then hit “Create Subgraph” at the bottom of the page. You’ll notice you’re given an access token which you’ll need to deploy your subgraph later.
3. Install The Graph CLI with this command: npm install -g @graphprotocol/graph-cli
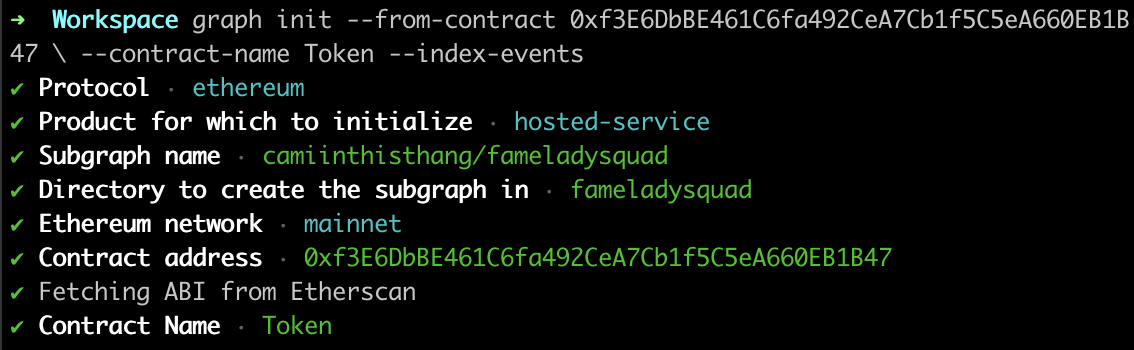
4. Initialize your subgraph via the CLI command:
graph init --from-contract 0xf3E6DbBE461C6fa492CeA7Cb1f5C5eA660EB1B47 \ --contract-name Token --index-events
By using the index-events flag, the CLI will automatically generate some code based on the events emitted from the contract address you passed in.
You’ll be prompted to fill out additional details about your subgraph like the protocol, product, etc. When you fill out the subgraph name, it should be in the following format: yourgithubhandle/subgraphname (the name you used when creating your subgraph in step 2.)
5. Open the repo in a code editor. In your schema.graphql file, define your schema using the GraphQL interface definition language. The only major difference between standard GraphQL schema and The Graph is the @entity directive as well as the data types that are unique to The Graph. For a complete overview, check out this page from the docs. In the schema, you should model the entities and their properties you wish to make available for querying against your data model. You should avoid modeling entities around events. The way that you model your entities in your schema is entirely up to you and what you are trying to build.
Note: To see what attributes are available as metadata, you can grab the IPFS hash and read all the properties. This article explains how to view the metadata of a token/collection using the IPFS hash.
Since we're building an API for Fame Lady Squad, I'll model the properties you can query for around the metadata available for this collection:
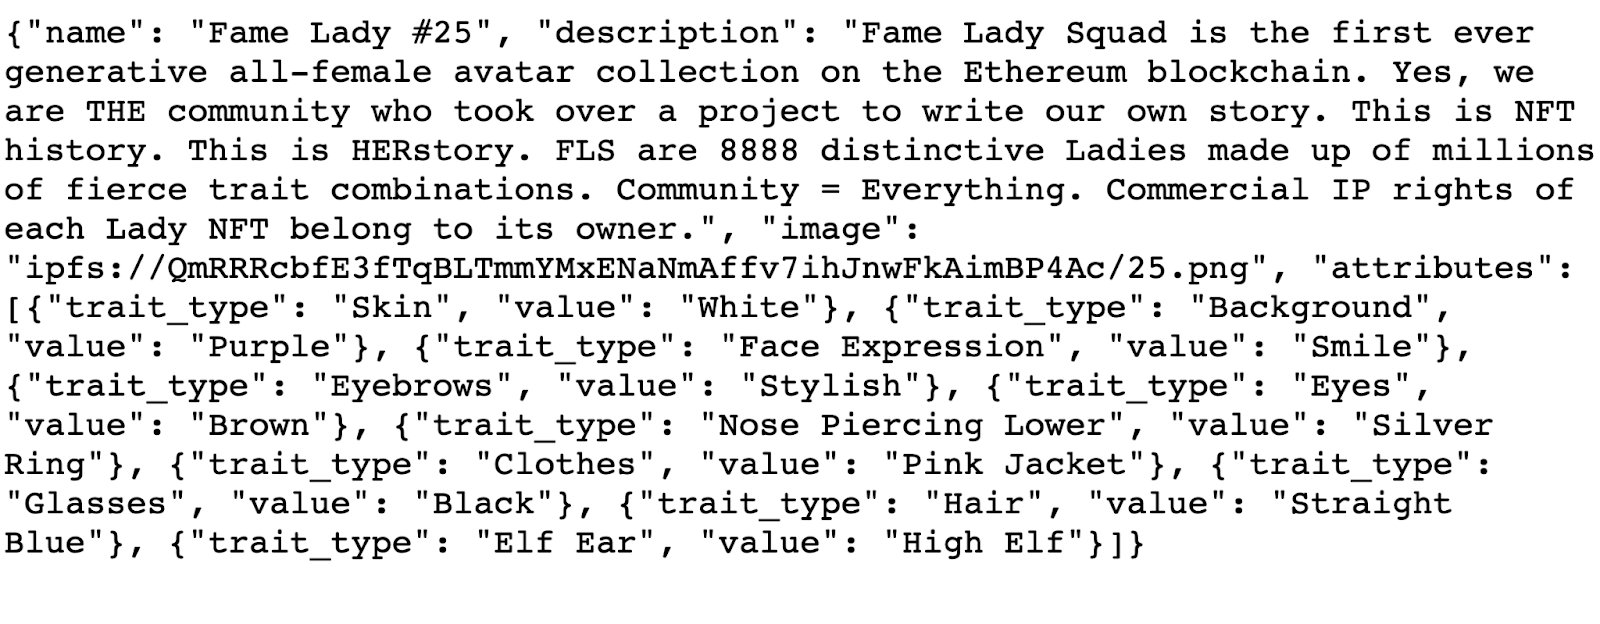
Tip: Throw this into an online JSON formatter to be able to view this data more easily.
Because we want to be able to query for a Lady that matches certain features, we're going to model the facial expression, eye color, skin color, and hair style in the schema like this:
type Lady @entity {
  id: ID!
  tokenID: BigInt!
  tokenURI: String!
  owner: User
  name: String
  faceExpression: String
  hairStyle: String
  skinColor: String
  eyeColor: String
}
Because I want to be able to query for information about the owner of a Lady, we'll could create a User entity that is derived from the Lady at the Owner field. For more on declaring relationships between entities, check out this doc. Make sure you save your changes in this file when you’re done.
type User @entity {
  id: ID! # wallet address
  Ladies: [Lady!] @derivedFrom(field: "owner")
}
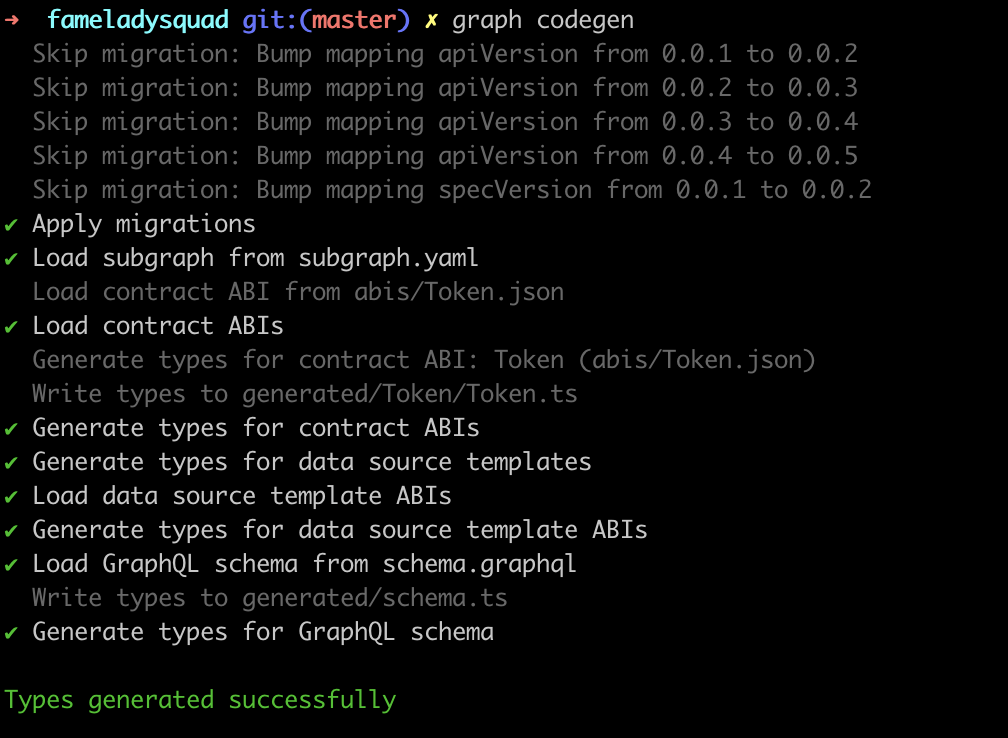
6. To get some free code out of the box by running this command: graph codegen. This command will provide you with some AssemblyScript code in your mappings.ts file as well as code in your subgraph.yaml file. The mappings.ts file is responsible for writing the event handler functions - the functions that you want to execute when a certain event is emitted. The subgraph.yaml file is responsible for defining the data sources, events you want to listen to, more on that below. The generated code comes from a combination of your schema and the contract ABIs which are gathered automatically from your data source defined in your subgraph.yaml file.
7. In the .yaml file, you will define the following:
- The events you want to listen for. In
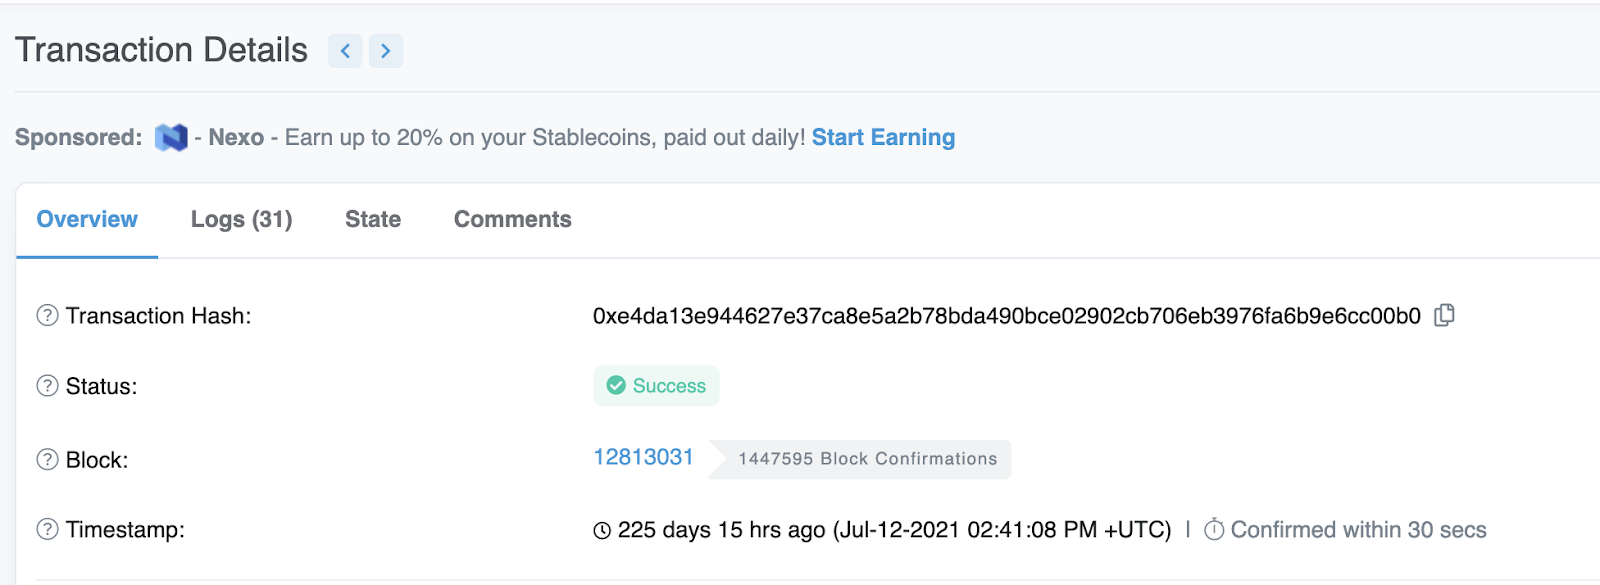
dataSources.mapping.eventHandlers, delete any events that you don’t want to listen for. With each event, there is anhandlerfunction that is named. These are the functions that you will define inmappings.ts. - The starting block for which the indexer should start indexing. If omitted, your subgraph will start looking for your events starting from the very first block. Find this value on etherscan by going to the first page of transactions, clicking the
transaction IDand looking for the block number.
- The names of the entities you want to query information about. Update the name of your entities to match the entities you defined in your schema at
dataSources.mapping.entities.

8. Lastly, write mappings in AssemblyScript which transforms the raw Ethereum data read from the blockchain into the entities defined in your schema. This is the trickiest part because there are some concepts that are unique to The Graph Node. The big idea here is to work with raw data from the blockchain and apply logic to transform it to meet the needs of your schema.
Example: Following the Fame Lady example we talked about above, the raw data we will get from the blockchain will be using the getter methods that come standard with an ERC-721 implementation. Because of this, the only data that will be able to read directly from the blockchain will be the tokenID, and the owner. In our mappings, we have to work with these two pieces of data to resolve the rest of the properties: hairStyle, skinColor, eyeColor, and faceExpression. Using the tokenID, we would need to use the IPFS hash to see where this metadata is stored. Once we access this, we need to save this data to a variable, and then save this variable to The Graph node to make it accessible to query. Check out the source code for this here.
9. If you’ve made it this far give yourself a pat on the back! Now you’re ready to deploy your subgraph so that you can use your API in your dapp. First, you must authenticate. Copy your access token by navigating to “My Dashboard.” Then, run this command in the terminal: graph auth https://api.thegraph.com/deploy/ <ACCESS_TOKEN>
10. Build your subgraph with graph build Deploy your subgraph with this command: yarn deploy
11. When the subgraph is deployed, the UI will update and you’ll be able to make queries in the playground similar to a GraphQL playground.