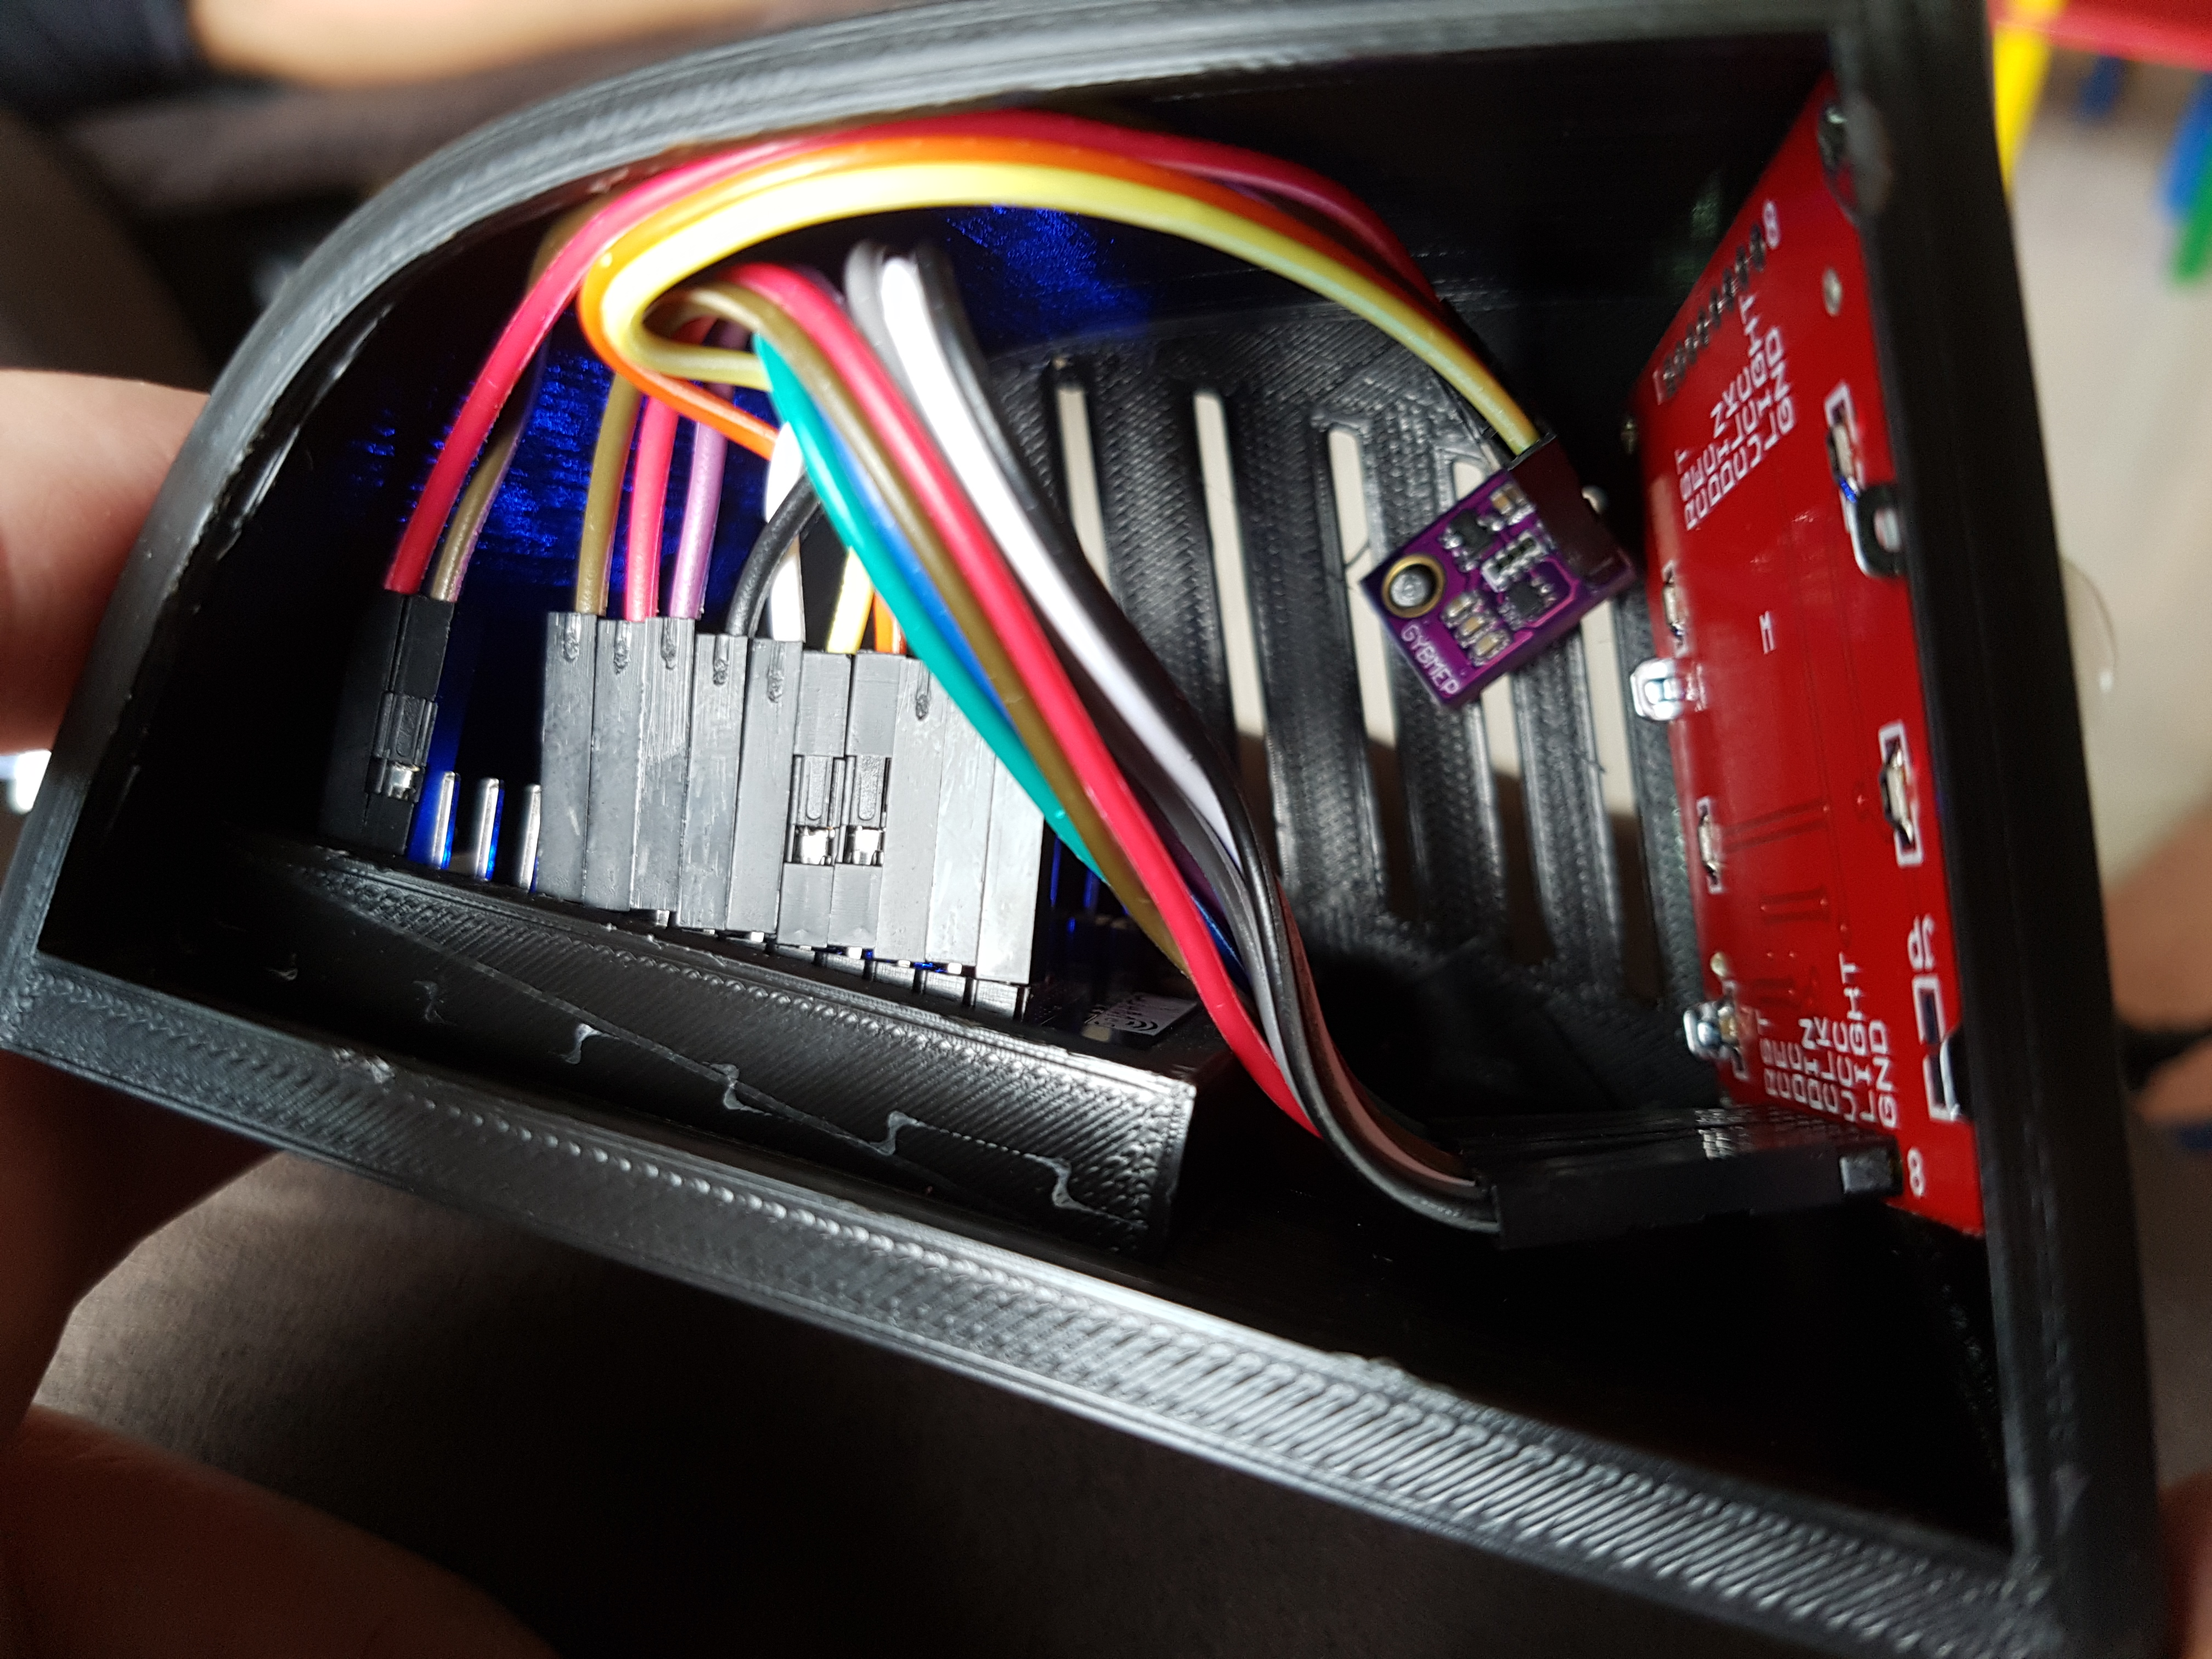
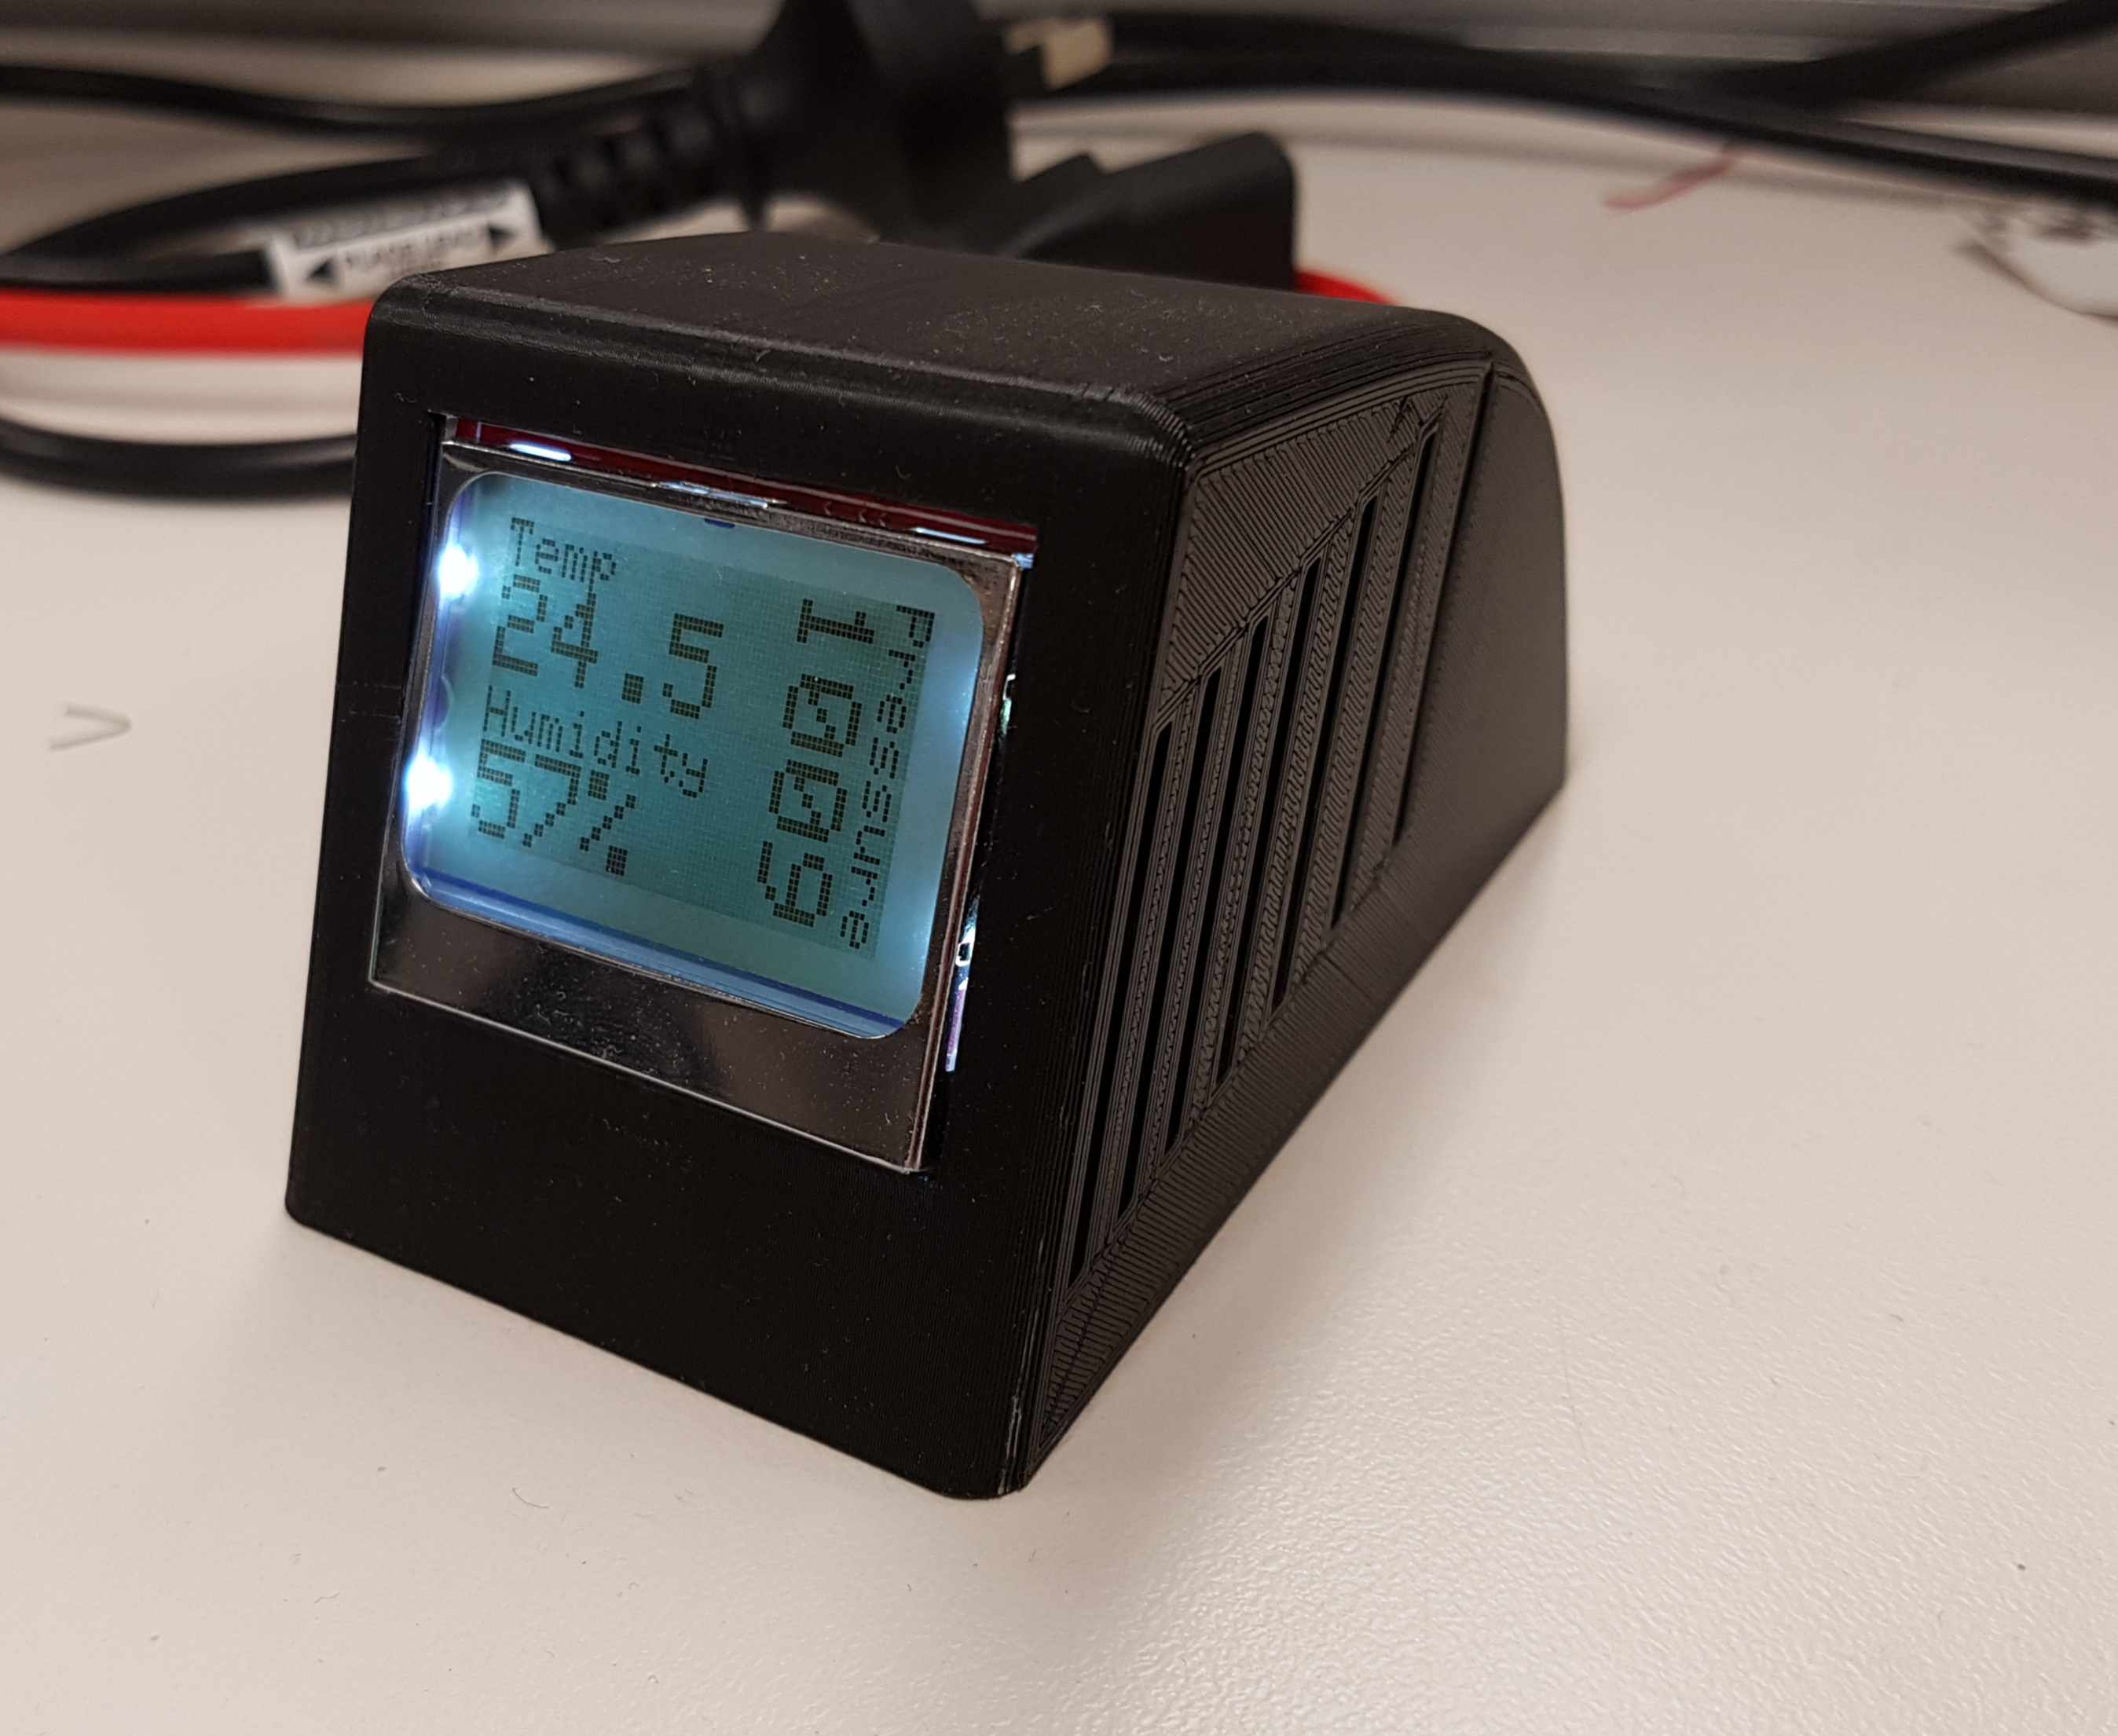
ESP8266 with a BME280 and Nokia 5110. Stats sent to Thingspeak.
Parts List
- NodeMCU - I chose to use NodeMCU as there are are multiple 3.3v and GND outputs. Also note there are 2 versions of the NodeMCU one is wider than the other, you want the narrow one. V3 is typically the wider one however I purchased the newer integrated nodemcu where the ESP8266 chip is now part of the board and not a ESP-12 attached to the top, it was labeled as V3. Heres the one I bought
- Nokia 5110 display
- BME280 - temp, air pressure and humidity all in one sensor
- 12x 10cm female to female dupond cables
- Enclosure 3d printed STL Here
Instructions
- Solder pins onto the NodeMCU, BME280 and 5110 display. I soldered the pins onto the top of the NodeMCU so all the chips were facing up so they could dissipate any heat but I doubt this matters. You want to put the pins sticking out the back of the display like the following picture. If your display has pins at the top and bottom it doesnt matter the wires a long enough to reach top and bottom inside the little enclosure.

- Wire up display and BME280, dont worry about the enclosure yet just connect everything up. I used the following pin mapping.
| NodeMCU Pin | Device | Device Pin |
|---|---|---|
| D0 | Display | LIGHT |
| D1 | Display | CE |
| D2 | Display | RST |
| D3 | BME280 | SCL |
| D4 | BME280 | SDA |
| D5 | Display | DC |
| D6 | Display | DIN |
| D7 | Display | CLK |
| 3.3v | Display | VCC |
| GND | Display | GND |
| 3.3v | BME280 | VIN |
| GND | BME280 | GND |
- Flash the sketch found in this repository onto the NodeMCU, leave your wifi settings and thingspeak api key as defaults for now. if everything was successful is working you should see BME280 detected for a second and then you will see the readings on the screen. The bottom right will show either a triangle or x, triangle means the wifi is connected an x means there is no wifi connection.
If your getting an error cannot detect BME280 and you have tripple checked the wiring is correct the I2C address could be wrong. Out of the handfull of BME280's I have they use 2 different hex addresses. Check the listing you purchased from for the hex address or use a I2C scanner like this one. Just remember to update Wire.begin() line to include the i2c pins, look at my included sketch as an example.
-
Sign up for thingspeak and create a new channel. In this new channel create 3 fields in the following order, Temp, Humidity and Pressure. Add some tags and please include "desk_weather" so we can find each others data.
-
Update your wifi details in the sketch and add in your API key for thingspeak. Reflash the NodeMCU hopefully you will see data flowing into your thingspeak channel. The sketch default is send data every minute.
-
Place components into enclosure, you can do this with all the wires attached. Use bluetack or hot glue gun to hold everything into place. I left the side open to show off the components inside. I will design a side for it eventually tho and will be posting a link to the fusion360 model soon. STL Here

