The Raspberry Pi camera module is capable of taking full HD 1080p photo and video and can be controlled programmatically.
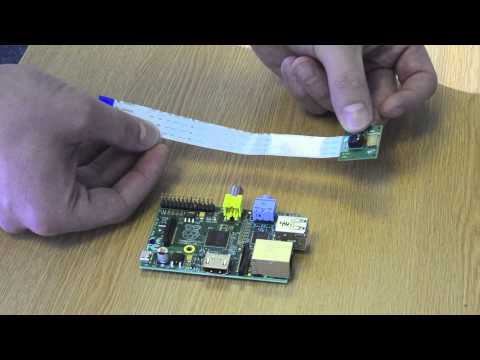
The flex cable inserts into the connector situated between the Ethernet and HDMI ports, with the silver connectors facing the HDMI port. The flex cable connector should be opened by pulling the tabs on the top of the connector upwards then towards the Ethernet port. The flex cable should be inserted firmly into the connector, with care taken not to bend the flex at too acute an angle. The top part of the connector should then be pushed towards the HDMI connector and down, while the flex cable is held in place.
Watch the following video to see a demonstration of the camera being connected:
The camera may come with a small piece of translucent blue plastic film covering the lens. This is only present to protect the lens while it is being mailed to you, and needs to be removed by gently peeling it off.
Open the raspi-config tool from the Terminal:
sudo raspi-configSelect Enable camera and hit Enter, then go to Finish and you'll be prompted to reboot.
Libraries for using the camera are available in:
See detailed technical specs of the camera hardware and software.