A responsive dashboard written in React - built for all screen sizes.
- Getting Started 1. Server 1. Authentication 1. Browser
- Customizing Radiate 1. Overview 1. Components 1. Layout 1. Colors 1. Assets
- Deploying Radiate 1. Heroku 1. Other Deploy Targets
- Getting Data Into Radiate 1. POSTing Data 1. POSTing To A Server With Authentication
- License
Because you'll be amending the example and creating your own instance of Radiate you may want to fork this repository to be able to push updates to your own repository.
First clone the repository.
git clone git@github.com:<your-github-username>/radiate.git

or

git clone git@github.com:chrisdwheatley/radiate.git
cd into the directory.
cd radiate
Install the project dependencies.
npm install
Start the server.
npm start
Navigate to localhost:3000 in your browser of choice.
You'll notice a warning about setting an authentication code in the console output. If you're going to expose your instance of Radiate in any way then you will want to set an authentication code to ensure POST's to your server can be restricted. This can be set as an environment variable.
AUTH=your-auth-code-here npm start
You can also customize the port that Radiate runs on with an environment variable.
PORT=8080 npm start
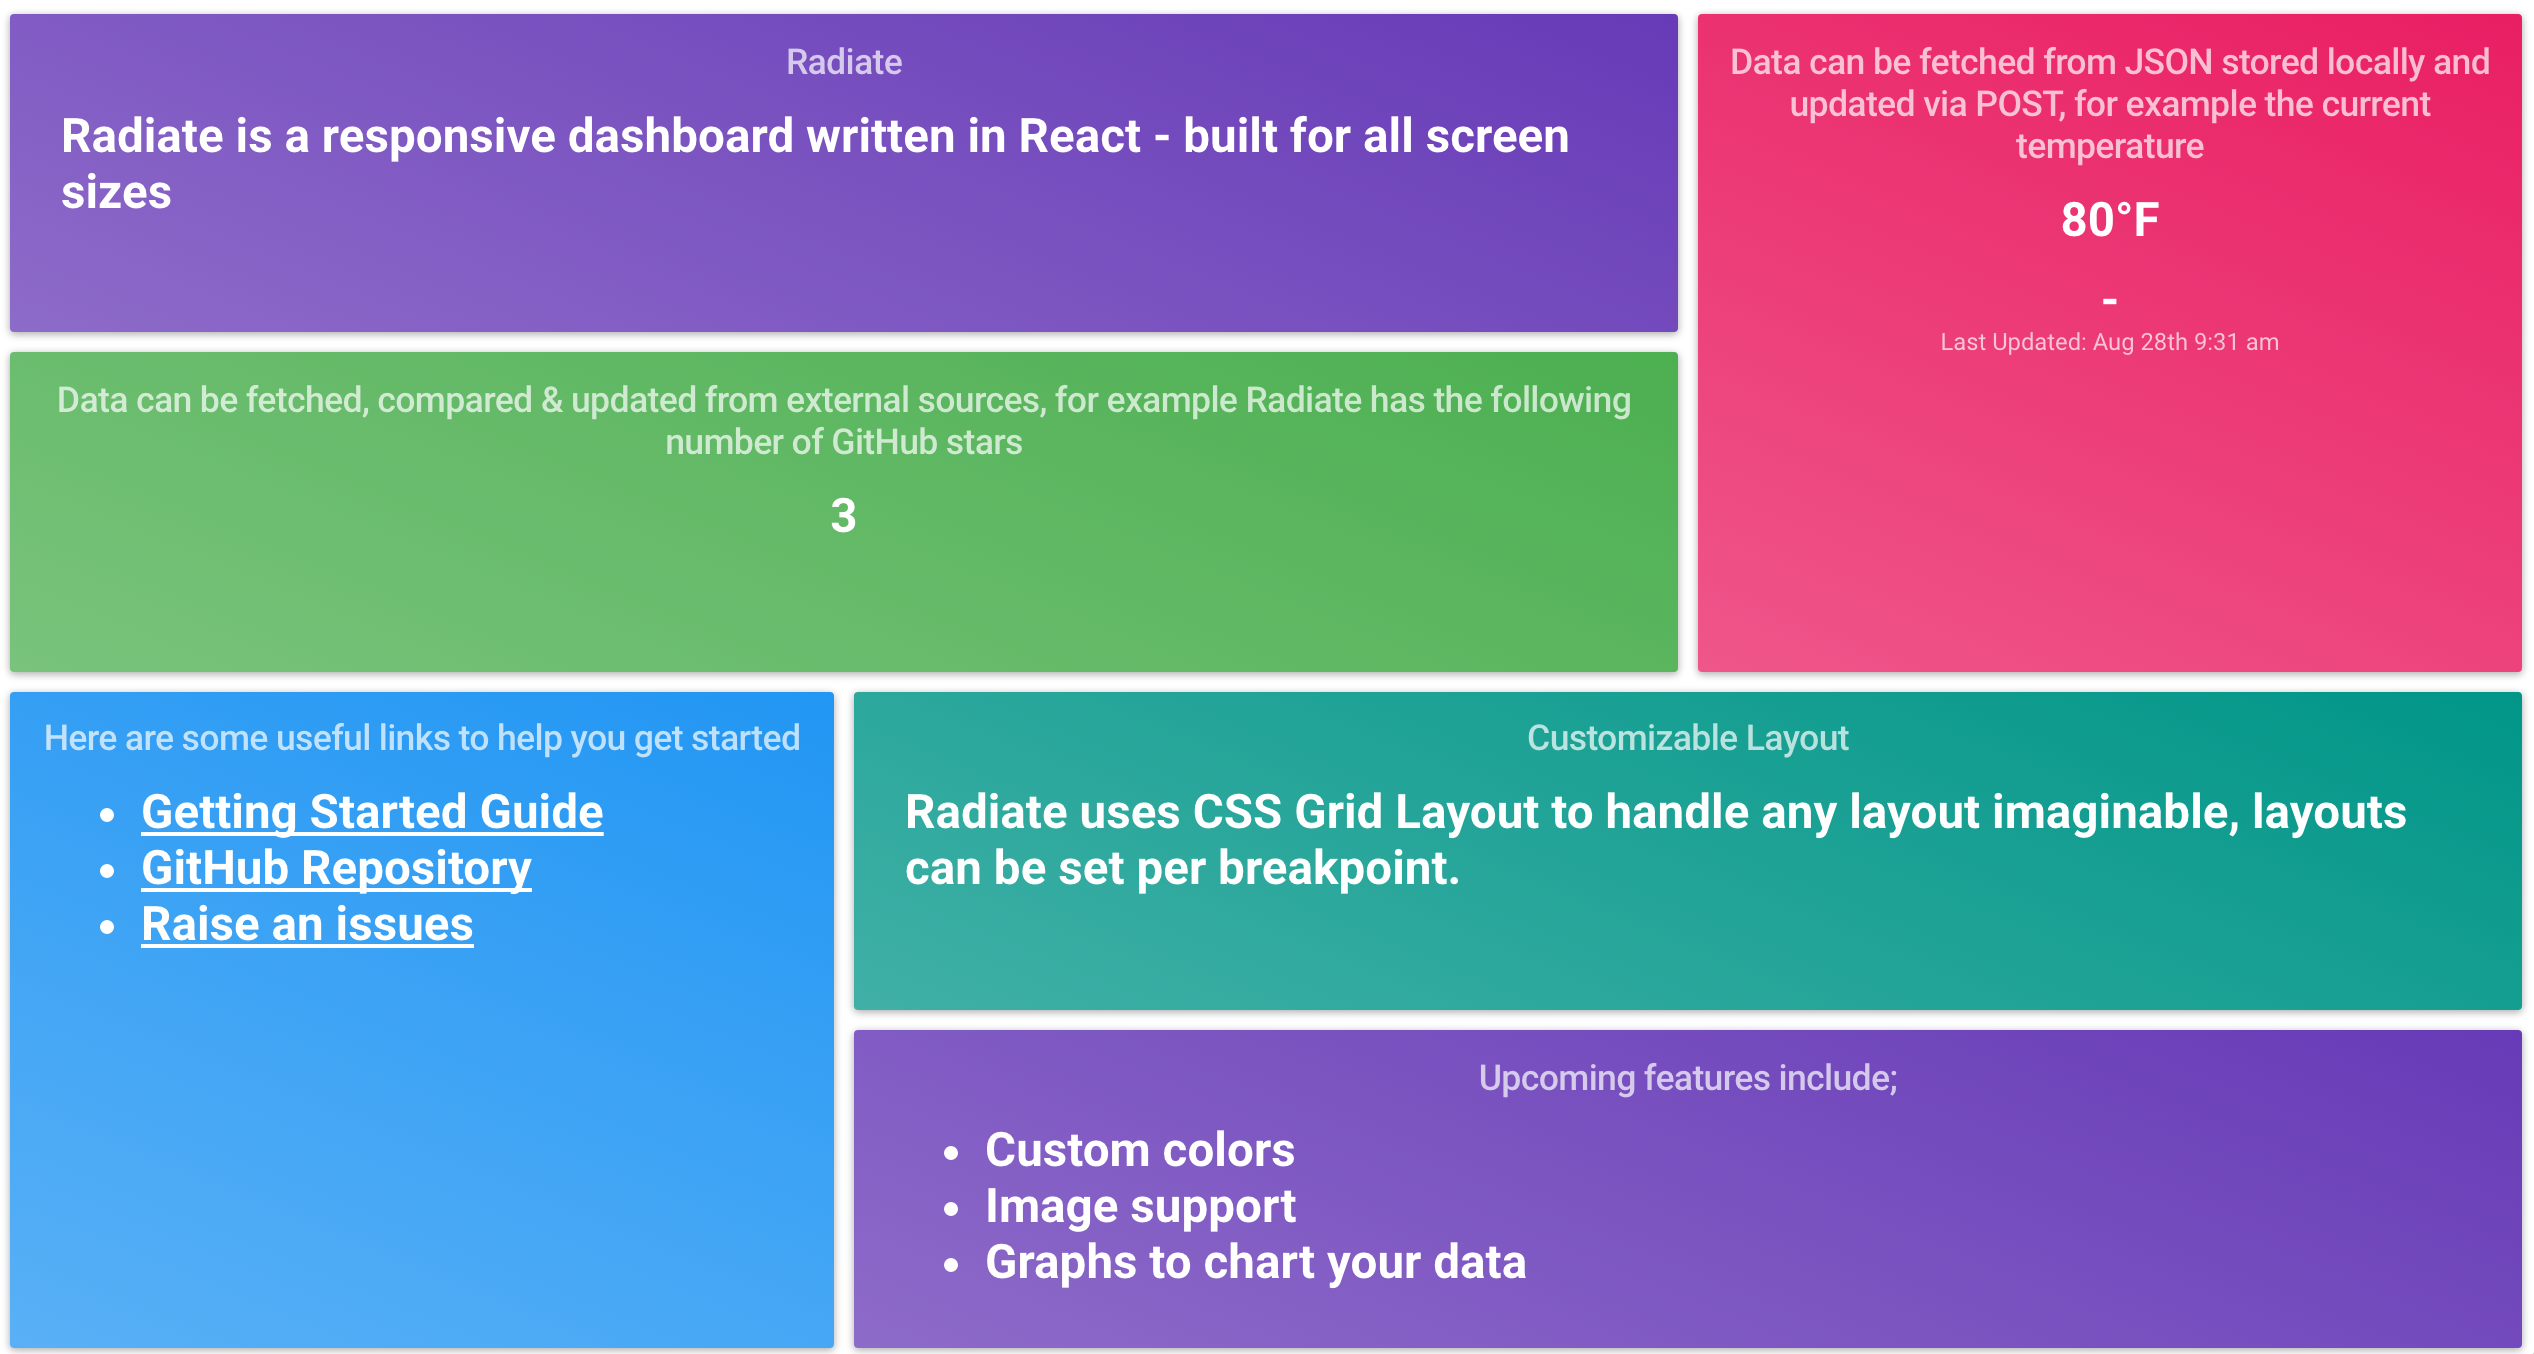
Radiate uses CSS Grid Layout to help you create any layout imaginable.
Unfortunately CSS Grid Layout isn't fully supported in any browser yet, however in Chrome, Opera & Firefox on desktop you can enable support by toggling a flag. Once you have Radiate up and running navigate to localhost:3000 and you'll see instructions on how to enable CSS Grid Layout in your current browser.
All files to customize reside in the dashboard directory. Your dashboard can be crafted in dashboard/index.js where you need to export a React component which returns a top level <Dashboard /> component.
The <Dashboard /> defaults to a light theme but a dark one can be applied by passing dark as a property, e.g. <Dashboard dark />.
The example in dashboard/index.js can be replaced by a clean template available in dashboard/index.template.js.
The structure required is a top level <Dashboard /> component followed by a <Grid /> component where a layout is defined. Within the grid <Cell />'s provide the place to add content, each <Cell /> requires a name property which will be referenced when laying out your dashboard.
There are three top level components, they are;
<Dashboard />
<Dashboard
  dark  // alternative dashboard theme
/>
<Grid />
<Grid
  layout={ object } // layout object which defines grid layouts for different dashboard sizes
/>
<Cell />
<Cell
  name={ string } // the cell name, to align with layout definitions
/>
The components available to use within a <Cell> are;
<Text />- A static text component which an serve content from a file or inline.
<Text
  title={ string } // the title to display
  file={ string }  // the file to serve Markdown content from
>
  inline text can be added here
</Text><Value>- Dynamic values which can be updated from an API or from data POSTed to the server.
<Value
  api={ string }       // an API endpoint to fetch data from
  file={ string }      // a local file to fetch data from
  prop={ string }      // the property to return from the data fetched
  prefix={ string }    // a prefix to add to the value
  suffix={ string }    // a suffix to add to the value
  frequency={ number } // frequency in seconds to fetch new data
  compare              // if you want to compare each new value with the previous one provided
  last-updated         // display a last updated timestamp
/>The layout of your dashboard is defined in dashboard/layout.js. This is then passed through to <Grid /> as a property called layout.
There are four ergonomic breakpoints to define layouts for, they are;
- Palm
- Lap
- Desk
- Wall
The array of strings reflect how the <Cell />'s will be laid out on the page.
dashboard/layout.template.js has an example layout which works alongside dashboard/index.template.js. Feel free to amend these as required.
Colors are defined in dashboard/colors.js and automatically applied to each <Cell /> in order, if there are more <Cell />'s than colors the colors will start again from the beginning as required.
Currently colors cannot be customized but this is coming soon.
Assets help serve both static & dynamic data. Assets are served from the dashboard/assets directory.
When using the <Text /> component you can define a file for Markdown to be served from, for example <Text file='foo.md' />.
When using the <Value /> component, which is used for serving dynamic, updatable values, you can use assets to serve the data that is POSTed to Radiate. For example <Value file='bar.json' prop='baz' /> will read the contents of the file in dashboard/assets/bar.json and display the value of the property baz in the JSON.
Radiate supports being deployed to Heroku, follow Heroku's Getting Started Guide for details on how to serve Radiate via Heroku.
Follow Heroku's guide on environment variables for details on how to configure your authentication environment variable.
Radiate should be quick and easy to deploy to any targets which support Node.js.
There are two ways to get data into Radiate. One way is to pass in an API endpoint and a property to the <Value /> component, for example;
<Value
  api='https://api.github.com/users/chrisdwheatley',
  prop='name'
/>
However, this relies on the the API being open to cross-origin HTTP requests.
The alternative is to POST data to Radiate, this will involve some setup outside of Radiate to get the data into a JSON format Radiate can consume.
For example, if you wanted to get the current temperature of a specific location but couldn't find a suitable open API you could write a script which scraped the data from a website, formatted it into a JSON payload then POSTed it to Radiate.
Once you have some data you want to send to Radiate you can POST it to /data/:filename where filename is the same as the file value passed in to <Value />, for example;
curl -H "Content-Type: application/json" -X POST -d '{"temperature" : 80}' http://localhost:3000/data/weather.json<Value file='weather.json' prop='temperature' suffix='°F' />If you've followed the steps in the authentication you'll need to add a query param called auth to the end of the url you POST to, for example;
curl -H "Content-Type: application/json" -X POST -d '{"temperature" : 80}' http://localhost:3000/data/weather.json?auth=your-auth-code-hereReleased under the MIT license: opensource.org/licenses/MIT