- GuildBoard is a clone of the popular voice, video and text communication service known as Discord. The main purpose of this application is to provide groups of like-minded individuals unified by a shared interest or purpose (a Guild) to come together and discuss their thoughts and ideas instantaneously on shared servers/platforms (a Board) via text.
- Guildboard was built with a Ruby on Rails backend and a Postgres database management system. On the front end side, React and Redux were used for component and state management and were styled with SCSS modules. Lastly, Rails' ActionCable and Redis were used to seamlessly integrate WebSockets into the application to create a persistent bi-directional, 'full-duplex' connection between the user and server or user and direct message which gives the live chat feature the 'real-time' effect.
- User Authentication allowing users to login, logout and sign up using BCrypt (hashing and salting function for passwords) for user security.
- Custom routes are utilized throughout the application to restrict access based upon logged in status.
- Live instant message chatting between users to communicate & share their ideas in real time.
- Messages can be deleted by the author of the message.
- Server creation and joining for users to gather in and discuss a singular topic or theme.
- Servers can also be edited and deleted by the owner.
- Explore servers menu to view all servers created by GuildBoard users and the option to join or leave them.
- Within each server, users can also create channels to further subdivide their team to have more focused conversations.
- Channels can also be edited and deleted by the server owner.
- Private messaging between two users via Direct Messages.
- Direct messages can be initiated through the user profile from a server's member list.
- ActionCable is Rails' solution for integrating WebSockets into a Rails application.
- An ActionCable Channel provides a way to define behavior with both client and server methods. A client's browser must subscribe to a specific channel in order to communicate bi-directionally via the custom data handling code.
- An ActionCable Subscription is the connection between a client's browser and the server. When a Channel receives new data, it will publish/broadcast that data to all of its subscribers.
- As of now, ActionCable's sole purpose in this application is to provide live-chat functionality within server channels and direct messages. A singular
ChatChannelessentially handles the backend logic of storing new messages sent in server channels or direct messages and automatically broadcasting them back to the frontend via asocket.
class ChatChannel < ApplicationCable::Channel
  def subscribed
    chat_type = params[:type]
    @chat = chat_type.constantize.find_by(id: params[:chatId])
    stream_for @chat if @chat
  end

  def speak(data)
    if data["message"]["delete"]
      message = Message.find(data["message"]["messageId"])
      message.destroy
      socket = {
        message: {
          id: message.id
        },
        type: 'remove_message',
      }
    else
      @message = Message.new(data['message'])
      if @message.save
        socket = {
          message: {
            # camelcased message attributes from @message
          },
          type: 'receive_message'
        }
      end
    end
    ChatChannel.broadcast_to(@chat, socket)
  end
end- When initializing a new subscription to
ChatChannelI took advantage of the pre-existing polymorphic associations betweenmessagesandchannels/direct_messagesand followed a similar strategy. By passing a passing a string of "Channel" or "DirectMessage" as a chatType prop along with the channel or direct messageidas a chatId prop from the frontend, I was able to create a unique instance of@chatinChatChannelfor eachchannelordirect_messageto stream & broadcast data to. - This allowed me to reuse a singular
ChatRoomcomponent for all channels & direct messages, keeping my codebase more DRY. - Now, when a user enters into a server's channel or a direct message conversation, the
chatTypeandchatIdis tracked via frontend logic &React-Routerand a subscription is automatically generated for the user within the constructor of theChatRoomcomponent.- By initializing the subscription in this way, passing the subscription to child components (e.g. calling subscription.speak(data) within MessageForm) became very simple.
this.subscription = App.cable.subscriptions.create(
  // first argument gets passed to backend chat_channel.rb as params
  {
    channel: "ChatChannel",
    type: this.props.chatType,
    chatId: this.props.chat.id
  },
  {
    received: data => {
      // received listens to channel's stream for new data
      // data trasmitted to stream via backend broadcast_to method.
      switch (data.type) {
        case "receive_message":
          this.props.receiveMessage(data.message);
          break;
        case "remove_message":
          this.props.removeMessage(data.message.id);
          break;
      }
    },
    speak: data => {
      return this.subscription.perform("speak", data);
    },
  }
);- For any live chatting service, an intuitive user interface and responsivity to user commands is just as if not more important the live-chatting feature itself. For instance, when a user enters a server by clicking its icon, the app should instantly load and display all of the server's channels, members, and messages within that server.
- Initially, I was needlessly fetching information for each entity one by one in different components where the information was being used locally. I soon found that this approach introduced a lot of unpredictability and rendering issues as every promise needed to be fulfilled before every component rendered.
- Eventually, I finally realized I needed a way to fetch all of the required server information in an efficient manner with the least amount of API calls to the backend (preferably just one). I succeeded in doing so by modifying the response of my servers#show API endpoint to leverage the joined server's associations and fetch all of the required information with a single thunk action,
fetchServerInfoat once: when a user enters into a new server. - A similar strategy was implemented when fetching relevant information for direct messages as well.
json.server do
  json.partial! '/api/servers/server', server: @server
end
json.members do
  @server.members.each do |member|
    json.set! member.id do
      json.partial! '/api/users/user', user: member
    end
  end
end
json.messages do
  @server.messages.each do |message|
    json.set! message.id do
      json.partial! 'api/messages/message', message: message
    end
  end
end
json.channels do
  @server.channels.each do |channel|
    json.set! channel.id do
      json.partial! 'api/channels/channel', channel: channel
    end
  end
end- With all of this information being returned as a response, it was easy for me to update each slice of my redux state as needed.
- Further, I implemented a simple check in my main
ChannelandDirectMessagecomponents to make the API call upon component mount and switch theinfoFetchedlocal state key value totrueonce the promise forfetchServerInfoorfetchDMhad been fulfilled. Upon component unmount, theinfoFetchedflag is set back tofalse. Within the render method, ifinfoFetchedisfalse, there is a standard loading message displayed.
- While the answer may seem somewhat obvious now, when WebSockets were first successfully implemented on this application, messages sent into the stream by users were created, stored in the backend and immediately broadcasted back to the front end where they were stored in the current channel's local state.
- When a user entered a channel and previous messages had to be loaded, the current channel's subscription would fire off a
loadcommand which would then query the database, find all messages with the correct channel id and broadcast them back to the channel where they would be stored in local state. - While this may not seem like a terrible solution, it was mentioned earlier that the desired functionality was to fetch a server's members and messages all at once.
- Ultimately, the solution was to create a
receivedmethod within the subscription that listens for any new data broadcasted to a channel's stream and fire areceiveMessageaction that updates themessagesRedux slice of state. - Keeping consistent with storing messages in the redux state made it natural to retrieve previously sent messages along with the rest of the current server's information.
- If you've ever used discord, you'll know that due to the minimalistic server sidebar on the lefthand side, a hover tooltip is necessary to display the entire server name. Naturally, it was something I knew I needed to implement. However, what seemed like a simple & straightforward implementation with a little bit of CSS magic turned out to be one of the most challenging features.
- Initially, I had just set the parent element,
.server-icon, toposition: relativeand the child element,.tooltip, toposition: absolutealong with a hover pseudo selector on the.server-iconto toggle thevisibilityof the tooltip. While this did work nicely, I realized there are certain limitations imposed when using any variation ofoverflow: hiddenoroverflow: scroll. Essentially, when an element's overflow is set in one axis (x or y), the overflow in the other axis is set to auto, meaning there is actually no way to have the effect ofoverflow-y: scrollandoverflow-x: visiblesimultaneously. - In my case, I needed the ServerSidebar component to scroll vertically in case a user is joined to many servers and set the ServerSidebar container element with
overflow-y: scroll. However, since the x-axis is automatically set tooverflow: autoany element that is trying to go beyond the border of the element withoverflow-y: scrollin the x-axis gets cut off (in this case, the tooltip!). - After much searching and googling I found a few resources that provided some interesting ideas but none that I could readily use as I did not wish to introduce JQuery or Vanilla DOM Manipulation into my React components in fear that it would cause bugs with my virtual DOM. In the end, I did find a useful tip from CSS-Tricks that I incorporated. The idea is that for an absolutely positioned element to appear outside of an element with
overflow: hidden/scroll, its closest positioned ancestor must also be an ancestor of the element withoverflow: hidden/scroll. So, I simply added a wrapper element withposition: absolutearound the tooltip element withposition: relativewhich allowed the tooltip to be visible outside of the ServerSidebars boundaries. - However, this is still not a perfect solution. Because the wrapper element is set with
position: absoluteeach tooltip wrapper's absolute position is fixed to its corresponding ServerSidebarItem's original position. When the ServerSidebar is scrolled down, the position of the wrapper and tooltip are not automatically updated.- I am currently looking into using the
useRefhook to set a ref on each ServerSidebar item and use that to update the wrapper and tooltips position.
- I am currently looking into using the
const ServerSidebarItem = ({ server, currServerId }) => {

  const active = (currServerId == server.id) ? true : false;

  return (
    <NavLink
      to={`/servers/${server.id}/channels/${server.genChanId}`}
      className={`${styles['server-icon']} ${styles[`${active ? 'selected' : null}`]}`}
      activeClassName={styles['selected']}
      >
      {server.title.split("")[0]}
      <div className={styles.wrapper}>
        <span className={styles.tooltip}>
          {server.title}
        </span>
      </div>
    </NavLink>
  )
}As I continue to learn more and improve my web development skills, I plan to continue building upon Guild Board to allow for future scalability, better user experience, and to ultimately mimic more of Discord's unique functionalities. Additional features that I plan on implementing in the future:
- Messages update functionality.
- Incorporate AWS S3 to allow users to upload profile pictures and images for servers.
- Utilizing a third party library to apply context menus throughout the application.
- Improve ServerSidebarItem tooltip.
- Incorporate authentication to redirect user if they manually try to enter a Server that they are not joined to or a Server/Channel combination that does not exist.
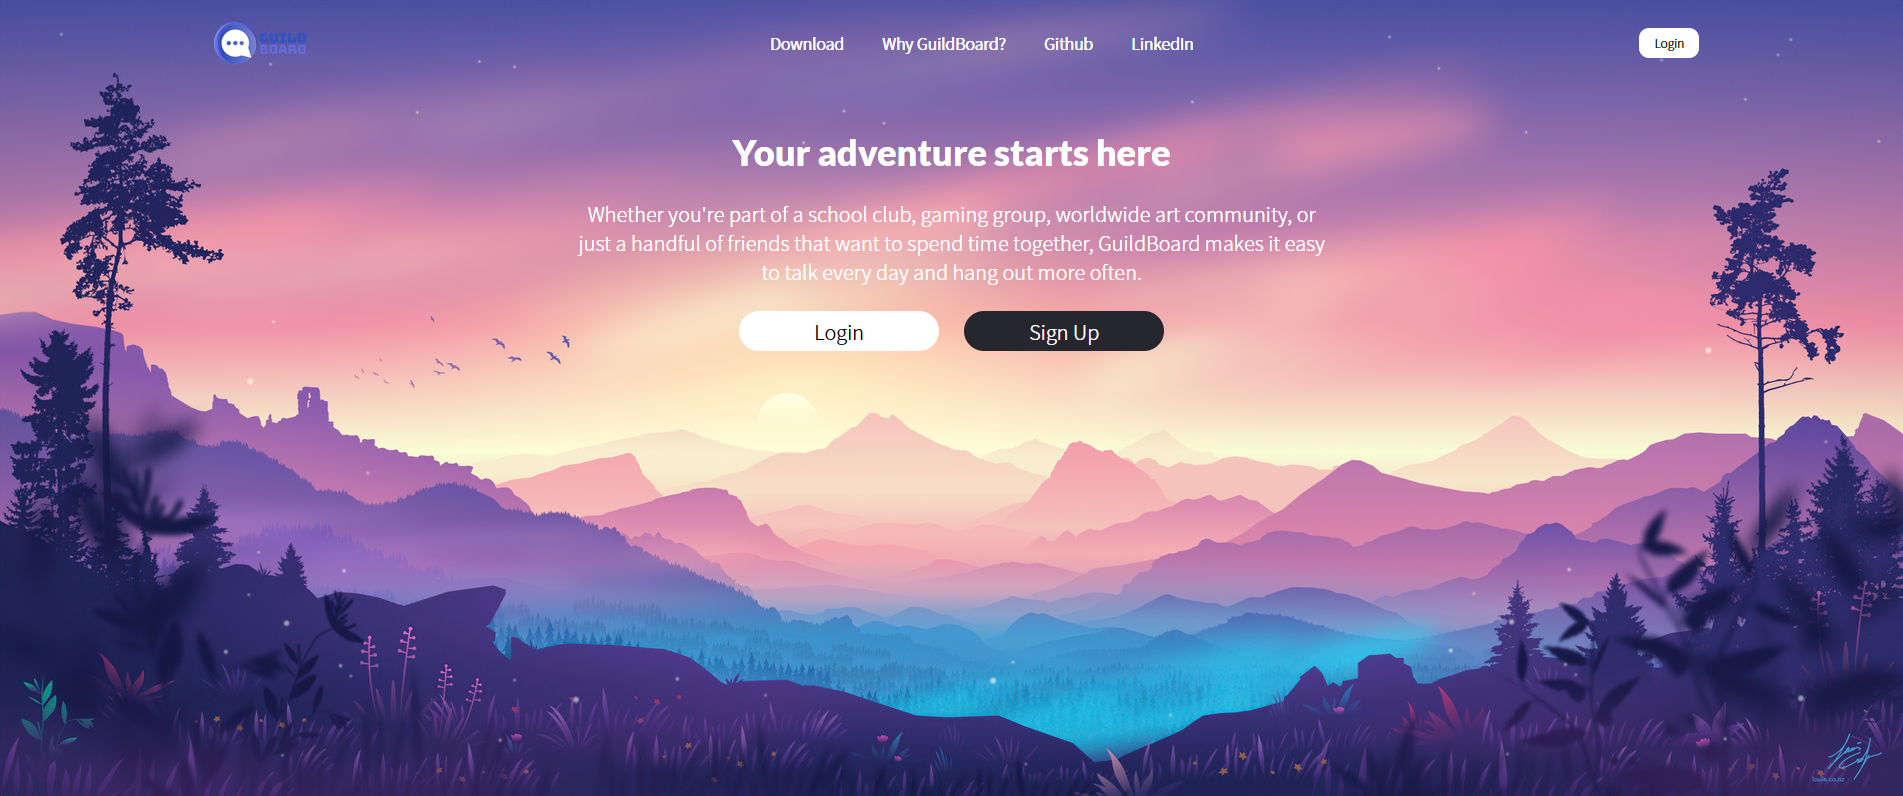
- Splash page background image by Louis Coyle