How to install the firmware
- Check if your printer meets the firmware requirements here: https://github.com/classicrocker883/MRiscoCProUI/wiki#requirements
- Choose the correct firmware version according to: https://github.com/classicrocker883/MRiscoCProUI/wiki#versions
- Download the latest binary at the bottom of the release page.
- Shorter the firmware filename to something unique as: fw20221226.bin use a different filename each time.
Consult a guide to update the firmware of your board, some have specific requirements, the SKR Mini for example, requires the firmware name to be changed to "firmware.bin".
- Format a 8GB or less Micro SD card to FAT32 with a 4k/4096 sector allocation size
- Copy the .bin file to a folder "firmware" (Aquila), or root of the drive (Creality Boards/Ender-3)
- Ensure that the name of the file was not previously used to update the printer. If so, it may be necessary to rename the file. A single character change will do.
- Turn off the printer, disconnect any USB cable and insert the SD card.
- Turn on the printer, the upgrade firmware process will start automatically.
- The display will be blank until the upgrade is finished (about 15 seconds).
- If you are upgrading from the original firmware or other fork, please restore defaults.
- Make the MPC/PID adjust and put the other calibration parameters
If the printer ignores the .bin file at the root of the SD card then try the same as for the F1 version but:
- ...
- Copy the .bin file to a folder named STM32F4_UPDATE at the root of the card
- ...
Note: Some F4s have problems with the CR-Touch, currently the only solution is using the CR-Touch to create a mesh as reference and edit it manually.
Caution, the BTT SKR Mini E3 V3 board needs a screen adapter.
To flash the firmware to this board you need to rename the firmware file to firmware.bin
Sometimes old configuration values stored in the EEPROM can produce unexpected
behaviors, if you have troubles go to the control menu and select restore defaults
and store settings. Also, some users reported that flashing the firmware again
or flashing an Official firmware version and then the updated firmware will
solve some issues, remember to change the name of the bin file between attempts.
Try renaming the firmware file to a shorter filename.
If your display remains blank or the printer doesn't boot try with another SD card with a size equal to or less than 16GB, format FAT32 and 4096/4K allocation unit and put in a renamed .bin file. Updating the display firmware is not mandatory for this release.
You may need to update to a compatible display firmware / DWIN_SET. You will find the instructions to download and install the display assets from here: https://github.com/classicrocker883/MRiscoCProUI/tree/HEAD/display%20assets
(You must have BINARY_FILE_TRANSFER enabled, disabled by default)
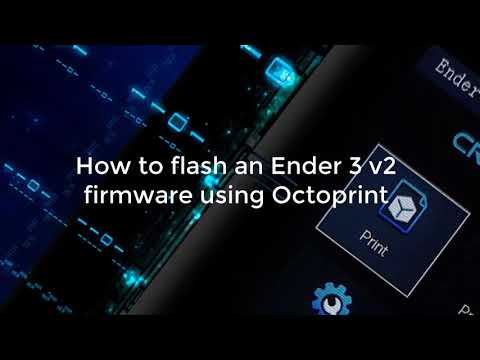
If you have Octoprint, install the plugin Firmware Updater, with this plugin you be able to transfer and flash the firmware automatically. Check the requisites of the plugin.

Get the latest firmware ![]()
-
Generate a Gcode image preview
- Slicer post processing scripts -
Update LCD Display ICON's
- How to install the DWIN_SET - How to install the firmware
- https://teachingtechyt.github.io/calibration.html - Great for all around calibrations
- https://ellis3dp.com/Print-Tuning-Guide/ - Secondary guide for extra references
- https://youtu.be/xzQjtWhg9VE - Video guide for E-steps and Flow calibration
Some the pages and images in this Wiki were copied from https://github.com/mriscoc/Ender3V2S1/wiki