This project is meant to be the first step in home automation. To replicate this project you will need a raspberry pi, a 3v relay module, and a 3 way switch. The idea is to be able to turn on and off any light at home from the raspberry py keeping the option to turn it on and off from the switch. We created a simple tornado webserver so you will be able to turn on and off the light from any web browser.
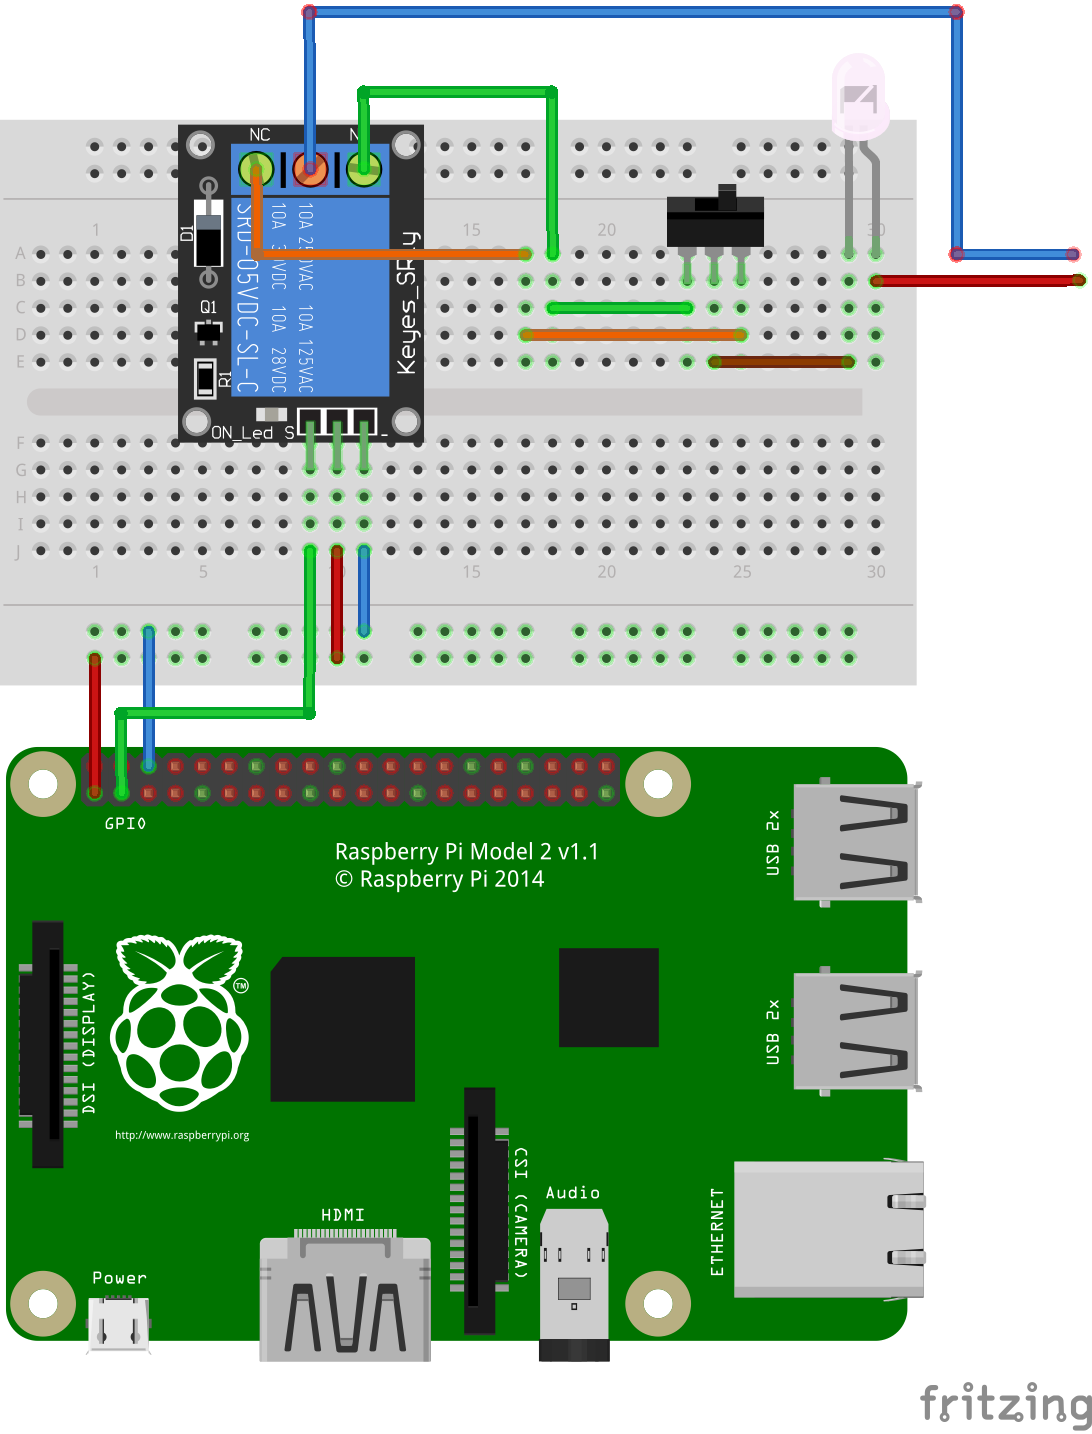
The first thing you need to do is to check if at home you have the correct switch type. You will need a 3 way switch in order to be able to continue using your home switch. If you want to control your light only from the raspberry, this step is optional. The 3 way switch is the one used to light stairs and corridors, where we have one switch at the beginning and another at the end of the corridor. In this case our raspberry pi will be replacing the one on the other side of the corridor.
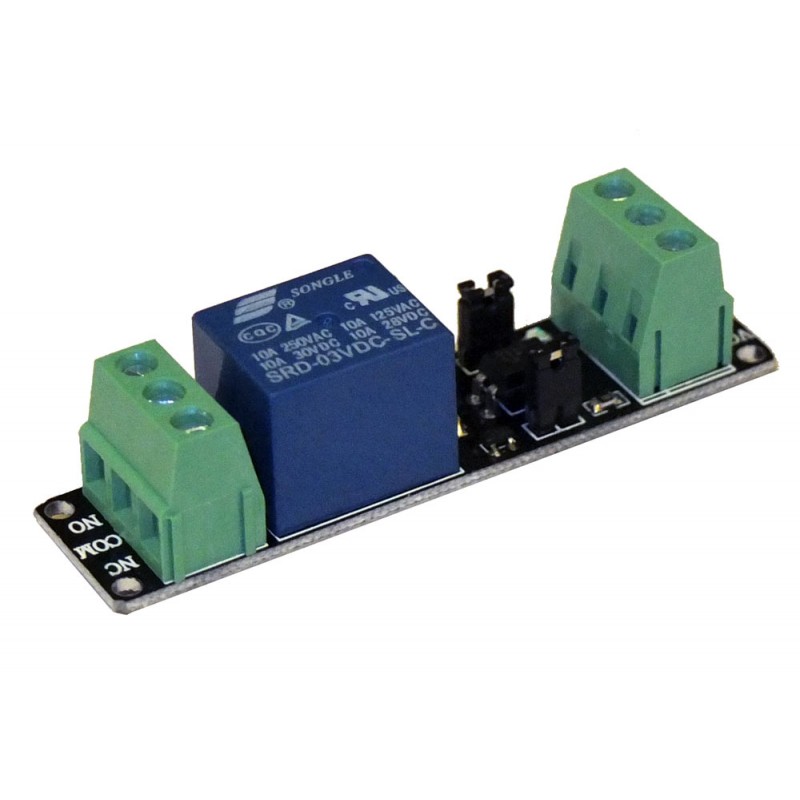
The Relay module has 3 pins, VCC, IN and GND. The VCC pin must be connected to a 3,3v pin. In this example it has been connected to Pin 1. The GND pin must be connected to any GND pin on the raspberry. In this case we have connected it to Pin 6. The IN pin is the one that controls the relay. When the pin is set high the relay will turn on, and the light state will change. If the pin is set low, the relay will turn off, also the light state will change. In this case we have setup the pin 3 as the control pin.
In the server.py file a tornado server is running on port 80 There are two routes stablished, http://localhost/ and http://localhost/onoff The first route renders the luz.html file, and shows the clients a switch to change the state of pin 3. The second route id a direct link to change the state of pin 3. After wiring the relay module, the only thing left to do is to start the server.
Start server
sudo python server.py
To access the server go to http://localhost/ or to http://localhost/onoff