To get things started we are going to create a new Django project in which we will implement all the generic apps mentioned in the last post. You can either follow this and the upcoming posts step-by-step or you can clone this GitHub Repo https://github.com/acdh-oeaw/django-generic-apps and check out the matching tags. This is up to you.
Start with https://github.com/acdh-oeaw/django-generic-apps/commit/337adfd12fb9358ab7977eba0a58cdf3c0468630
But before we are getting started for real, let's create a virtual environment for Python 3.4. and install Django 1.9.x.
$ conda create --name rlunch python=3.4
$ activate rlunch or for Linux users: $ source activate rlunch
$ pip install Django==1.9.5
(As you can see, I am using Anaconda)
Then I will change into the /django-generic-apps directory I got by cloning the repo mentioned above and create my sample project called rlunch (which stands for Research-Lunch).
$ django-admin startproject rlunch
This command created the new directory /django-generic-apps/rlunch which is the root directory of our Django project. Change into this directory and try if everything worked so far, by typing the following commands:
$ cd rlunch
$ python manage.py runserver
Now you should be able to browse to http://127.0.0.1:8000/ and see something like depicted below:

Stop the development server (ctrl+c), migrate the current database scheme and then create a superuser:
$ python manage.py migrate
$ python manage.py createsuperuser
Now download the zipped webpage-code from here, unzip it and copy the 'webpage'-folder into the project's root directory. (/django-generic-apps/rlunch/webpage).
The next thing we have to do is to register this new app into our projects settings-file. Therefore open /django-generic-apps/rlunch/rlunch/settings.py and add 'webpage' to INSTALLED_APPS:
INSTALLED_APPS = [
    'django.contrib.admin',
    'django.contrib.auth',
    'django.contrib.contenttypes',
    'django.contrib.sessions',
    'django.contrib.messages',
    'django.contrib.staticfiles',
    'webpage',
]
Then open your project's urls configuration /django-generic-apps/rlunch/rlunch/urls.py and include the webpage-urls:
from django.conf.urls import url, include
from django.contrib import admin

urlpatterns = [
    url(r'^admin/', admin.site.urls),
    url(r'^', include('webpage.urls', namespace='webpage')),
]
Now start your development server again:
$ python manage.py runserver
But this will throw the following error message:
ImportError: No module named 'crispy_forms'
Looks like we are missing some packages. So let's install crispy_forms by typing:
$ pip install django-crispy-forms
And we also want to update the requirements.txt file, or to be more precise, lets create a new one called requirements_webpage.txt and store it in the webpage directory:
$ pip freeze > requirements_webpage.txt
After we installed crispy-forms we have to register and configure them in the project's settings file:
INSTALLED_APPS = [
'django.contrib.admin',
'django.contrib.auth',
'django.contrib.contenttypes',
'django.contrib.sessions',
'django.contrib.messages',
'django.contrib.staticfiles',
'crispy_forms',
'webpage',
]
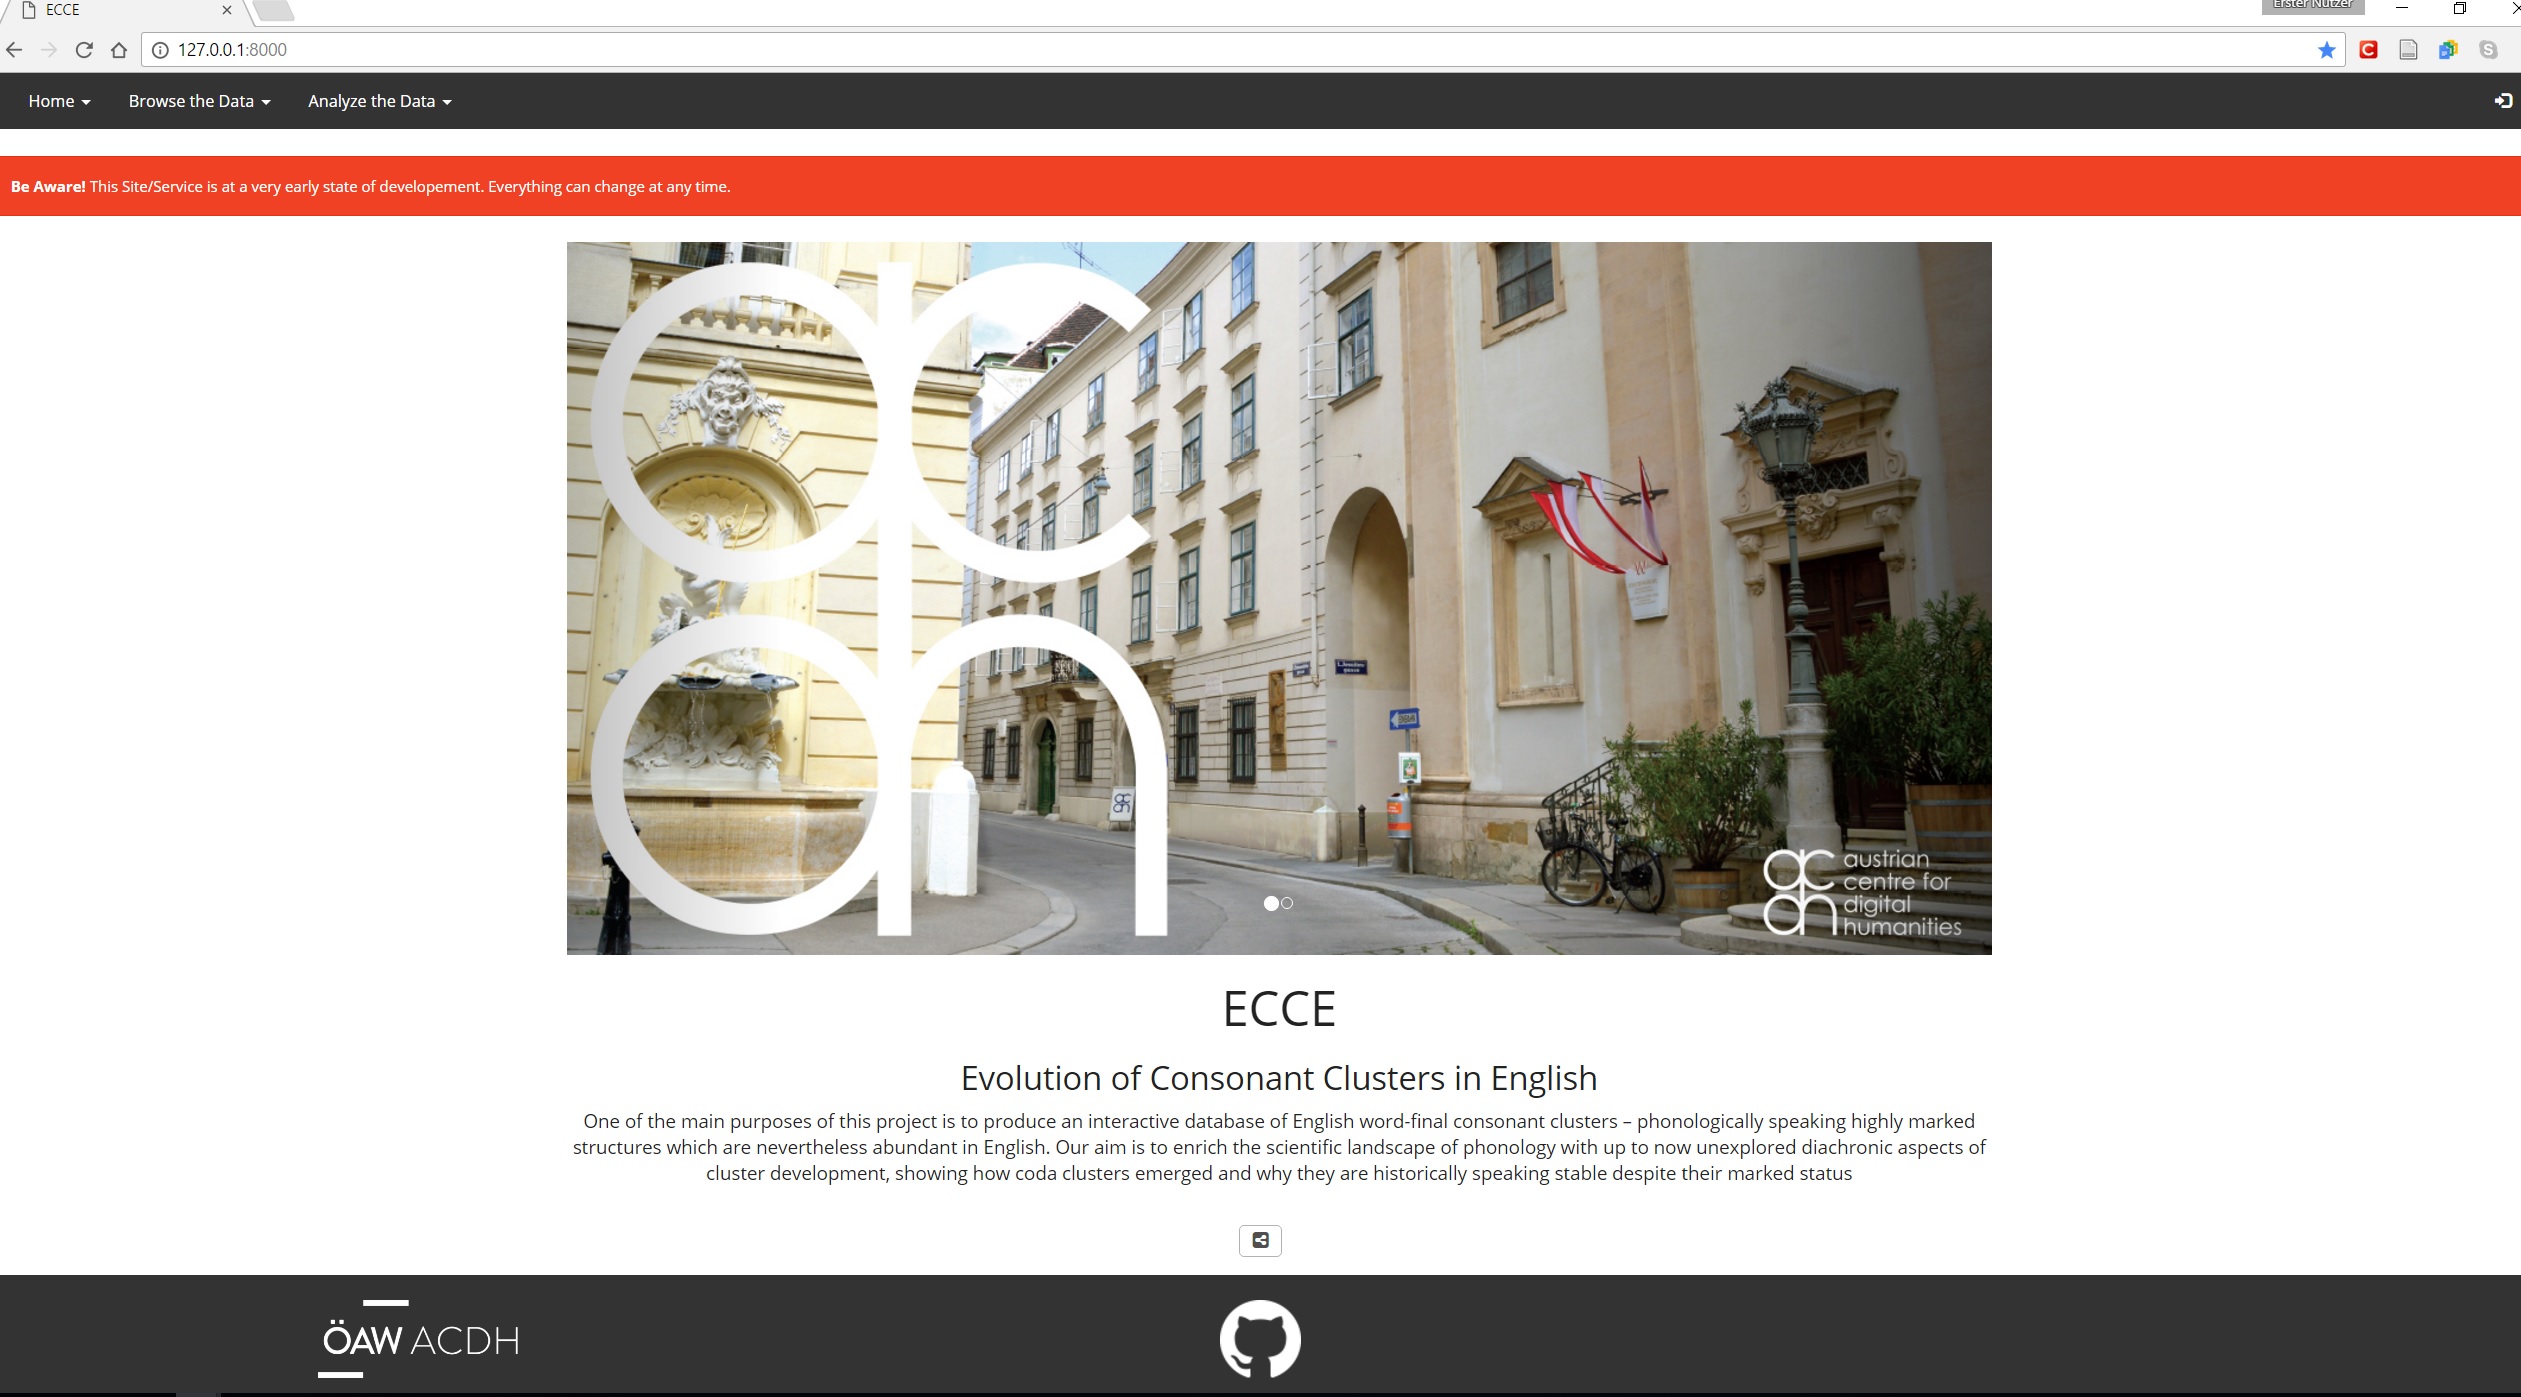
CRISPY_TEMPLATE_PACK = "bootstrap3"When we now run $ python manage.py runserver, we should be able to browse to http://127.0.0.1:8000/ and see something like depicted below:
What is now left to do is to update the project's metadata. To do this open \rlunch\webpage\metadata.py and edit according to your project's needs:
# this files contains basic metadata about the project. This data will be used
# (by default) in the base.html and index.html

PROJECT_METADATA = {
    'title': 'Research-Lunch',
    'author': 'Peter Andorfer',
    'subtitle': 'A django-generic-apps example app',
    'description': 'This is an exapmle project to demonstrate how to implement django-generich-apps',
    'github': 'https://github.com/acdh-oeaw/django-generic-apps',
    'purpose_de': 'Das Ziel des Projekts "Research-Lunch" ist die Dokumentation der Implementierung der sogeannten "django-generic-apps"',
'purpose_en': 'The purpose of the project "Research-Lunch" is the documentation of the implementation fo the so called "django-generic-apps".'}In this post we went through the basic steps of implementing one django-generic-app.
- Copy the app directory into your project's root directory.
- Register the app in your settings file.
- Register your app's URLs in your project's basic URL config file.
- Add some app specific configurations if needed.
- Install dependency packages.
- Make migrations if needed.
- Add links to you app in the base template (if needed).
In the next post, we will create a custom app which will then serve as integration point for other django-generic-apps.