Quick Start
Please check the readme for more information on how to download the latest version of Ace App.
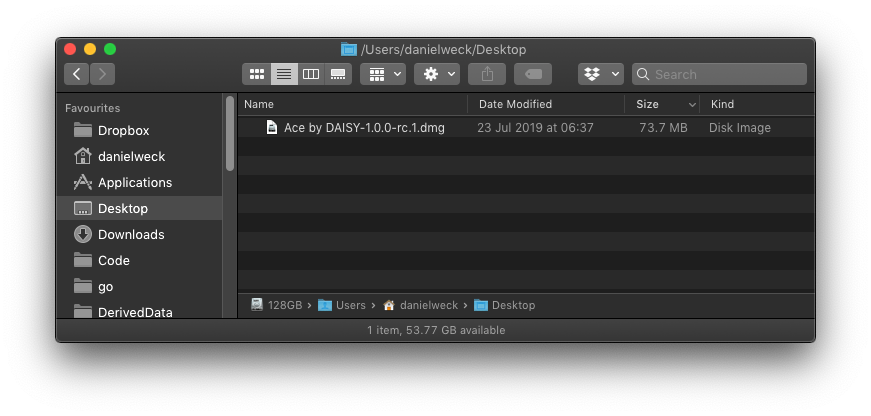
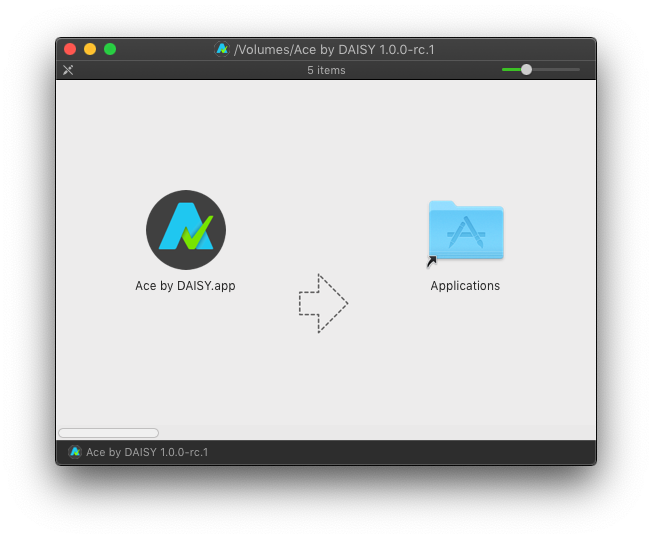
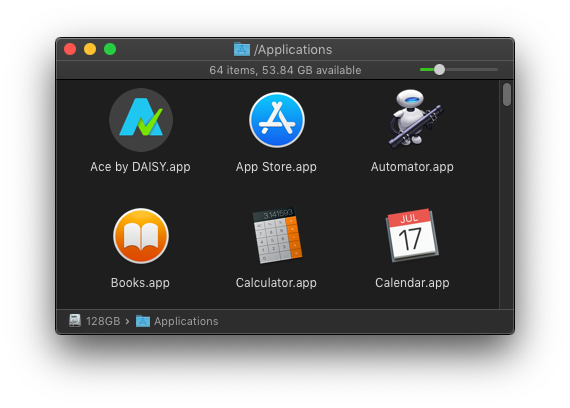
The following screenshots illustrate the process of installing Ace App on MacOS:
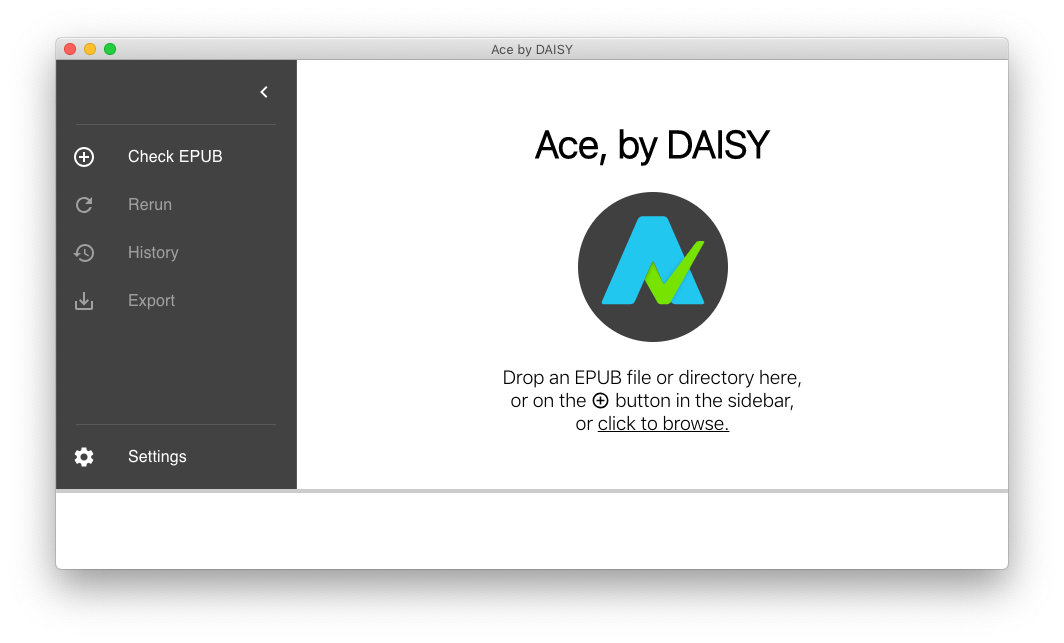
EPUB files can be drag-and-dropped onto the main logo area of the user interface, or onto the "Check EPUB" menu item inside the panel on the left.
Alternatively, a "file chooser" can be opened by using the top-level system menu bar "File" -> "Check EPUB..." (CMD/CTRL-O keyboard shortcut), or by clicking on the underlined "click to browse" link below the logo in the main area of the user interface.
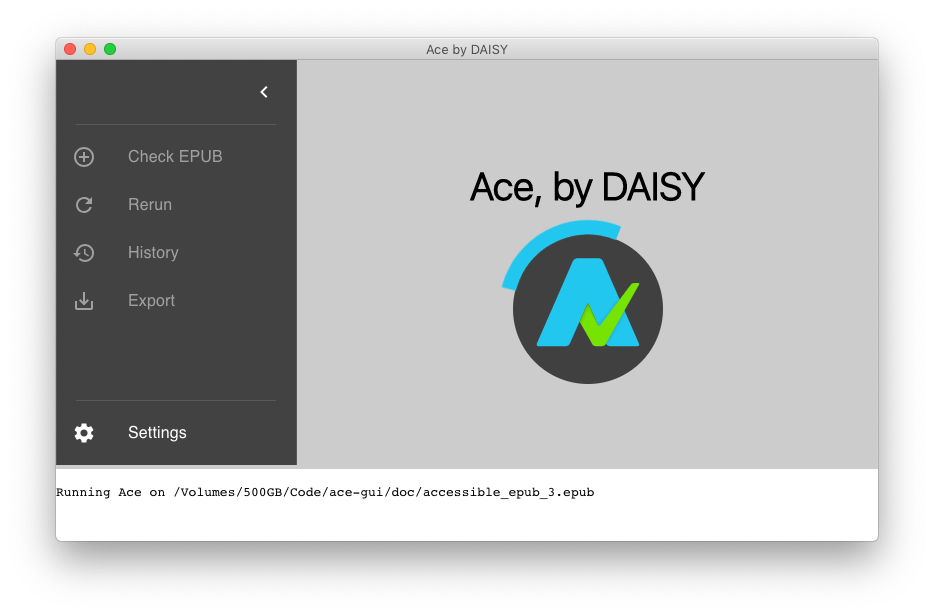
For this demonstration, let's use the file named accessible_epub_3.epub downloaded from the IDPF's EPUB3 samples website.
The accessibility evaluation process may take some time (usually, no more than a few seconds), as shown by a "spinner" progress indicator, and as specified in the logging area at the bottom of the window.
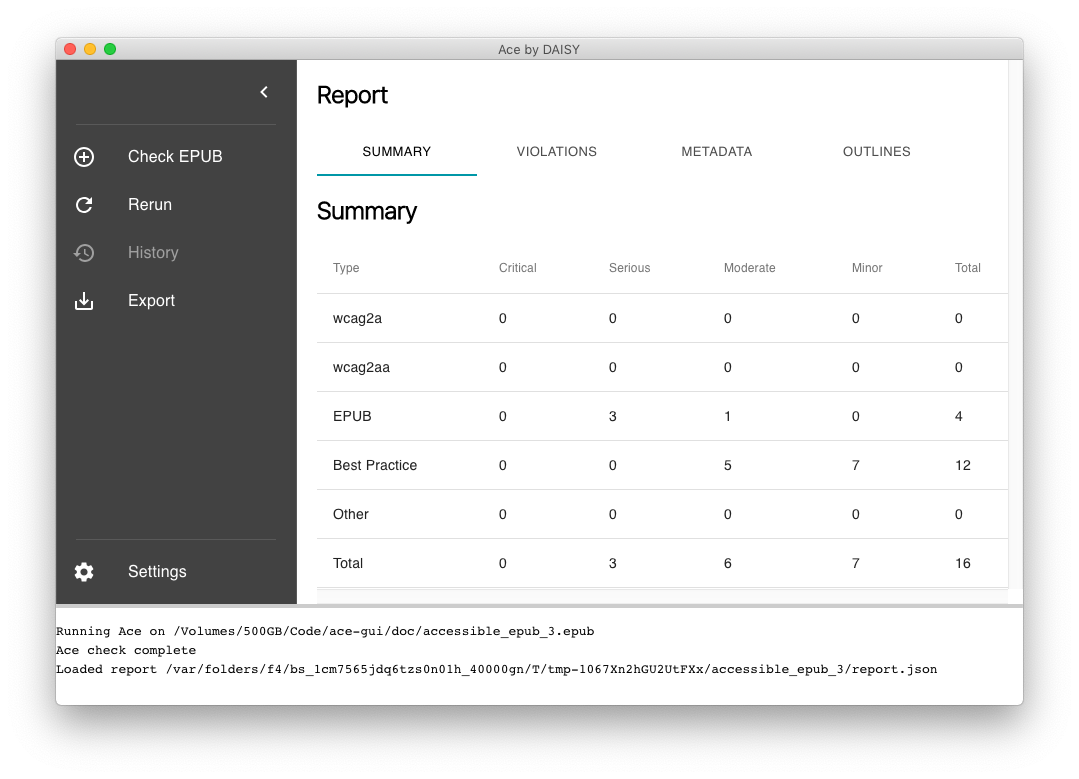
Once the process is completed, the Ace report is presented using multiple section tabs. The default section shows a summary of all information, including statistics about accessibility violations.
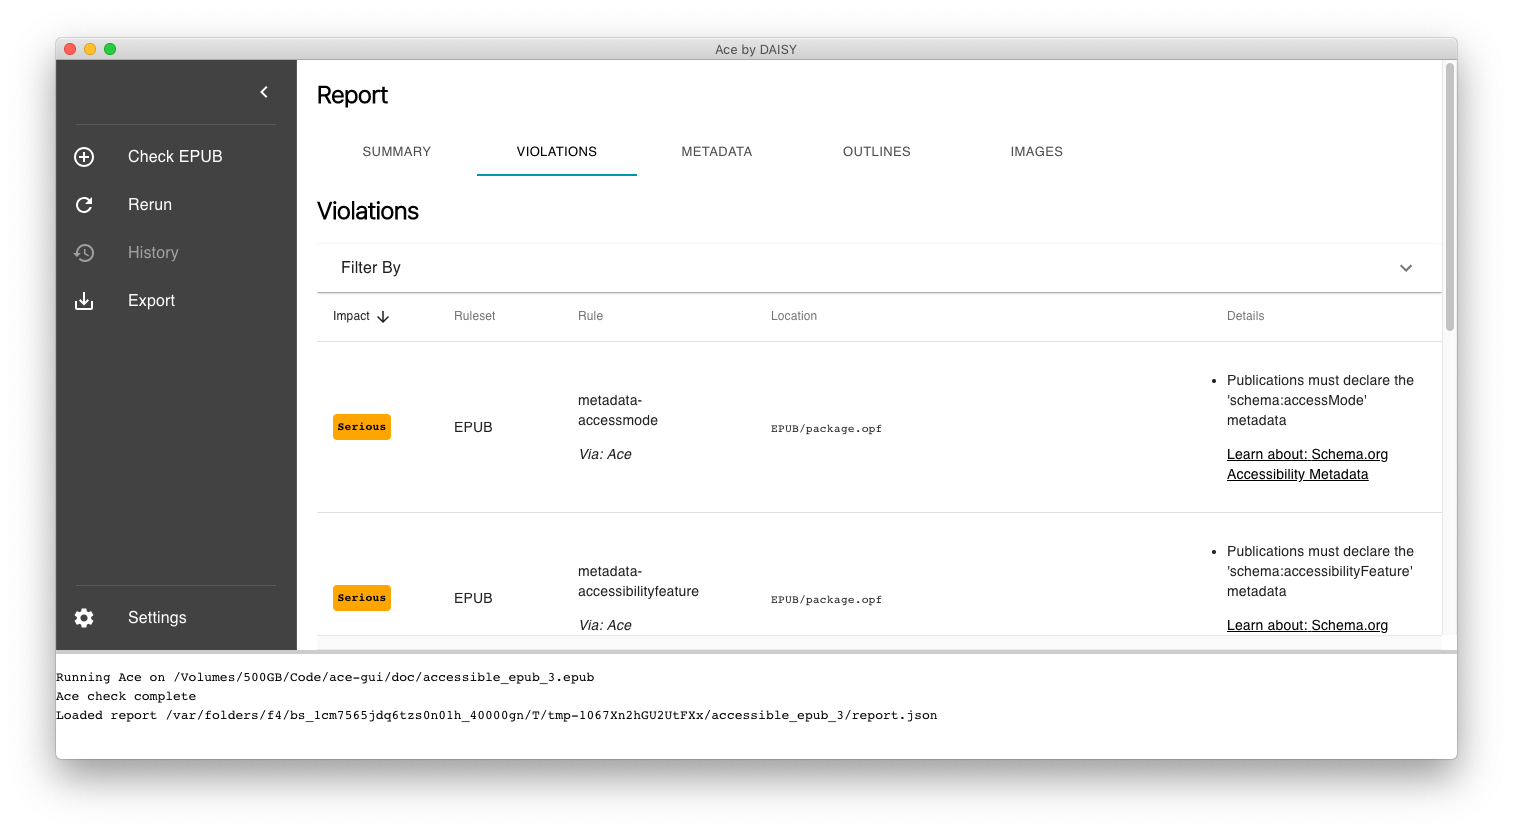
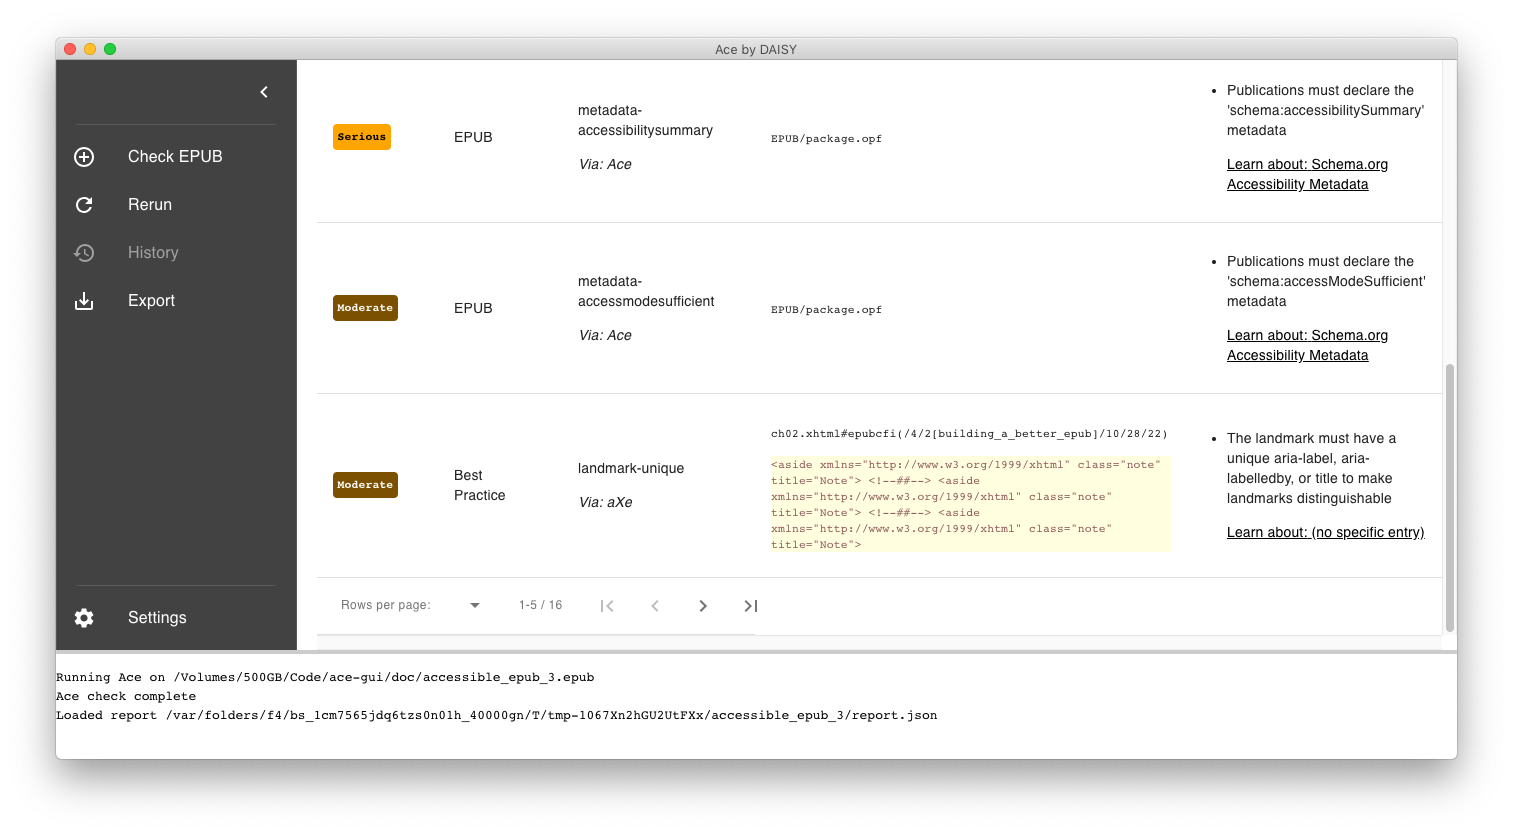
The "violations" tab displays an interactive table where columns can be sorted alphabetically:
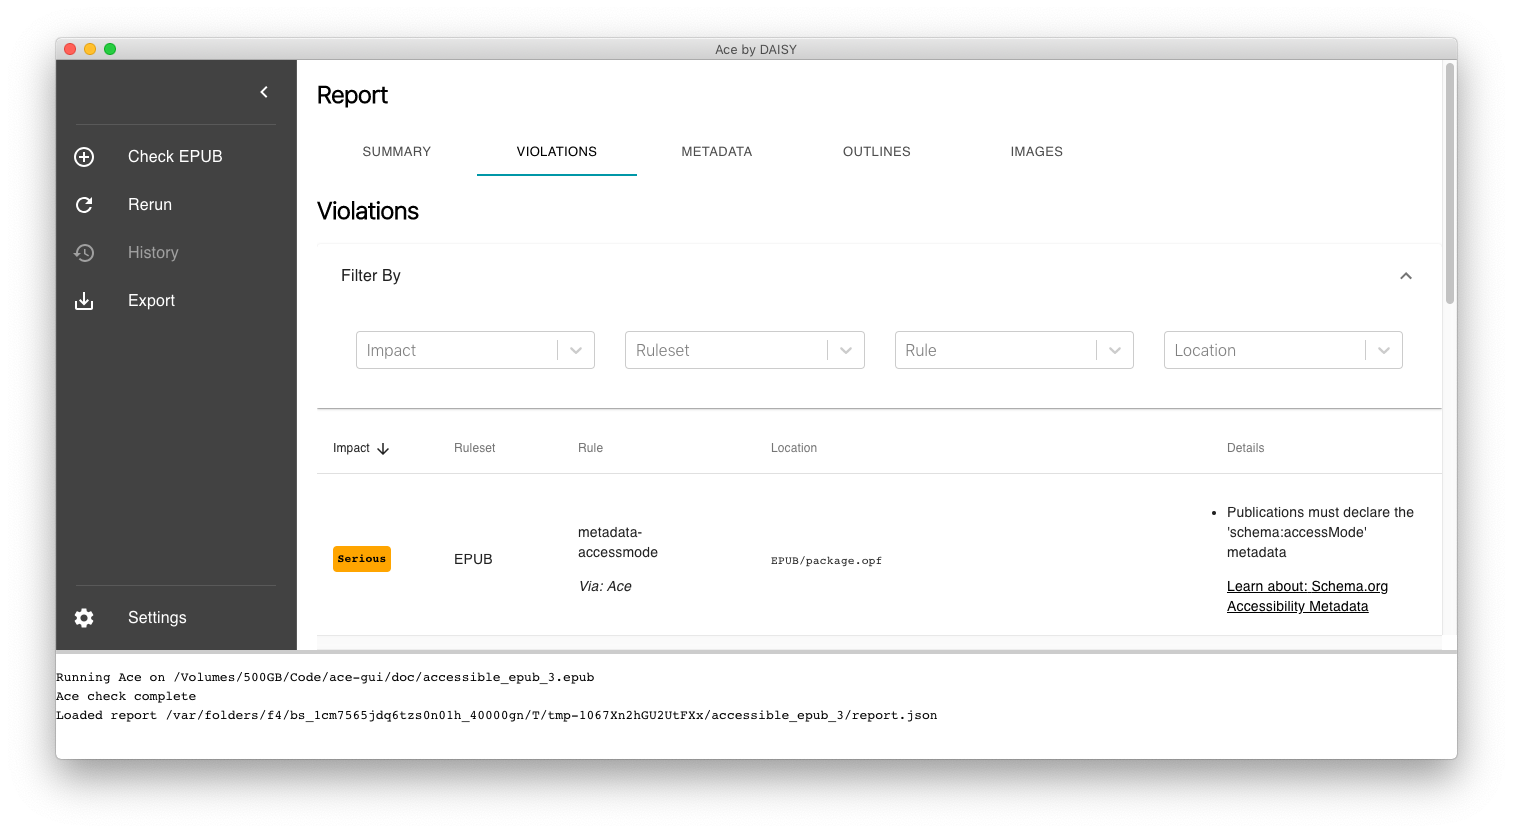
The report data can be filtered for each possible field and values:
The report data is paginated to limit the amount of vertical scrolling, and the maximum number of rows displayed in any given page can be configured:
The other section tabs "metadata", "outlines" and "images" function in exactly the same manner.
The report can be exported as a zip archive, using the "Export" menu item in the panel on the left. The report can be re-generated using the "Rerun" menu item. These commands are also available in the top-level system menu bar, inside the "File" submenu.
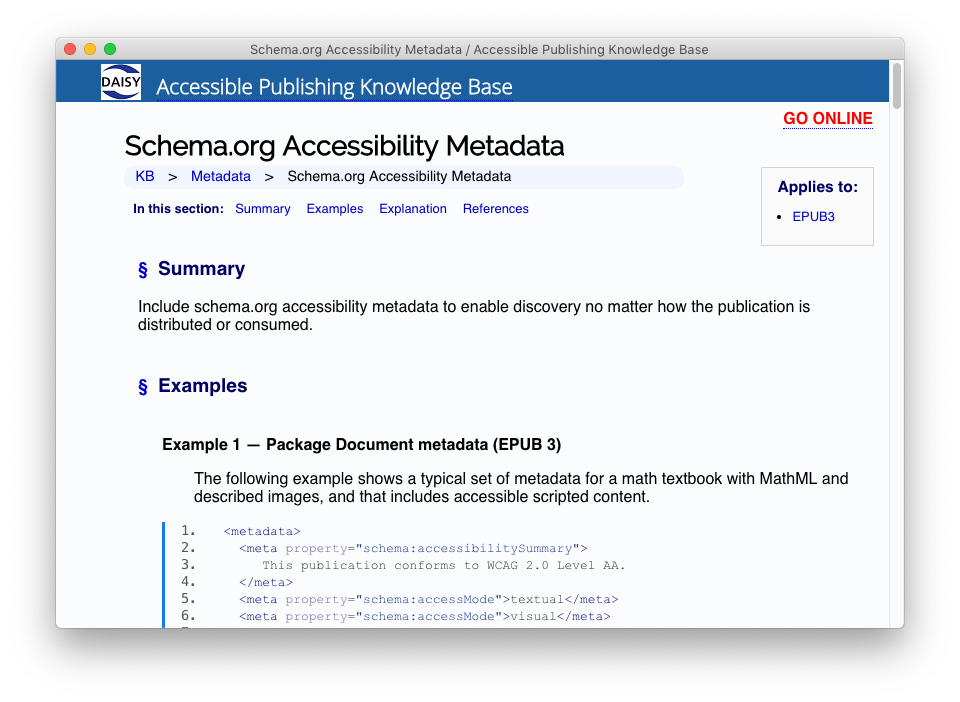
Note the DAISY Knowledge Base ("KB") links in the right-most "Details" column. When clicked, these links open a separate window loaded with the local offline version of the "KB" documentation, from which the online web version can be reach too (see the red "GO ONLINE" link in the upper right corner of the window, which opens the default web browser to the corresponding "KB" URL):
The DAISY Knowledge Base can also be opened directly from the top-level system menu bar, "Help" -> "Knowledge Base" (Local/Offline, Web/Online).
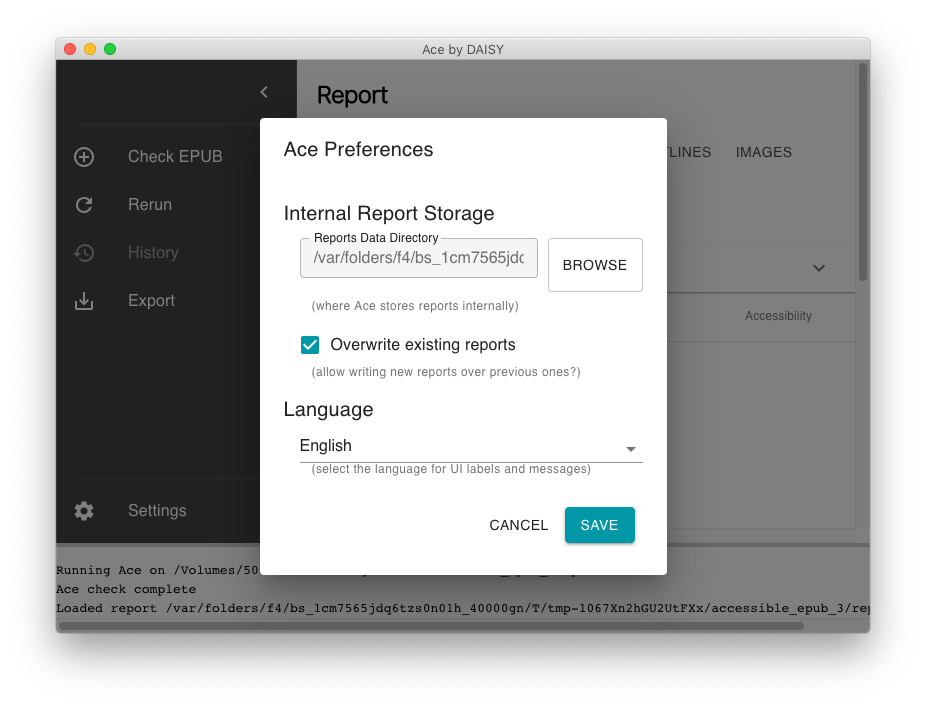
The "Settings" menu item in the panel on the left opens a modal popup dialog where user preferences can be set. This includes the language selection (currently French and English), as well as advanced parameters for the underlying Ace tool (these normally do not need customizing):
The top-level system menu bar "View" -> "Show in Finder" (note that the actual Windows, Linux and MacOS naming may differ) opens a filesystem explorer pointing to the location of the Ace report, as per the default path specified in the settings dialog.
This is the end of this quick-start guide.