This firmware transforms your Raspberry Pi 0 W to a high quality webcam for all your Zooming needs.
-
Sample camera picture - Warning: OLD
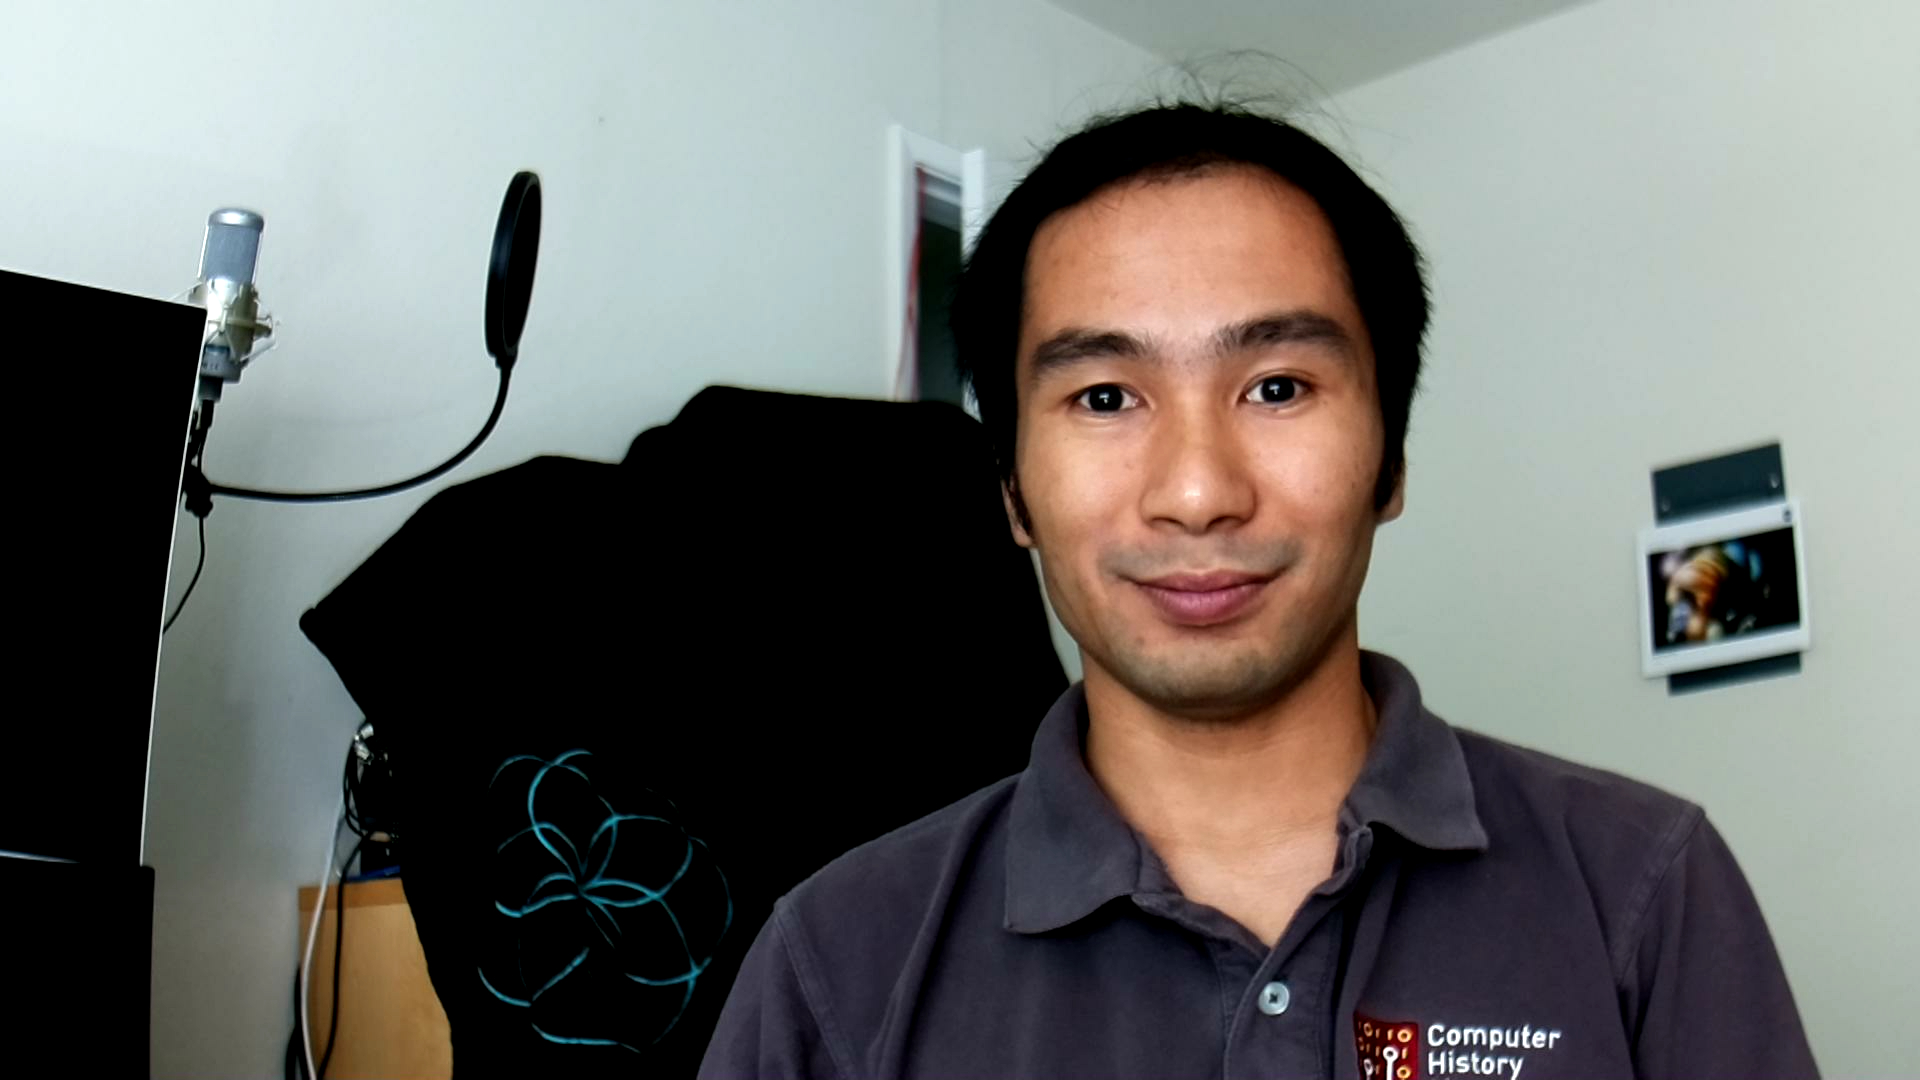
- Raspberry Pi 0 with or without Wifi.
- Pi 0 Camera Ribbon (comes with the Pi 0 camera case or you can buy somewhere else, the stock one that comes with the camera may not fit).
- Raspberry Pi Camera or Raspberry Pi High-Quality Camera
- Micro SD card
- The camera is known to work on Linux, Windows 10 and macOS Mojave.
- You can use the normal camera of the Pi, it will work too, of course it won't look too good. Some were tested as table below:
| Raspberry Pi\Camera version | v1 5MP | v2 8MP | High quality 12MP |
|---|---|---|---|
| Pi Zero v1.3 (without Wi-Fi) | ✓ | ✓ | |
| Pi Zero W (with Wi-Fi) | ✓ | ✓ | ✓ |
| Pi 4+ |
- Assemble the camera to the Pi.
- Download the binary release (down below).
- Download and use Etcher to write the image to the SD card.
- Use the USB data port (the one in the middle of the Pi, not the one on the edge) to connect to a computer.
- Enjoy!
When camera is streaming the build-in LED will be lit. In addition, GPIO 21 pin is set to HIGH, so an external LED or another payload can be triggered with this pin to indicate that the camera is in use.
Occasionally I release binary snapshots at the release tab: https://github.com/showmewebcam/showmewebcam/releases
For debugging, a 115200 baud serial interface is provided as a ttyACM device:
- Please use screen, minicom, or the included smwc-expect script to connect to it.
- Use username:
root, passwordroot.
Also, there is a serial interface on the 40-pin header: https://pinout.xyz/pinout/uart
Ubuntu example:
$ ll /dev/ttyACM*
crw-rw---- 1 root dialout 166, 0 sep 25 14:03 /dev/ttyACM0
$ sudo screen /dev/ttyACM0 115200
If the terminal get blank try pressing enter to see the login prompt.
This interface is perhaps more helpful if you can't get the Pi to boot fully, because the serial-over-usb interface will not come up if the uvc-webcam startup script fails.
If you want to modify the image content the quick-and-dirty way (not recommended):
- Start with the
chroot-to-piscript: https://gist.github.com/htruong/7df502fb60268eeee5bca21ef3e436eb - Edit
/bin/bashto/bin/shon thechroot /mnt/raspbian /bin/bashline.
Override camera settings temporarily:
Log in to the debug interface. Then list all tweakable parameters:
/usr/bin/v4l2-ctl -L | lessThen you can directly apply parameters on the fly:
/usr/bin/v4l2-ctl -c auto_exposure_bias=15
/usr/bin/v4l2-ctl -c contrast=0
Override camera settings permanently:
Mount the SD card on your computer, and create a file called camera.txt in /boot and put all parameters you want overridden, e.g:
#Tweak the auto exposure bias
auto_exposure_bias=15
#Tweak the contrast
contrast=0
You can edit camera.txt on-target by remounting /boot read-write:
mount -o remount,rw /bootMake a directory in your home: develop.
- In
develop, untar thebuildroot-2020.2.3tar package and renamebuildroot-2020.02.3tobuildroot. - Get out back to
develop. - In
develop,git clonethis repohttps://github.com/showmewebcam/showmewebcamto it. - Run build command:
BUILDROOT_DIR=../buildroot ./build-showmewebcam.sh raspberrypi0wto build Raspberry Pi Zero W (with Wi-Fi) image.BUILDROOT_DIR=../buildroot ./build-showmewebcam.sh raspberrypi0to build Raspberry Pi Zero (without Wi-Fi) image.
- The resulting image will be at the
output/folder in the showmewebcam directory. - If you add a camera.txt file to the root of this repository, the contents will be automatically added to /boot/camera.txt
- David Hunt: http://www.davidhunt.ie/raspberry-pi-zero-with-pi-camera-as-usb-webcam/
- Buildroot
- ARM fever: https://armphibian.wordpress.com/2019/10/01/how-to-build-raspberry-pi-zero-w-buildroot-image/
- The reposity icon is attributed to the GNOME project