

Out of the box stateless VPN server docker image which starts in just a few seconds and doesn't require persistent storage. To get it running, just copy & paste the snippet below and follow instructions in your terminal:
docker run -it --rm --cap-add=NET_ADMIN \
-p 1194:1194/udp -p 80:8080/tcp \
--name dockovpn alekslitvinenk/openvpn
To get more detailed information, go to Quick Start tutorial or watch video.
Dockovpn is a team of cybersecurity experts developing leading edge projects in Networking, VPN, DevOPS and SecOPS domains. Project is supported entirely by volonteers. If you'd like to help support the future of the project, please consider:
- Giving developer time (see Contrubition Guidelines)!
- Giving funds by becoming a sponsor on GitHub or OpenCollective!
Resources
Container properties
Video Guide
Quick Start
Persisting configuration
Alternative way. Run with docker-compose
Other resources
| Name | URL |
|---|---|
| https://www.linkedin.com/company/dockovpn | |
| https://www.facebook.com/dockovpn |
| Name | URL |
|---|---|
| GitHub | https://github.com/dockovpn/dockovpn |
| Docker Hub | https://hub.docker.com/r/alekslitvinenk/openvpn |

| Tag | Description |
|---|---|
latest |
This tag is added to every newly built version be that v#.#.# or v#.#.#-regen-dh |
v#.#.# |
Standard fixed release version, where {1} is major version, {2} - minor and {3} is a patch. For instance, v1.1.0 |
v#.#.#-regen-dh |
Release version with newly generated Deffie Hellman security file. In order to keep security high this version is generated every hour. Tag example - v1.1.0-regen-dh |
dev |
Development build which contains the most recent changes from the active development branch (master) |
| Variable | Description | Default value |
|---|---|---|
| NET_ADAPTER | Network adapter to use on the host machine | eth0 |
| HOST_ADDR | Host address override if the resolved address doesn't work | localhost |
| HOST_TUN_PORT | Tunnel port to advertise in the client config file | 1194 |
| HOST_TUN_PROTOCOL | Tunnel protocol (tcp or udp) |
udp |
| HOST_CONF_PORT | HTTP port on the host machine to download the client config file | 80 |
| CRL_DAYS | CRL days until expiration, i.e. invalid for revocation checking | 3650 |
<custom port> and <custom protocol> with your values):
DOCKOVPN_CONFIG_PORT=<custom port>
DOCKOVPN_TUNNEL_PORT=<custom port>
DOCKOVPN_TUNNEL_PROTOCOL=<custom protocol>
docker run -it --rm --cap-add=NET_ADMIN \
-p $DOCKOVPN_TUNNEL_PORT:1194/$DOCKOVPN_TUNNEL_PROTOCOL -p $DOCKOVPN_CONFIG_PORT:8080/tcp \
-e HOST_CONF_PORT="$DOCKOVPN_CONFIG_PORT" \
-e HOST_TUN_PORT="$DOCKOVPN_TUNNEL_PORT" \
-e HOST_TUN_PROTOCOL="$DOCKOVPN_TUNNEL_PROTOCOL" \
--name dockovpn alekslitvinenk/openvpn| Short name | Long name | Description |
|---|---|---|
-r |
--regenerate |
Regenerates PKI and DH file |
-n |
--noop |
Initialise container, but don's start VPN server |
-q |
--quit |
Quit after container was initialized |
-s |
--skip |
Skip client generation on first start |
-r option, even though it will take container a bit longer to start. In future releases we will apply this option by default:
docker run -it --rm --cap-add=NET_ADMIN \
-p 1194:1194/udp -p 80:8080/tcp \
--name dockovpn alekslitvinenk/openvpn -rAfter container was run using docker run command, it's possible to execute additional commands using docker exec command. For example, docker exec <container id> ./version.sh. See table below to get the full list of supported commands.
| Command | Description | Parameters | Example |
|---|---|---|---|
./version.sh |
Outputs full container version, i.e Dockovpn v1.2.0 |
docker exec dockovpn ./version.sh |
|
./genclient.sh |
Generates new client configuration | z — Optional. Puts newly generated client.ovpn file into client.zip archive.zp paswd — Optional. Puts newly generated client.ovpn file into client.zip archive with password pswd o — Optional. Prints cert to the output. oz — Optional. Prints zipped cert to the output. Use with output redirection. ozp paswd — Optional. Prints encrypted zipped cert to the output. Use with output redirection. n profile_name — Optional. Use specified profile_name parameter instead of random id. Prints client.ovpn to the outputnp profile_name — Optional. Use specified profile_name parameter instead of random id and protects by password asked by stdin. Password refers to the connection and it will be asked during connection stage. Prints client.ovpn to the output |
docker exec dockovpn ./genclient.shdocker exec dockovpn ./genclient.sh zdocker exec dockovpn ./genclient.sh zp 123 docker exec dockovpn ./genclient.sh o > client.ovpndocker exec dockovpn ./genclient.sh oz > client.zip docker exec dockovpn ./genclient.sh ozp paswd > client.zipdocker exec dockovpn ./genclient.sh n profile_namedocker exec -ti dockovpn ./genclient.sh np profile_name |
./rmclient.sh |
Revokes client certificate thus making him/her anable to connect to given Dockovpn server. | Client Id, i.e vFOoQ3Hngz4H790IpRo6JgKR6cMR3YAp |
docker exec dockovpn ./rmclient.sh vFOoQ3Hngz4H790IpRo6JgKR6cMR3YAp |
./listconfigs.sh |
List all generated available config IDs | docker exec dockovpn ./listconfigs.sh |
|
./getconfig.sh |
Return previously generated config by client ID | Client Id, i.e vFOoQ3Hngz4H790IpRo6JgKR6cMR3YAp |
docker exec dockovpn./getconfig.sh vFOoQ3Hngz4H790IpRo6JgKR6cMR3YAp |
dockovpn exec ./genclient.sh n customname and then chose to remove this config using dockovpn exec ./rmclient.sh customname, the client certificate is revoked permanently in this server, therefore, you cannot create client configuration with the same name again. Doing so will result in error Sat Oct 28 10:05:17 2023 Client with this id [customname] already exists.
- Any hardware or vps/vds server running Linux. You should have administrative rights on this machine.
- Docker installation on your server.
- Public ip address assigned to your server.
Copy & paste the following command to run docker-openvpn:
docker run -it --rm --cap-add=NET_ADMIN \
-p 1194:1194/udp -p 80:8080/tcp \
--name dockovpn alekslitvinenk/openvpnCtrl+P Ctrl+Q.
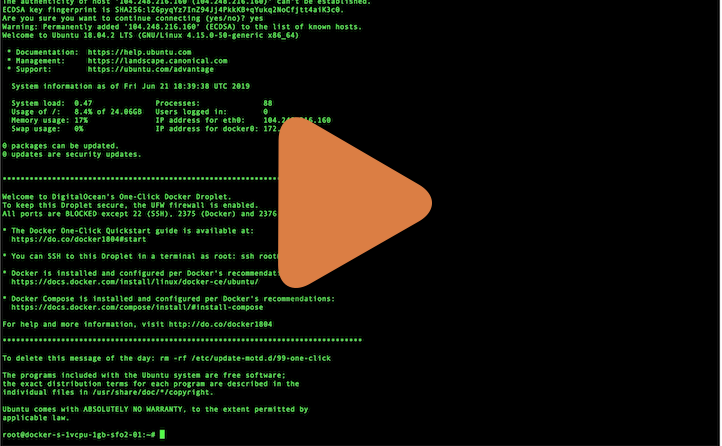
If everything went well, you should be able to see the following output in your console:
Sun Jun  9 08:56:11 2019 Initialization Sequence Completed
Sun Jun  9 08:56:12 2019 Client.ovpn file has been generated
Sun Jun  9 08:56:12 2019 Config server started, download your client.ovpn config at http://example.com:8080/
Sun Jun 9 08:56:12 2019 NOTE: After you download you client config, http server will be shut down!Now, when your dockovpn is up and running you can go to <your_host_public_ip>:8080 on your device and download ovpn client configuration.
As soon as you have your config file downloaded, you will see the following output in the console:
Sun Jun 9 09:01:15 2019 Config http server has been shut downImport client.ovpn into your favourite openvpn client. In most cases it should be enough to just doubleclick or tap on that file.
You should be able to see your newly added client configuration in the list of available configurations. Click on it, connection process should initiate and be established within few seconds.
Congratulations, now you're all set and can safely browse the internet.
There's a possibility to persist generated files in volume storage. Run docker with
-v openvpn_conf:/opt/Dockovpn_dataSometimes it is more convenient to use docker-compose.
To run dockvpn with docker-compose run:
docker-compose up -d && \
docker-compose exec -d dockovpn wget -O /opt/Dockovpn/client.ovpn localhost:8080
After run this command you can find your client.ovpn inside openvpn_conf folder.
Contrubition Guidelines
Code Of Conduct
Release Guideline
License Agreement