Dog Things is a DoneJS application that allows users to view dog products like leashes and bones, and to add items to their cart. This application shows off the advantages of streamable web applications and how DoneJS facilitates building them.
This readme walks through getting the project set up locally, and the features used to build the app.
To get Dog Things set up locally, first clone the repository:
git clone git@github.com:donejs/donejs-streaming-product-page.git
And then install the dependencies with npm.
cd donejs-streaming-product-page
npm install
This application uses HTTP/2 to provide the fastest possible rendering. HTTP/2 requires SSL, so to debug the application locally you'll need to first create a self-signed certificate.
To create the certificate and private key use the openssl command like so:
openssl req -nodes -new -x509 -keyout server.key -out server.certThis will create a server.key and server.cert file in the local directory. Since you don't want to include these in version control, move them somewhere else in the file system. I keep a directory for these certificates so that I can reuse them when working locally.
mkdir -p ~/.localhost-ssl
mv server.key server.cert ~/.localhost-ssl
Now that you have a certificate you can use for development, update the develop script in your package.json:
{
  "scripts": {
    "develop": "done-serve --develop --port 8080 --proxy http://localhost:8084 --key ~/.localhost-ssl/server.key --cert ~/.localhost-ssl/server.cert --strategy incremental"
  }
}
This app uses a locally hosted API. In your scripts also add this:
{
  "scripts": {
    "api": "node api/server.js"
  }
}
First start the API server in one terminal window:
donejs apiAnd in another terminal window start the server:
donejs developAnd open the page in the browser at https://localhost:8080. The first time you open the page you will get a security error because the certificate is not signed by a CA the browser recognizes. Since you are using this for local development you can ignore this error, it will only happen the first time.
In Chrome first click on the link that says ADVANCED:
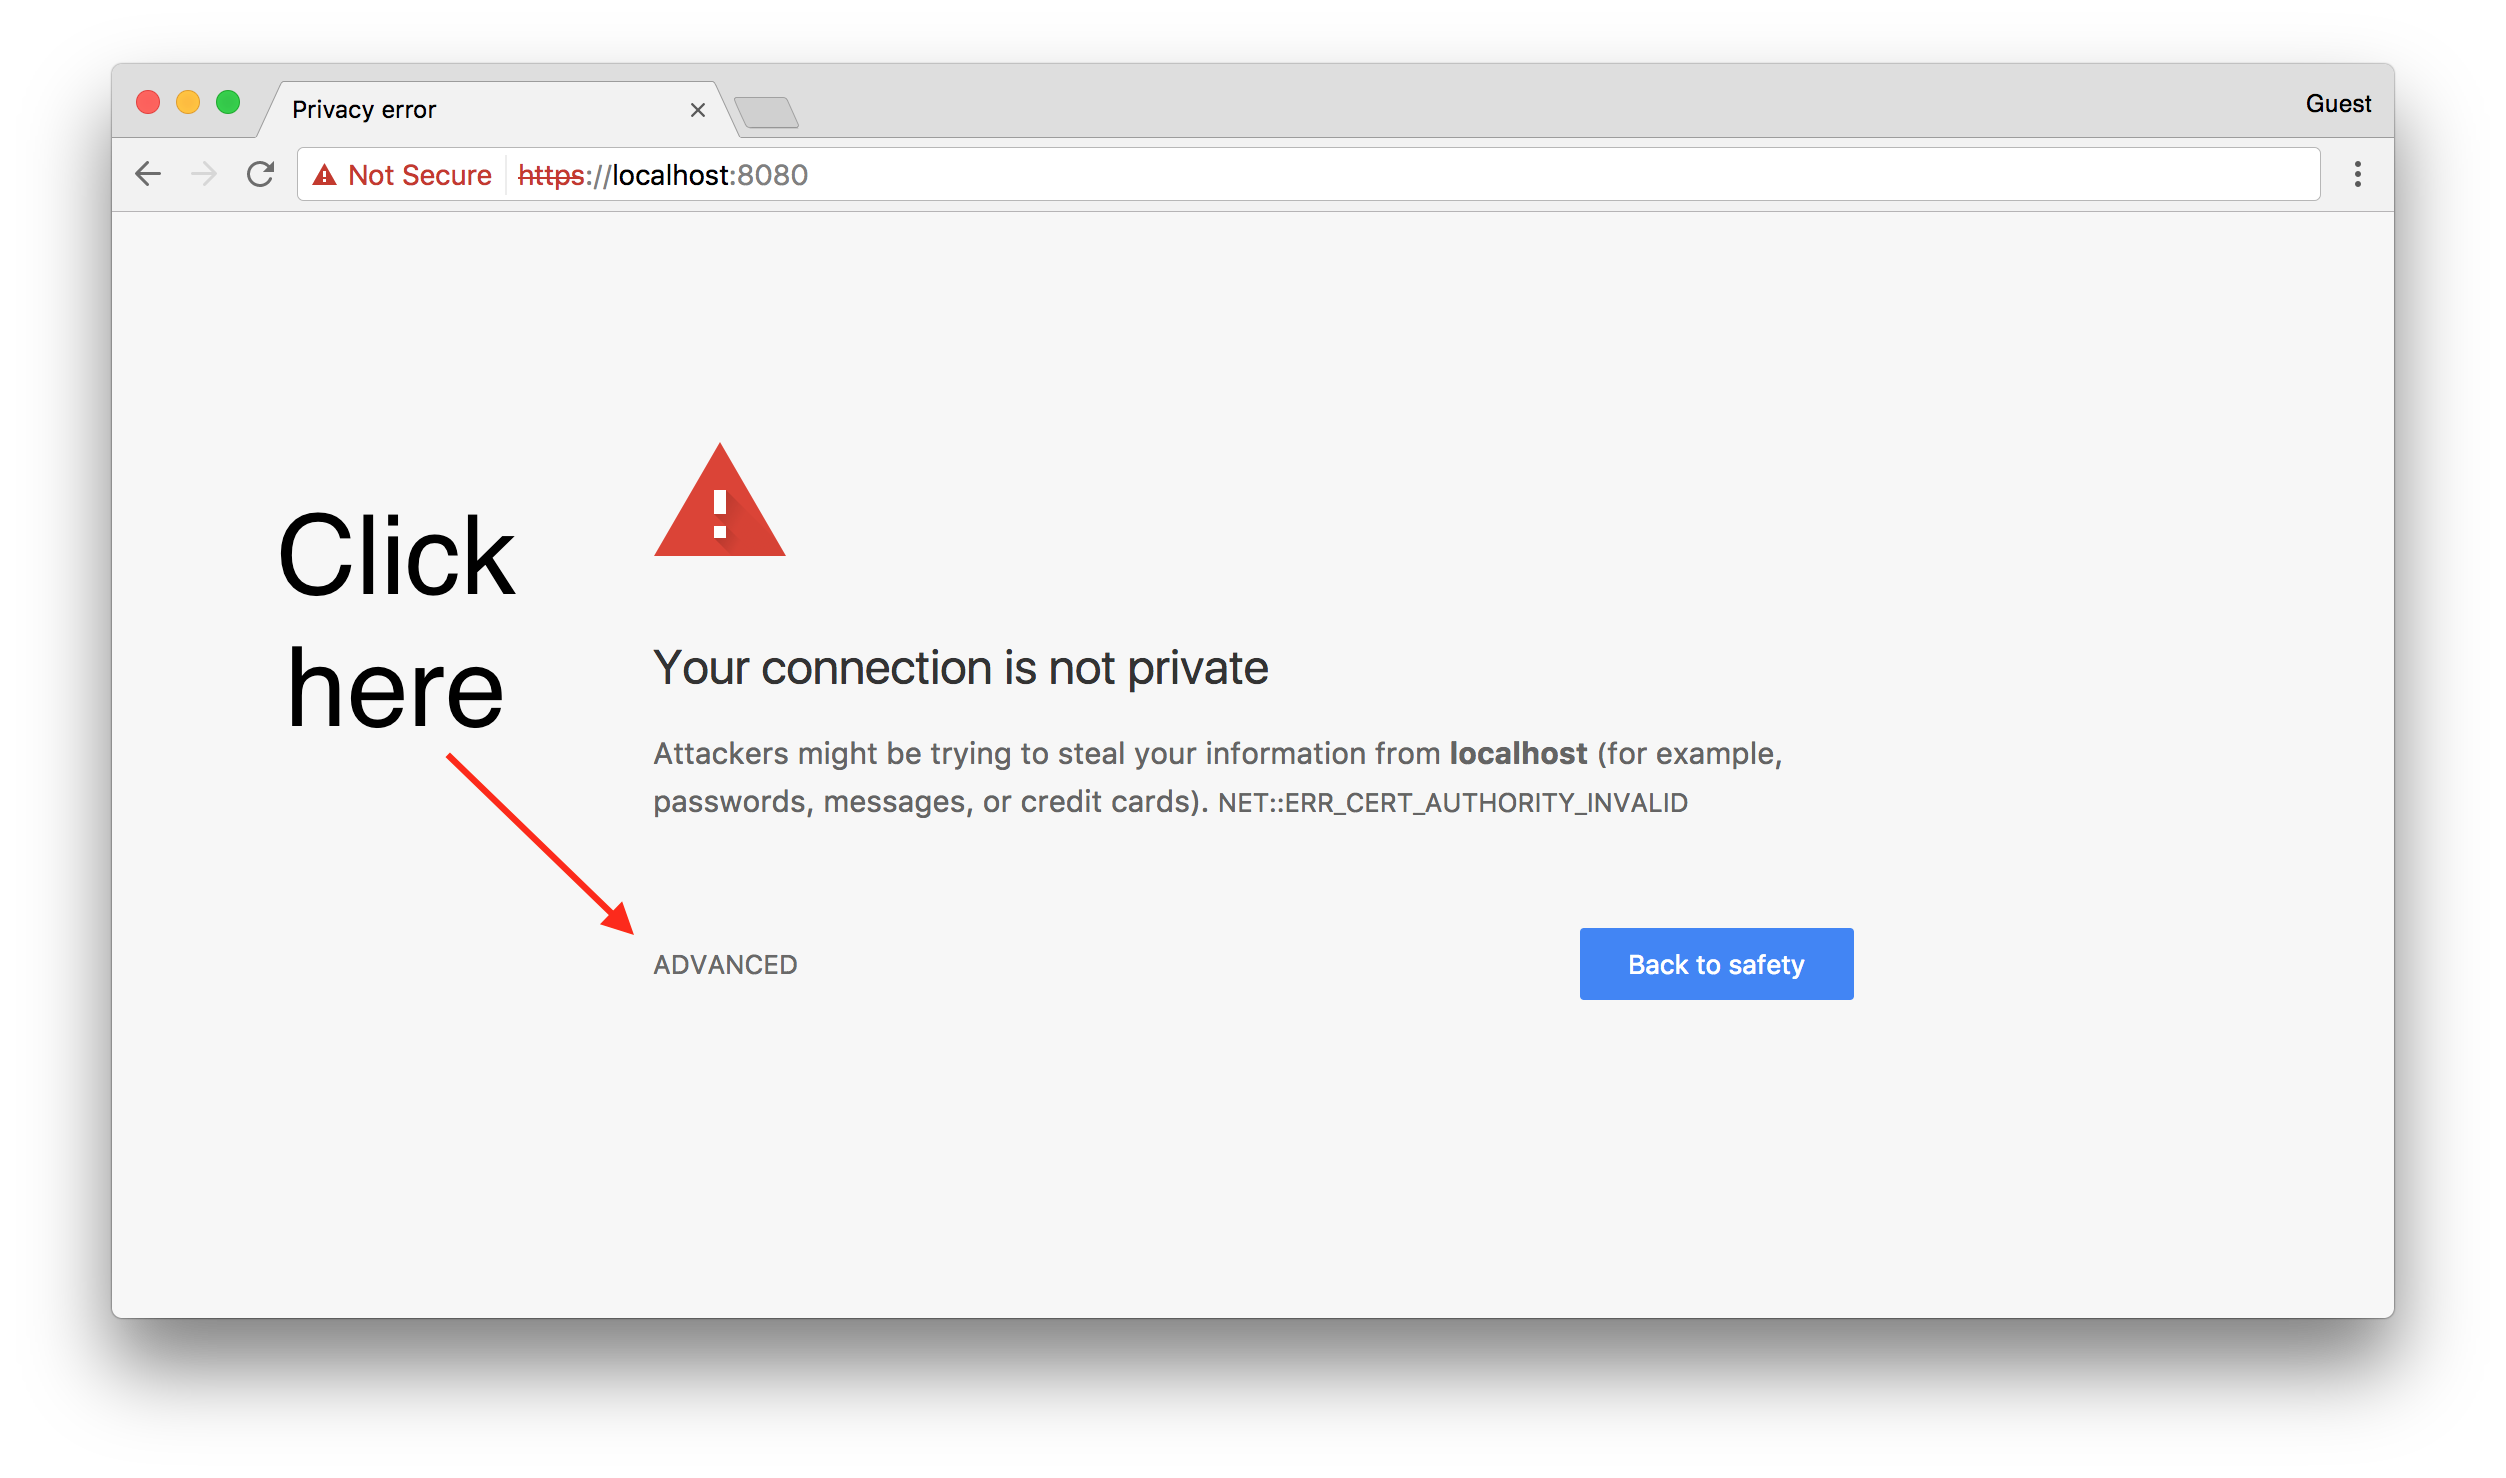
And then click on the link saying Proceed to localhost (advanced):

Which should load up the app.
This demo application shows off some of the streaming capabilities of DoneJS. DoneJS utilizes HTTP/2 and the fetch API to stream data from the server.
Incremental rendering is a term we have come up with to describe a new streaming technique we've invented as part of DoneJS. Since most applications are made up of various dynamic parts, waiting for everything to load before rendering will result in a poor experience for your users. With the incremental rendering strategy DoneJS can provide many of the benefits of server-side rendering without forcing your users to wait on the slowest part.
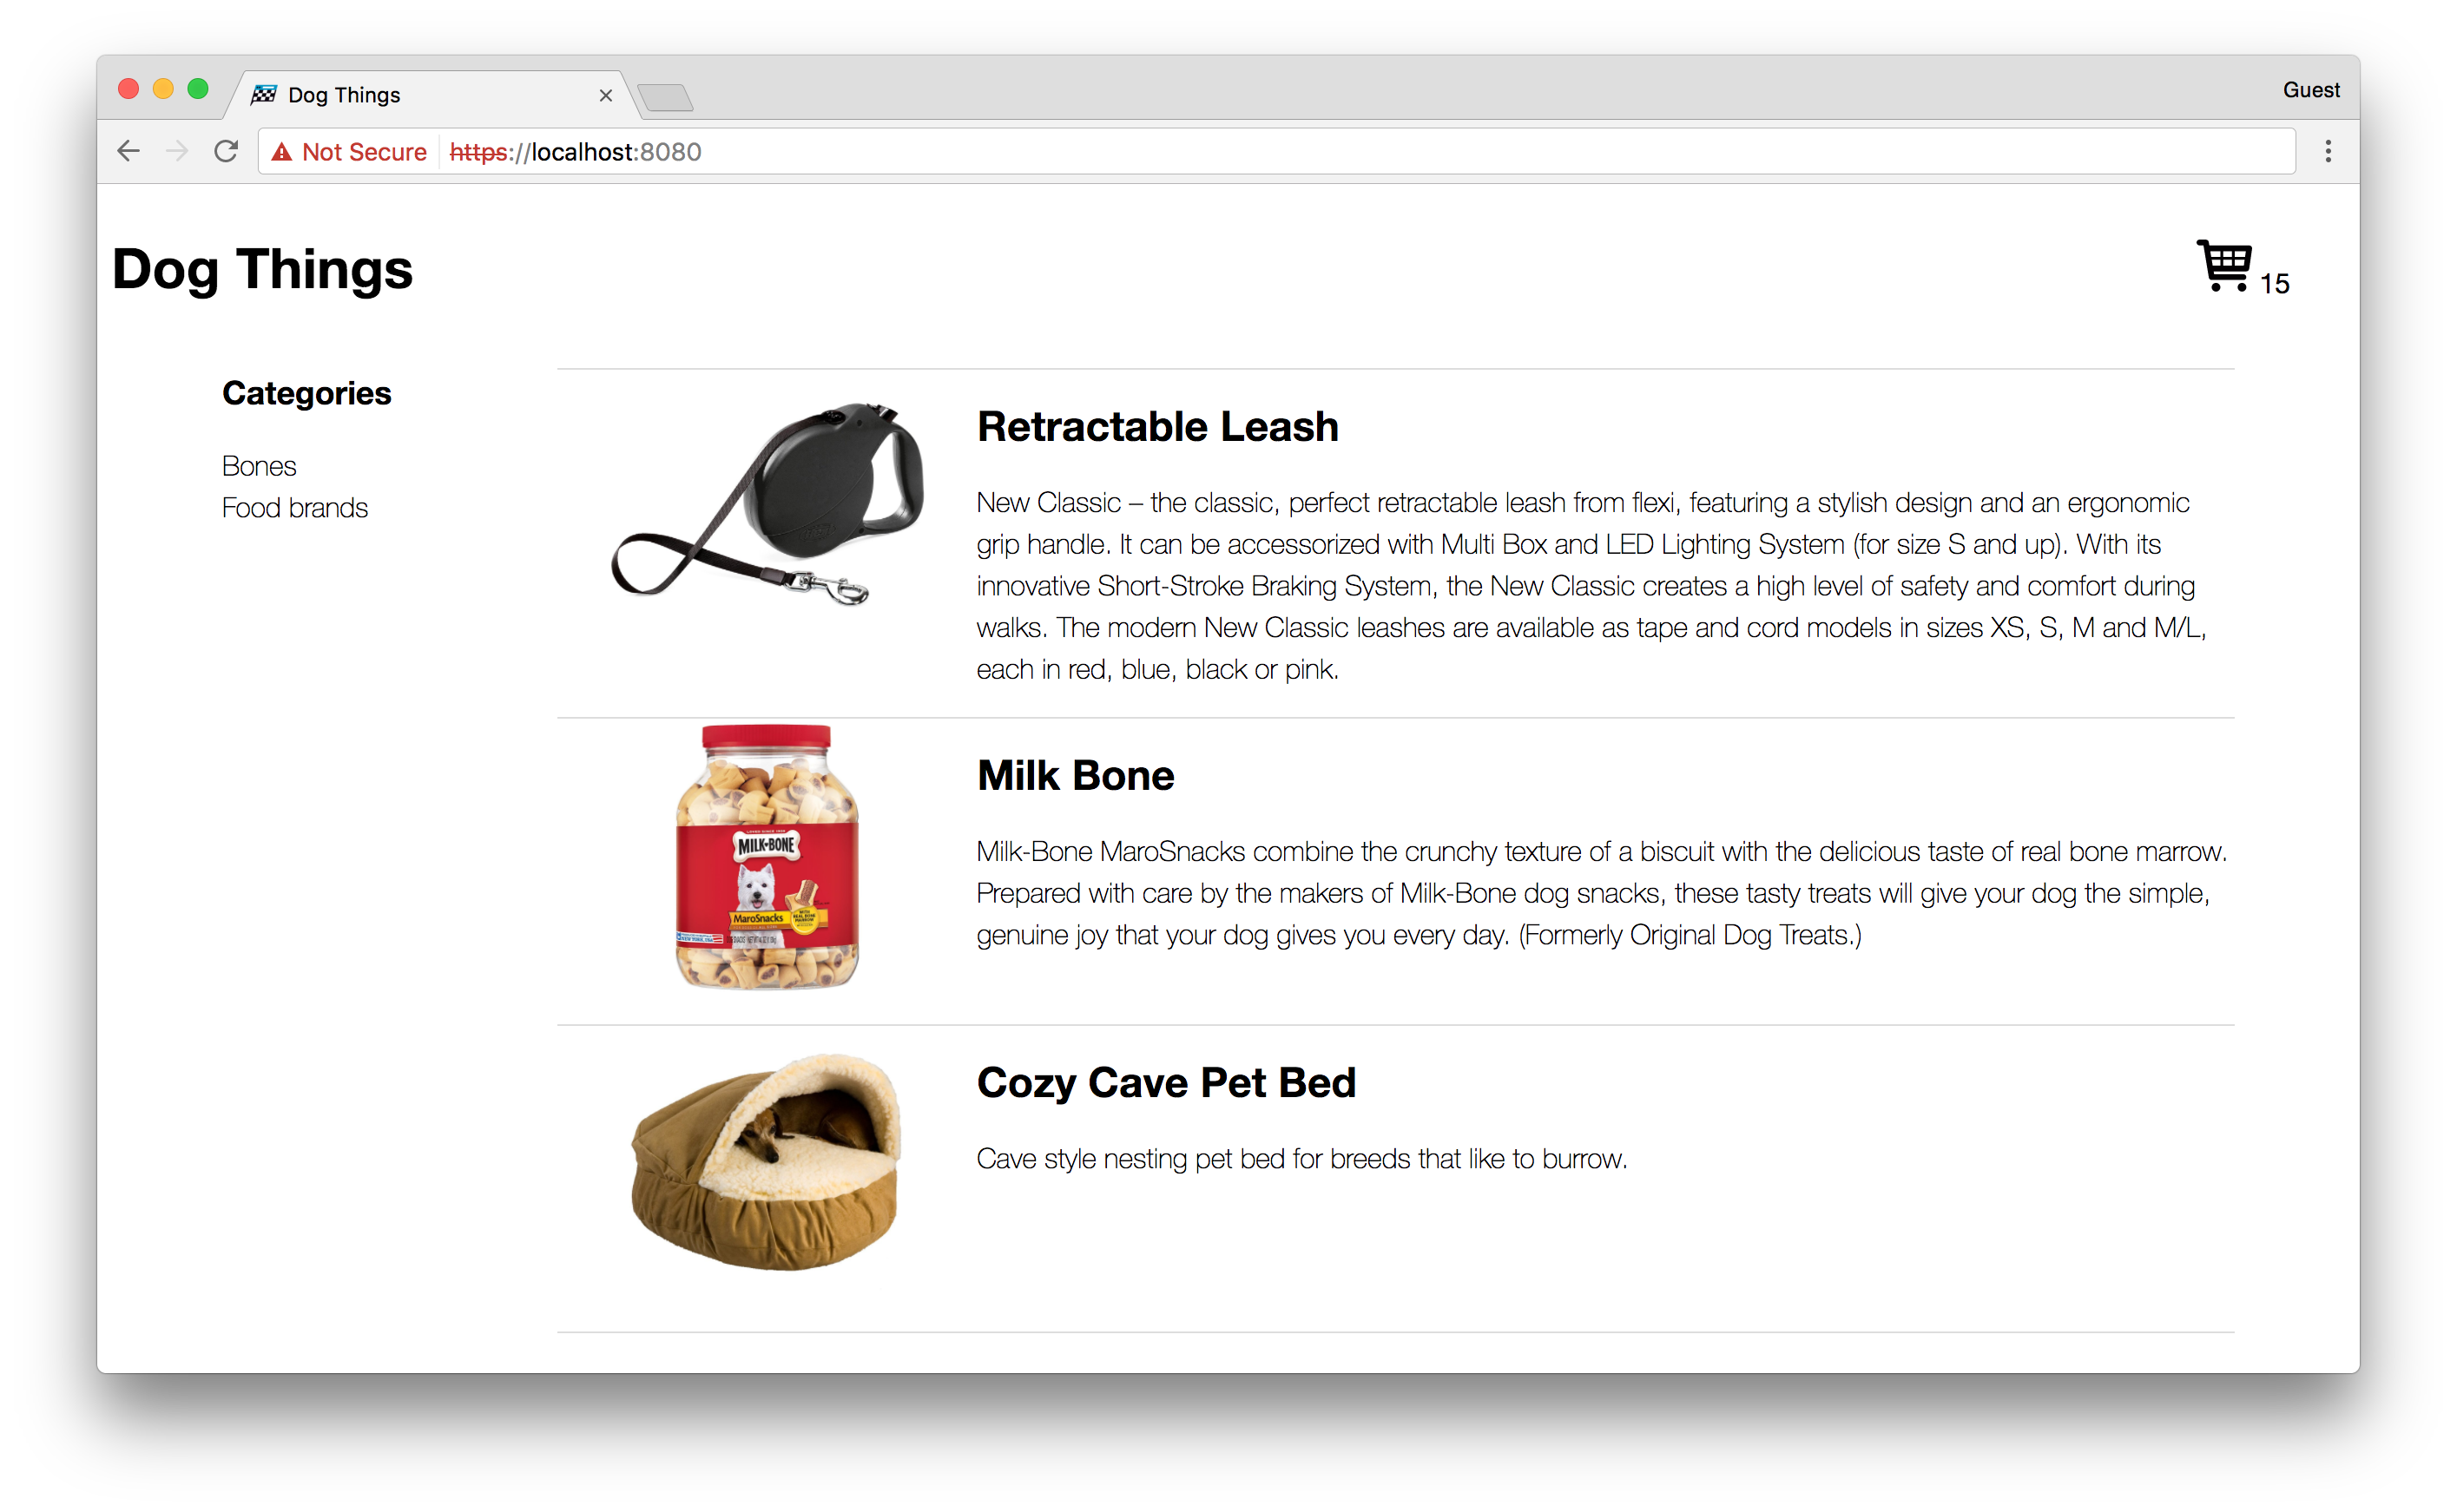
When you load this example app you'll see this to start:

Notice that the cart shows 0 items. This is because the cart is still being loaded on the server. Meanwhile 1 product has already loaded.
When implementing a traditional HTML streaming approach you would have to wait on the cart to load before streaming out any other content below it. Incremental rendering isn't biased in favor of top-down loading, so the fastest parts of your app load first.
This mirrors what happens in the real world, where often times something like a product listing will load fast from the database, and user profile things (that tend to be at the top of the page, like the cart) might require more complex database queries.
Waiting a second or so longer and you should see this now:

The numbers demonstrate the loading order. First 2 product items load, then the cart, and finally more products.
If you open up your devtools you can see the stream of commands. It will come from a URL prefixed with _donessr_instructions/. It looks like:
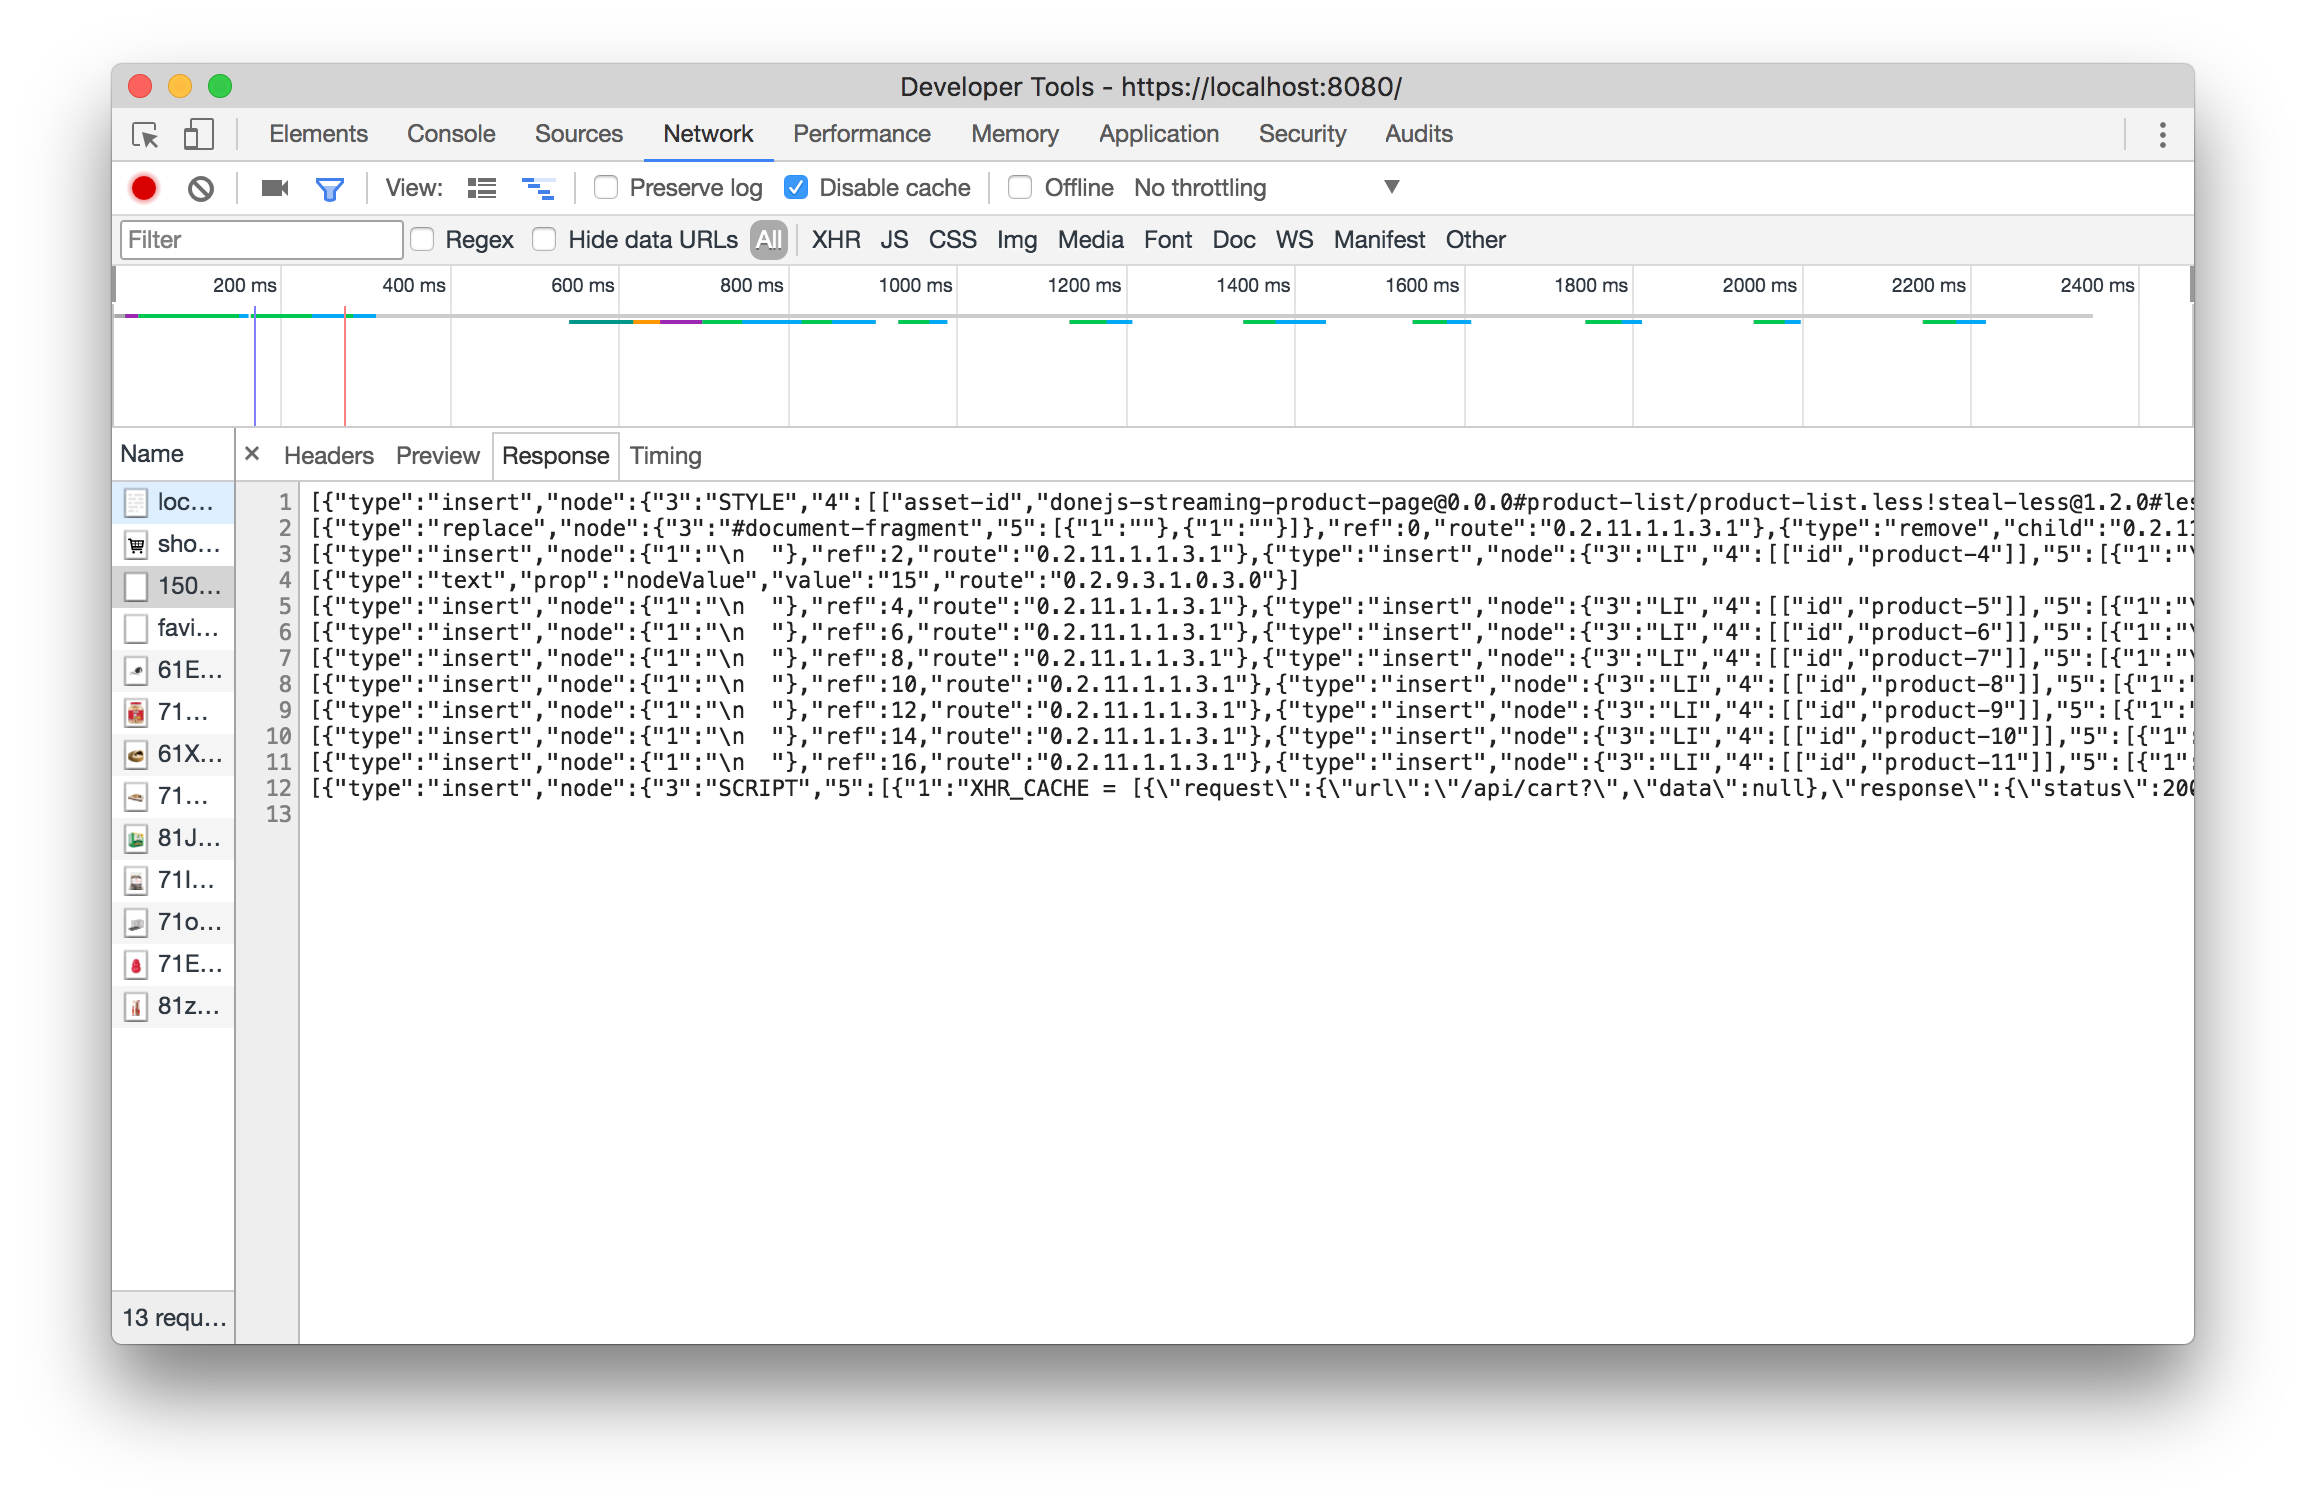
The Dog Things app uses NDJSON to stream in the product list from the server. NDJSON is a format of data that delimits rows (from list queries) with newlines. It looks like this:
{ "product": "Bones", "img": "https://..." }
{ "product": "Treats", "img": "https://..." }
If you look in src/models/products.js you will see the import of can-connect-ndjson:
import ndjson from "can-connect-ndjson";and then the use:
Product.connection = connect([
	constructor, connectMap, constructorStore,
	dataUrl, ndjson
], {
  url: loader.serviceBaseURL + '/api/product',
	ndjson: loader.serviceBaseURL + '/api/product',
  Map: Product,
  List: Product.List,
  name: 'product',
  algebra
});
Notice that this utilizes an ndjson property on the connection. In this case it is the same url as used for JSON, but if you wanted you could use different URLs. This would allow you to use ndjson streaming data for users with supported browsers and then to fallback to a JSON service for those that do not.