My DIY, home made analog modular synthesizer


Here are some of the sounds produced by this thing. In a few of these samples I incorporated minimal composition so the less musically imaginative can get a sense of how this might be used. If you are viewing the readme file and not the project site these mp3s might not work. site link
Synthesizers are hypnotic. The beeps and boops they produce induce an almost involuntary urge to move – they enact on our primal need to respond to the call of rhythm and groove. For years I dreamt of the day that I would be able to twist knobs, push buttons and slam down some analog basslines.
Anyway the point is I built an analog modular synthesizer. Its not really done, I left a lot of space for future additions with the intent to add a module to it every so often – it is complete in the sense that I have finished the first batch of 12 modules. In my senior year of high school I decided to challenge myself by building something truly difficult. I decided to pick a project described on the documentation page as follows:
This is an advanced project requiring understanding of electronics and electronic building and trouble shooting skills and equipment. Access to a good oscilloscope, DVM, bench power supply, soldering station and hand tools will be required. Only the schematic, circuit description, and suggested panel layout are provided. Please read over the entire project and make sure the information is clear enough for you to succeed before ordering PC boards or other products.
Without further ado, here is the story of how I spent 2 years overcoming the many obstacles one faces when they decide to build an advanced electronics project with no previous experience and a lack of tools.
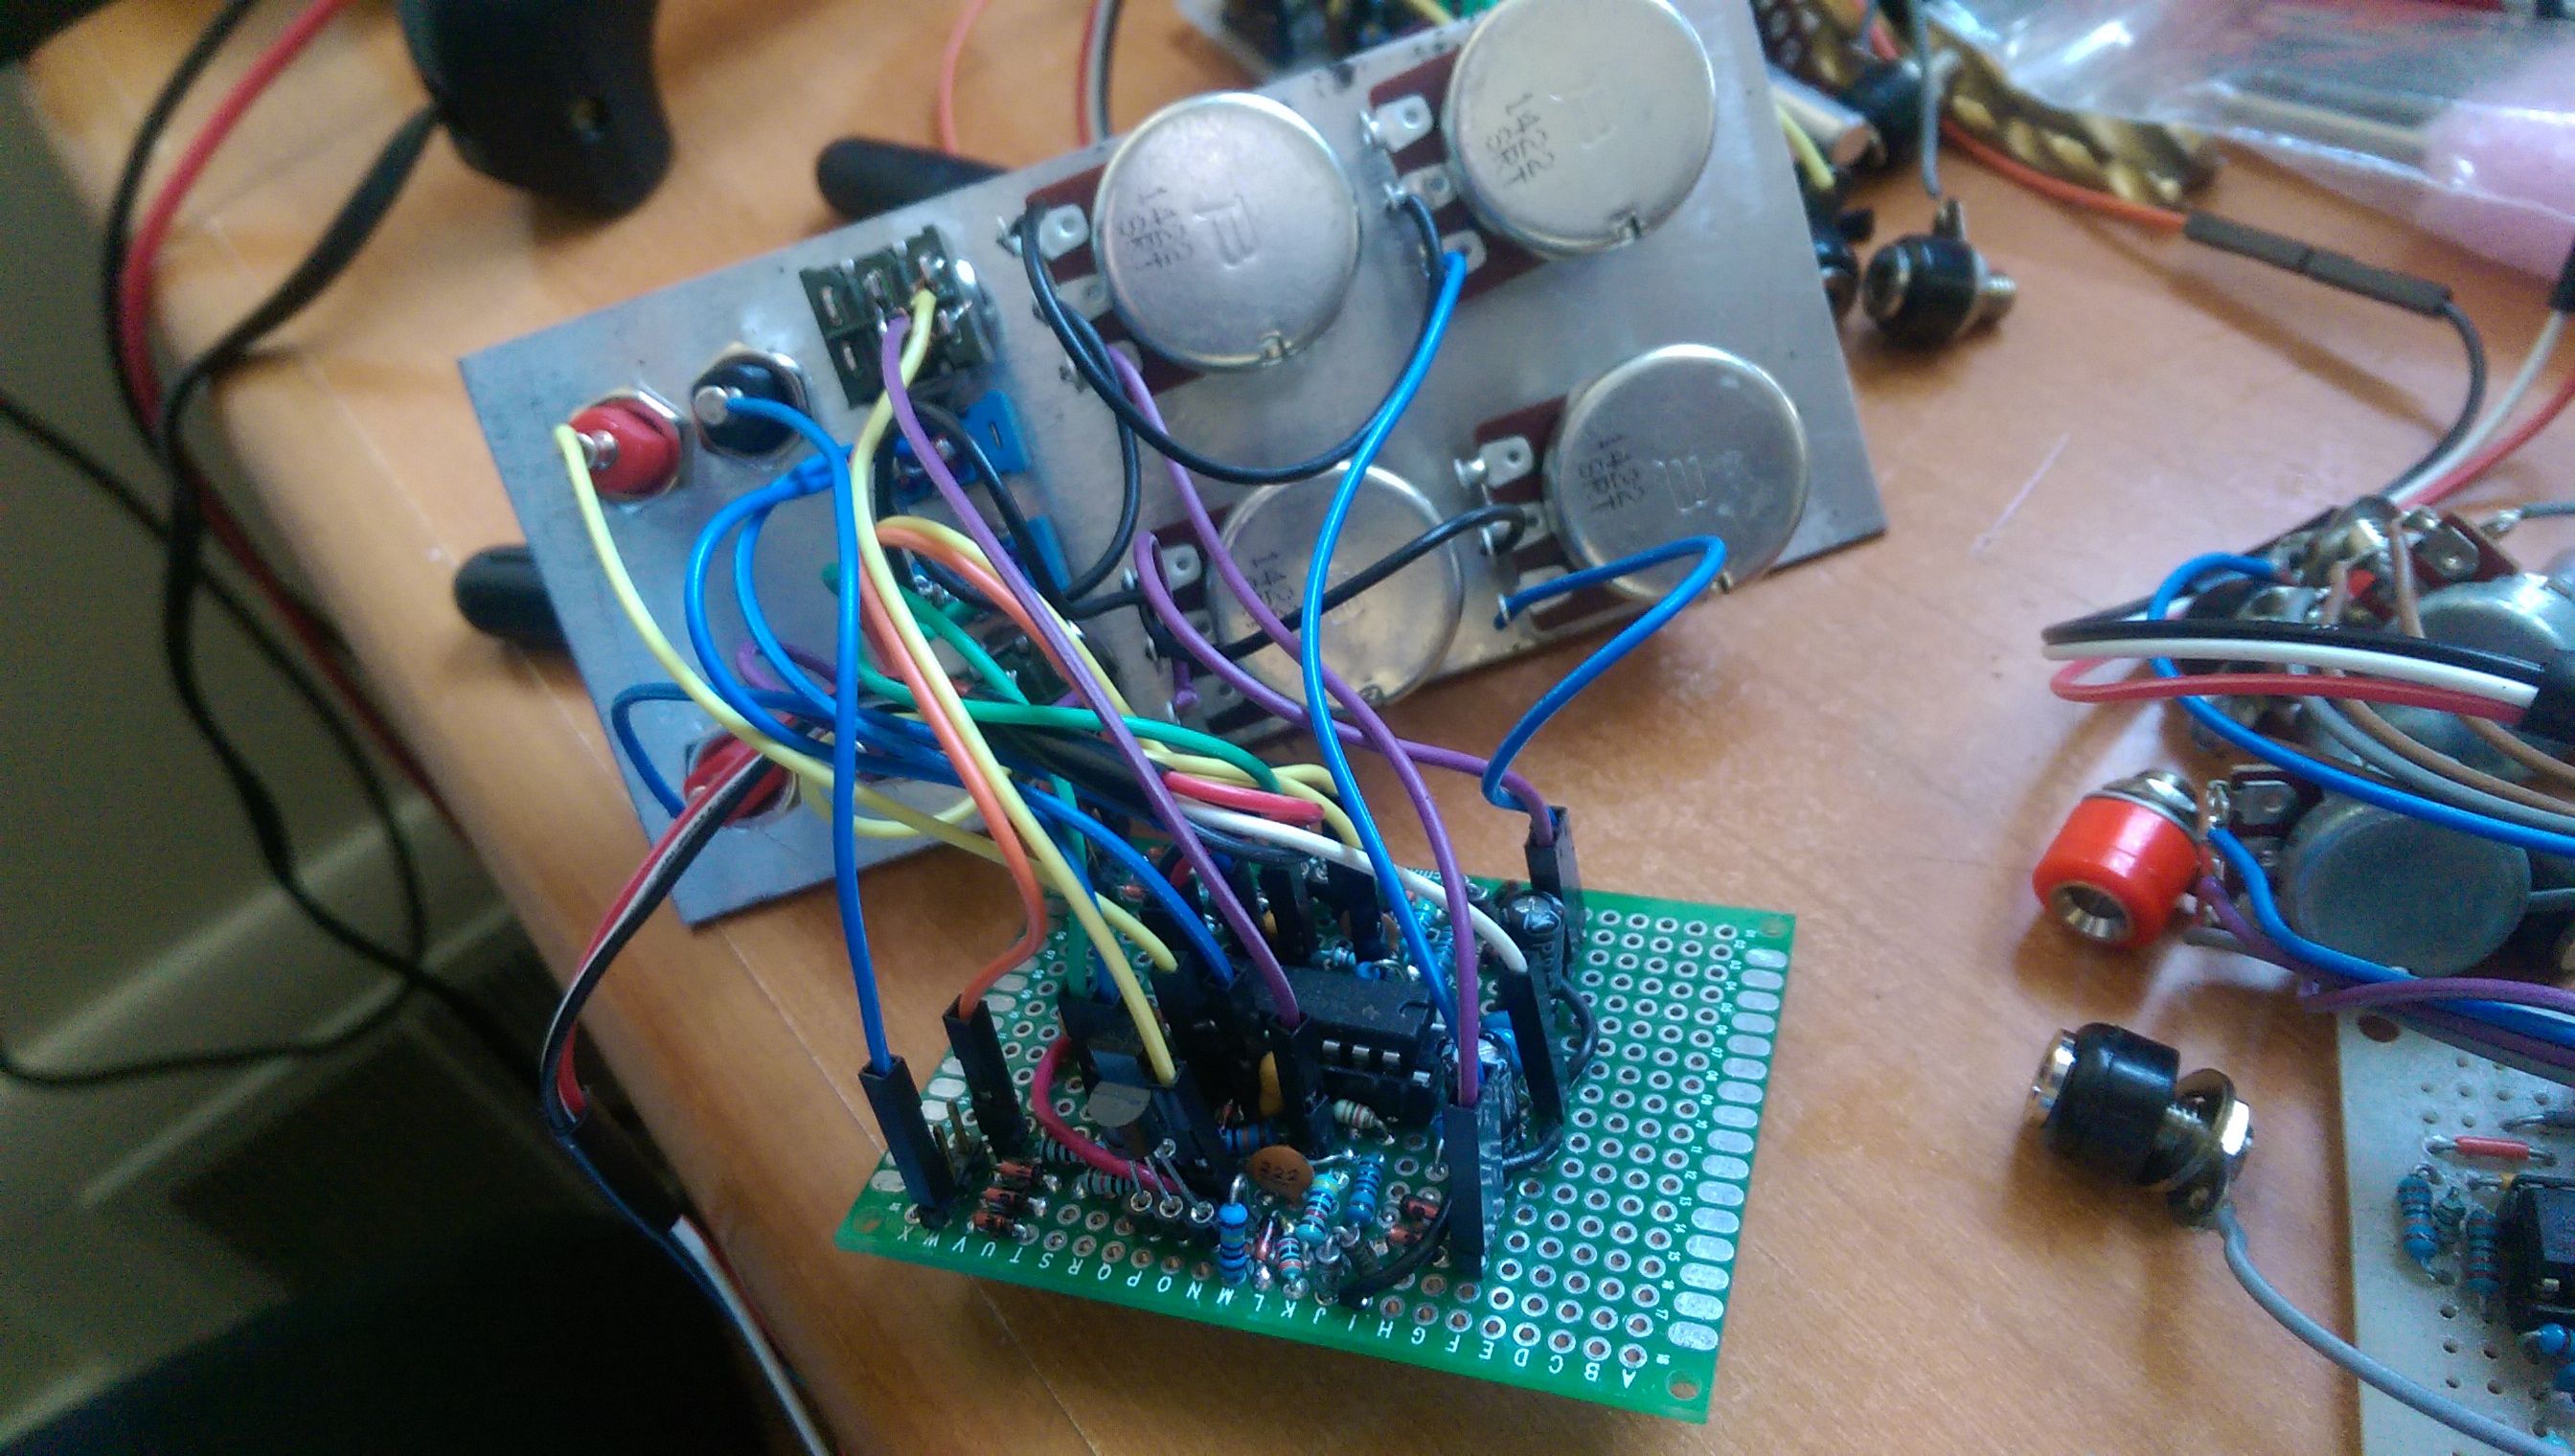
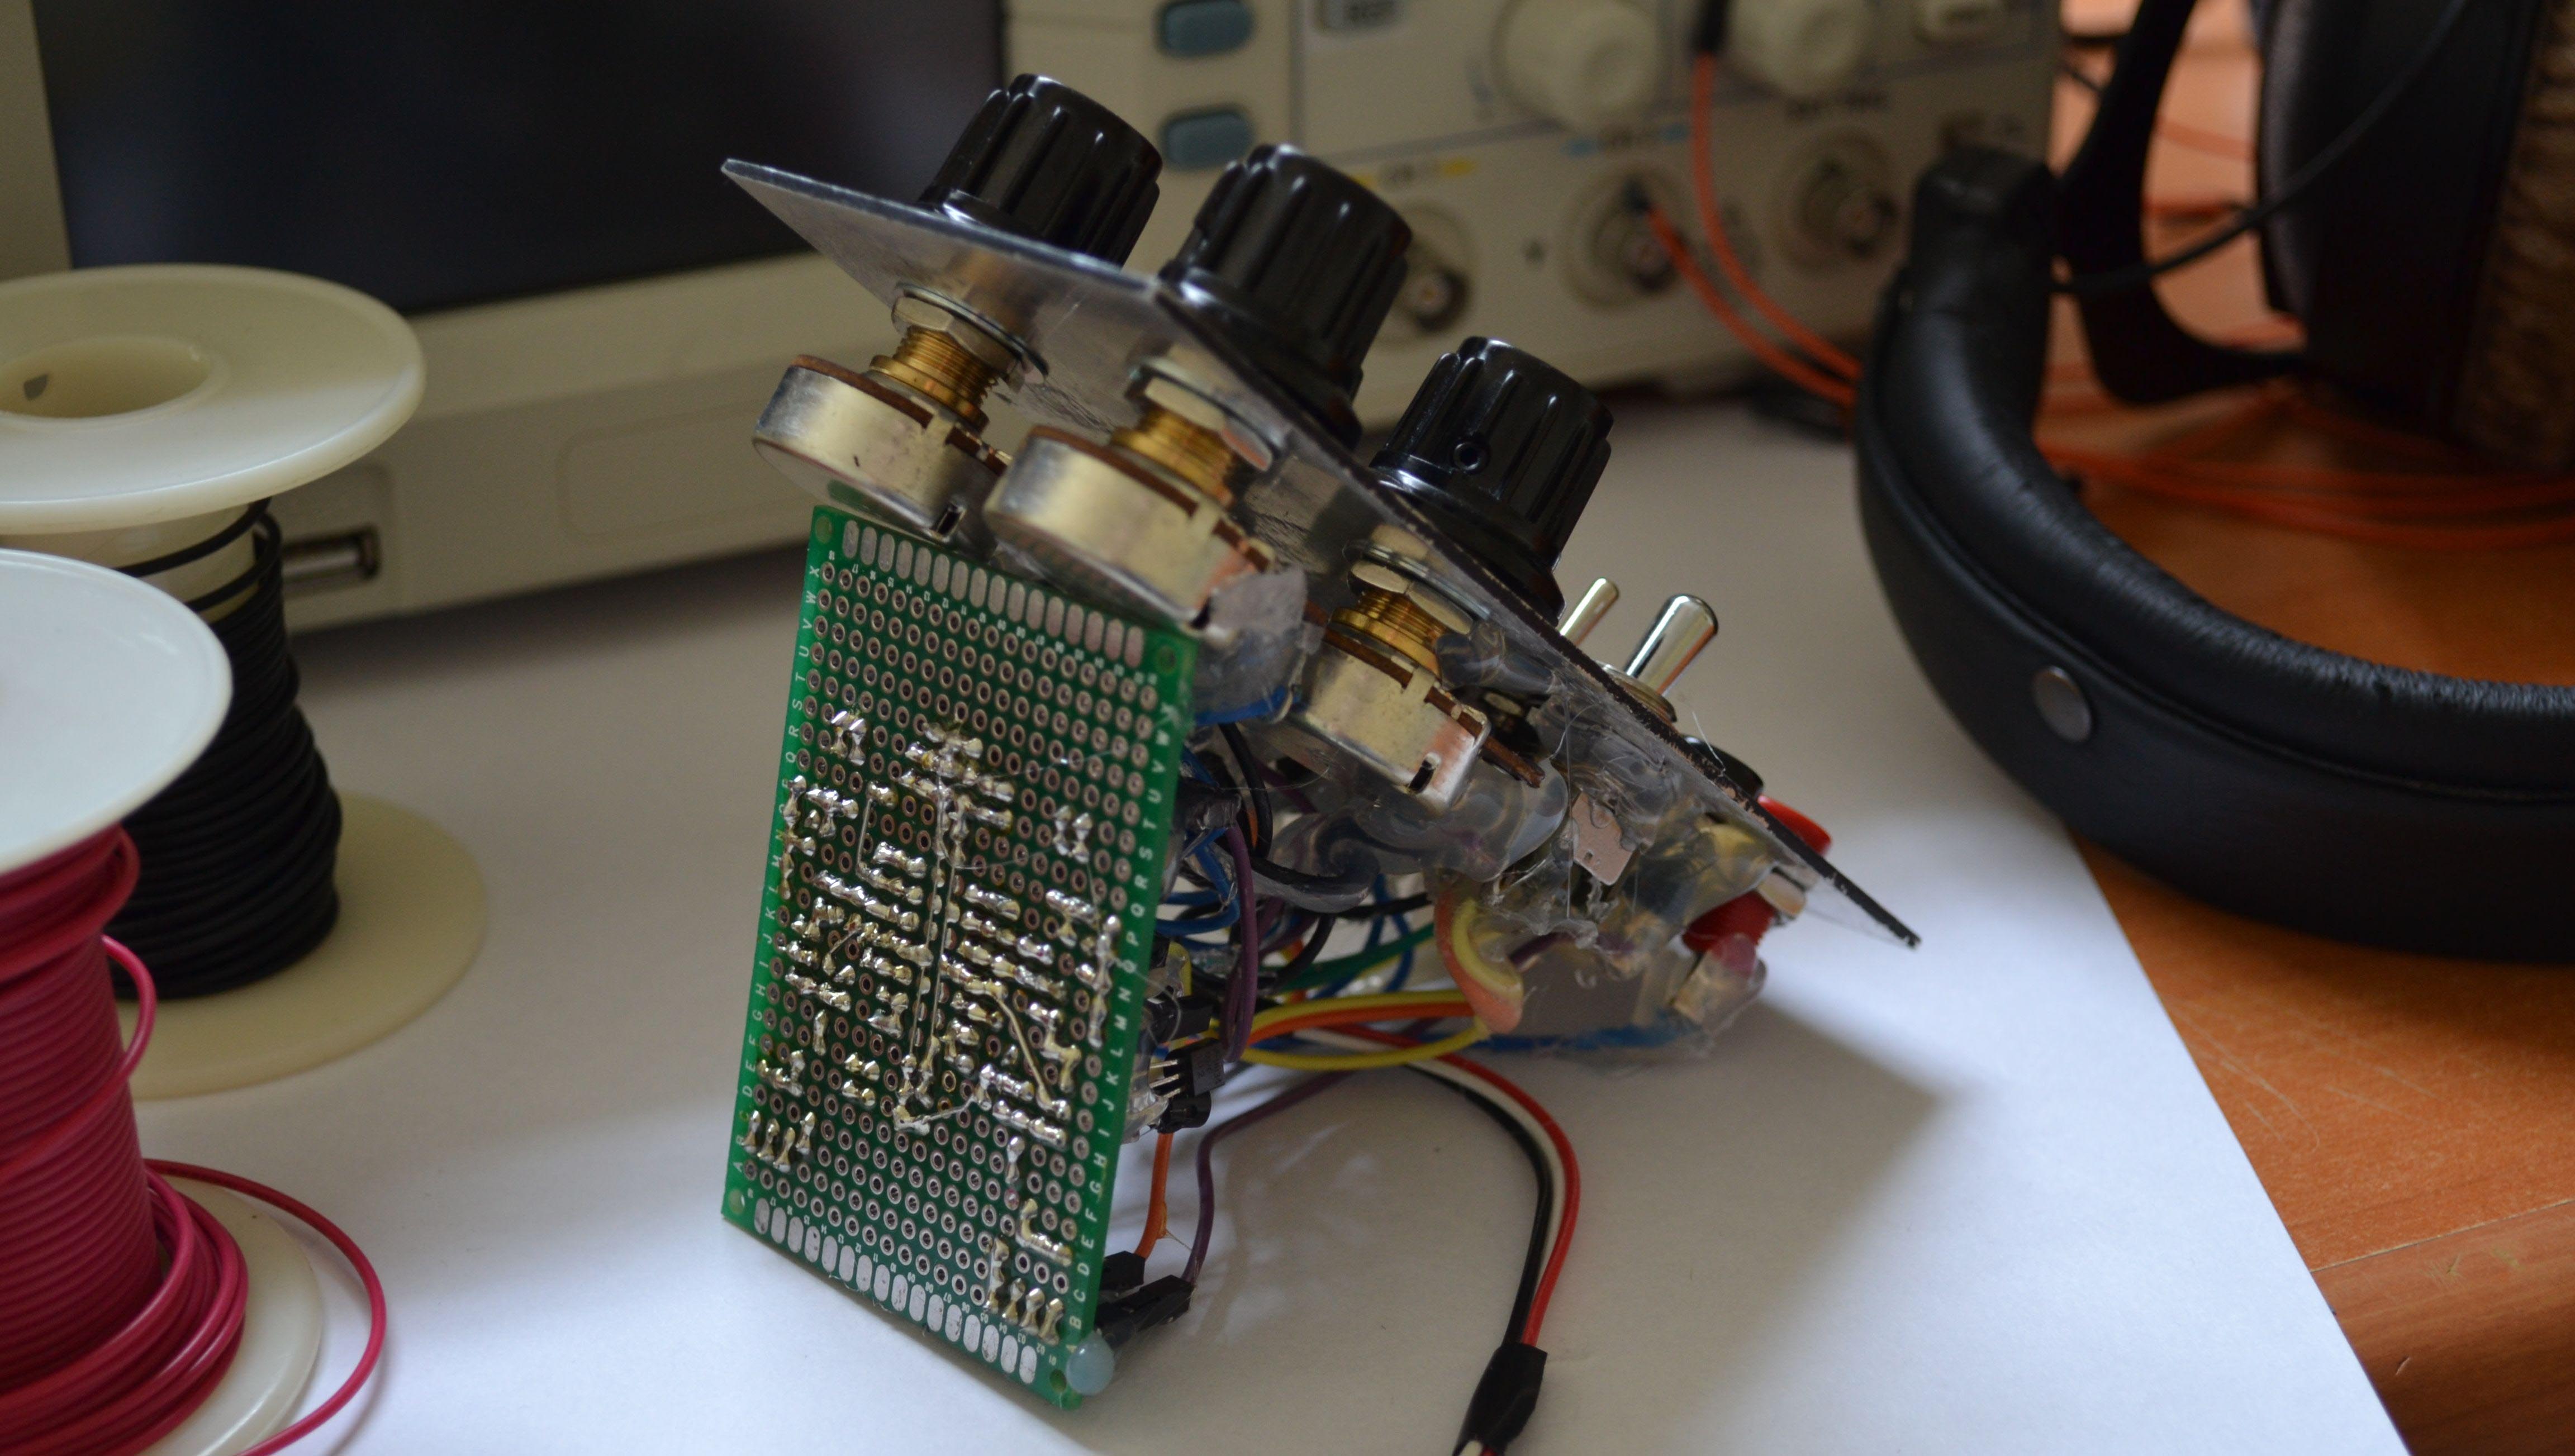
The design of this project is largely consistent with the SoundLab Mk. II originally designed by Ray Wilson. You can find that project here. I attempted to produce a PCB based on files provided with the project. Unfortunately after 4 attempts at photolithographic PCB etching with a garbage setup I decided to build the whole thing in modules on some decent perf-board. I wish I took photos of the etched boards, they were a mess. The method works very well for small boards, and can produce quality boards if you have the money for a decent lazer printer and exposure / etching setup. I have since decided that I will never, ever build a large project on perfboard. I will instead use a pcb prototyping service like OSH Park.
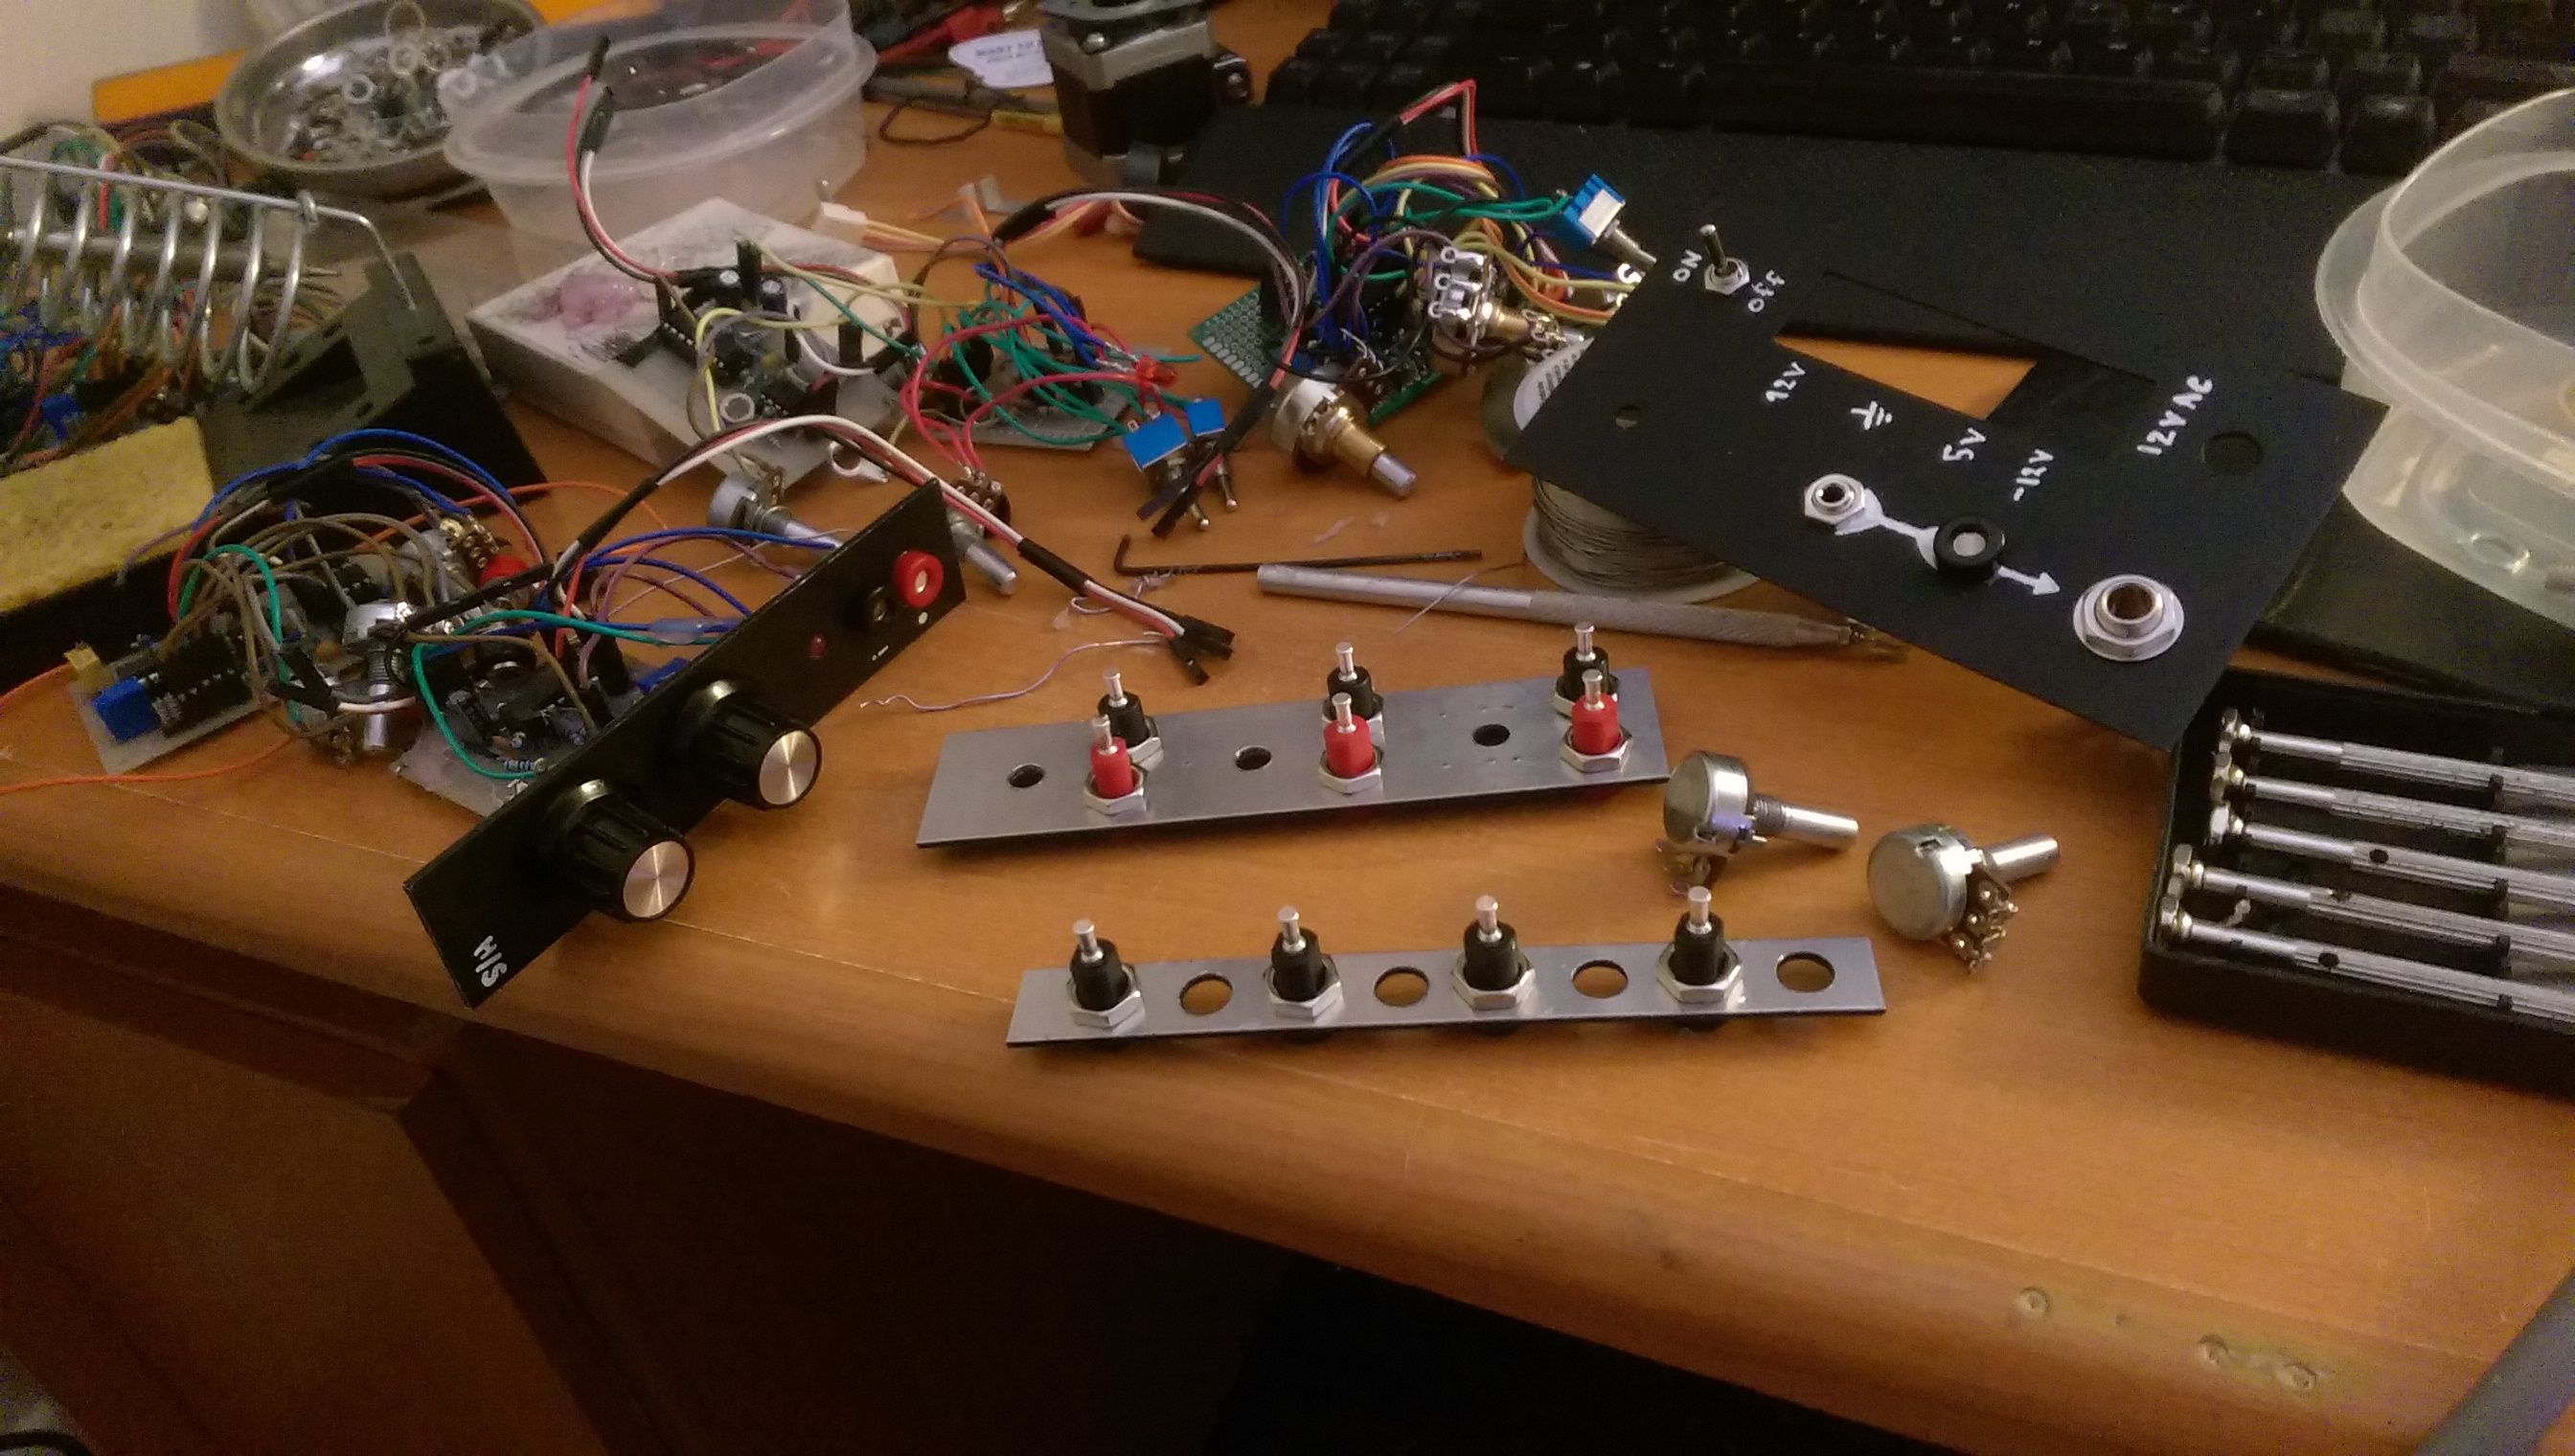
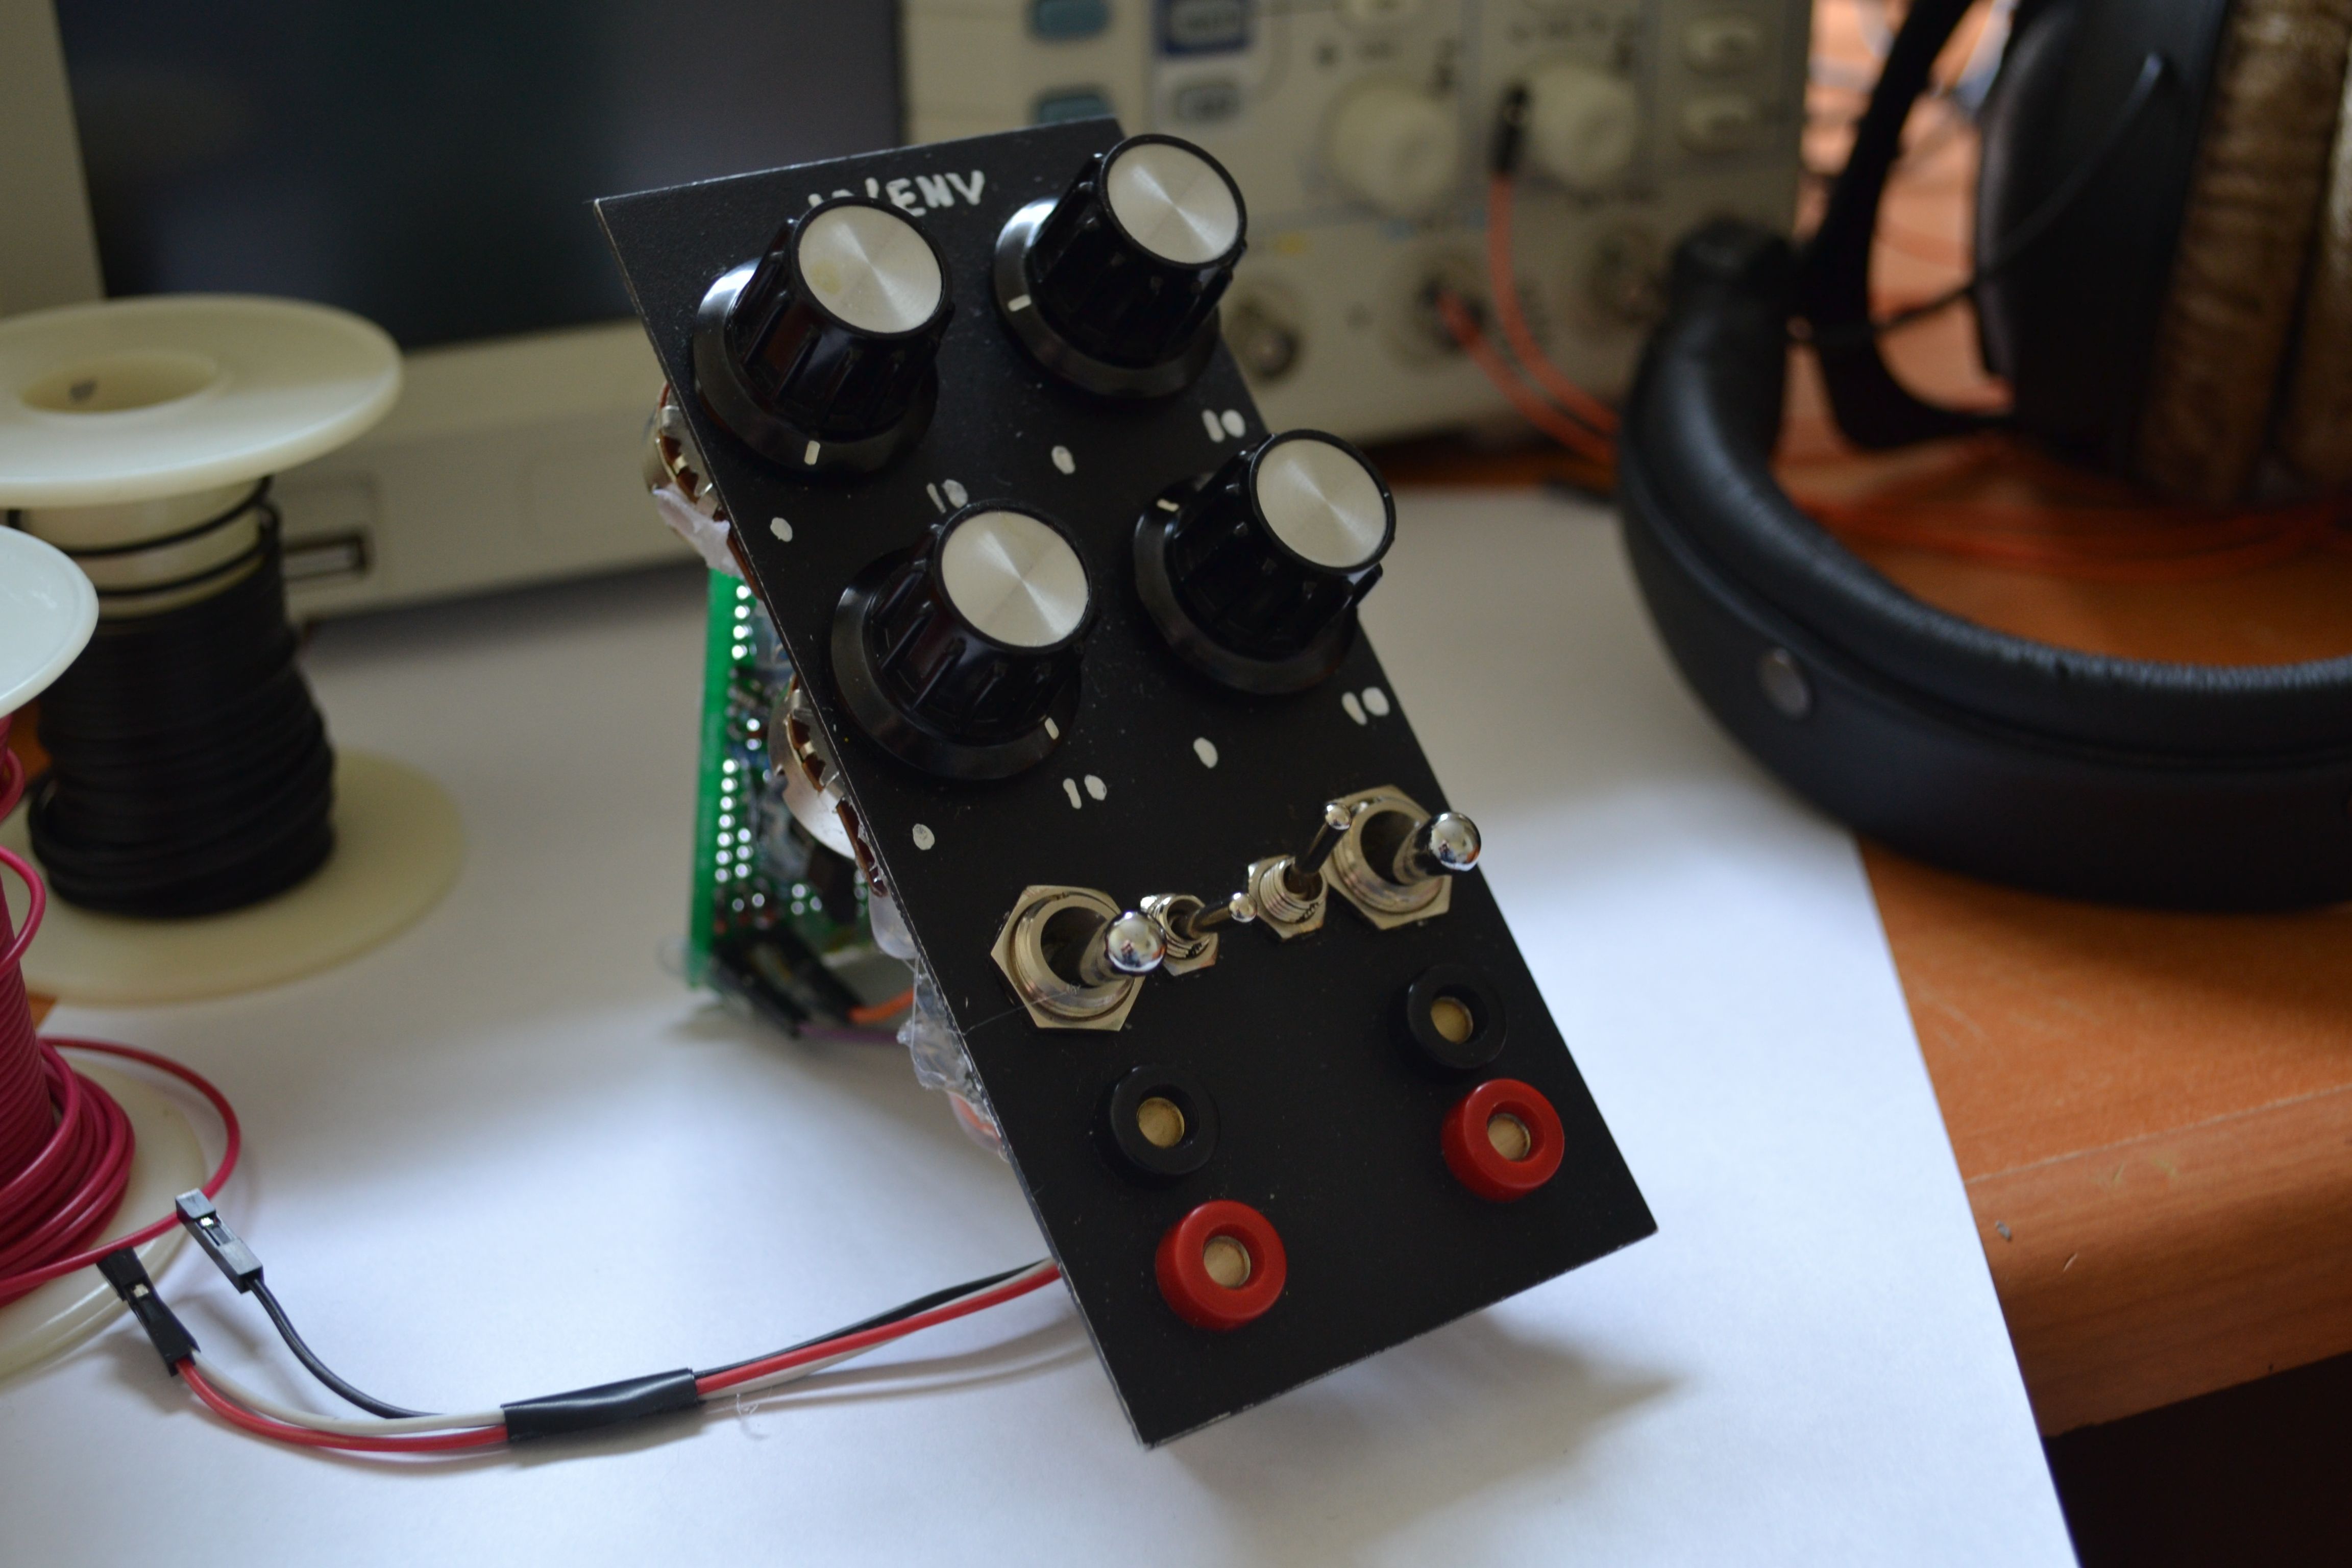
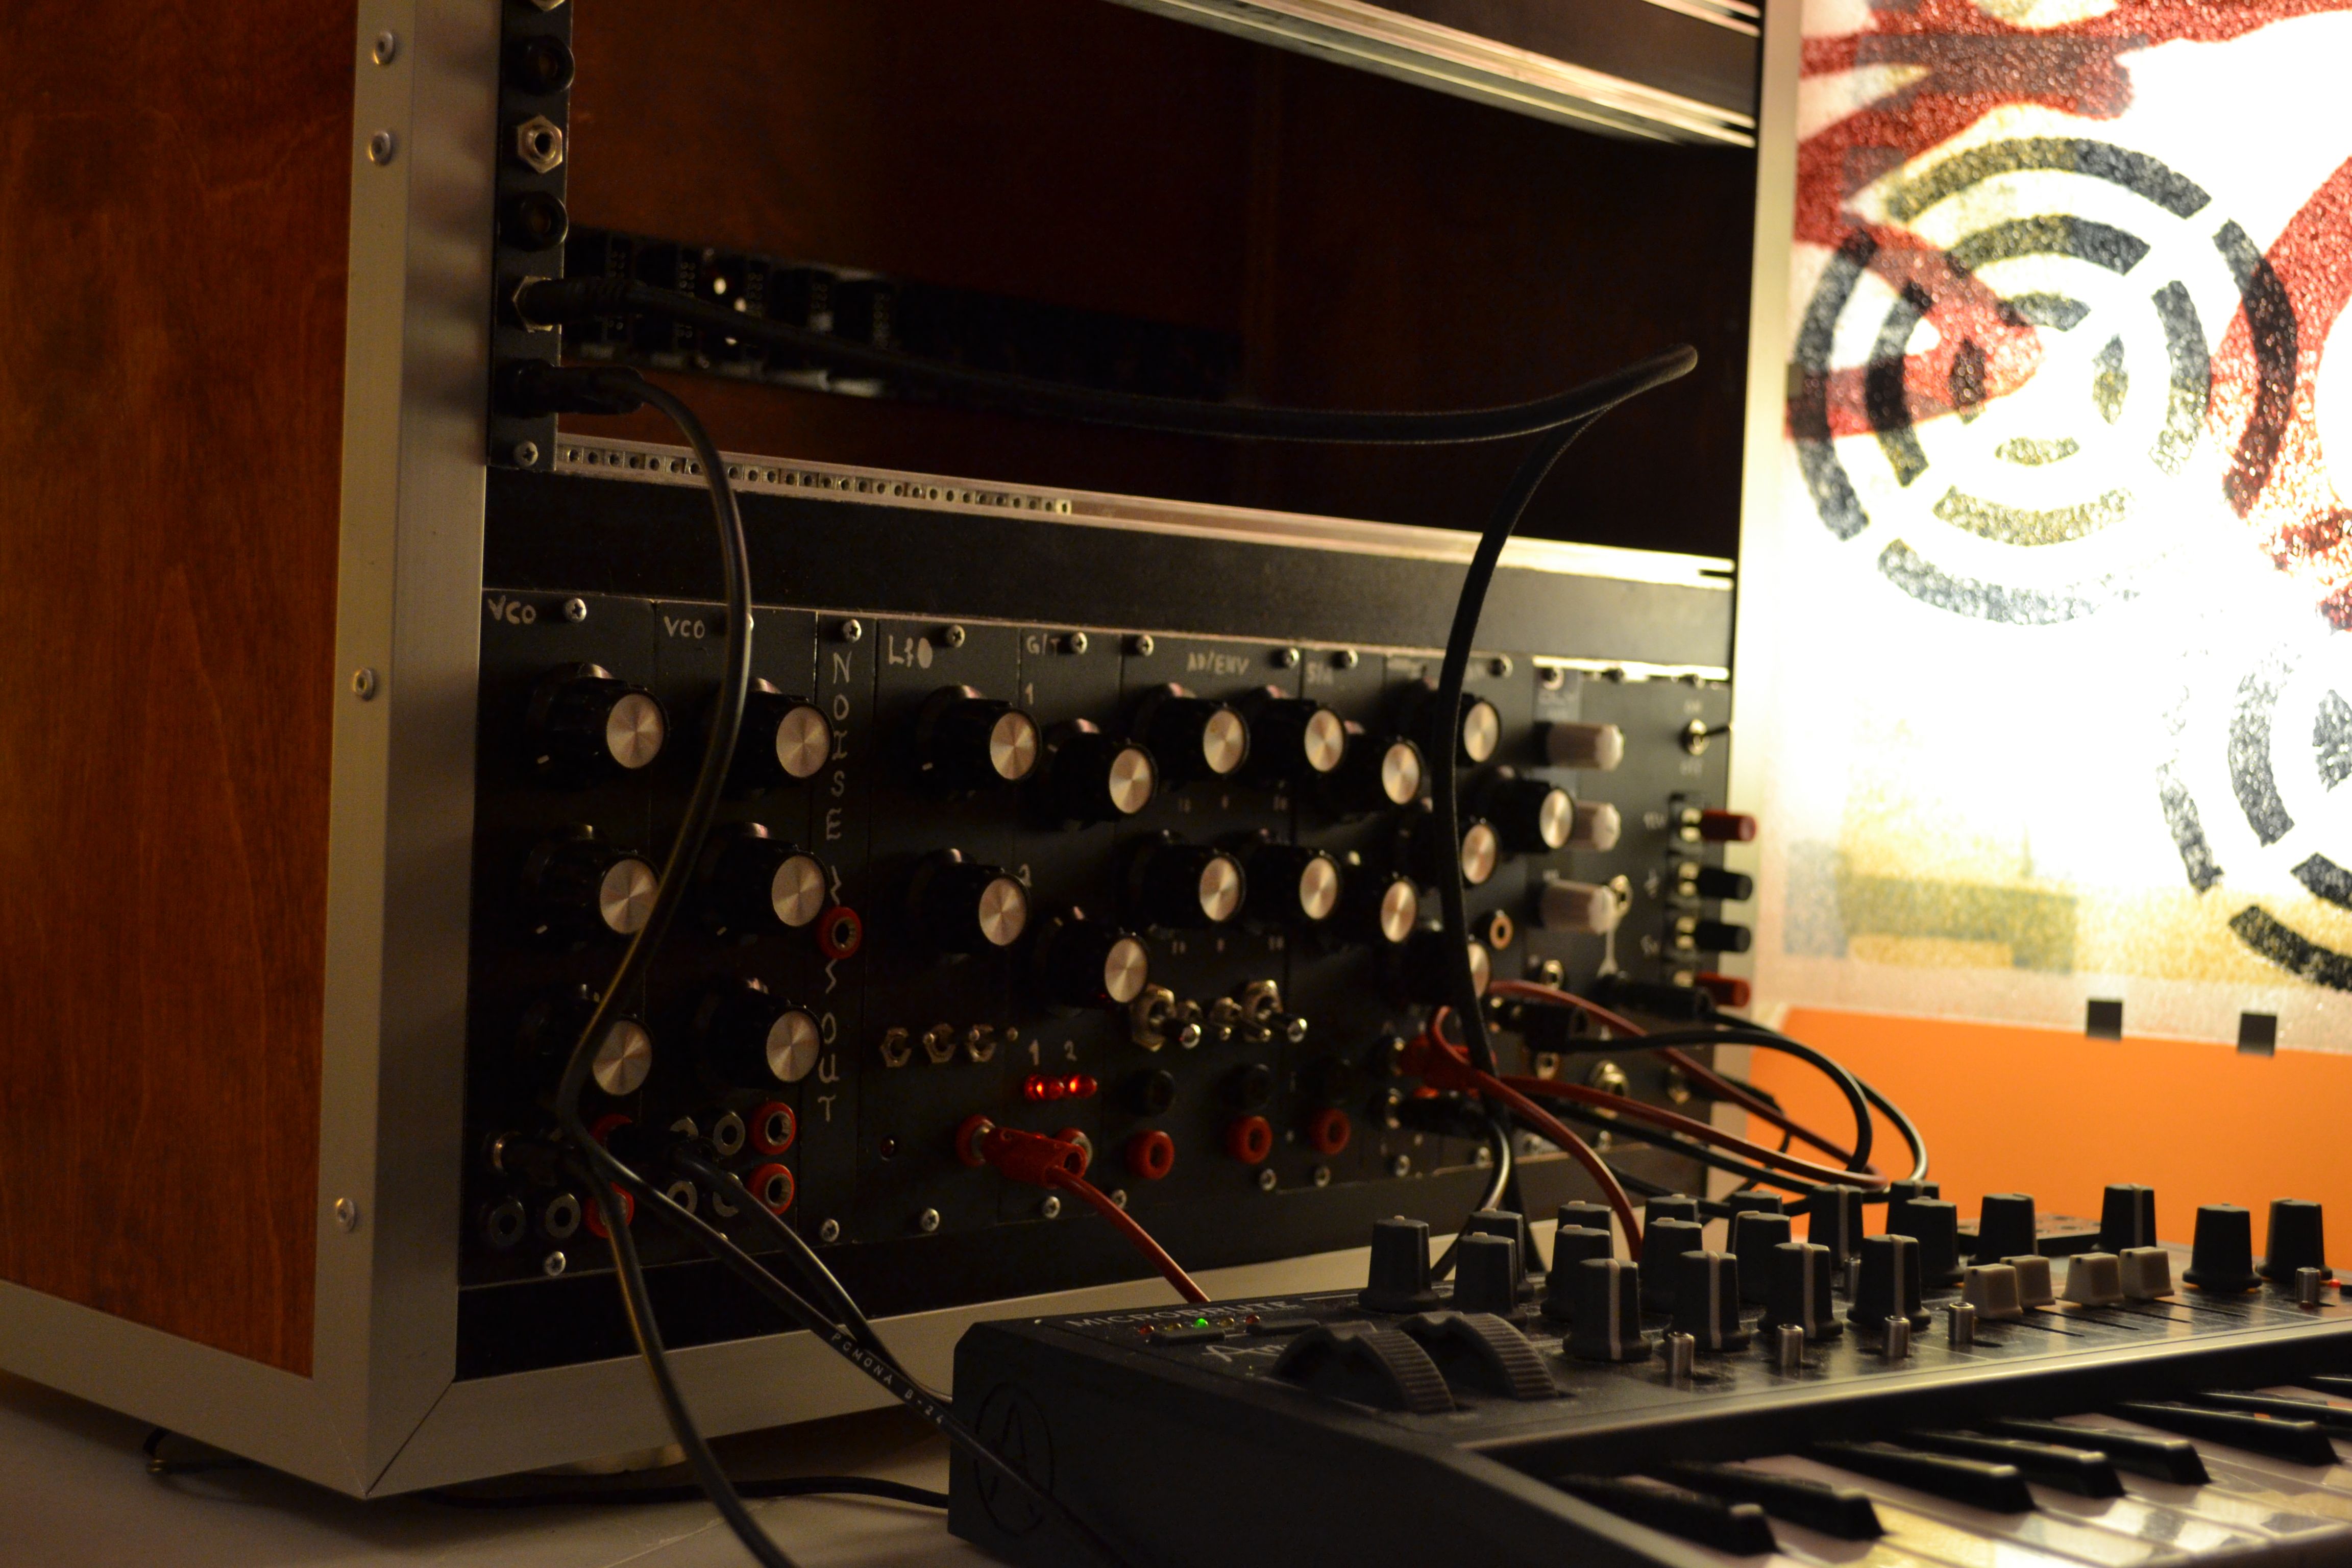
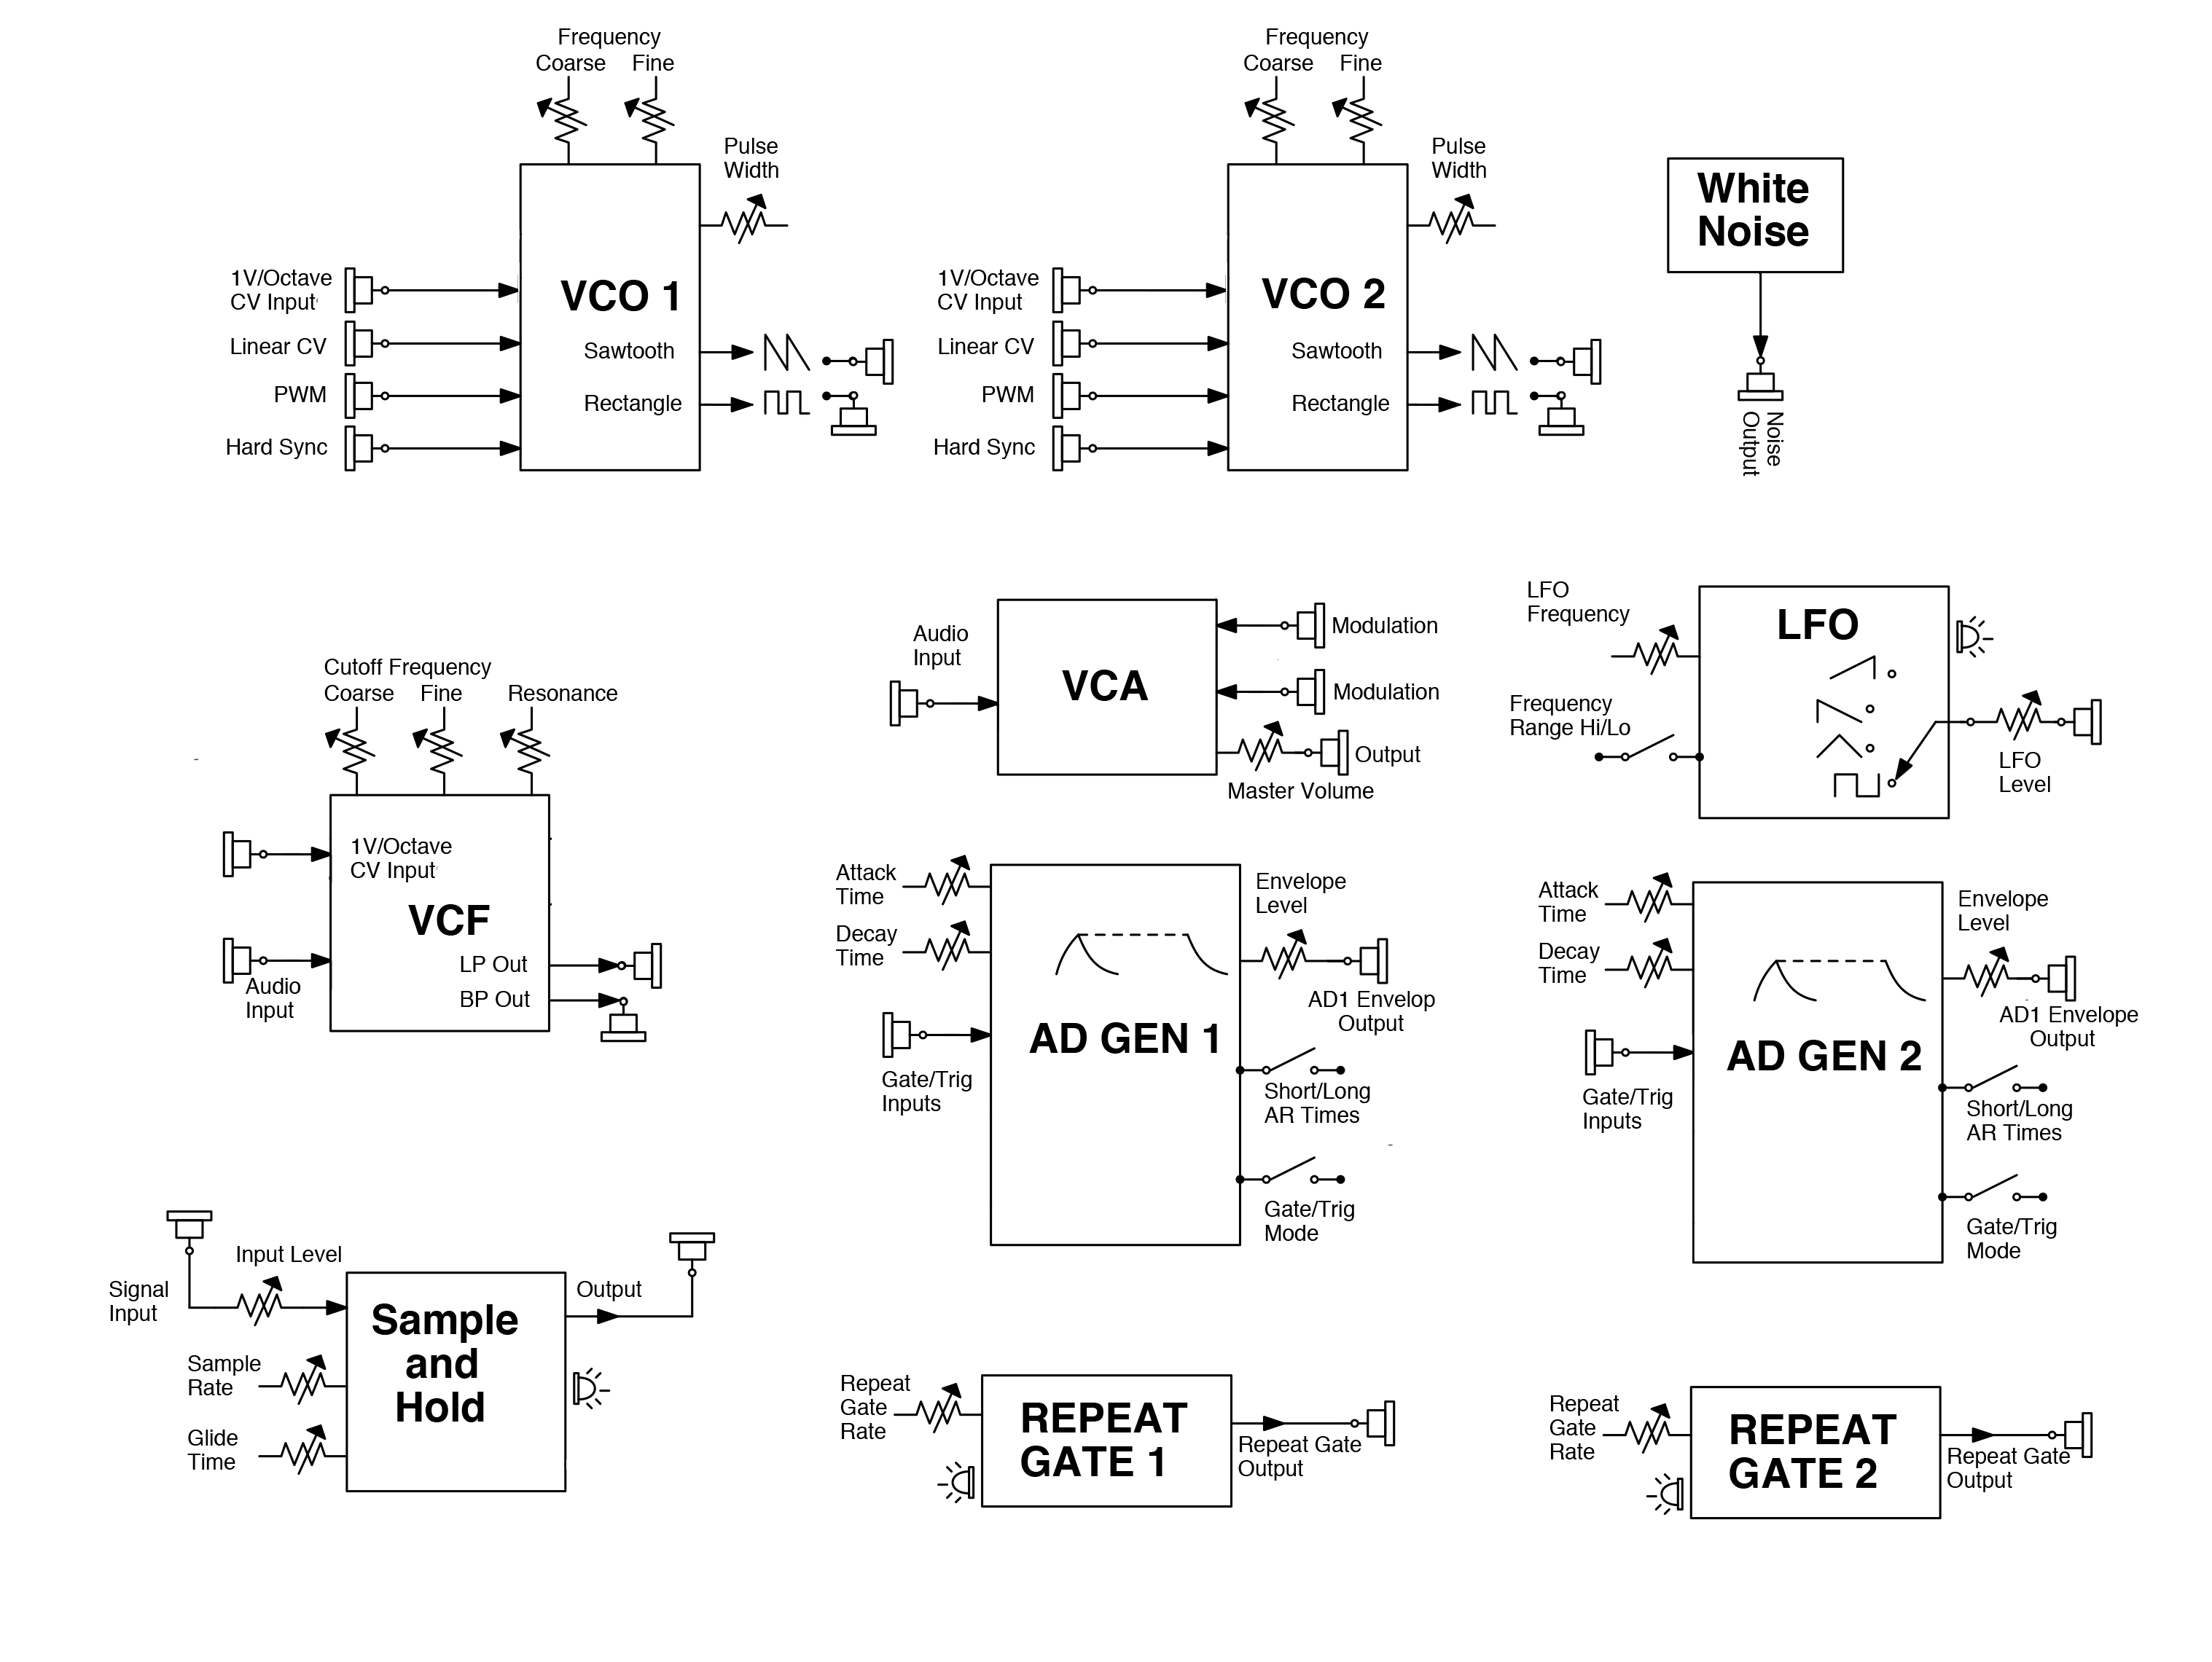
Many alterations to the original design were made to convert the synth to a modular system. This includes replacing switch based connections with jacks and creating completely new panel designs. You can see that below:
I also designed the analog power-supply and power distribution system for the project. I dont have pictures or schematics of that but it is very straight forward – a fully rectified and heavily filtered AC to DC linear supply that provides +/-12V. This feeds to a 12v to 5v SMPS module and to the power bus.
The case is fully compliant with the EuroRack standard – You can read about that here. The case is built using plywood, aluminum L-bar and rivets. I installed EuroRack slide-nut rails purchased from SynthroTek. The case also has large aluminum feet I salvaged from an old amplifier.
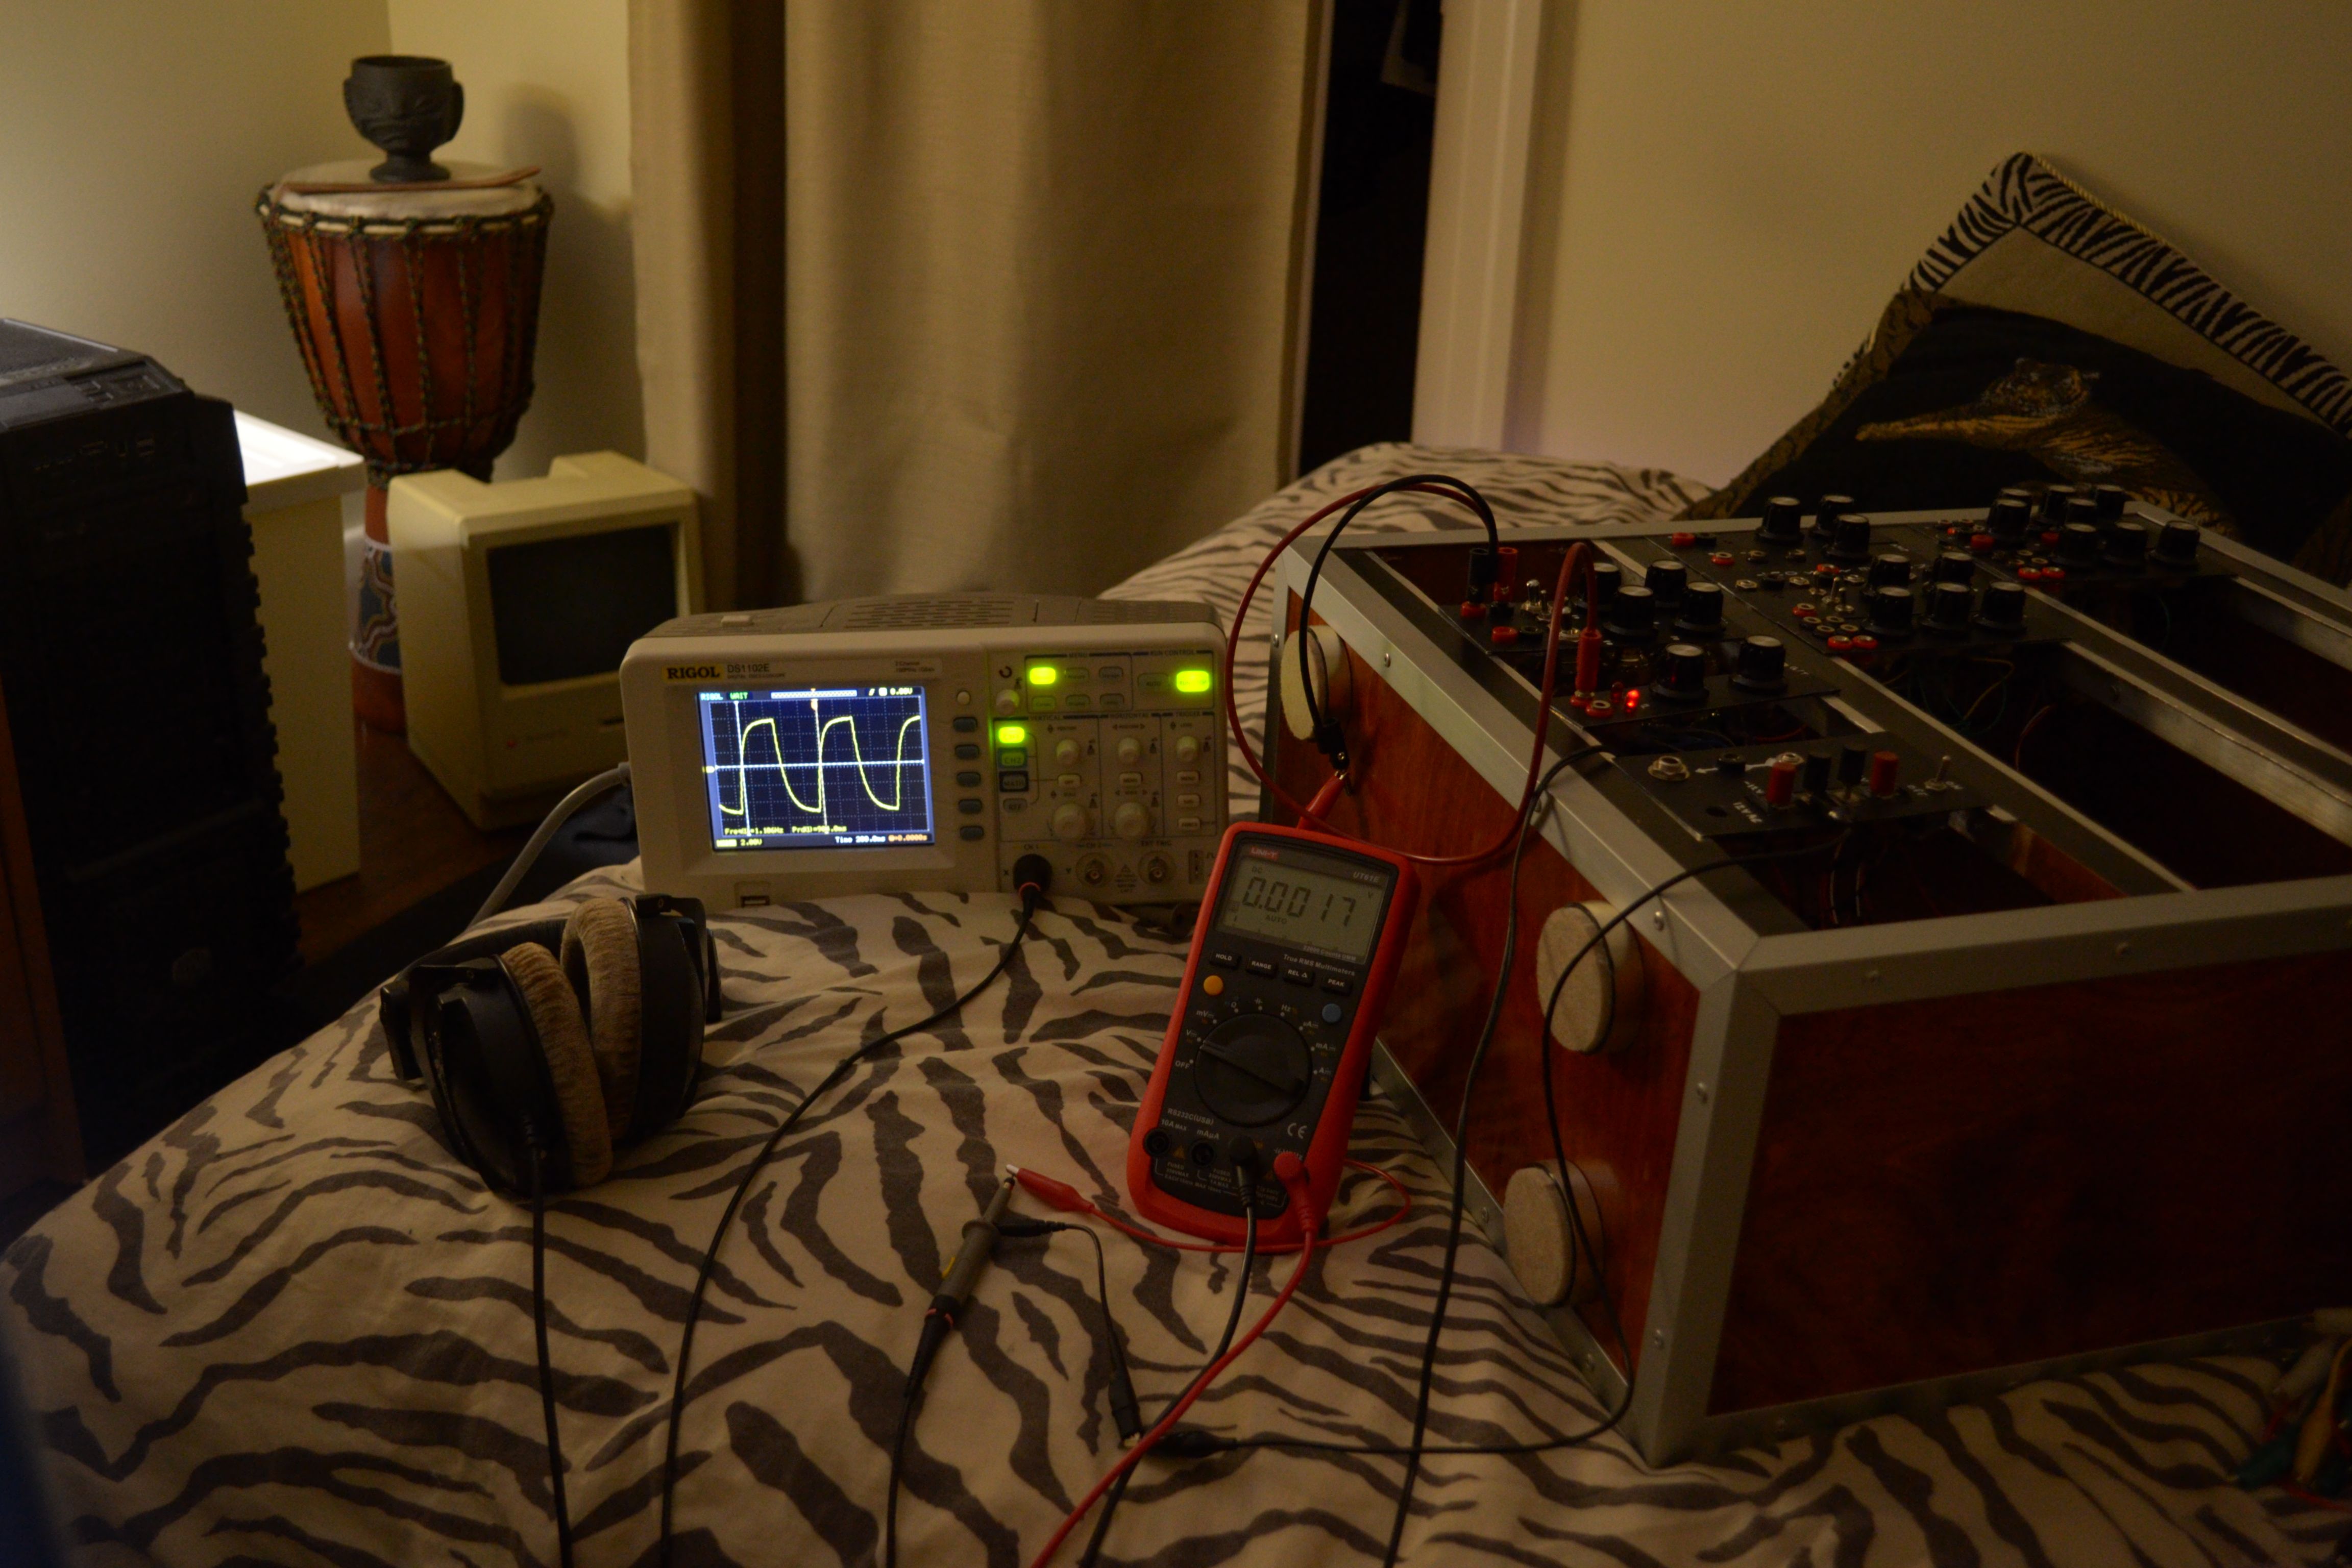
As mentioned before this project was a pain in the ass. I started with almost zero knowledge about analog electronics design and analysis. I didn't even own a power supply, oscilloscope or soldering station. All I had was around $1000, experience with digital electronics and some tools laying around the basement. Unfortunately, that isn't even the worst part. The worst part is that for months on end I either had no access to necessary tools (ie no drill press), or access to poor tools that weren't ideal (i.e. a shitty drill press ). I was on the verge of throwing a fit of rage many, many times during this project. Here are some of the lessons I have learned:
- Do NOT use perfboard for complex projects.
- Do NOT use photolithographic etching for complex projects.
- Do use a PCB prototyping service.
- Do NOT waste money at expensive local distributors.
- Do waste money at DigiKey, Mouser or any other respectable distributor.
- Do NOT use inappropriate gauge/type of wire.
- Do NOT start a complex project if you dont have or know where to get all the tools to finish.
- Do NOT use a paint pen ever, for any reason whatsoever.
- Do always double check and triple check your soldering job.
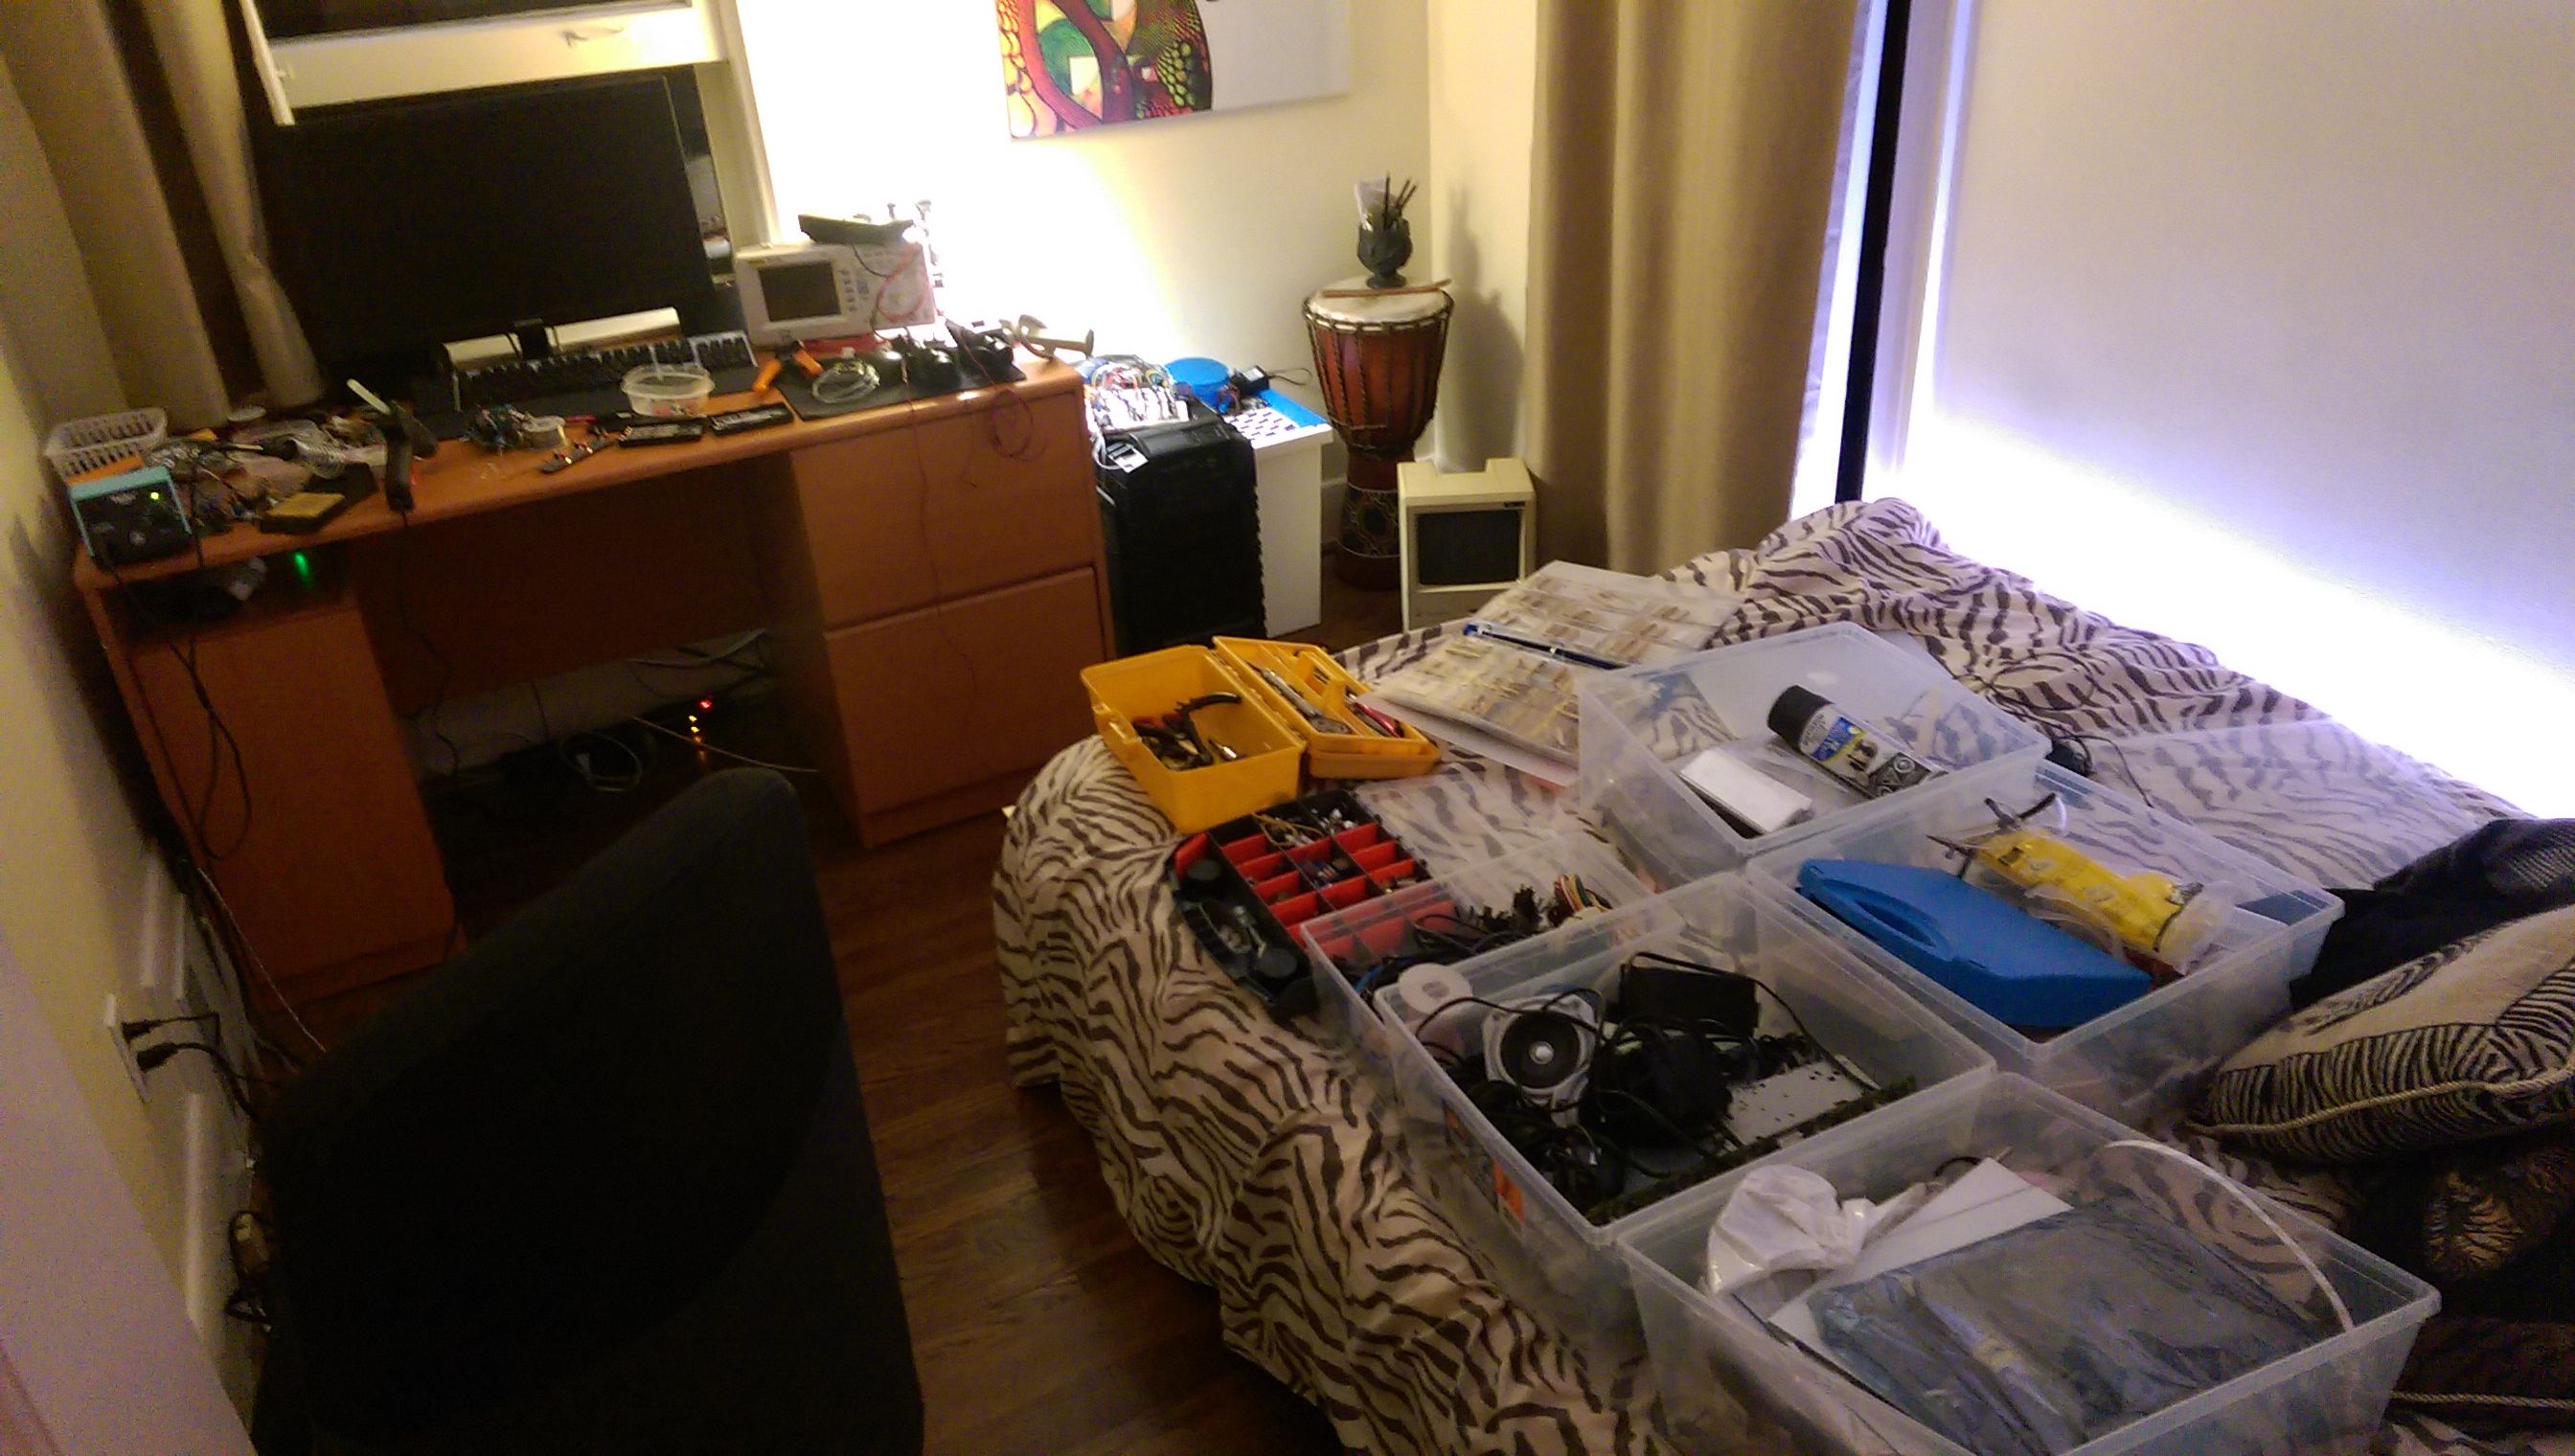
- Do have an organized collection of components.
- Do have printouts of schematics on paper for when your computer dies and your hands are busy.
- Do always wear goggles when soldering. solder in the eye sucks... a lot.
- Do always have spare parts on hand.
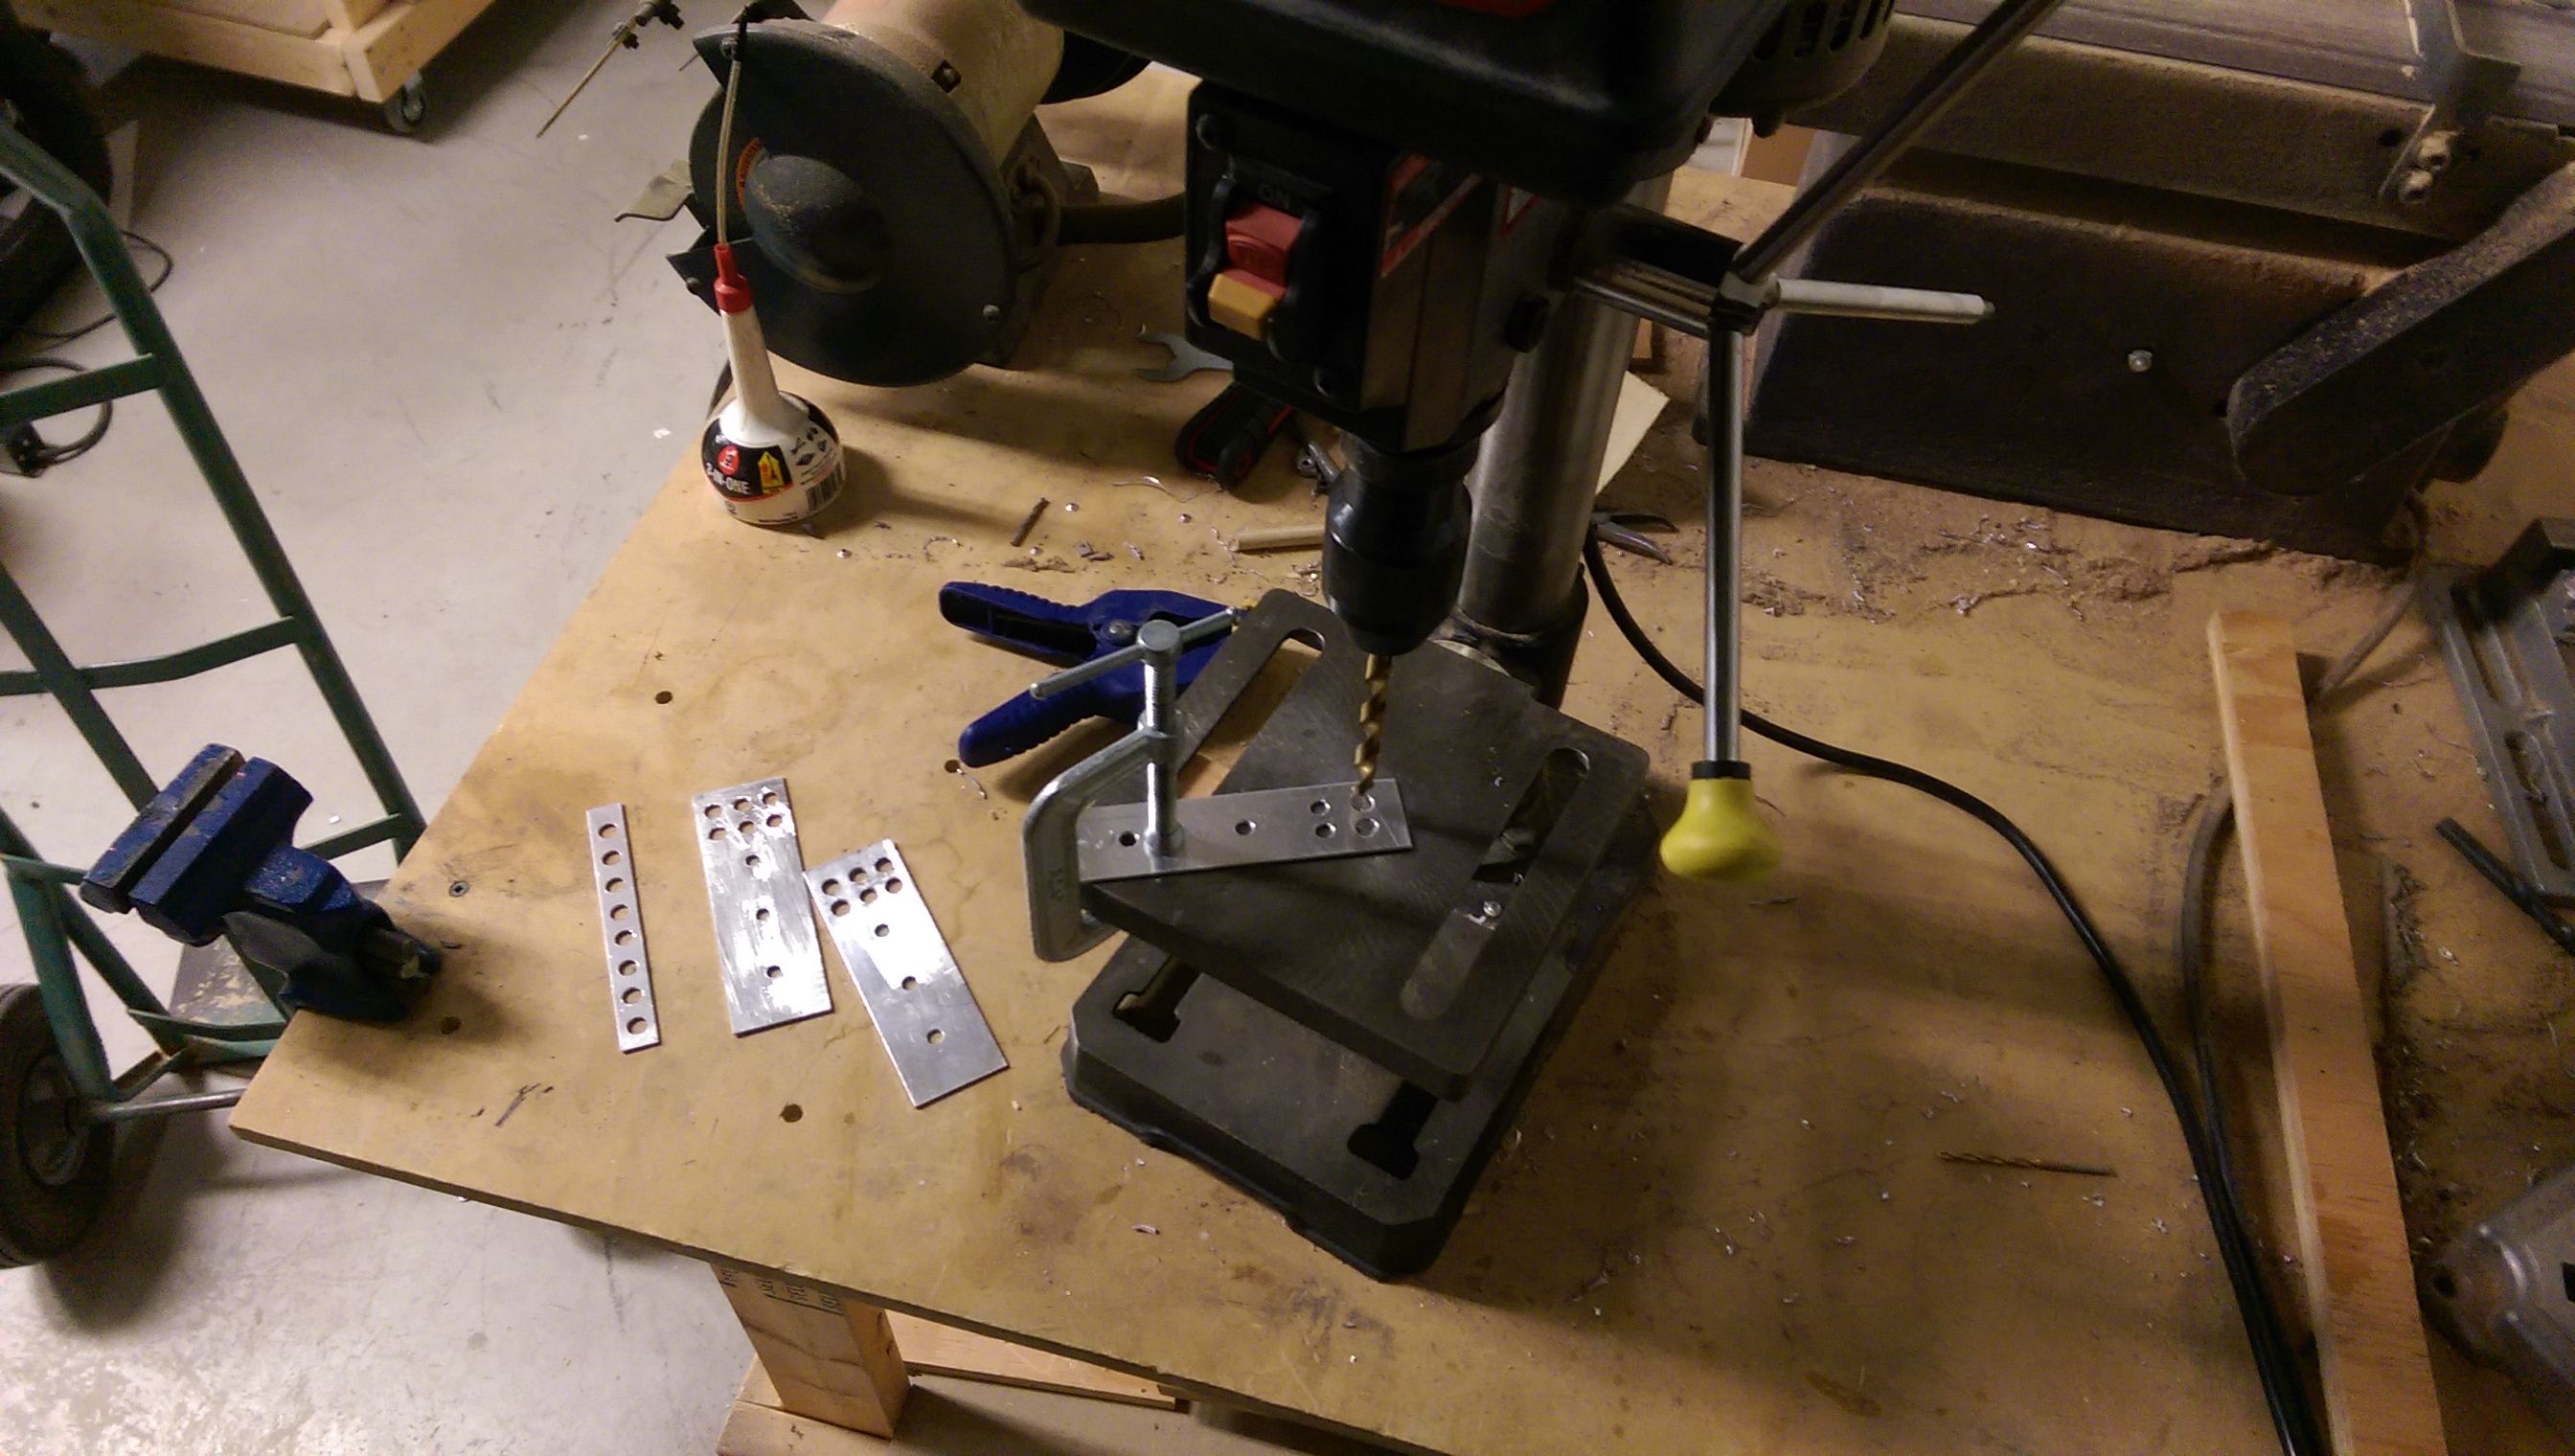
- Do NOT use shitty drill presses or drill bits.
- Do NOT try to do DIY transistor matching. You can buy Vbe matched transistor pairs in SMT packages.
- Do spend money on decent tools
- Do NOT attend a garbage university with no access to workshops for computer science students.
- Do befriend someone with a car so that you dont have to bus for 30 minutes hauling boxes of stuff to your local hackerspace.
The process of how I built this thing is outlined below.
- First I did my research. I looked over all of the project documentation very carefully and figured out what tools were needed, what materials were needed and what expertise was needed. I started to think through how I would overcome some of the issues. Finally when all that was done, I purchased the necessary materials.
- I started with the schematics and finished the circuits one by one. This part took very little time compared to the other steps. The process is as follows:
- Lay out the circuit on the perfboard in your head. think about how things will come together. Try to keep symmetry and order.
- Start soldering sockets, then parts with short routes and finally more complex routes.
- Check your soldering job, trace correctness, correct components. Double check and check again.
- Test run. does it work? sanity checks are correct? No? Then troubleshoot and return to step 3.
- Once everything is correct, Clean the flux off the circuit and put it away for later use.
- I built the case. First I decided on dimensions and drew a diagram, then I cut the pieces of plywood, nailed and glued them together. Stained and Laquered. Next I drilled and rivoted the aluminum pieces to the wood. these pieces were cut one by one to line up seamlessly. Next I mounted the legs and ironed on the black iron-on edge banding onto the horizontal supports. Lastly I mounted the rails using screws and power boards using standoffs and screws.
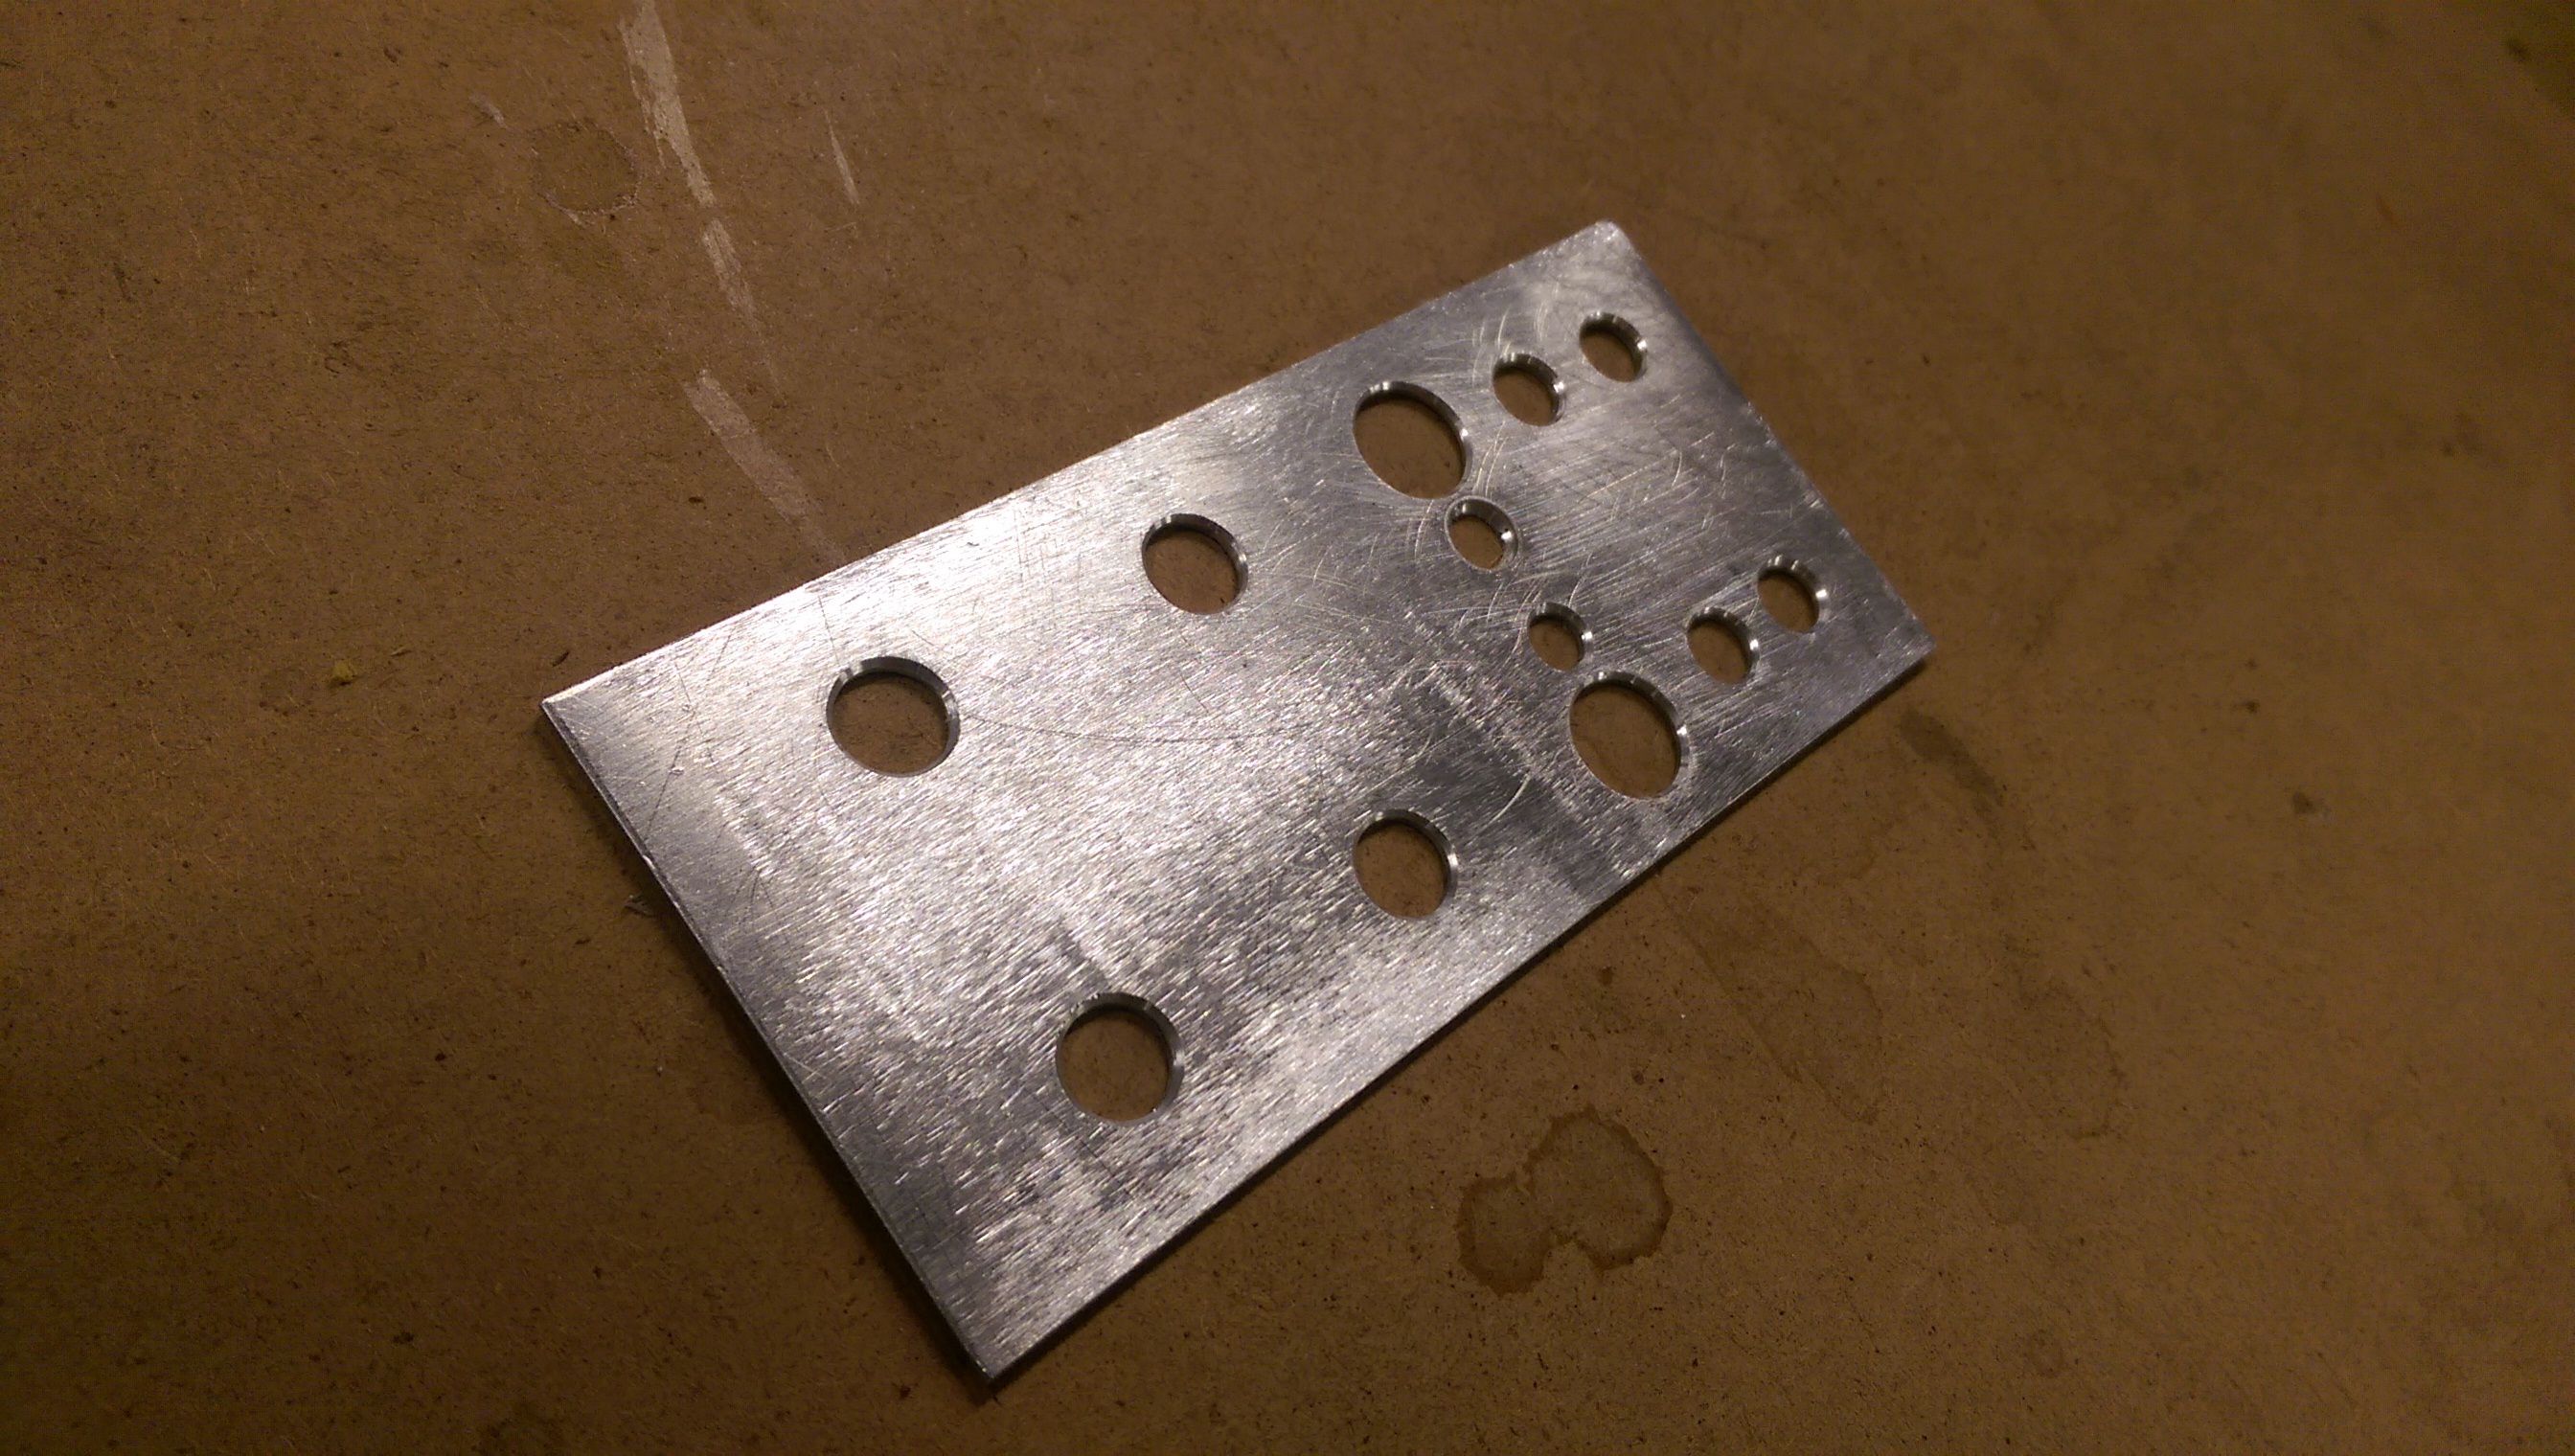
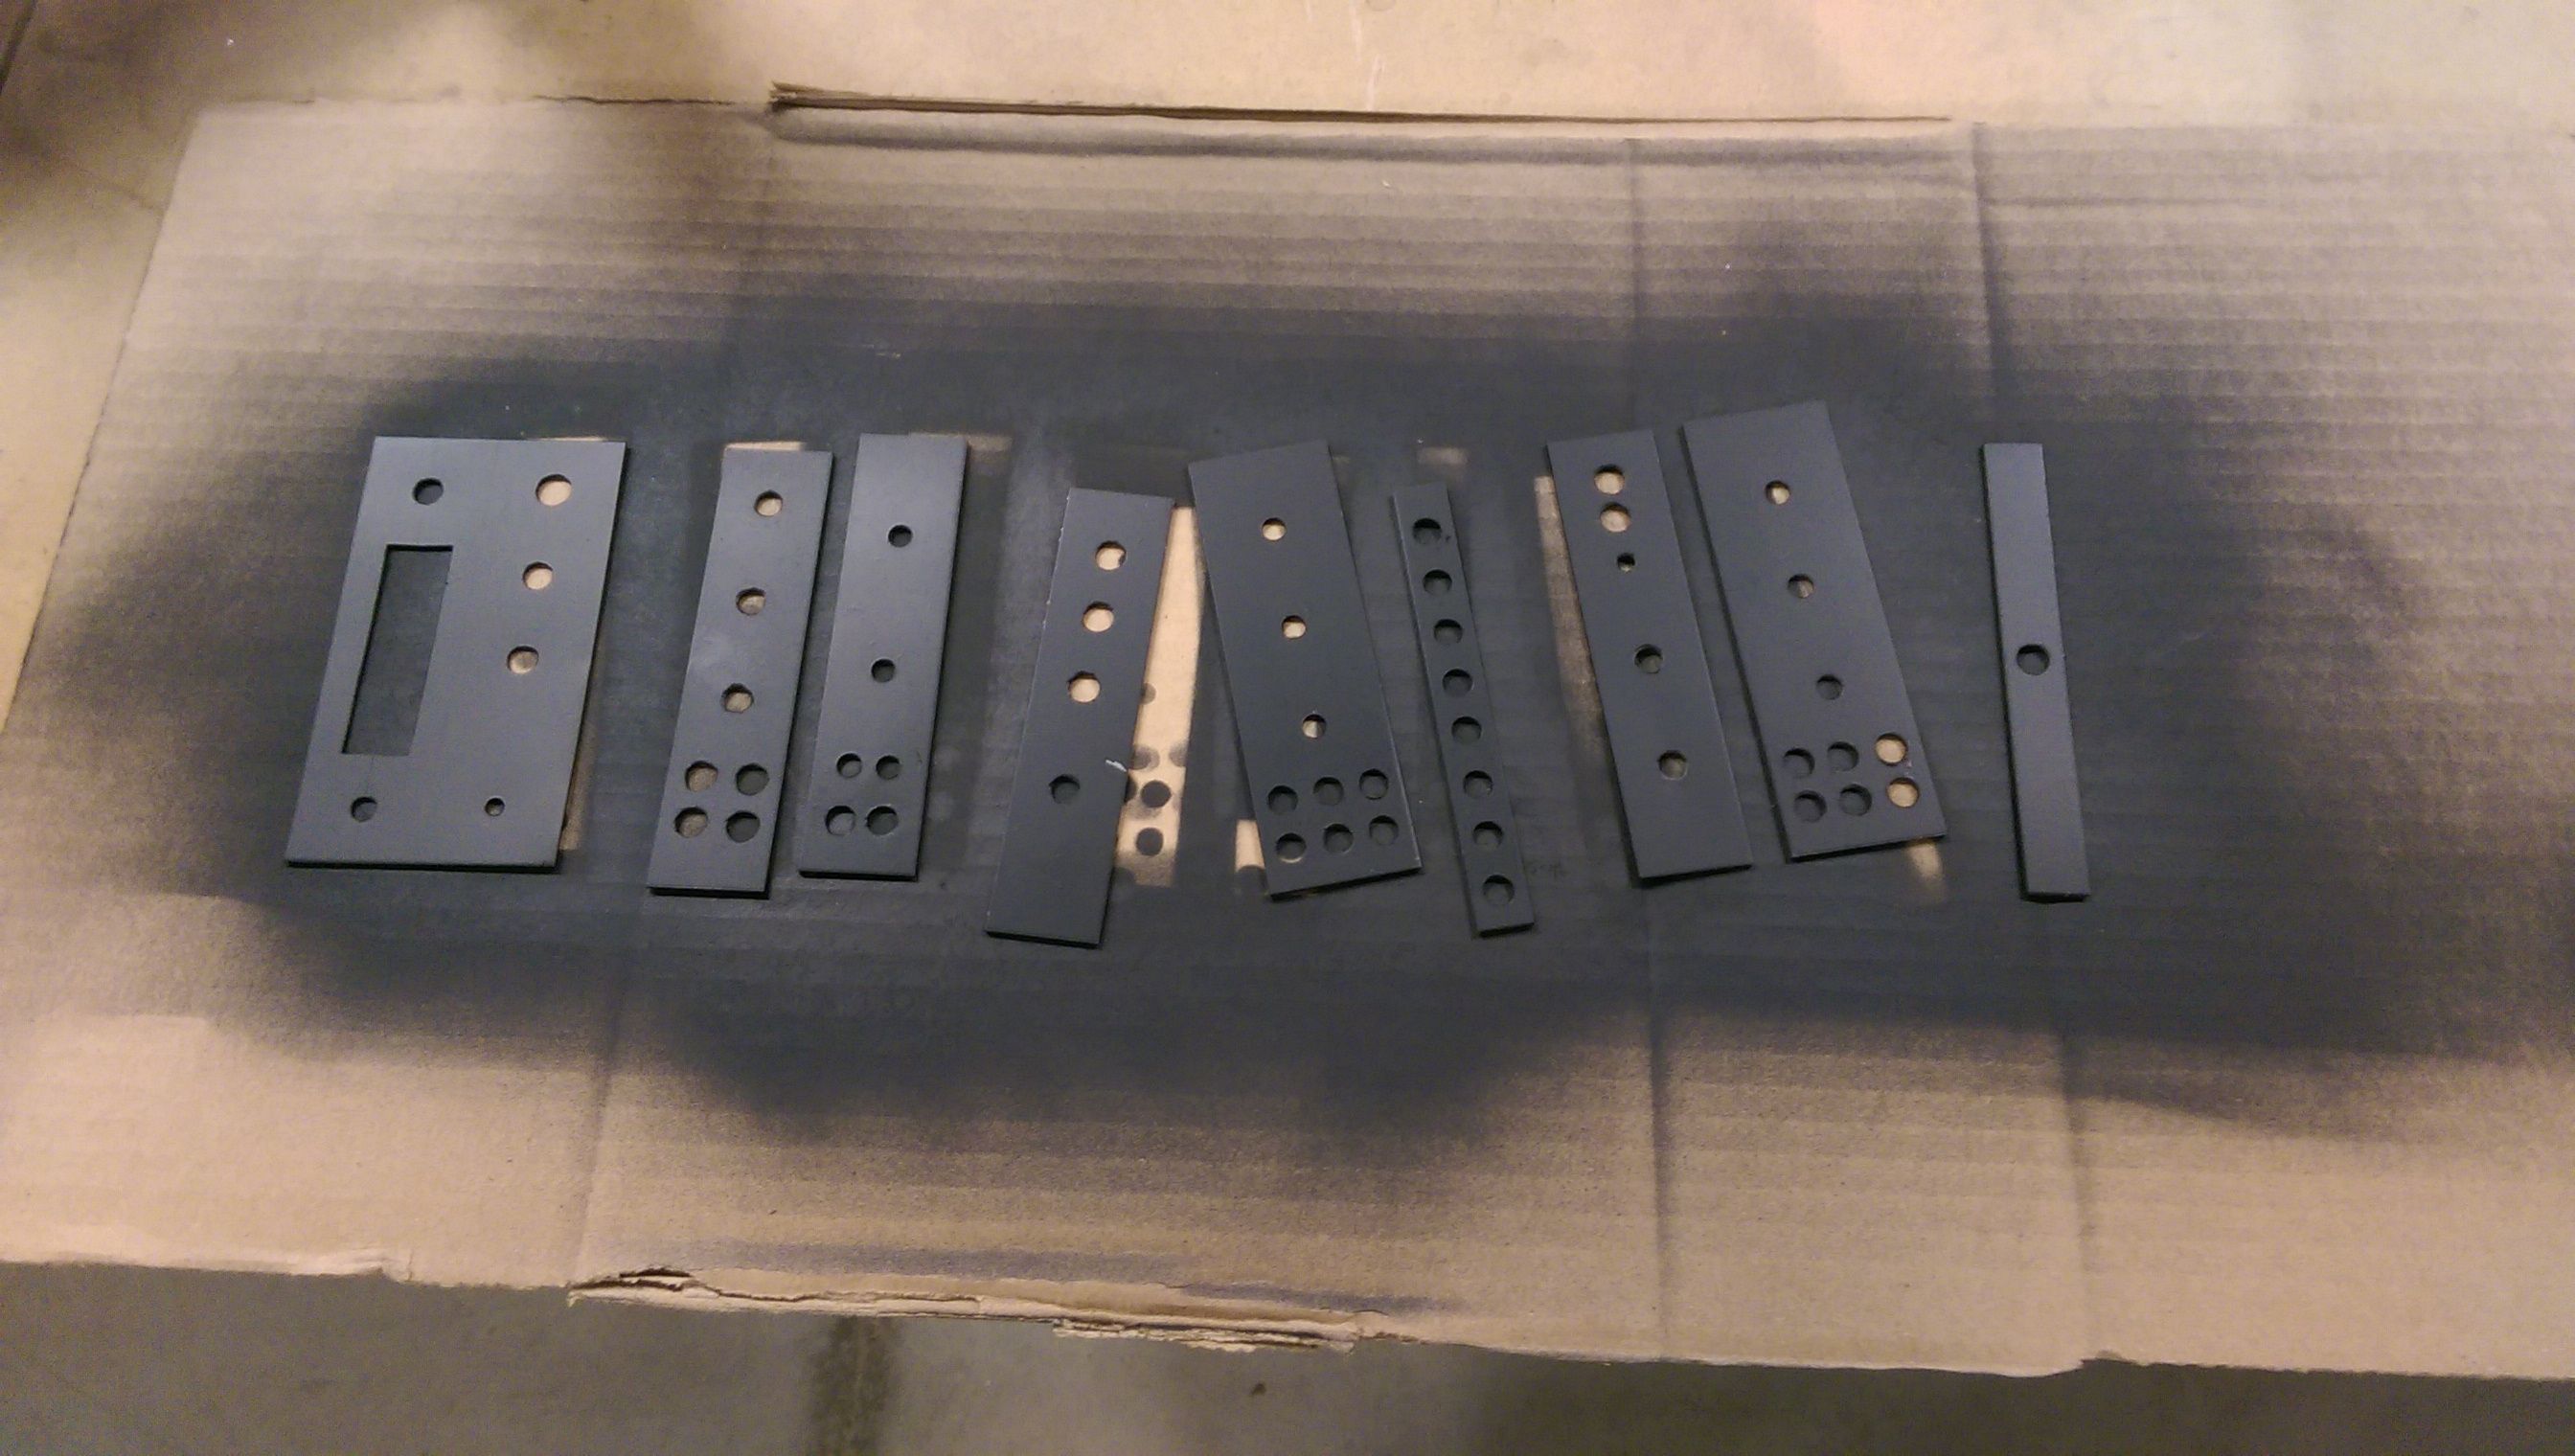
- The most painstaking process was to build the panels for each module. This started with a large piece of 1/8" aluminum sheet which I cut to size with a large metal shear I was able to use after pleading with the fine arts workshop master. Afterwards I layed out the hardware and marked the panels. Next I punched and drilled holes, deburred, sanded, and painted. Afterwards I used a white paint pen to write on the panels because the lazer engraver I tried to use was not powerful enough to burn through the spray paint. This ended up being a horrible experience because the pen would occasionally spill all of its contents. Lastly I spray painted a clear coat.
- Next I mounted the modules, wired them up and tuned the oscillators and filter. Thats it!
You can get a sense of these steps below: