3. Adding Custom Skins
This tutorial covers how to add your own custom skin classes.
For each visual element there is an abstract skin class. A custom skin must extend one of these classes and must also have a one-parameter constructor that the model instance can be passed to. For example:
public class FooNodeSkin extends GNodeSkin {

    public FooNodeSkin(GNode node) {
        super(node);
        // Custom code here.
    }
}
The custom skin class is registered in the GraphEditor with a simple callback:
// Register GNodeSkin implementations(s):
graphEditor.setNodeSkinFactory(this::createMyNodeSkin);

// Register GConnectorSkin implementations(s):
graphEditor.setConnectorSkinFactory(this::createSkin);

// Register GConnectionSkin implementations(s):
graphEditor.setConnectionSkinFactory(this::createSkin);

// Register GTailSkin implementations(s):
graphEditor.setTailSkinFactory(this::createTailSkin);

private GNodeSkin createMyNodeSkin(final GNode node)
{
    return new FooNodeSkin(node);
}
Now every node will be rendered through the FooNodeSkin.
If you would like to support more different skins, you may extend the callback as you like. It is recommended to separate the different skins with the type attribute of every element in the GModel.
We'll use GConnectorSkin as an example because it's fairly simple. Connectors are the things that users click and drag on to create and remove connections. A connector skin must implement the following methods:
public abstract Node getRoot();
public abstract double getWidth();
public abstract double getHeight();
public abstract void applyStyle(GConnectorStyle style);
Let's create a custom skin to show a circular connector shape. The root node will be a JavaFX Pane with a Circle inside it.
private static final double RADIUS = 8;
private Pane root = new Pane();
private Circle circle = new Circle(RADIUS);

public FooConnectorSkin(final GConnector connector)
{
    super(connector);
    root.getChildren().add(circle);
    circle.getStyleClass().setAll("foo-connector");
}

@Override
public Node getRoot() { return root; }
The reason we use a pane for the root element, rather than returning a circle directly, is so that the (0,0) coordinate of the root element corresponds to the upper-left corner of the connector. For the width and height we simply write:
@Override
public double getWidth()  {  return 2 * RADIUS; }

@Override
public double getHeight() { return 2 * RADIUS; }
It is currently strongly recommended to return constants, rather than values that are zero until a layout-pass occurs such as root.getWidth().
We can implement the applyStyle method as follows:
@Override
public void applyStyle(final GConnectorStyle style)
{
    case DEFAULT:
        circle.pseudoClassStateChanged(forbidden, false);
        circle.pseudoClassStateChanged(allowed, false);
        break;

    case DRAG_OVER_ALLOWED:
        circle.pseudoClassStateChanged(forbidden, false);
        circle.pseudoClassStateChanged(allowed, true);
        break;

    case DRAG_OVER_FORBIDDEN:
        circle.pseudoClassStateChanged(forbidden, true);
        circle.pseudoClassStateChanged(allowed, false);
        break;
    }
}
The actual stying is then done in CSS. For example:
.foo-connector:hover,
.foo-connector:pressed   { -fx-stroke-width: 2; }

.foo-connector:allowed   { -fx-fill: green; }

.foo-connector:forbidden { -fx-fill: red; }
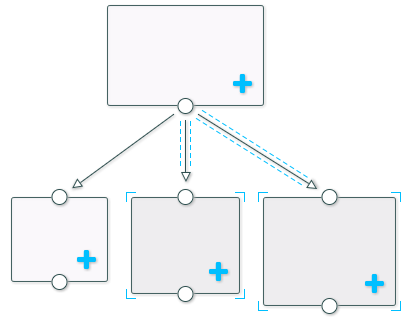
A full set of custom skins & validators can be found in the demo module that enforce a 'tree-like' structure:
Source code can be found here.