Mesh Align Plus v0.6.0
New in v0.6.0
New editing features have arrived with this release! New (non-mesh) object types are now supported, there's a new mode for "Align Planes" for directly defining object origins, a new target type was added to all operators to give users more ways to apply their transformations, and more.
New special mode on "Align Planes": Directly set object origins
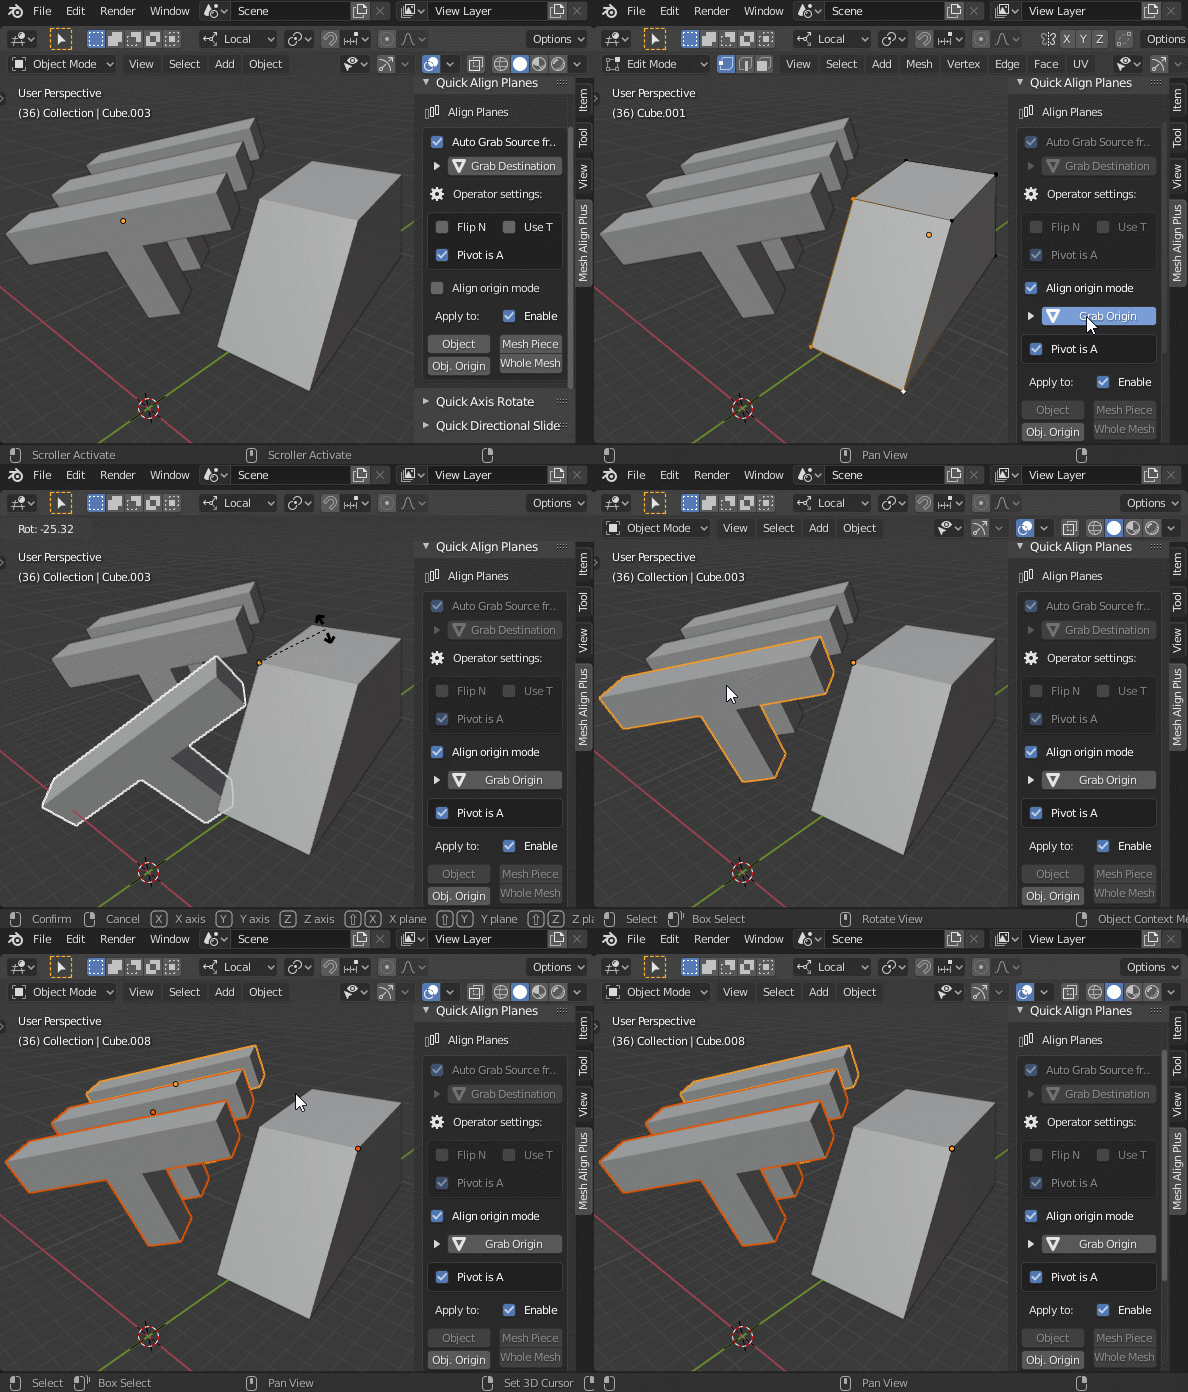
The "Align Planes" operator now has a new special mode ("Align origin mode") for directly defining a mesh object's origin by picking 3 verts. You can batch-set the origin for multiple objects to the same place by multi-selecting before you hit apply:
Pictured: Directly define the OBJECT ORIGIN for selected mesh object(s) by picking 3 verts
Move non-mesh objects
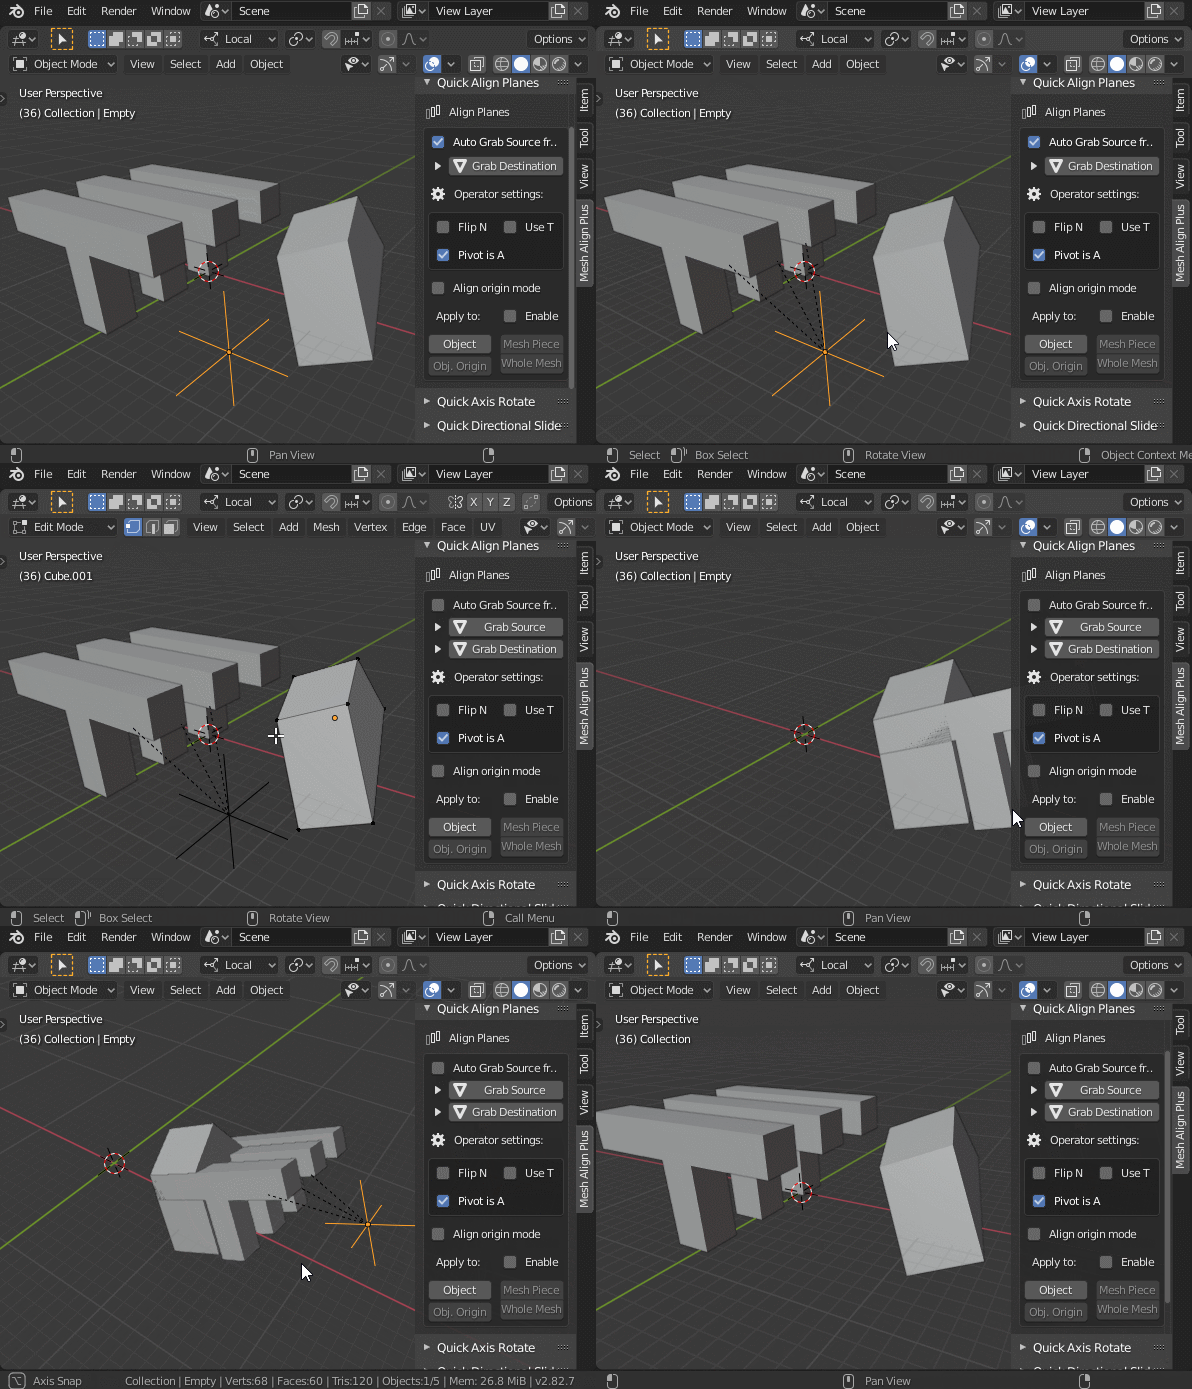
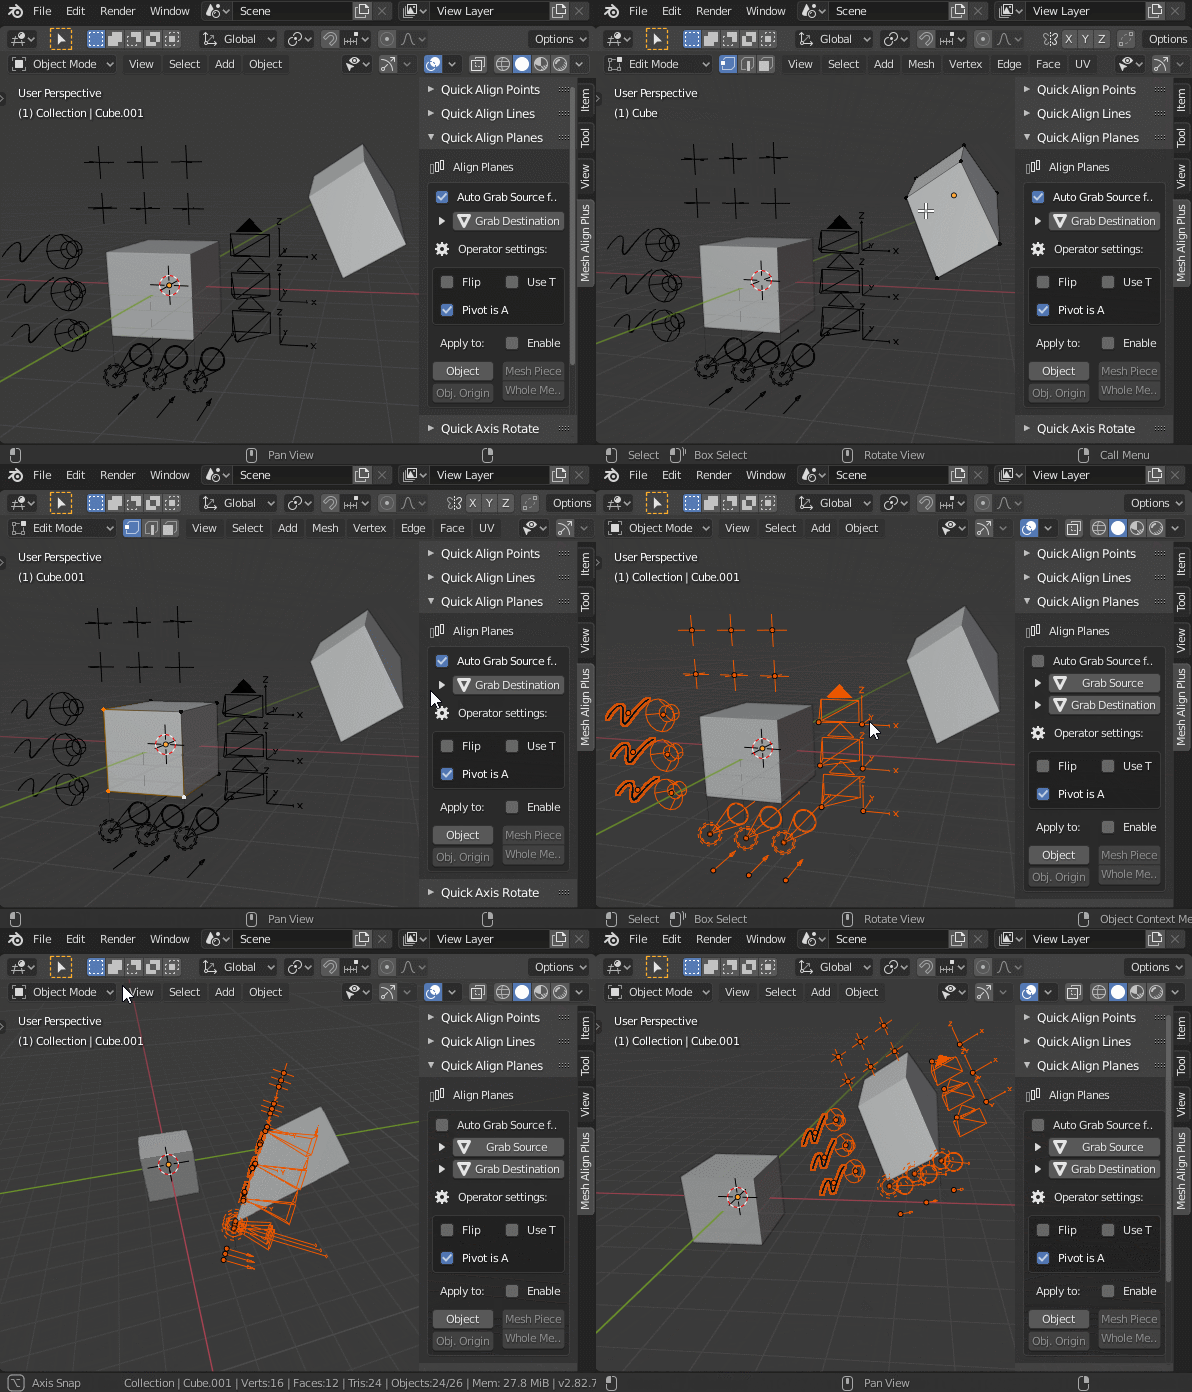
All of the main operators now can now be applied to empties (useful for common parenting setups), cameras, lights, grease pencil objects and other non-mesh selections. Non-mesh objects can be used in multi-selections, too (Keep in mind that you will have to “Apply to: Object” though, as it doesn’t make sense to “Apply to: Mesh” for non-mesh objects):
Pictured: Applying an alignment to a parent empty, by defining motions relative to mesh geometry
Pictured: Multi-aligning a bunch of non-mesh objects
New target type for all operators: Move just the object origin around
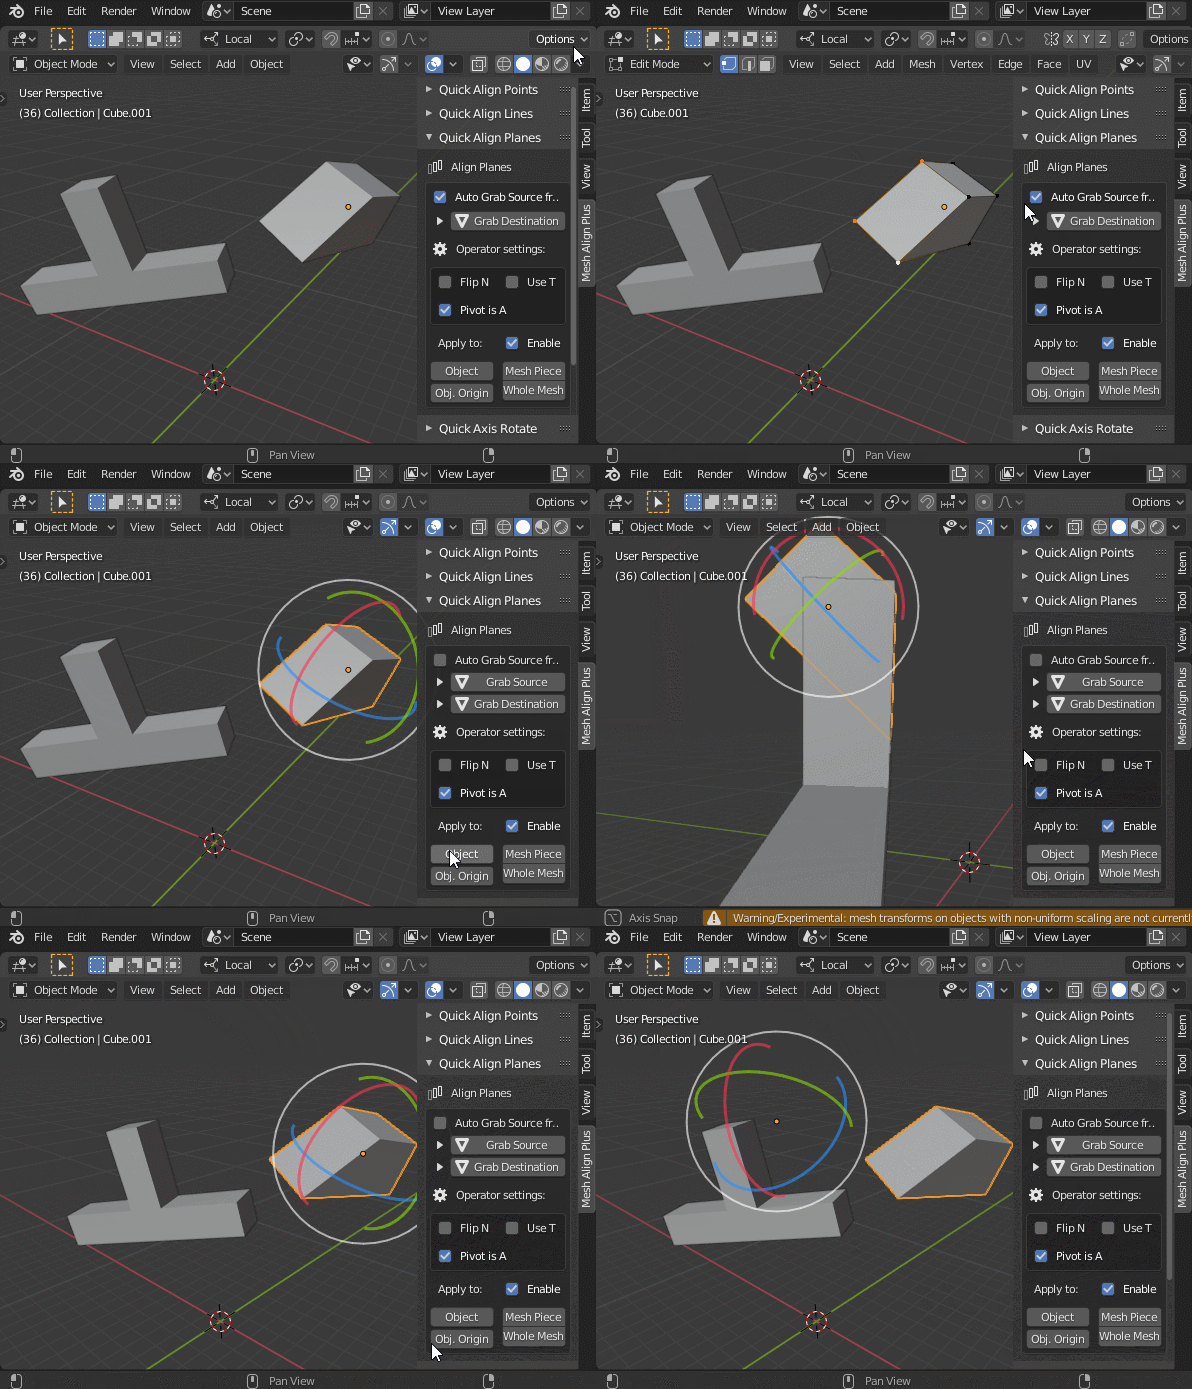
For mesh objects, there's a new target type for all operations: You can now choose to move JUST the OBJECT ORIGIN with "Apply to: Obj. Origin", freezing the mesh itself in the same apparent global position as before an alignment has been applied:
Pictured: Applying an alignment operation to a mesh's OBJECT ORIGIN
Move around in the destination plane after alignment
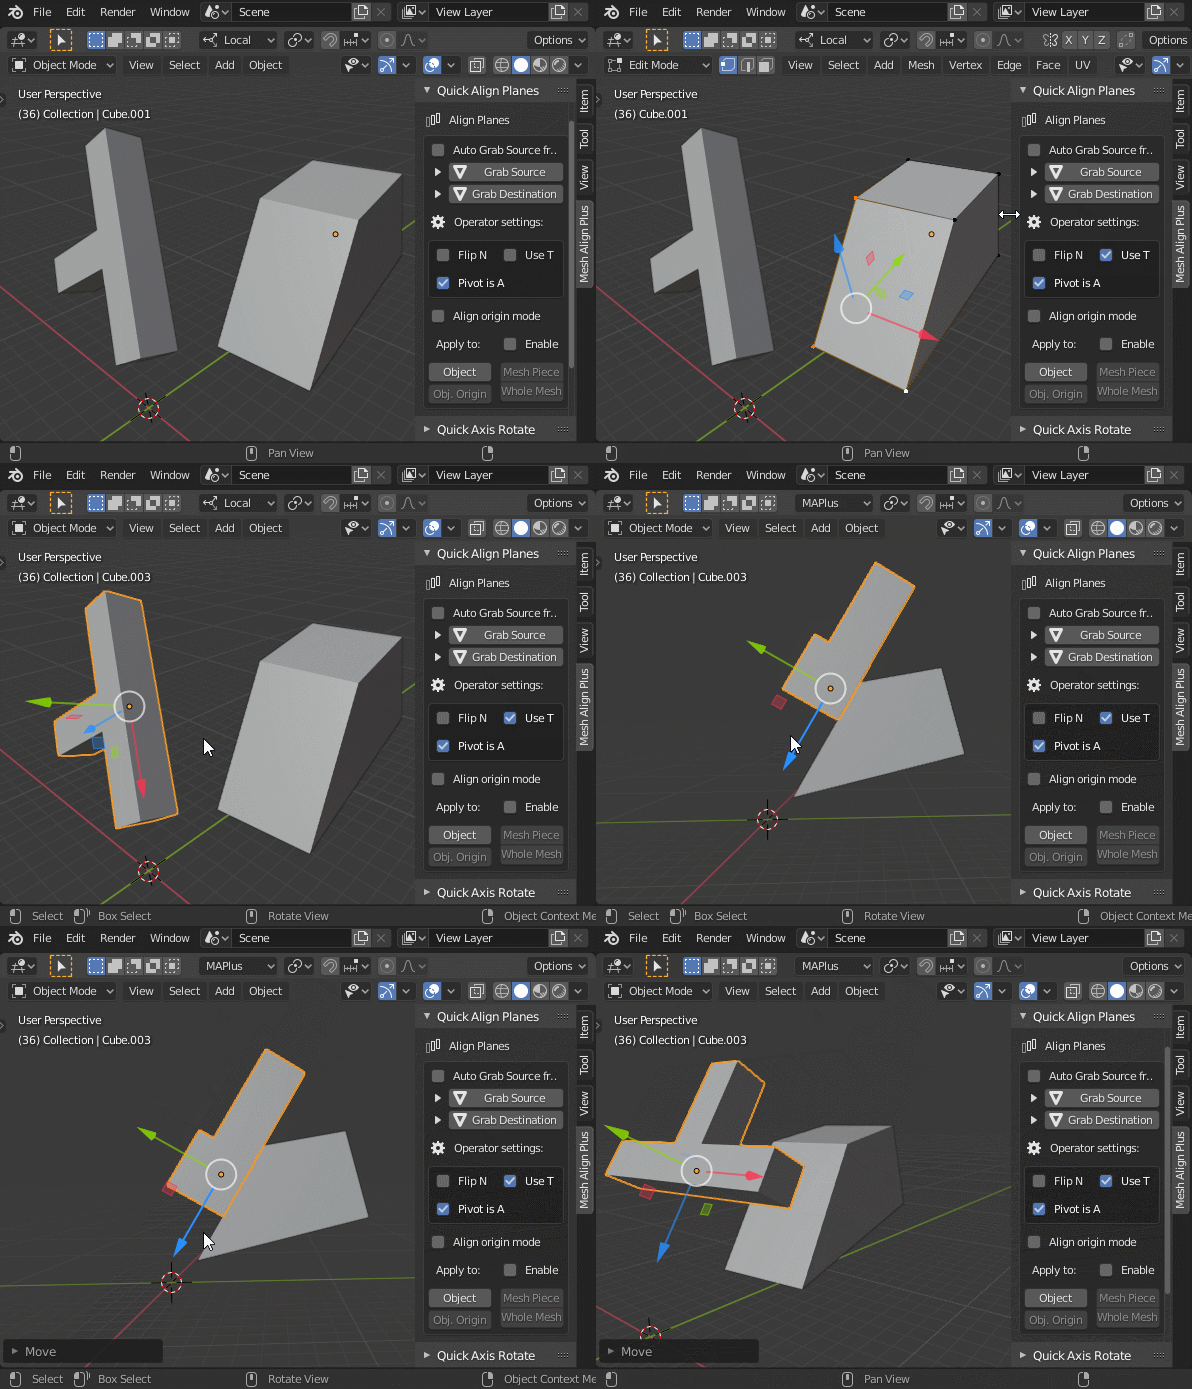
The Align Planes operator can now create a transform orientation for you, to slide your targets around in the destination plane after an alignment has been applied (this feature was available in the pre-2.80 compatible versions of the addon, and has now been re-enabled):
Pictured: Slide your object around in the destination plane after alignment, by using the custom transform orientation option
"Apply to: Object" now works without an active object
You no longer need an active object to "Apply to: Object" for any of the primary operators (you just need any number of selected objects). In Blender, the active mesh is outlined in yellow (by default), with other selected objects outlined in orange).
