Testing organisation
The purpose of this document is to describe the process of running a Community Testing Session from an internal perspective.
The Community Testing Sessions are here to give users the opportunity to be involved in making Element great, as described here.
If this is your first time running a testing session, you might want to read this whole document to get a better understanding of what is expected of you. Later, you can use the checklist provided at the bottom as a reminder of the steps you need to take.
Community sessions should be done asynchronously, in order to allow as many members to join as possible. Web RC's occur on every other Tuesday and Mobile RC's on every other Wednesday so the earliest the Community session for a given platform can occur is the next day (i.e. Web on Wednesday and Mobile on Thursday).
The first thing we need is a document containing test cases and a template for filing issues. There are many examples of previous test sheets here.
When creating a new document on Google Drive, keep in mind that only the author has the permission to share it with others. Also, there might be some users who prefer not to use Google’s products, so it’s a good idea to provide the testing document in some other online tools - framacalc being one of them.
Once the preparation has been done, we can change the title of the Element Community Testing room and post an update about what we’re testing and when. Here’s an example of such a message:
@room Next testing session begins on Monday, 7th Feb at 15:30 UTC / 16:30 CET.
- We will be testing the new Search feature
- Please fill in the consent form (you only need to do this once for all testing sessions)
- Request access to the testing sheet or use this framacalc
- Links for the Netlify build will be shared at the starting time
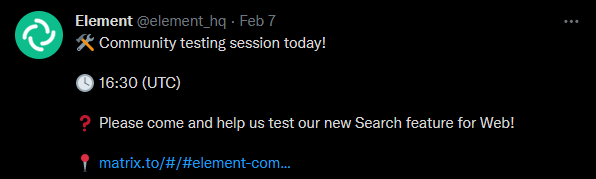
Next we need to sync with Marketing and ask them to publicise our Community Testing Session. Here’s an example of what a tweet could look like:
Finally, we should add an event to the company's internal FYI calendar to let people know that the session is happening.
Before the session begins, we need to make sure that our testing sheet has a link to the actual build we’re testing.
Whenever a new external user requests access to the testing sheet, we need to check that they’ve filled out the consent form. We need to have their consent to store their username and test results to comply with GDPR requirements.
When it’s time to start the session, we can quote the previous message we’ve sent to the Element Community Testing room and announce the beginning of the session.
Also, there are a few things worth mentioning to everyone at this point:
- netlify builds are technically not secure as they’re not built in-house. Therefore, we recommend that people use test accounts, as opposed to their main accounts during the session
- test cases are here just to give us a rough idea of what we’re testing. Going beyond test cases and exploring new features (that are in scope) in our own ways is strongly encouraged
- screenshots and recordings of defects can often be of great help to the person fixing them
During the session, we’ll want to keep an eye out for any issues that have been found and triage them. If there are any duplicate issues, we should mark them accordingly. If a defect requires filing a GitHub issue, we should link the issue to the defect - we can ask testers to file the issues that they have found.
- first-timers need to fill out the consent form
- test cases need to be prepared
- pick a timeslot (usually Thursday morning to Friday afternoon)
- add an event to FYI calendar
- publicise (marketing)
- make sure we have the latest build
- change the topic of Element Community Testing room
- announce the session in the room
- triage issues while the session is running