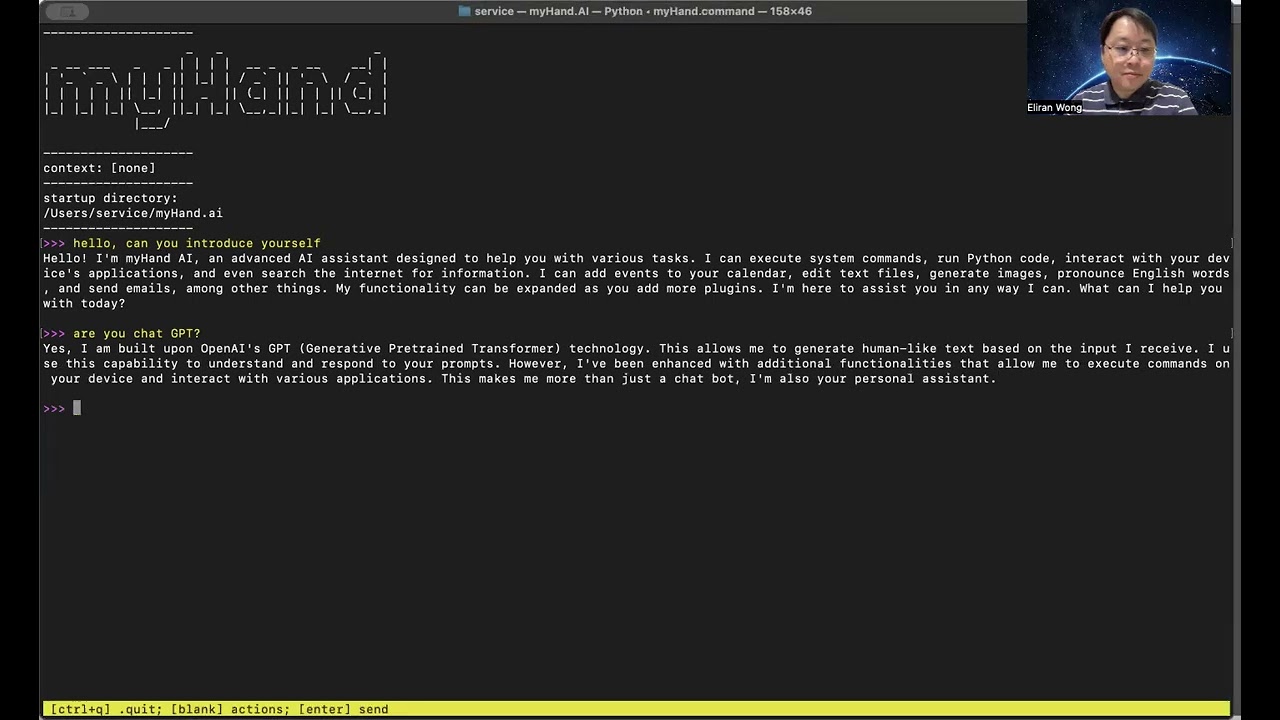
TaskWiz Speaks
Users can use voice typing to talk to TaskWiz AI.
TaskWiz AI can speak to response.
On Windows / macOS / Linux
pip3 istall gTTS google-cloud-texttospeech pygame
On Termux (Android)
pip3 istall gTTS google-cloud-texttospeech
VLC player is required on Termux (Android) and optional on Windows / macOS / Linux, as pygame is used audio playing but pygame is not available on Termux.
With VLC player, you can control speaking rate via setting 'vlcSpeed' in config.py
To install on Termux (Android), run:
pkg install which vlc
For other platforms, read https://www.videolan.org/vlc/

TaskWiz AI can speak as chat responses are streamed. To enable / disable this feature, go to action menu and select "toggle response audio".
TaskWiz AI can speak as you enter your input. To enable / disable this feature, go to action menu and select "toggle input audio".
You can choose a text-to-speech engine for the audio features.
TaskWiz AI uses gTTS by default for text-to-speech engine.
There are two other options:
-
Official Google Cloud Text-to-speech, which offers more language support and allows speed control.
-
Customised text-to-speech command, which supports offline text-to-speech engine that may run faster than the cloud-based ones.
-
Create a credential key for Google Cloud text-to-speech service and download it. Read for details at https://cloud.google.com/text-to-speech/docs/before-you-begin
-
Rename the credential key file to "credentials_GoogleCloudTextToSpeech.json"
-
Place the credential key file "credentials_GoogleCloudTextToSpeech.json" in 'TaskWiz AI' folder.
-
Press 'Enter' to enter a blank entry.
-
Select 'Configure text-to-speech command' from the opened action menu.
-
Enter a command of your own choice
-
Enter a command suffix (optional, leave it blank if not applicable)
For examples:
- on macOS ['say -v "?"' to check voices]:
Simply enter:
say
To specify voice and speaking rate, eg.:
say -v Daniel -r 200
[leave suffix command 'blank']
- on Ubuntu ['espeak --voices' to check voices]:
Simply enter:
espeak
To specify voice and speaking rate, eg.:
espeak -v en-gb -s 175
[leave suffix command 'blank']
- on Windows, try:
Command:
Add-Type -TypeDefinition 'using System.Speech.Synthesis; class TTS { static void Main(string[] args) { using (SpeechSynthesizer synth = new SpeechSynthesizer()) { synth.Speak(args[0]); } } }'; [TTS]::Main(
Suffix:
)
Notes:
-
default tts engine is used when both google-cloud tts engine or customised tts command is blank.
-
google-cloud tts engine is used if 'credentials_GoogleCloudTextToSpeech.json' is in place and tts command is blank.
-
customised tts command is used if it is set up and 'credentials_GoogleCloudTextToSpeech.json' does not exist.
-
google-cloud tts is used if google-cloud tts engine and customised tts command are set up
You can speak to TaskWiz AI via voice typing:
Ah, I see you're interested in voice typing on Windows. Windows also has a built-in feature that allows you to use voice recognition for typing. Let me guide you through the process:
-
Open the "Settings" application on your Windows system. You can do this by pressing the Windows key and typing "Settings" in the search bar.
-
In the Settings window, click on the "Ease of Access" category.
-
On the left side of the Ease of Access settings, you'll find an option called "Speech." Click on it.
-
In the Speech settings, scroll down until you find the section called "Dictate text and control your device." Make sure the toggle switch for "Speech recognition" is turned ON.
-
Once you've enabled speech recognition, you can start voice typing in any text field by pressing the Windows key + H. This will activate the speech recognition feature, and you can start speaking to dictate your text.
Windows also provides a list of voice commands that you can use to navigate your computer and perform various tasks. You can access this list by clicking on the "Learn how to use dictation and other voice commands" link in the Speech settings.
On macOS, voice typing is known as dictation. It allows you to speak instead of typing and have your words converted into text. To use dictation on macOS, follow these steps:
-
Open System Preferences by clicking on the Apple menu in the top-left corner of the screen and selecting "System Preferences."
-
In System Preferences, click on the "Keyboard" icon.
-
In the Keyboard settings, navigate to the "Dictation" tab.
-
In the Dictation tab, make sure that "Dictation" is enabled. You can choose to enable it either for "Enhanced Dictation" or "Standard Dictation." Enhanced Dictation allows you to use dictation offline, while Standard Dictation requires an internet connection but takes up less storage space.
-
Once you have enabled dictation, you can choose a keyboard shortcut to activate it. By default, you can press the
fn(function) key twice to start dictation. However, you can change this shortcut to your preference. -
Now, whenever you want to use voice typing, simply activate dictation using the keyboard shortcut you set. A small microphone icon will appear on the screen indicating that dictation is active.
-
Start speaking, and macOS will convert your speech into text in real-time. You can dictate entire paragraphs or dictate specific commands, such as punctuation or formatting.
Dictation on macOS supports various languages, so make sure you have selected the desired language in the Dictation settings.
To enable voice typing on Ubuntu, you'll need to follow these steps:
-
Open the "Settings" application on your Ubuntu system. You can usually find it in the launcher or by searching for it in the overview.
-
In the Settings window, look for the "Universal Access" category and click on it.
-
In the Universal Access settings, you should see an option called "Typing Assistive Technologies." Click on it to open the typing settings.
-
In the typing settings, you'll find an option called "Enable Screen Keyboard." Make sure this option is turned ON.
-
Once you have enabled the screen keyboard, you can click on the microphone icon on the keyboard to start voice typing.