| title | date | draft | thumbnail | categories | tags | readmore | tableofcontents | summarize | update | aliases | |||||
|---|---|---|---|---|---|---|---|---|---|---|---|---|---|---|---|
Nginx Installation on Debian |
2019-10-05 03:45:57 +0100 |
false |
v1570238190/2019/nginx_webserver.jpg |
|
|
Read the tutorial |
true |
true |
true |
|
This is the second post on the road to self-host Nextcloud. At this point we have already choosed a provider and deployed a VPS and completed its initial setup.
Now, we're going to cover the installation of Nginx, the use of Let's Encrypt SSL certificates and the configuration of the web server to use HTTP Strict Transport Security (HSTS).
I’m currently using Debian 12, but these instructions may be equally valid for other versions of Debian and Ubuntu.
First, let's update the package lists from the repositories:
# sudo apt update
Then, install Nginx:
# sudo apt install nginx
We can check if it’s working by running:
# sudo systemctl status nginx
If all went well, we should get something like this:
● nginx.service - A high performance web server and a reverse proxy server
     Loaded: loaded (/lib/systemd/system/nginx.service; enabled; preset: enabled)
     Active: active (running) since Sun 2023-07-23 16:43:52 UTC; 1min 17s ago
       Docs: man:nginx(8)
    Process: 2471 ExecStartPre=/usr/sbin/nginx -t -q -g daemon on; master_process on; (code=exited, status=0/SUCCESS)
    Process: 2472 ExecStart=/usr/sbin/nginx -g daemon on; master_process on; (code=exited, status=0/SUCCESS)
   Main PID: 2495 (nginx)
      Tasks: 2 (limit: 2251)
     Memory: 1.8M
        CPU: 25ms
     CGroup: /system.slice/nginx.service
             ├─2495 "nginx: master process /usr/sbin/nginx -g daemon on; master_process on;"
             └─2496 "nginx: worker process"
Before using Nginx, the firewall needs to be adjusted to allow access to the service. Nginx registers itself as a service with UFW upon installation, making it straightforward to allow Nginx access.
List the application configurations that UFW knows how to work with by typing:
# sudo ufw app list
We get a listing of the application profiles, like this:
Available applications:
  ...
  Nginx Full
  Nginx HTTP
  Nginx HTTPS
  ...
There are three profiles available for Nginx:
- Nginx Full: This profile opens both port 80 (normal, unencrypted web traffic) and port 443 (TLS/SSL encrypted traffic);
- Nginx HTTP: This profile opens only port 80 (normal, unencrypted web traffic);
- Nginx HTTPS: This profile opens only port 443 (TLS/SSL encrypted traffic).
We plan to use TLS/SSL so choose the profile Nginx Full to open both ports:
# sudo ufw allow 'Nginx Full'
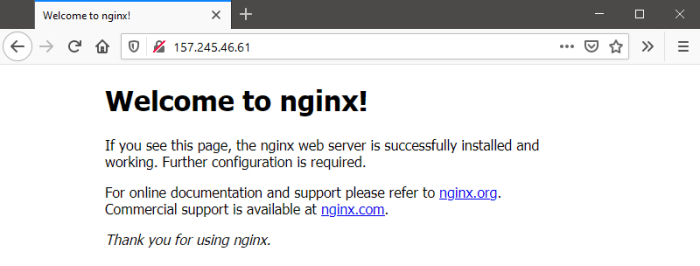
Visiting our IP address on a browser will now show the Nginx's default page, like bellow.
When using the Nginx web server, server blocks can be used to encapsulate configuration details and host more than one domain from a single server. We will set up a domain called emanuelpina.ml, but you should replace this with your own domain name.
On this example the content of our site will be stored in the folder /var/www/html, change this to match your preferences.
Let's create a index.html file for our site using Nano or use your favorite editor:
# sudo nano /var/www/html/index.html
Add the following HTML to the file:
<html>
    <head>
        <title>Welcome to EmanuelPina.pt!</title>
    </head>
    <body>
        <h1>Hello World!</h1>
        <p><b>The emanuelpina.pt server block is working!</b></p>
    </body>
</html>
Save and close the file when you're finished.
In order for Nginx to serve this content, we need to create a server block with the correct directives. Instead of modifying the default configuration file directly, let’s make a new one. We'll name it emanuelpina.pt but you can name it whatever you like:
# sudo nano /etc/nginx/sites-available/emanuelpina.pt
Paste in the following configuration block, which is similar to the default, but updated for our new directory and domain name:
server {
    listen 80;
    listen [::]:80;

    root /var/www/html;
    index index.html index.htm index.nginx-debian.html;

    server_name emanuelpina.pt www.emanuelpina.pt;

    location / {
            try_files $uri $uri/ =404;
    }
}
{{< marker yellow p >}}Notice that we’ve updated the root configuration to our site directory, and the server_name to our domain name.{{< /marker >}}
Next, let’s enable the site by creating a link from this file to the sites-enabled directory, which Nginx reads from during startup:
# sudo ln -s /etc/nginx/sites-available/emanuelpina.pt /etc/nginx/sites-enabled/
Then, test to make sure that there are no syntax errors in the Nginx files:
# sudo nginx -t
If there aren’t any problems, restart Nginx to enable the changes:
# sudo systemctl reload nginx
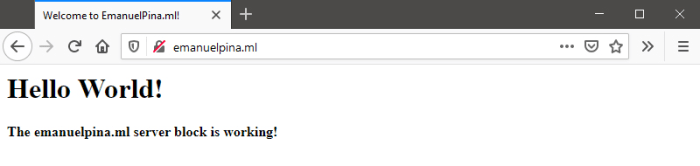
Visiting our domain address on a browser will now show the content of the index.html file we've created.
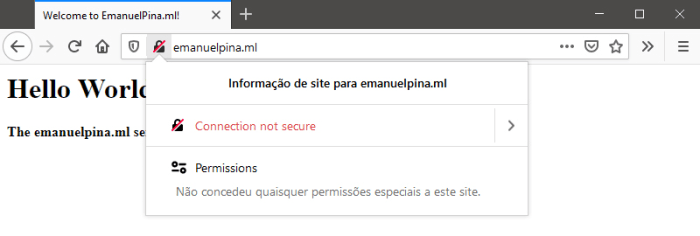
At this point we have set Nginx to serve our site, but notice that the browser is connecting to the server through a unencrypted/non-secure connection.
To enable the browser to use a encrypted/secure connection we've to install an SSL certificate. We can obtain a free SSL certificate using Let’s Encrypt. To easily do this we can use a open source software called Certbot. To install Certbot and its Nginx package run the following command:
# sudo apt install certbot python3-certbot-nginx
We can now use Certbot to obtaining an SSL certificate typing:
# sudo certbot --nginx
At first time we run Certbot, we'll be prompted to enter an email address, agree to the terms of service and authorise or not EEF (the entity that mantains Certbot) to send emails to us.
We'll then be presented with a list of all domains enabled on our server:
Which names would you like to activate HTTPS for?
-------------------------------------------------------------------------------
1: emanuelpina.pt
2: www.emanuelpina.pt
-------------------------------------------------------------------------------
Select the appropriate numbers separated by commas and/or spaces, or leave input
blank to select all options shown (Enter 'c' to cancel):
Select the appropriate numbers for the domains you want to obtain a certificate separated with a , (for our example type 1,2) and press ENTER. After doing so, Certbot will communicate with the Let’s Encrypt server, then run a challenge to verify that we control the domain we’re requesting a certificate for.
If that’s successful, Certbot will update the server block and Nginx will reload to pick up the new settings.
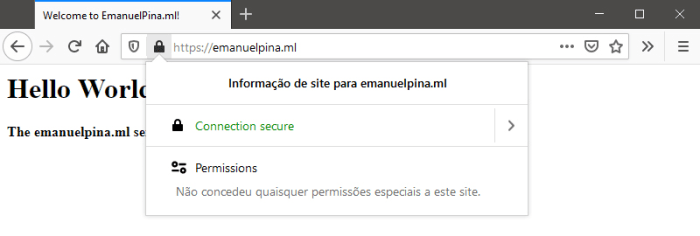
Now, visiting our domain address on a browser we can notice that a encrypted/secure connection is being used.
Let's run our domain on this SSL Server Test from SSL Labs. The test takes a couple of minutes...
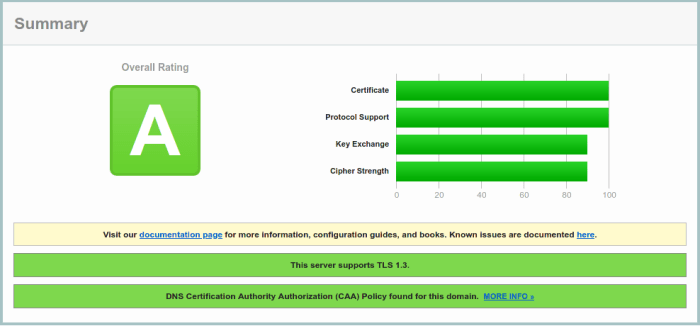
We got an A. Not bad, but we can do better! To do so we'll enable HSTS.
HSTS stands for HTTP Strict Transport Security and is a response header that informs the browser that it should never load a site using HTTP and should automatically convert all attempts to access it to HTTPS requests instead.
Enabling HSTS is as easy as editting our server block:
# sudo nano /etc/nginx/sites-available/emanuelpina.pt
And adding add_header Strict-Transport-Security "max-age=31536000; includeSubDomains" always; just bellow the server_name, like this:
server {
    ###

    server_name emanuelpina.pt www.emanuelpina.pt;

    add_header Strict-Transport-Security "max-age=31536000; includeSubDomains" always;

    ###
}
Test to make sure that there are no syntax errors in our Nginx files:
# sudo nginx -t
And if there aren’t any problems, restart Nginx to enable the changes:
# sudo systemctl reload nginx
Now let's run again the SSL Server Test from SSL Labs.
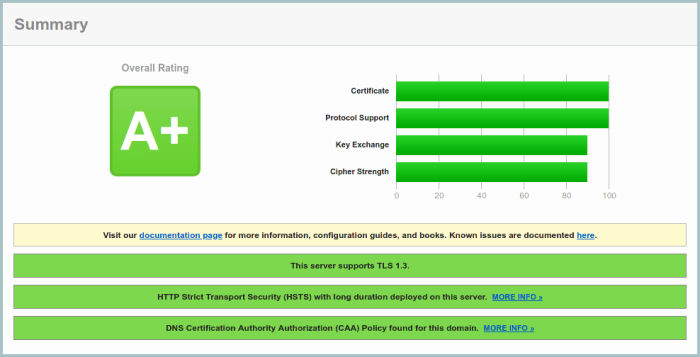
And that's it. HSTS is enabled and we got an A+!
Now that we've connected our server to the Internet, to run Nextcloud we still need PHP and PostgreSQL. That's what I'll cover in a following post.
{{< call-for-contribution >}}