A couple of commands to view images as ASCII. This repository contains 2 commands: asciify which allows you to rescale and convert images to ASCII, and asciicam, which takes a stream from a video device, and renders the footage as ASCII art in th eterminal. Because the whole foreground/backround malarkey with coloured ASCII images is a bit fiddly, I also added a simple previe command that renders images in colour using just background colours and spaces as pixels.
It's pure go, so just run go install ./... and you're good to go
The help output details all the flags:
  -A	Print image as ASCII chars (default false)
  -f string
    	Input file
  -h uint
    	The height to resize the image to
  -m string
    	Choose scaling algorithm (fast & low quality to slow but high quality: near [Nearest Neighbour], approx [Approximate Bilinear], bilinear [Bilinear], cat [CatmullRom]) (default "near")
  -n	Make negative of the ASCII output (white <> black)
  -o string
    	Output file - default is output.txt
  -r	Replace output file if exists
  -s float
    	The scaling factor to use instead of width/height float value (default 1)
  -w uint
    	The width to resize the image to
  -c string
    	Save a copy of the scaled image under given file name
  -C	Show image in colour
Check the examples directory for an image that was downscaled, and the ASCII output it generated.
The commands used were
asciify -f example/teapot.jpg -o example/output.txt -s 0.1
asciify -f example/teapot.jpg -o example/output_neg.txt -n -s 0.1
This scales the image down to 1/10th its original size and outputs the characters in the specified files. To keep the scaled version of the input file, just specify a -c flag value
asciify -f example/teapot.jpg -s 0.1 -c teapot_resized.jpgThis will write the output.txt file to the current directory
These commands use a scaling factor, which preserves the aspect ratio of the original image. If the output looks a bit stretched, which can happen, you can specify a width and height manually to compensate:
asciify -f example/teapot.jpg -w 200 -h 180 -o example/output_wh.txt
asciify -f example/teapot.jpg -w 200 -h 180 -o example/output_whn.txt -nThere's an asciify_files.sh script included which passes through all of the flags (except for -f). The script has a -H flag to display the Usage information, but the gist of it is this:
./asciify_files.h -o output_dir img_dir/*.jpgwill ASCIIfy all images in the specified path, and write the output to files in output_dir.
Again, the command help output should be enough to get started:
Usage of asciicam:
  -d string
    	Input device (default "/dev/video0")
  -h uint
    	ASCII height (number of rows)
  -n	Inverted output (black <> white)
  -s float
    	The scaling factor to use instead of width/height float value (default 1)
  -w uint
    	ASCII width (number of columns)
  -x uint
    	Input camera resolution (width/X) (default 640)
  -y uint
    	Input camera resolution (height/Y) (default 480)
By default, this command will take a 640 by 480 stream from /dev/video0, and translate it to ASCII 1-to-1. In between each frame, I'm just calling the clear command, whihc is good enough for now (although not on windows).
I find that the following usually is enough to get decent results:
asciicam -w 160 -h 80
Colour is currently not supported. The way we print colours to screen is just too slow.
This is probably the simplest of the lot:
Usage of preview:
  -S	Force width and height to be used as absolute ratio - Ignore s flag
  -f string
    	Input file
  -h uint
    	Max height - scales image (if required) to fit max height. recalculates -s flag
  -m string
    	Choose scaling algorithm (fast & low quality to slow but high quality: near [Nearest Neighbour], approx [Approximate Bilinear], bilinear [Bilinear], cat [CatmullRom]) (default "near")
  -s float
    	The scaling factor to use instead of width/height float value (default 1)
  -w uint
    	Max width - scales image (if required) to fit max width. recalculates -s flag
By specifying the max with and height, the image will be scaled to fit the specified scale. Using just an -s flag (or no flags at all - default -s == 1), the image will be rendered as-is. If the image fits within the specified width/height, then the scale is kept at 1. By passing in a width and height with the -S flag, the image is rescaled to fit the specified dimensions. This can be useful because line height and character width are usually in a proportion of 2 to 1.
Some examples:
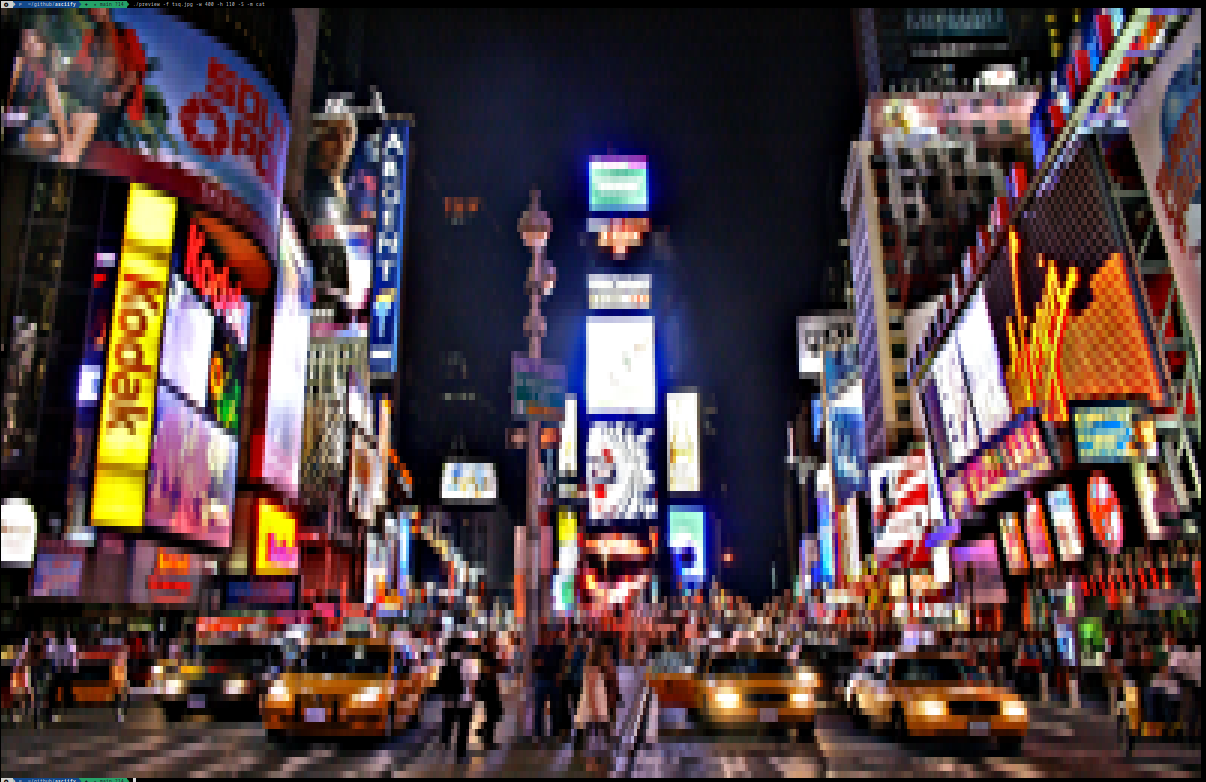
JPEG image of Times Square. Command: preview -f tsq.jpg -w 400 -h 110 -S -m cat
PNG image (VIM logo with transparent background). Command: preview -f example/vim.png -w 200 -h 85 -S
![]()
The banana preview image uses shell escape codes for the colour. To see the output, use cat examples/banana.out, or run preview -f examples/banana.jpg -f 0.4.
The vim logo is included in the examples folder. The picture of times square can be found with a simple image search on duckduckgo. I have not included the original, as I don't know who owns the copyright to said image. The Times Square image, because of its size, and the high contrast, is best previewed using Catmull-Rom interpolation. The default (nearest neighbout) produces sharper output, but when scaling down images a lot (from 2816x1880 to 400x110), the result often ends up looking less than ideal. Because of the way we print out colours to the terminal, displaying the output often takes longer than scaling/procesing it does.
The image of Times Square used in the example directory is a royalty-free image from The Graphics Fairy The image of the banana was taken from a free stock photo website called School Photo Project