RDA5807 fm chipset / arduino with a Nextion screen F5SWB@2021 / Version 1.18 (f5swb@hotmail.com)
French version : https://github-com.translate.goog/f5swb/RDA5807/blob/main/README.md?_x_tr_sl=en&_x_tr_tl=fr&_x_tr_hl=fr&_x_tr_pto=nui,elem
https://github.com/f5swb/RDA5807/blob/main/RDA5807M_datasheet_v1.pdf

Specifications :
- detection of the RDA5807M chip I2C when the sketch ino start ;
- the last frequency and the last volume level are saved into the arduino nano memory ;
- Screensaver function (saved into the Nextion memory) ;
- Brightness level function (saved into the Nextion memory) ;
- SEEK function ;
- TUNE function ;
- VOLUME level function ;
- MUTE function ;
- DATE/TIME function (saved into the Nextion memory) ;
- RSSIFinder function ;
- RDS info station ;
- RDS info text from the station ;
- MEMORY BANK function ;
- Editable and save new MEMORY into the Nextion screen.
NEXTION library from https://github.com/Seithan/EasyNextionLibrary a light and simple library for the Nextion screen - By seithagta.
RDA5807 library from https://pu2clr.github.io/RDA5807/ Arduino Library for RDA5807 Devices - By Ricardo Lima Caratti.
Original Nextion HMI from https://github.com/PU4RLN/Arduino-FM-Radio-with-Nextion-Display with a TEA5767 Device Thanks to him.

- the Nextion screen NX4832K035: https://www.aliexpress.com/item/1005003070416379.html?spm=a2g0o.productlist.0.0.27f163efVB6PZF&algo_pvid=04feb086-c9bf-4afa-b8c9-07704eea8086&algo_exp_id=04feb086-c9bf-4afa-b8c9-07704eea8086-4&pdp_ext_f=%7B%22sku_id%22%3A%2212000023784548675%22%7D

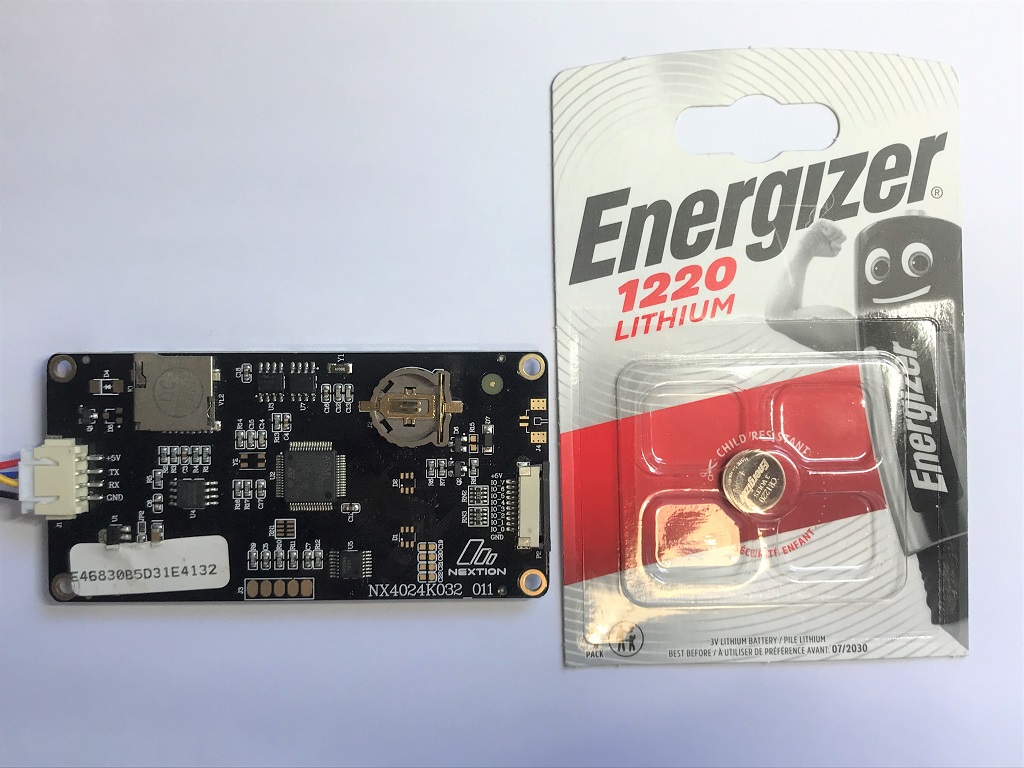
To get the Real Time Control and the backup saved functions (screen saver, memory bank etc ...) you need also to put into the Nextion screen a Battery type CR1220 :

- the power amplifier PAM8403 mini 5V digital amplifier board: https://www.aliexpress.com/item/32681042149.html?spm=a2g0o.productlist.0.0.1e8d1271nbvlgH&algo_pvid=3b0ba04b-49a6-4d1c-b2aa-4a0ffdce129a&algo_exp_id=3b0ba04b-49a6-4d1c-b2aa-4a0ffdce129a-3&pdp_ext_f=%7B%22sku_id%22%3A%2260334573266%22%7D


https://github.com/f5swb/RDA5807/blob/main/arduino%20nano%20sketch%20v1.18/rda5807Nextionv1.18a.ino
Please don't ask me for another screen size, it takes a lot of time to program, you can download the hmi file if you want to change the size.
Have a look here if you don't know how to load the file into the nextion : https://www.youtube.com/watch?v=-EV5M9qNkUE
There are three files :
RDA5807arduino.hmi = if you want to edit ;
https://github.com/f5swb/RDA5807/blob/main/nextion_files/rda5807Nextionv1.18.HMI
RDA5807arduino90.tft = a ready to load file to the nextion at 90°;
https://github.com/f5swb/RDA5807/blob/main/nextion_files/rda5807Nextionv1.18_90deg.tft
RDA5807arduino270.tft = a ready to load file to the nextion at 270°.
https://github.com/f5swb/RDA5807/blob/main/nextion_files/rda5807Nextionv1.18_270deg.tft

When you power on the arduino nano there is a scan of the I2C address to control if the RDA5807M is present at the begin of the void setup :
void setup() {
myNex.begin(115200); // we fix the bauds speed between the arduino and the nextion at 115200 bauds
Wire.begin(); //we scan the I2C bus to see if the RDA5807 chip is connected and find his 3 address
Wire.beginTransmission (16); // address: 16 (0x10) I2C-Address RDA Chip for sequential Access
Wire.beginTransmission (17); // address: 17 (0x11) I2C-Address RDA Chip for random Access
Wire.beginTransmission (96); // address: 96 (0x60) I2C-Address RDA Chip for TEA5767like Access
if (Wire.endTransmission () == 0)
{
myNex.writeStr("VaRDAinit.txt", "init"); // we send init to the nextion because 3 address were found
delay(250);
myNex.writeStr("VaRDAinit.txt", "init"); // bug if we send only on time this data is not received by the Nextion ?
} else
{
myNex.writeStr("VaRDAinit.txt", "failed"); // the RDA5087 found address failed
}
if you see this picture your RDA5807M is well detected :

another way, if you see this picture have a look at your assemblly there's a problem ....


Good to know: to get a good RDS information, the signal should be upper than 50 dBuV, a lower value give invalid RDS datas or nothing ....
After 10 seconds if you don't touch anything, the screen page is going to change to a different view :

The RDS station will be updated and the information text in live mode.

Good to know: if you want to get back to the first page, just touch the FM clipart, it's also the same operation from page 1 to go to this page !
If SEEK button is blue you are in SEEK MODE operation, so if you touch the >> you are going to seek up and << will seek down.

Touch TUNE button to go to the TUNE MODE operation, so if you touch the + you are going to tune up and - will tune down.
Good to know: if you see the MEMORY button in blue the frequency tuned is already in the memory bank (see MEMORY BANK).

Touch the VOLUME button to get the + and - function volume level.
Good to know : you will see a level bar value instead of the frequency bar value, you can also control the level with the volume number at the right screen corner.
To mute the volume just touch the MUTE button.

If you press on the MEMORY button this page will be open :

Just press on the memory button to go to the new frequency, the screen will be back on the first page automaticaly.
Good to know : with the MENU button, MEMORY BANK it will be possible to record new frequencies into the Nextion memory according to your country place.

You can choose the DATE/TIME, SCREEN, MEMORY BANK or the RSSIFinder function.
1 - DATE/TIME :

On this page it's possible to control the date, the time (also the day saving time) and choose the PM/AM mode.
Good to know : all the values will be recorded for the next power on of the screen if there is a battery in the Nextion screen. https://raw.githubusercontent.com/f5swb/RDA5807/main/Pictures/rtc_battery.jpg
2 - SCREEN :

On this page it's possible to control the brightness of the screen and load a screen saver function.
Good to know : all this settings will be saved into the Nextion memory and will be available with the next power on.
The screensaver is only active on the page 2, if you change of page it will be in standby mode it starts after +/- 2 minutes.
3 - RSSIFinder :

This page give you an extra opportunity to catch the RSSI level in live and rotate your antenna to get the more powerful signal.
Just touch the START button (the level is refreshed each second).
Good to know : the frequency is from 88 Mhz to 108 Mhz.
If we choose the middle of the band and we calculate the antenna approximativaly :
Middle frequency is 108 - 88 = 20 so the middle frequency is 88 + 10 = 108 Mhz.
So now we calculate with the lambda formula :
Lambda = 300 / F(Mhz)
So Lambda is in our case : 300/108 = 2.77 meters.
Now we want a 1/4 vertical antenna so 2.77m / 4 = 0.69m.
So we need a vertical antenna of +/- 70cm to get the more power receive.
4 - MEMORY BANK :
At the first start, all the MEMORY BANK are free, just select a memory bank to record a new frequency.

After that, if you touch the MEMORY BANK button in the MENU, you will be invited to choose a memory channel to record the actual frequency of the RDA5807M, just select the memory bank where you want to record a new frequency.

Then a new page will propose to you to save the new frequency into the memory bank you have choosen.
The 97.2 Mhz frequency will be stored into the memory bank number 7 in this example.

You can cancel you choice or validate it if you press the green button.
If you press the green button, a new page will tell you that the memory operation is ok.

If you press on page 1, on the MEM button, we can see now that 97.2 Mhz is now recorded in the MEM 7 bank.

09/20/2021 To do status (not in the 1.18 version) :
- stop the RDS function when we start the RSSIFinder function ;
- clear the RDSFIFO (RDS station and RDS informations) when we change the frequency ;
- add a buzzer connected to the arduino when we touch the screen ;
To be continued ....
"if we conquer without peril, we triumph without glory"