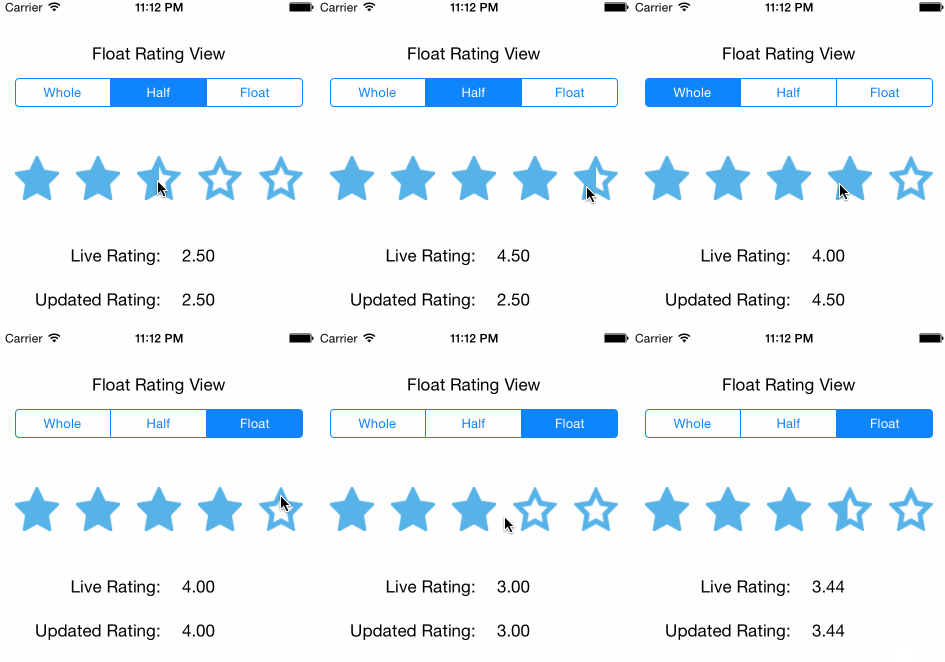
A simple rating view for iOS written in Swift! Supports whole, half or floating point values. I couldn't find anything that easily set floating point ratings, so I made this control based on a Ray Wenderlich tutorial. Some of the best iOS tutorials that I've come across.
Check out the post on medium for a full write-up.
https://medium.com/@glenyi/float-rating-view-in-swift-e740b6b9404d
Initialize from a nib/xib or programmatically. Set the empty and full image, then you're pretty much good to go! Check out the demo app to see how it can be used.
Release v4.0 is updated for Swift 5.0 while v1.0.3 is on Swift 2.3.
- Import the Swift File
- Ensure the build settings in your project are set to enable Swift usage (see here and here)
import "YOUR_PROJECT_NAME-Swift.h"in your Objective-C files where you want to useFloatRatingView
For Swift 2.3 projects just add the following to your podfile:
pod 'FloatRatingView', '~> 1.0.3'
For Swift 5.0 projects:
pod 'FloatRatingView', '~> 4'
The concept is a little different from the source tutorial. The float rating view lays the full image views on top of the empty image views then sets the CALayer mask property to partially hide full images. The full image view mask frame is calculated whenever needed for half or floating point values.
