Before using shiori, make sure it has been installed on your system. By default, shiori will store its data in directory $HOME/.local/share/shiori. If you want to set the data directory to another location, you can set the environment variable SHIORI_DIR (ENV_SHIORI_DIR when you are before 1.5.0) to your desired path.
If you are not using
shiorifrom Docker image, you can skip this section.
After building or pulling the image, you will be able to start a container from it. To preserve the data, you need to bind the directory for storing database, thumbnails and archive. In this example we're binding the data directory to our current working directory :
docker run -d --rm --name shiori -p 8080:8080 -v $(pwd):/shiori ghcr.io/go-shiori/shiori
The above command will :
- Creates a new container from image
ghcr.io/go-shiori/shiori. - Set the container name to
shiori(option--name). - Bind the host current working directory to
/shioriinside container (option-v). - Expose port
8080in container to port8080in host machine (option-p). - Run the container in background (option
-d). - Automatically remove the container when it stopped (option
--rm).
After you've run the container in background, you can access console of the container:
docker exec -it shiori sh
Now you can use shiori like normal. If you've finished, you can stop and remove the container by running :
docker stop shiori
Shiori is composed by several subcommands. To see the documentation, run shiori -h :
Simple command-line bookmark manager built with Go

Usage:
  shiori [command]

Available Commands:
  add         Bookmark the specified URL
  check       Find bookmarked sites that no longer exists on the internet
  delete      Delete the saved bookmarks
  export      Export bookmarks into HTML file in Netscape Bookmark format
  help        Help about any command
  import      Import bookmarks from HTML file in Netscape Bookmark format
  open        Open the saved bookmarks
  pocket      Import bookmarks from Pocket's exported HTML file
  print       Print the saved bookmarks
  server      Run the Shiori webserver
  update      Update the saved bookmarks
  version     Output the shiori version

Flags:
  -h, --help       help for shiori
      --portable   run shiori in portable mode

Use "shiori [command] --help" for more information about a command.
With the print command line interface, you can use -s flag to submit keywords that will be searched either in url, title, excerpts or cached content.
You may also use -t flag to include tags and -e flag to exclude tags.
To access web interface run shiori server or start Docker container following tutorial above. If you want to use a different port instead of 8080, you can simply run shiori server -p <portnumber>. Once started you can access the web interface in http://localhost:8080 or http://localhost:<portnumber> if you customized it. You will be greeted with login screen like this :
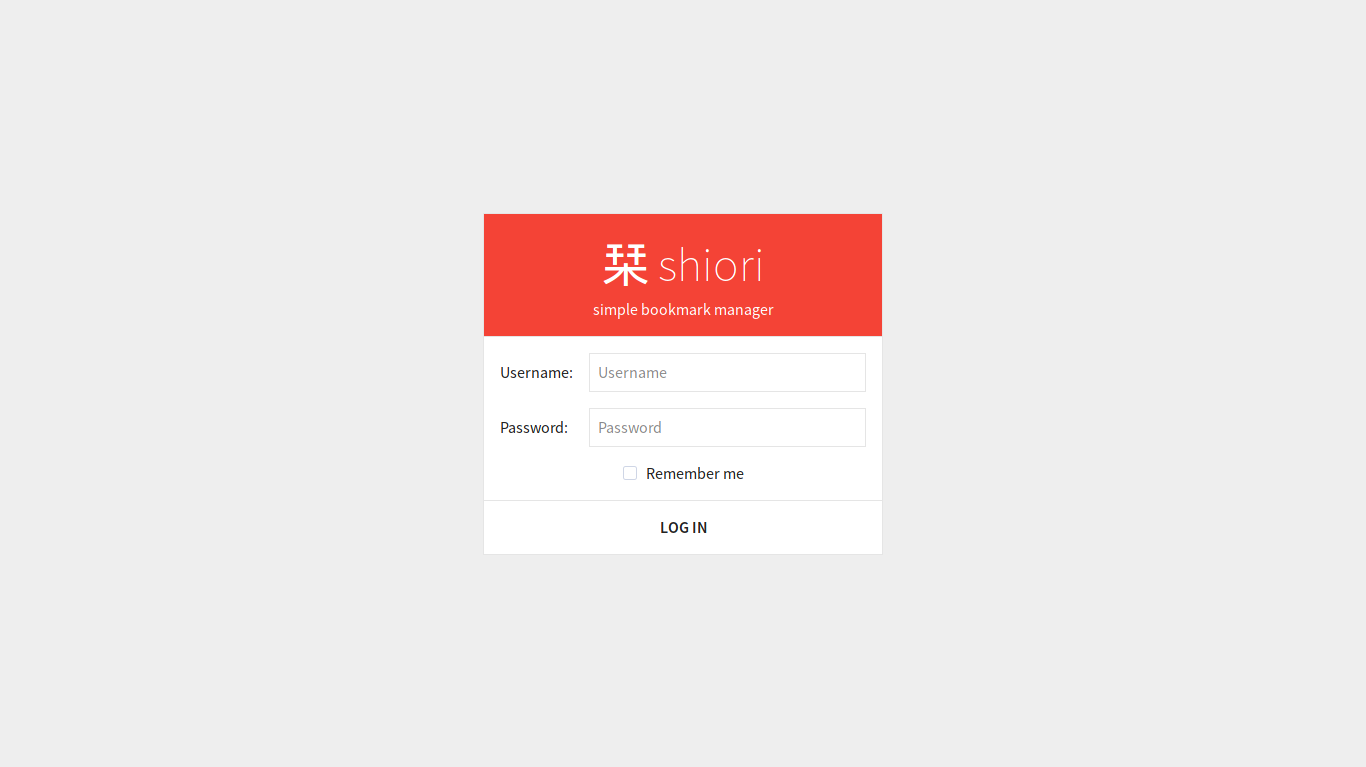
Since this is our first time, we don't have any account registered yet. With that said, we can use the default user to access web interface:
username: shiori
password: gopher
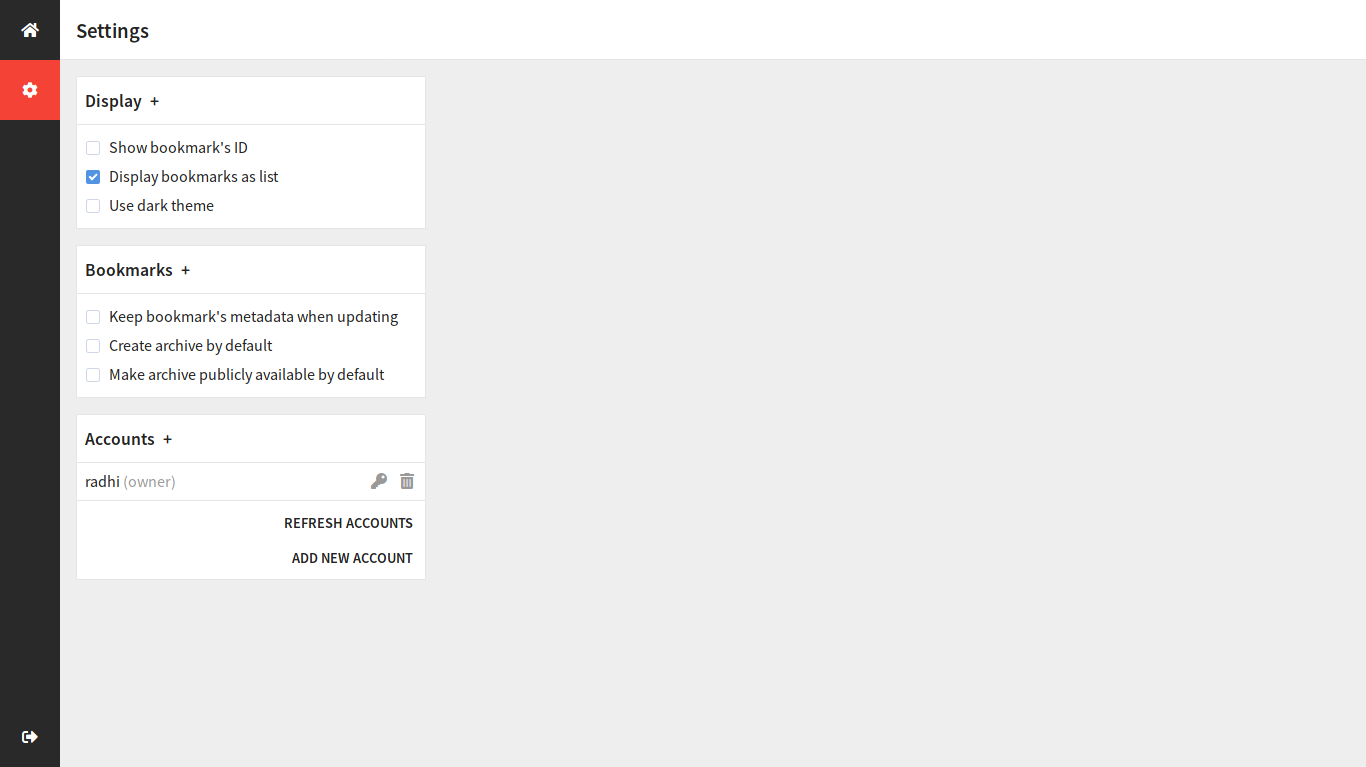
Once login succeed you will be able to use the web interface. To add the new account, open the settings page and add accounts as needed:
When searching for bookmarks, you may use tag:tagname to include tags and -tag:tagname to exclude tags in the search bar. You can also use tags dialog to do this :
Clickon the tag name to include it;Alt + Clickon the tag name to exclude it.
Shiori offers a Command Line Interface with the command shiori pocket to import Pocket entries but with this can only import them as links and not as complete entries.
To import your bookmarks from Pocket with the text and images follow these simple steps (based on Issue 252):
-
Export your entries from Pocket by visiting https://getpocket.com/export
-
Download this shell script. [You need to download this in your docker container or on the device that you are hosting shiori]. Name it for instance
pocket2shiori.sh.Tip: checkout the documentation for opening a console in the docker container.
-
Execute the shell script.
Here are the commands you need to run:
wget 'https://gist.githubusercontent.com/fmartingr/88a258bfad47fb00a3ef9d6c38e5699e/raw/a21afb20b56d5383b8b975410e0eb538de02b422/pocket2shiori.sh'
chmod +x pocket2shiori.sh
pocket2shiori.sh 'path_to_your/pocket_export.html'
Tip: If you’re using shiori's docker container, ensure that the exported HTML from pocket is accessible inside the docker container.
You should now see shiori importing your Pocket entries properly with the text and images.
This is optional, but once the import is complete you can clean up by running:
rm pocket2shiori.sh 'path_to_your/pocket_export.html'-
Export your entries from Wallabag as a json file
-
Install jq. You will need this installed before running the script.
-
Download the shell script here. Similar to the
pocket2shiori.shscript if you are shiori is in a docker container you will next to run this script inside the container. -
Execute the script. Here are the commands that you can run.
  curl -sSOL
  https://gist.githubusercontent.com/Aerex/01499c66f6b36a5d997f97ca1b0ab5b1/raw/bf793515540278fc675c7769be74a77ca8a41e62/wallabag2shiori'
  chmod +x wallabag2shiori
./wallabag2shiori 'path/to/to/wallabag_export_json_file'- Install Termux
- Open termux and run bellow command
mkdir -p ~/bin
touch ~/bin/termux-url-opener
chmod +x ~/bin/termux-url-opener
nano ~/bin/termux-url-opener- Edit bellow code and replace
Shiori_URL,Username,Passwordwith yours
#!/bin/bash

# shiori settings
Shiori_URL="http://127.0.0.1:8080"
Username="shiori"
Password="gopher"

token=$(curl -s -X POST -H "Content-Type: application/json" -d '{"username": "'"$Username"'" , "password": "'"$Password"'", "remember": true}' $Shiori_URL/api/v1/auth/login | grep -oP '(?<="token":")[^"]*')

curl -s -X POST -H "Content-Type: application/json" -H "Authorization: Bearer $token" -d '{ "url": "'"$1"'", "createArchive": false, "public": 1, "tags": [], "title": "", "excerpt": "" }' $Shiori_URL/api/bookmarks
exit- Paste above content in editor and
Volume-downandothan Enter to save file. Volume-downandxto exit editor.- close termux
You can share links with termux from Share menu links will automatically add to Shiori from mobile device.