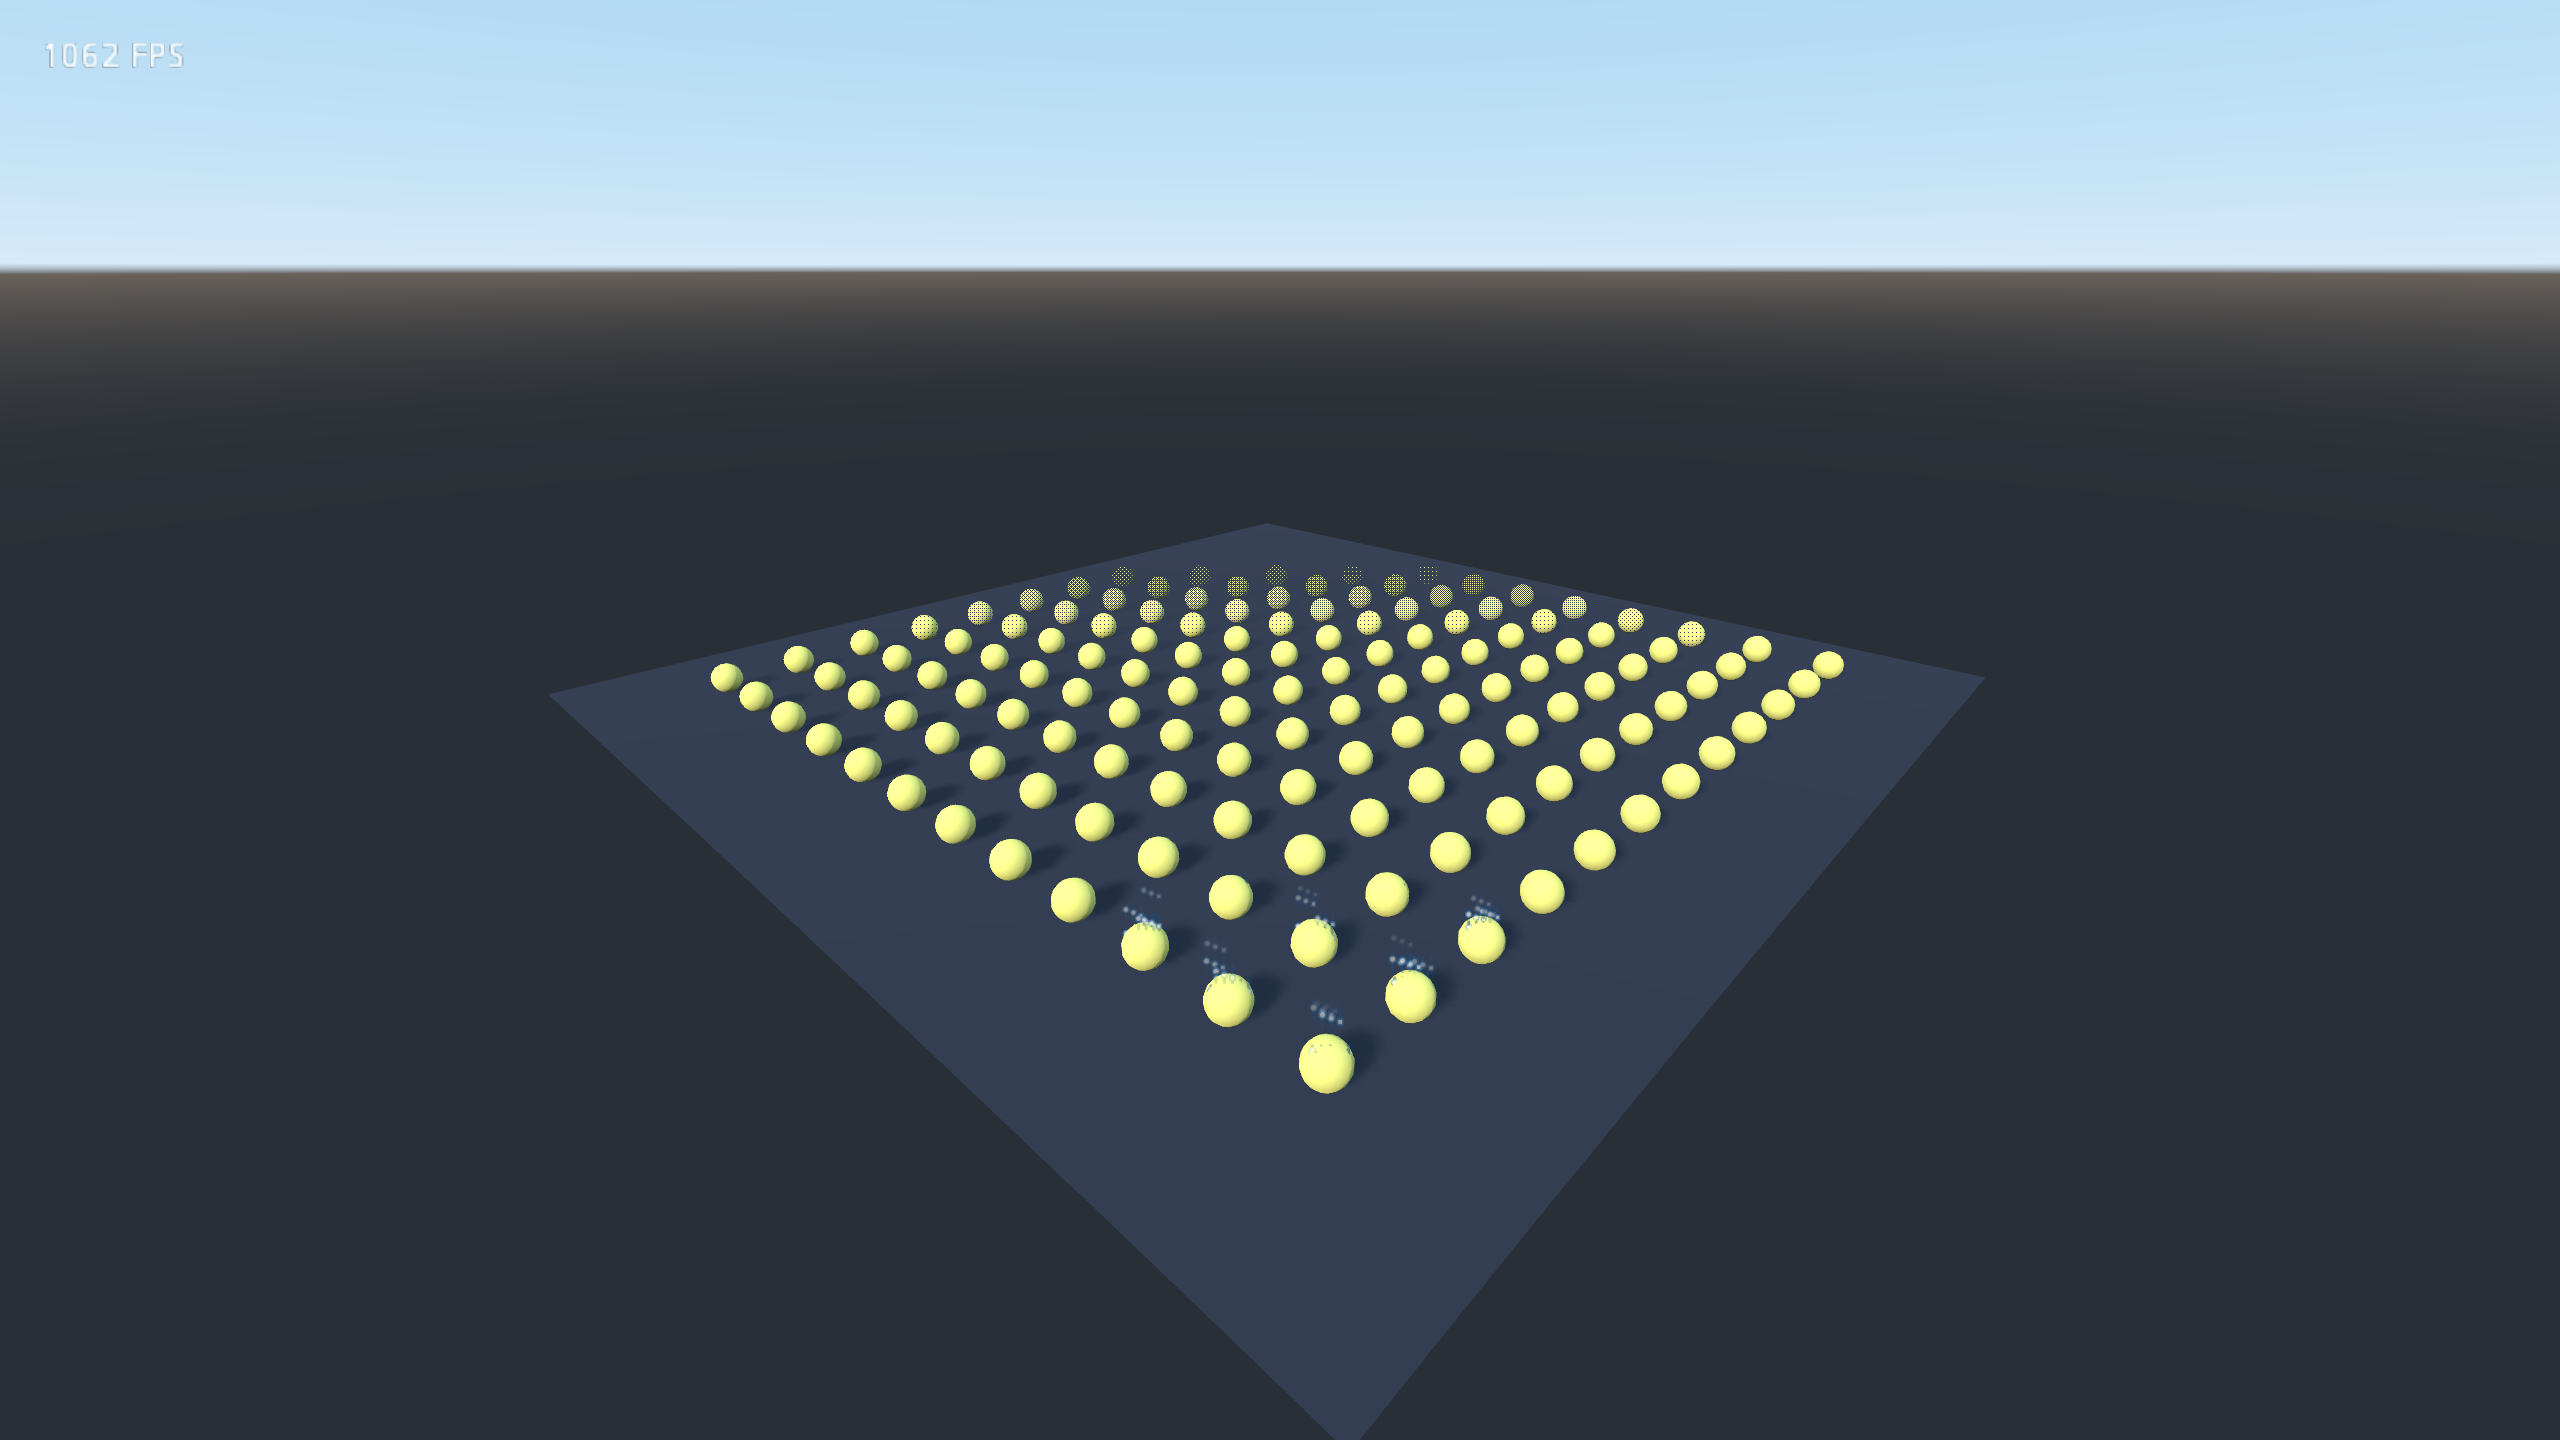
This add-on provides level of detail for meshes, lights and particles. It can be used to improve performance in large scenes significantly.
This repository only contains the add-on. See godot-extended-libraries/godot-lod-demo for the demonstration project.
- Supports lights, meshes and particles (Particles and CPUParticles).
- Each node has its own LOD distance properties, but you can also define a LOD bias project setting to improve visual quality or performance for the target hardware.
- Lights can have their shadow smoothly fade off with distance, then the light itself smoothly fade off as well.
- Works with both the GLES3 and GLES2 renderers.
- Written in performance-conscious GDScript. Easy to install and use, but scales to hundreds of LOD instances (and perhaps thousands on more powerful hardware).
The LOD add-on only runs in the running project, not while in the editor. This is done by design to avoid accidentally saving modified versions of the scene. You need to run the project to test LOD functionality.
- Open the Godot editor.
- Navigate to the AssetLib tab at the top of the editor and search for "lod".
- Install the Level of Detail (LOD) plugin. Keep all files checked during installation.
- In the editor, open Project > Project Settings, go to Plugins and enable the Level of Detail (LOD) plugin.
Manual installation lets you use pre-release versions of this add-on by
following its master branch.
- Clone this Git repository:
git clone https://github.com/godot-extended-libraries/godot-lod.gitAlternatively, you can download a ZIP archive if you do not have Git installed.
- Move the
addons/folder to your project folder. - In the editor, open Project > Project Settings, go to Plugins and enable the Level of Detail (LOD) plugin.
-
After enabling the plugin (see above), add a LODSpatial node.
-
Add 2 or 3 child nodes. These must have with the
-lod0(high detail),-lod1(medium detail) or-lod2(low detail).-lod2is optional. If you only have the-lod0and-lod1LOD levels (high and low), keep in mind the node will be invisible if-lod2should be displayed given the current distance.Your scene tree should now look like this:
- LODSpatial - MeshInstance-lod0 - MeshInstance-lod1 - MeshInstance-lod2 - (other, unrelated nodes can be placed here too) -
Configure the distance properties in the LODSpatial node.
-
To smoothly fade out the least detailed LOD before it disappears completely, see TIPS.md.
Note: As its name implies, LODSpatial is not limited to MeshInstances. It can hide and show any node that inherits from Spatial.
- After enabling the plugin (see above), add a LODOmniLight or LODSpotLight node.
- Configure the node as you would configure a typical light node.
- Set a maximum light and shadow distance in the inspector. By default, lights will no longer be visible at all if the camera is more than 50 units away. Their shadows will also no longer be visible if the camera is move than 25 units away.
- You can also configure the fade factors to make the fade-in less dramatic. This can be useful to make transitions less noticeable if the camera moves quickly.
Note: Since the light's energy will be tweaked for LOD purposes, don't change it manually while the project is running. You can still set a fixed energy value in the inspector, though. The add-on will take it into account for its calculations. To change the light's intensity over time (e.g. using AnimationPlayer), darken or lighten its color instead.
Note: If you add child nodes to a LODOmniLight or LODSpotLight, they will no longer be visible if the light is fully hidden due to the distance.
- After enabling the plugin (see above), add a LODParticles or LODCPUParticles node.
- Configure the node as you would configure a typical particles node.
- Set a maximum emission distance in the inspector. By default, particles will no longer emit if the camera is more than 50 units away.
You can safely add child nodes to a LODParticles or LODCPUParticles node, as the node itself is never hidden.
There are several Project Settings you can define to customize this add-on's
behavior. You can set them directly in a script
(ProjectSettings.set_setting("section/key", value)) or use the Project
Settings in the editor to do so.
Default: 0
The distance bias (in 3D units) to use for LOD calculations. Positive values will improve performance at the cost of visual quality, whereas negative values will improve visual quality at the cost of performance.
Default: 0.25
The rate at which the LOD mesh and particle instances update (in seconds). Lower values are more reactive but use more CPU. Each LOD instance uses a random jitter to avoid applying updates on all instances at the same time.
Since meshes and particles are updated in a "discrete" manner rather than a continuus one, the default refresh rate is quite low. The difference is hardly visible, yet it helps decrease CPU usage significantly in scenes with hundreds of instances (or more).
Default: 0.05
The rate at which the LOD light instances update (in seconds). Lower values are more reactive but use more CPU. Each LOD instance uses a random jitter to avoid applying updates on all instances at the same time.
Since lights are updated in a "continuous" manner rather than a discrete one,
the default refresh rate is relatively high. Despite not quite being 60 FPS
(0.01666), it often looks very close in practice unless the camera is moving
really fast.
See TIPS.md for useful tips on improving performance and visual quality of your 3D project. These tips can be followed even if you don't use this add-on.
Copyright © 2020 Hugo Locurcio and contributors
Unless otherwise specified, files in this repository are licensed under the MIT license. See LICENSE.md for more information.