![]()
This is a project that allows you to easily install and configure a minecraft server on your Raspberry Pi or other similar device.
- Easy and very fast installation
- Does not require any knowledge
- Portable (you can bring your Raspberry Pi wherever you want)
- It is cheap (No need to pay for anything other than electricity if you already have a Raspberry Pi)
- Runs on Raspberry Pi 4 and Raspberry Pi 5 (4GB and 8GB models)
- You'll look cool in front of your friends if you run a server on the board (if they don't know what Raspberry Pi is)
- Does not load your computer
- You can control and configure everything (as long as your board has enough power)
- Your Raspberry Pi should be 4GB or 8GB.
- You must have stable internet connection while using (you can set up a mobile hotspot)
- You should install and test everything at home. (Re-)Installing can take a long time if you have slow internet connection
- You should set
online-modetofalseif you have slow internet connection or would like to play using unlicensed account - During the first installation, the device must be connected to the Internet, which is specified in balenaCloud dashboard
- Download and install balenaEtcher.
- Sign up for or login to the balenaCloud dashboard.
- Click on Deploy with balena button.
- Click on Create and deploy button.
- Click on Add device button.
- Select your device type. Click on Wifi + Ethernet. Specify your WiFi network's SSID and Password.
- Insert the SD-card into your computer.
- Click on Flash button.
- Insert your SD-card to the board.
- Toggle on your board.

NOTE: For the device to download all the data, the initial Wi-Fi connection must be functional. You can create a mobile hotspot and change the Wi-Fi network later. If the board is unable to connect to the internet, it will establish a hotspot. You can connect to it and enter the details of the new Wi-Fi network.
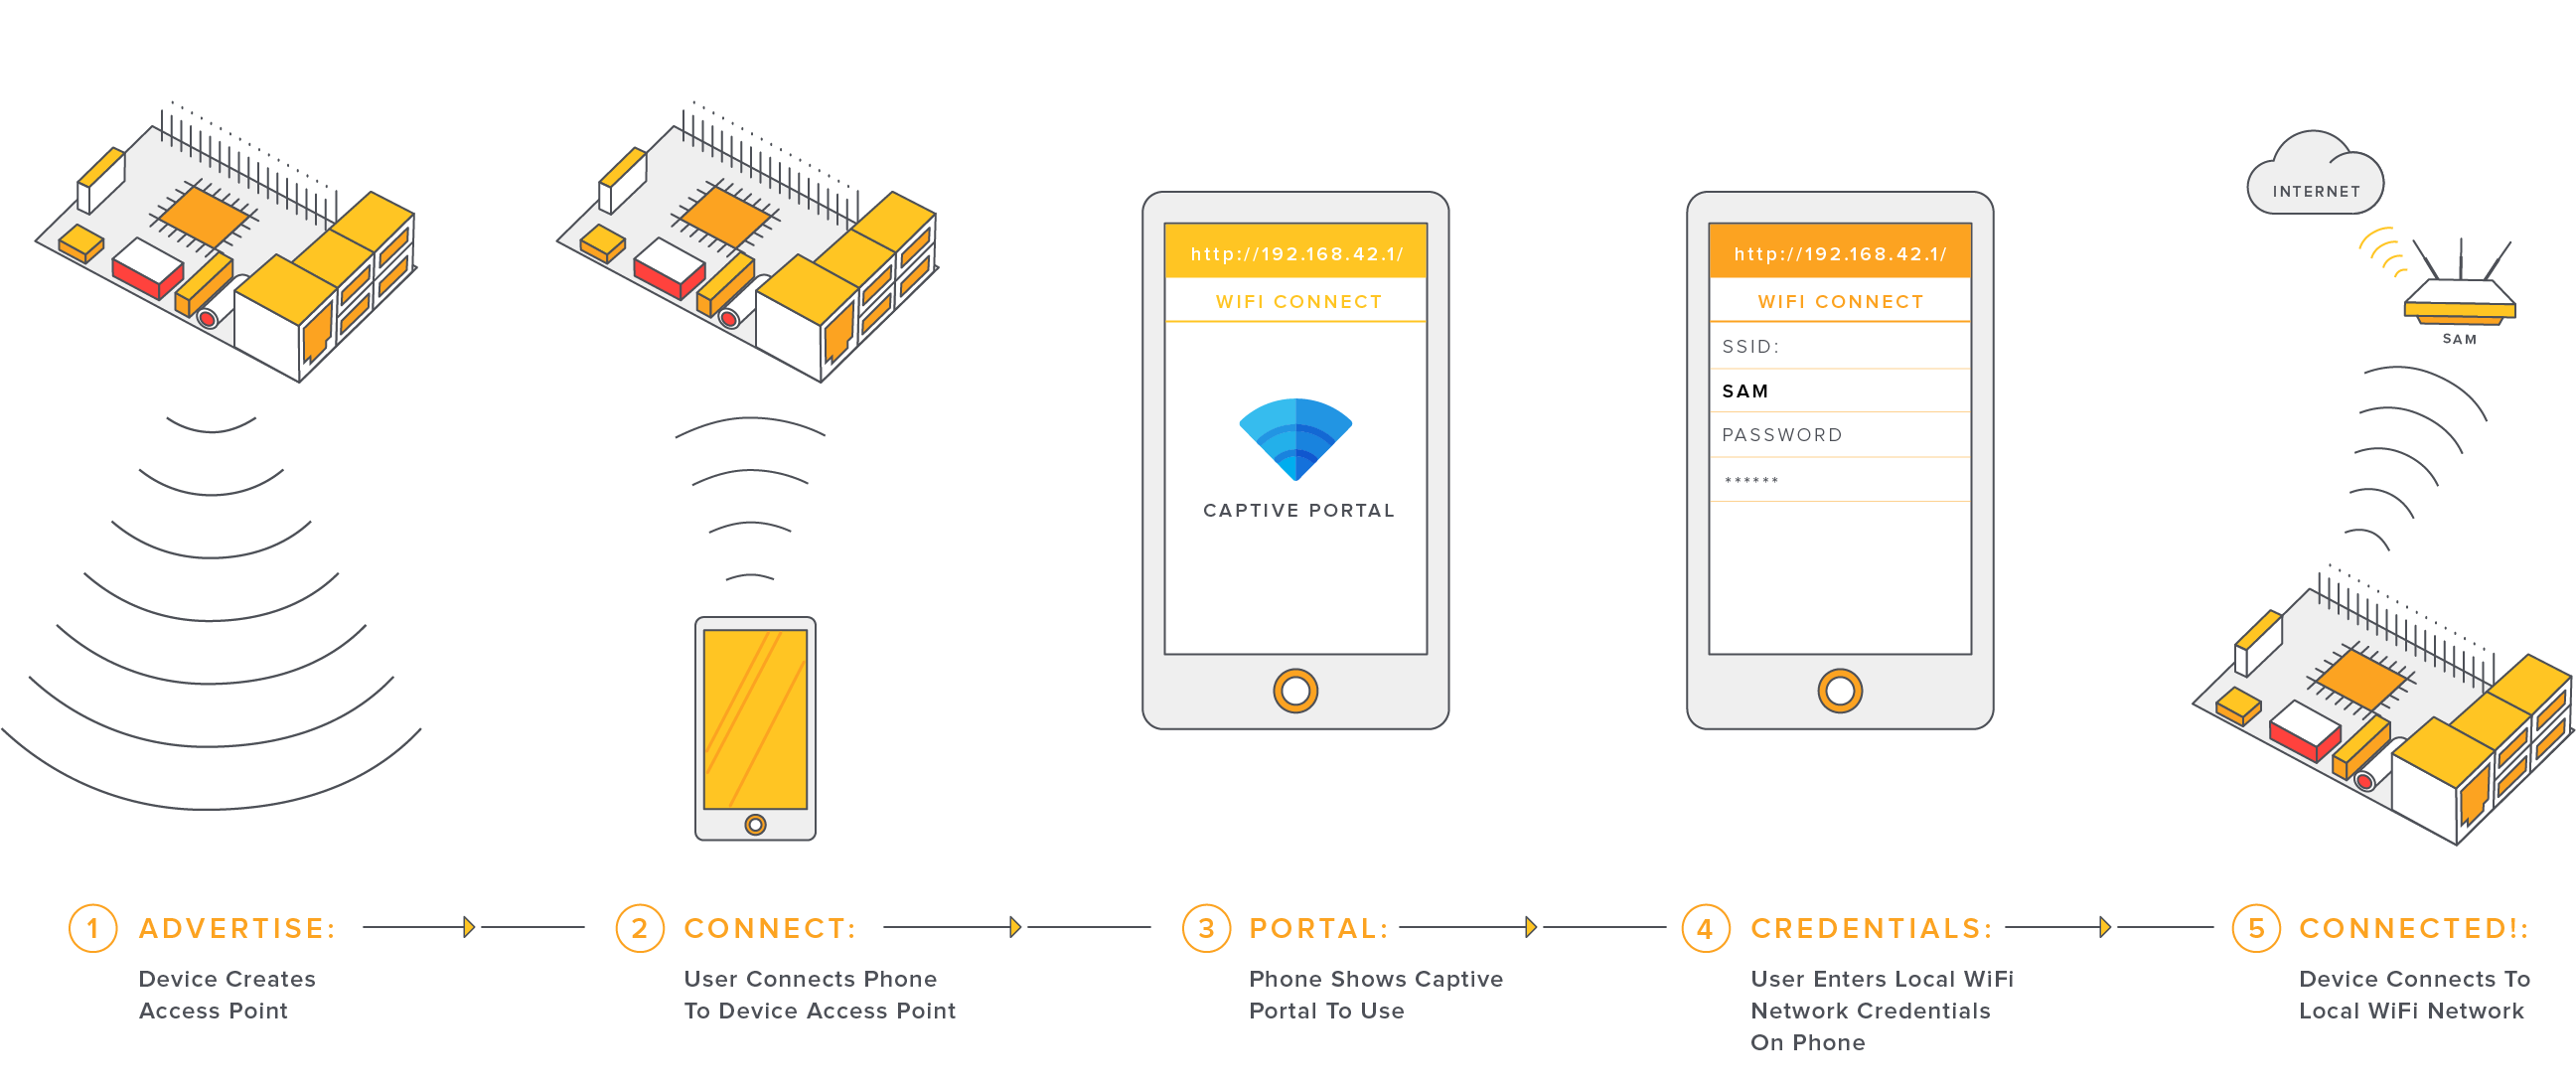
NOTE: SSID of board's hotspot is MinecraftServerSetup. Password is yourportablemcserver
Remember that only users connected to the same WiFi network as the Raspberry Pi can connect, so it might be a good idea for one of your friends to share the internet from their mobile phone.
You can get your IP-Address within balenaCloud. You should copy IP-Address from the LOCAL IP ADDRESS in Summary block.

You can connect to your server like this:

Default port is 25565 (don't change it). Remember to change IP-address from the image to yours.
You can configure nearly everything by setting up the following Enviroment Variables:
| Variable | Description | Value |
|---|---|---|
RAM |
How much RAM do you want to allocate to the server? | 1G (default) |
MC_VERSION |
What version of Minecraft do you want to install? | 1.20.4 (default) |
MC_SERVER |
Which server should be installed automatically? (only pufferfish, purpur, patina, paper are supported) |
purpur (default) |
SSH_PASSWORD |
SSH password | admin (default) |
FORCE_REINSTALL |
Would you like to reinstall your server? 1 - yes; 0 - no |
0 (default) |
SUPPORT_BEDROCK |
Would you like to add support for Minecraft Bedrock users? 1 - yes; 0 - no |
0 (default) |
NOTE: You can set Environment Variable within balenaCloud. On the left, simply click on “Device Variables” and then click the “Add Variable” button. Give it a name, and set the value.

NOTE: You can also delete everything on the server and automatically reinstall it. On the left, simply click on “Actions” and then click the “Purge Data” button. Insert 1 and click “Purge Data”.
You can connect to your server console using Minecraft RCON. You only need server IP-address, RCON port (usually default) and RCON password (you should change it in server.properties, but default is admin).
If you are using Windows 10 (11) system, you can use my simple batch script to install and use Minecraft RCON.
I recommend using FileZilla to connect to the server via SFTP.
The Host to connect to SFTP is the IP-Address you are using to connect to Minecraft Server, the protocol to choose is SFTP, the port number is 22, the username is “root” (without the quotes) and the password is “admin” (without the quotes). Once the connection is established, remember to navigate to the /usr/src/mcfiles directory.
NOTE: You can change your password by changing SSH_PASSWORD enviroment variable..
Purpur is automatically installed the first time you run it. If you want to change it, you can set the environment variable MC_SERVER. (See the configuration section for more details.) Remember to reinstall the server afterwards (set FORCE_REINSTALL environment variable to 1).
NOTE: Please note that pufferfish versions can only take integer values, i.e.: 1.19, 1.20 can be specified; 1.20.4 cannot be specified, the game will not start. If you specify version 1.20, you will be able to play with 1.20.4.
| Server | MC_SERVER value |
|---|---|
| Pufferfish | pufferfish |
| Patina | patina |
| Purpur | purpur |
| Paper | paper |
You can install your plugins by connecting to the server via SFTP. Download the plugins you need from reliable sites (hangar.papermc.io, spigotmc.org or official plugin sites). Put them in the plugins directory and restart the server. (e.g. with RCON (command restart) or by restarting the minecraft service on balenaCloud).
You can change your server.properties by connecting to the server via SFTP. Open and edit file called server.properties.
Here you can set online-mode value to false. After that users will not need a licensed Minecraft afterwards.
Also you can change rcon.password, max-players value, motd and much more things, that are not listed here (go to website server.properties to find more properties)
Remember to restart yor server (e.g. with RCON (command restart) or by restarting the minecraft service on balenaCloud).
Mods are not supported at the moment and I don't see the point in doing so. My understanding is that servers with mods are not very common, more complicated to use (everyone has to have the same mod version and so on) and more demanding on resources (I am not sure Raspberry Pi can handle it).
YES! You can connect to the server using Minecraft Bedrock and play with your friends. To do this, set the SUPPORT_BEDROCK environment variable to 1 and restart the server.
Bedrock players can connect to the server by specifying port 19132, which is the default port for Minecraft Bedrock. The IP-address must be the same as the one used by Minecraft Java players.
NOTE: You must be running the latest version of Minecraft. If you want to upgrade to a newer version, you will need to manually remove geyser.jar and floodgate.jar from the plugins folder using SFTP (we wrote about this earlier). If you want to remove Minecraft Bedrock support, remove the plugins and set the SUPPORT_BEDROCK environment variable to 0.
If you want to make the server available outside your WiFi network, you can use something like No-IP. I've never used it, so I can't give you any advice. If you know how it works, you can write instructions and send a pull request.
You can find development blog here