Amazon have some crazy rules about publishing skills to their store. One of them is that they don't allow any skill that they think is targeted at children under the age of 13. Clearly a times table game is going to be used by children under the age of 13 that want help to learn their times tables.
This means that to get the Times Tables Skill on your Alexa device you'll have to setup your own free developer account and upload the code from this project.
To use the skill on your device say "Alexa, open Times Tables". Alexa will then ask you 5 questions from the 0 to 12 times tables, after each answer Alexa will tell you if you were correct before asking the next question. After you have given five answers, Alexa will give you your score and end the game.
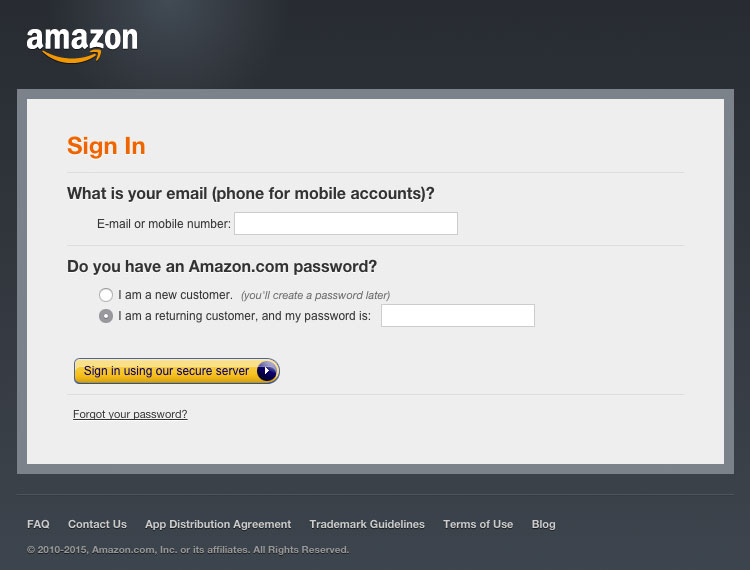
Start by clicking here to sign in or create a free Amazon account. Sign in using an account that you use on your Alexa device.
Once you’re logged in:
- Click here to enter the Alexa section of the Amazon developer console.
- Click the "Get Started >" button under Alexa Skills Kit.
- Click "Add a New Skill" in the upper right
Give your skill a name and invocation name “Times Tables.” Users will say, “Alexa, launch Times Tables” to interact with the skill. Make sure tou change the Language to English (U.K.).
Intents are actions that respond to a user's spoken request. Copy and paste the Times Tables intents below into the Intent Schema.
{ "intents": [ { "slots": [ { "name": "number", "type": "AMAZON.NUMBER" } ], "intent": "AnswerIntent" }, { "intent": "AMAZON.HelpIntent" }, { "intent": "AMAZON.StopIntent" }, { "intent": "AMAZON.CancelIntent" } ] }
Utterances are a list of possible things that a user might say when interacting with your skill. Since we're only expecting the user to tell us numbers, we don't need anything here.
With AWS Lambda, you upload code, and it runs with zero administration on your part. It has its own console, so:
- Open a new tab (without closing your other developer console), then open (or create) your free developer account at aws.amazon.com. This is your Amazon Web Services (AWS) Management console.
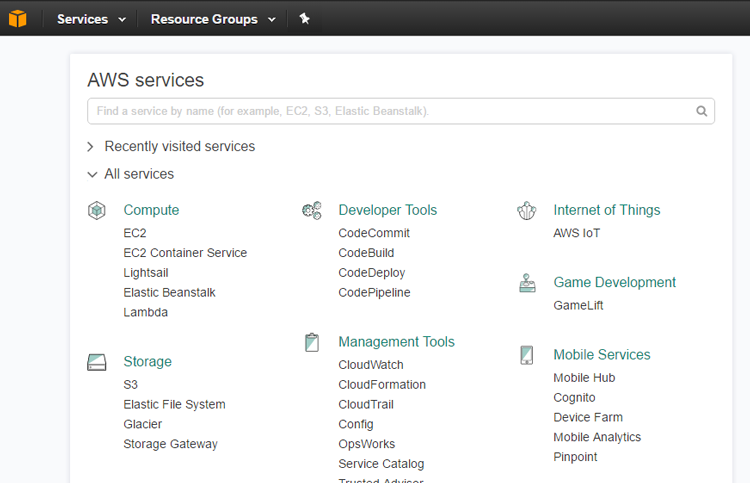
- From Services, select Lambda to sign into your console. Click here to visit the Lambda section of AWS.
- Select “Create a Lambda function”
- At the bottom of the “Select Blueprint” page, select “Skip.” If there is no option to skip, use the sidebar menu items to select “Configure function”
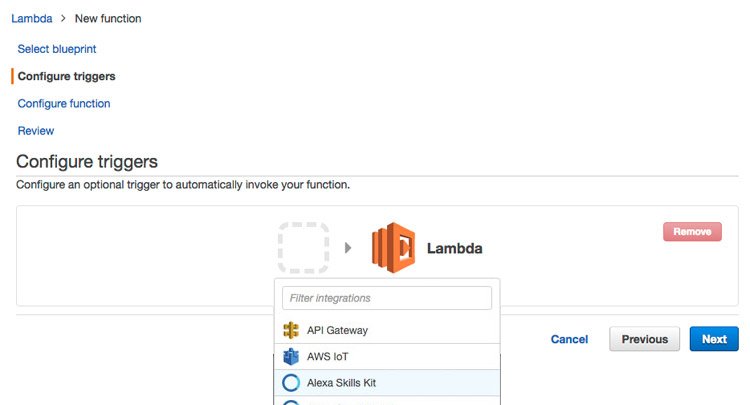
- Configure triggers, Click in the box and select Alexa Skills Kit, then “Next”
- Under “Configure Function,” enter the name and description for your skill
-
Download the release TimeTableSkill.zip that you will need in the next step
-
Under “Code Entry Type” select “Upload a .Zip File” and upload this zip file we generated above.
- Select “index.handler” from the Handler dropdown
- Drop down the “Role” menu to create or select an existing role
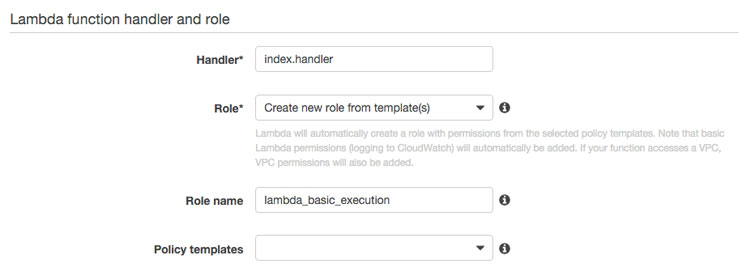
Select “Create a custom role” to open a new tab in the IAM Management Console, then:
- Accept the defaults to create a new IAM Role called “lambda_basic_execution”
- Select “Allow” in the lower right corner and you will be returned to your Lambda function
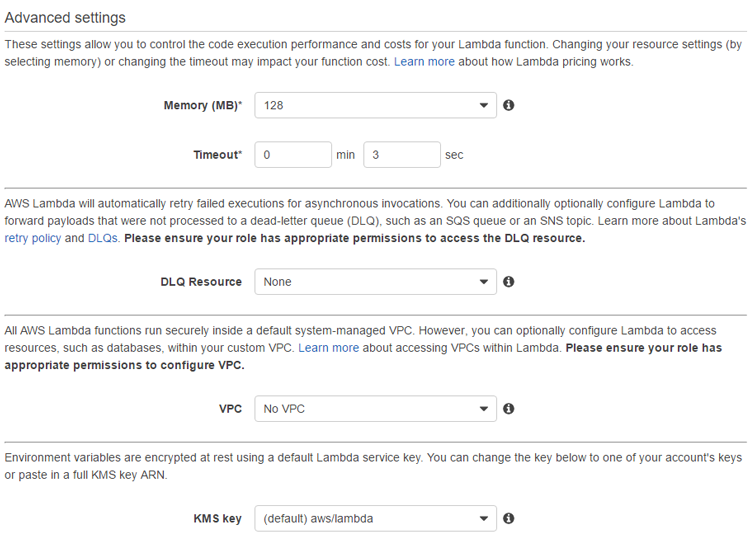
- Keep the default Advanced settings. Select “Next” and review
Select “Create Function.” You should get a confirmation: “Congratulations! Your Lambda function "Times Tables" has been successfully created.”
- Add an Alexa Trigger to your Lambda Function
- From the upper right-hand corner, copy the ARN number (The ARN starts with “arn:aws:lambda:us-east-“ and ends with your function name.)
Got your ARN? Now go back to your other open tab:
- Return to your developer console, where you should still be in the Configuration tab
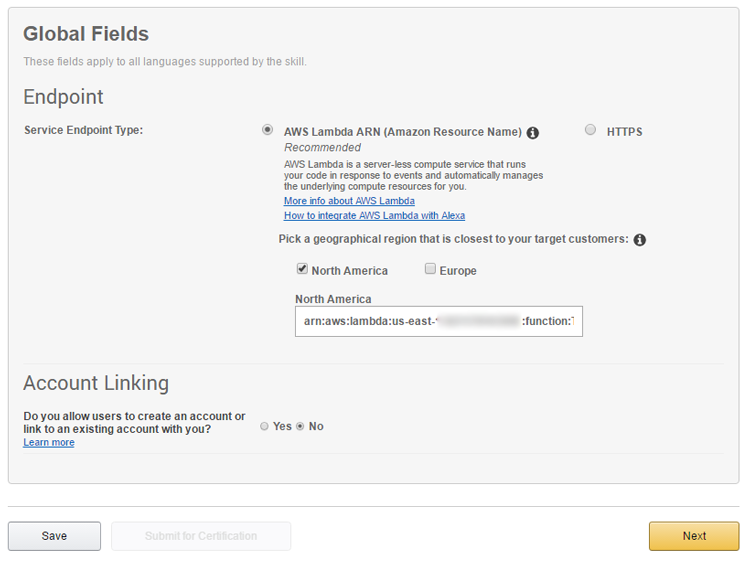
- For Endpoint, select the “Lambda ARN (Amazon Resource Name)” radio button, then paste in the ARN
- Select “No” for Account Linking
- Select "Next"
You have now completed the initial development of your skill.
- In the Service Simulator, type “open Times Tables” (or your custom name) and select “Ask Times Tables”
You should see the formatted JSON request from the Alexa Service and the response coming back. Verify that you get a correct Lambda response, and notice the card output.
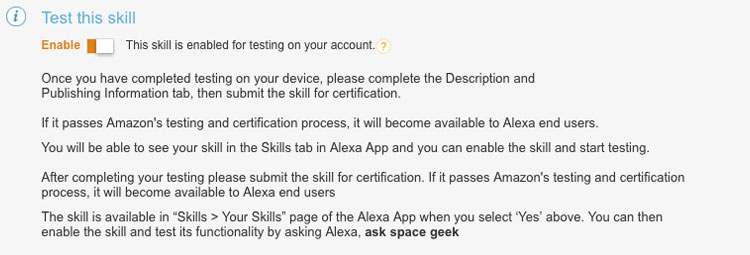
You can also test with your device. Assuming your Echo device is online (and logged in with the same account as your developer account), you should now see your skill enabled in the Alexa app.