![]()

This ansible role installs a Solr server in a debian environment.
These instructions will get you a copy of the role for your ansible playbook. Once launched, it will install a Solr server in a Debian system.
This role is tested on:
- Debian
- stretch (java 8 and 11)
- buster (java 11)
- Ubuntu
- focal (java 8 and 14)
Ansible 2.8.8 version installed. Inventory destination should be a Debian environment.
For testing purposes, Molecule with Docker as driver.
Create or add to your roles dependency file (e.g requirements.yml):
- src: idealista.solr_role
  version: x.x.x
  name: solr
Install the role with ansible-galaxy command:
ansible-galaxy install -p roles -r requirements.yml -f
Use in a playbook:
---
- hosts: someserver
  roles:
    - { role: solr }
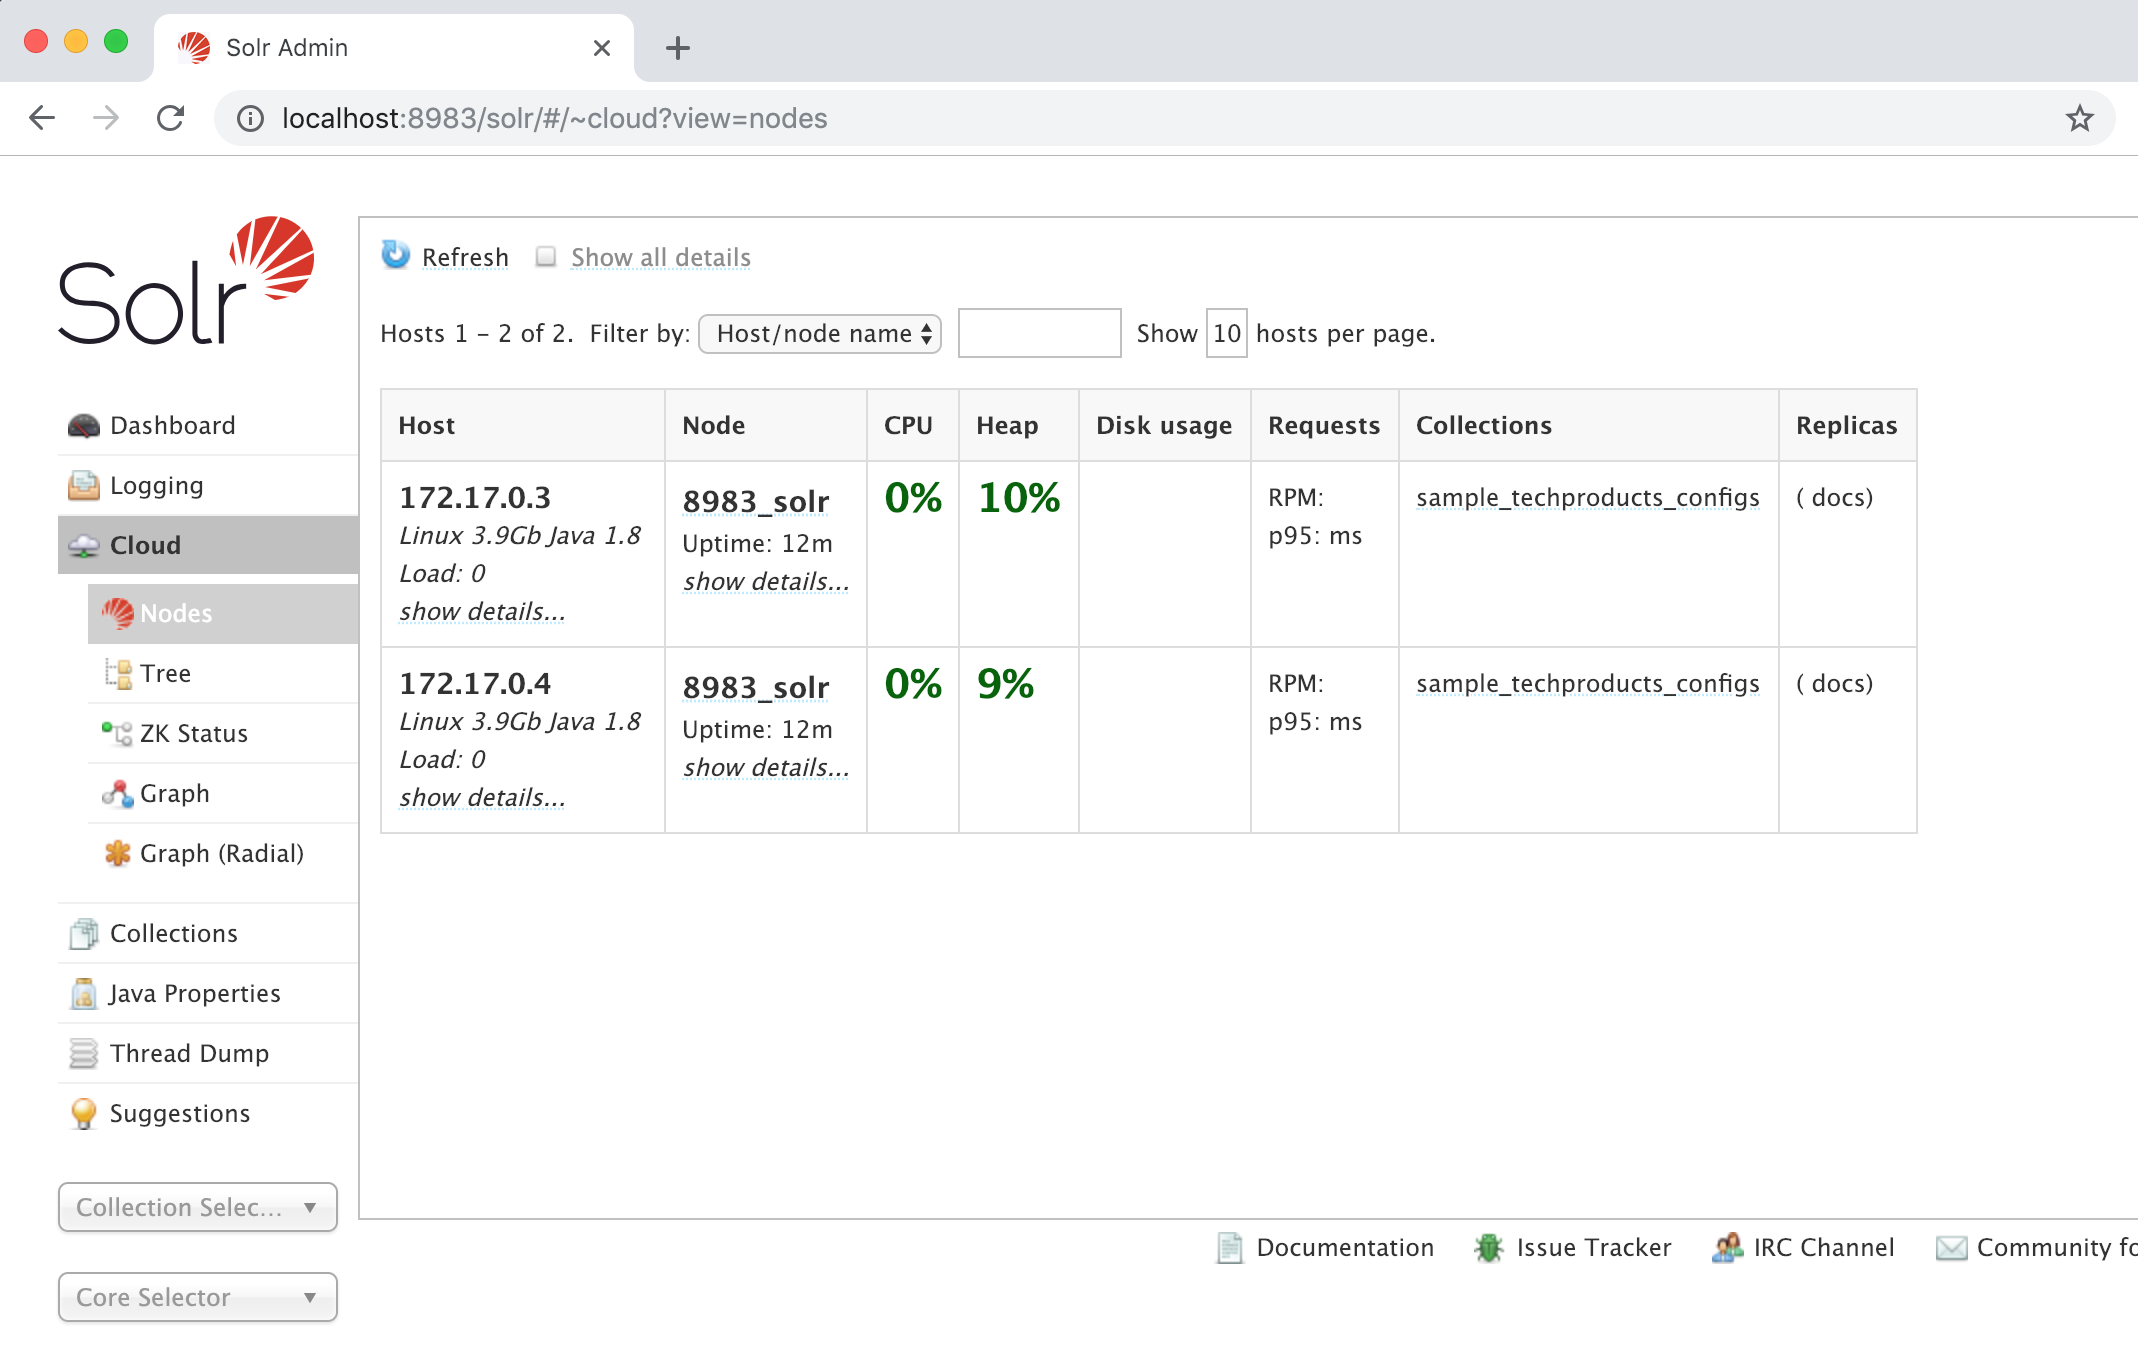
Playbook example below showing how to provision from scratch a SolrCloud cluster with two nodes plus create an example (and empty) collection called sample_techproducts_configs, using idealista java, zookeeper and solr roles:
Note: Assuming that 'solrcloud' group has two nodes (solrcloud1 and solrcloud2) as is declared in molecule.yml,
collection will have two shards, one replica and one shard per node as is declared in group vars file called solrcloud.yml
and configuration files are stored under directory called sample_techproducts_configs under template directory.
⚠️ Use the example below just as a reference, requires inventory host groupssolrandzookeeperto be correctly defined
---

- hosts: zookeeper
  roles:
    - role: zookeeper
  pre_tasks:
    - name: installing required libs
      apt:
        pkg: "{{ item }}"
        state: present
      with_items:
        - net-tools
        - netcat

- hosts: solrcloud
  roles:
    - role: solr_role
Look to the defaults properties file to see the possible configuration properties.
This role supports JVM agents (such as Newrelic, Datadog, etc.) to be used inside your installation. You can view an example with JVM Agents in the molecule tests section --> example_setup_with_agent.
Its very simple, must follow this steps (in this case we will add config for Newrelic's agent):
- Just add the config in your group_vars.
solr_agents_required_libs:
  - unzip
  - apt-transport-https
solr_agents_config:
  - name: "newrelic"
    download_url: "http://download.newrelic.com/newrelic/java-agent/newrelic-agent/current/newrelic-java.zip"
    vm_opts:
      - '-javaagent:{{ solr_installation_dir }}/newrelic/newrelic.jar'
    configuration_files:
      - "newrelic.yml"
    params: {
      application_name: "application_sample_name",
      license_key: "your_license_key"
    }
- Optional: Place the configuration files in the templates folder using this order "templates/{{ agent_name }}/{{ file names specified in solr_agents_config.configuration_files }}.j2. In this case we have the newrelic.yml.j2 in templates/agents/newrelic/newrelic.yml.j2.
By default, backups are configured to a local directory. This role also supports S3 Backup, just add the next configuration to your variable file:
solr_backup_repository:
  - name: s3
    class: org.apache.solr.s3.S3BackupRepository
    default: "false"
    config:
      - name: "s3.bucket.name"
        value: "solr-backup"
        type: str
      - name: "s3.region"
        value: "eu-west-1"
        type: str
The backup bucket needs to be created.
When using IAM user, you can add credentials with these two extra variables (ansible-vault is recommended):
aws_access_key_id: "admin"
aws_secret_access_key: "adminpass"In order to configure collections just put this config in yml like this example:
solr_mode: cloud
solr_collections:
  # Extracted from https://github.com/apache/lucene-solr/tree/master/solr/server/solr/configsets/sample_techproducts_configs/conf
  # Should have configuration files under "templates/collections/[collection_name]" directory
  sample_techproducts_configs:
    shards: 2
    replicas: 1
    shards_per_node: 1
    auto_add_replicas: false
  sample_techproducts_configs_2:
    shards: 2
    replicas: 1
shards_per_node: 1In order to configure cores just put this config in yml like this example:
solr_mode: standalone
solr_cores:
  # Extracted from https://github.com/apache/lucene-solr/tree/master/solr/server/solr/configsets/sample_techproducts_configs/conf
  # Should have configuration files under "templates/collections/[collection_name]" directory
- mailIf you want to scrape metrics from Solr using Prometheus, you will need to configure a exporter. We have a Prometheus Solr Exporter role that will make configuration easier for you, just keep in mind that the variables solr_version and prometheus_solr_exporter_version must have the same value.
$ pipenv sync
$ pipenv shell

# This will execute tests but doesn't destroy created environment (because of --destroy=never)
$ molecule test --destroy=never -s setup_with_collections
Solr Admin UI should be accessible from docker container host at URL:
http://localhost:8983/solr/#/ (node: solrcloud1)
or
http://localhost:8984/solr/#/ (node: solrcloud2)
See molecule.yml to check possible testing platforms.
For the versions available, see the tags on this repository.
Additionaly you can see what change in each version in the CHANGELOG.md file.
- Idealista - Work with - idealista
See also the list of contributors who participated in this project.

This project is licensed under the Apache 2.0 license - see the LICENSE file for details.
Please read CONTRIBUTING.md for details on our code of conduct, and the process for submitting pull requests to us.