A platform for programming interview. Allow the interviewer to add/edit exams and dispatch to the Candidate. Interviewer can also watch the interviewee's coding process. All the coding histories can be viewed in the Candidates page.
v0.1.0
- Create React App
- redux.js
- aws-amplify
- graphql
- Ant design
1.Node.js version <=12.0.
Install nvm to install a specific version of node (Install nvm)
If you use nvm to install the node.js you can type nvm install version i.g nvm install 11.0.0
- Make sure you have the AWS credential with
access_keyandkey_id. It can be found in IAM->Users->amplify->Security credentials->Create access key( if it's in gray, please ask your manager to delete someone's key and press create access id ). You will find theaccess_keyandkey_idin a csv file
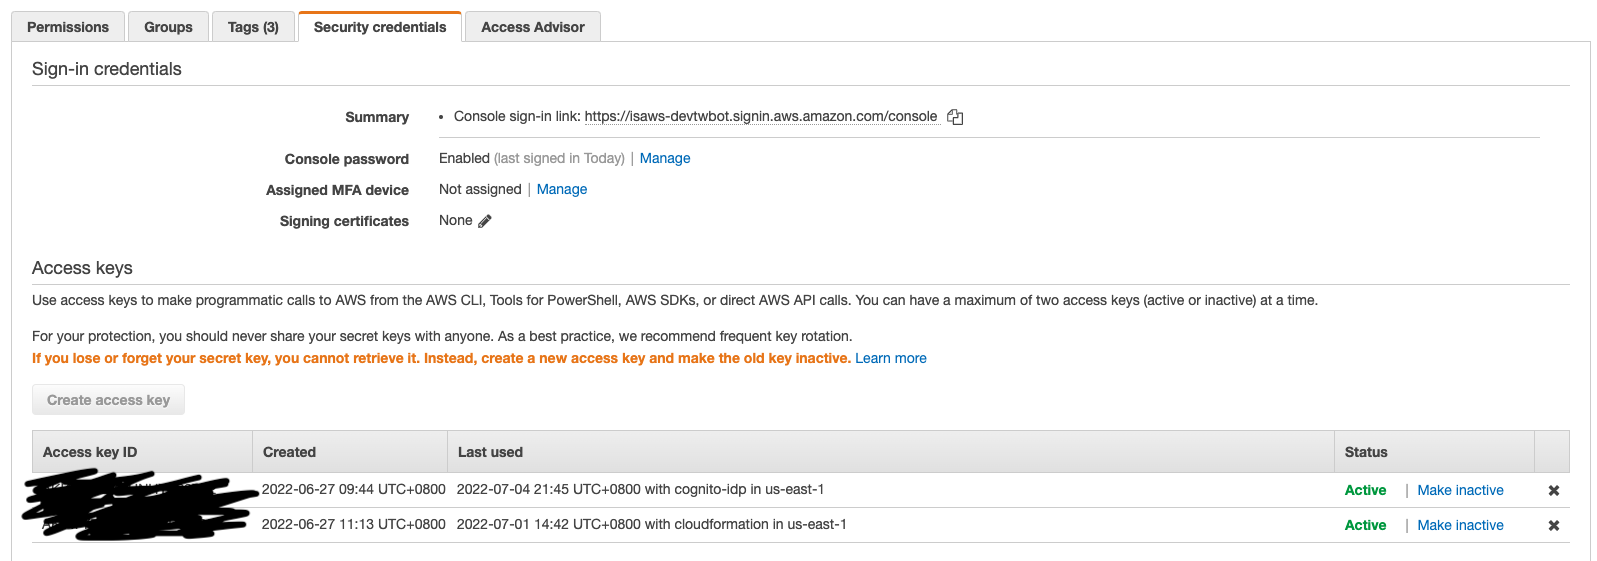
- You can also ask your team member whether they have the credential info, usually stored as an
.awsfolder, so you do not need to click the Create Access Key, keep the access_key and key_id secretly.
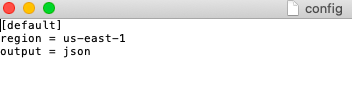
The .aws folder contains two files: credentials and config(They look like the following figs).
If you don't have the files you can create on your own. (1. by using touch command manually 2. See section Amplify Setup->Step 2)

- Please confirm you have setup the SSH to your GitHub account, it's crucial for final deploying, guide can be found here: :https://docs.github.com/en/authentication/connecting-to-github-with-ssh
- After clone the repo to your local host, open the terminal and type
nvm use ver.numberignvm use 11.0.0, as long as the node version is under 12.0. - run
npm install - If you haven't use aws before run
npm install aws, and make sure theaws-exports.jsis in your../js-exam/srcfolder
- Run the command
npm i -g @aws-amplify/cli@4.13.1if not working please install amplify cli updated bynpm i -g @aws-amplify/cli(It takes a few minutes around 180Mb) - Run the command
amplifyand make sure it will show usage information
Amplify will scan your user directory and check .aws folder for authentication.
- If you have the
.awsfolder withcredentialsandconfigfiles, put the whole folder into the user directory (echo $HOMEwill display the actual path) - If you and your teammates do not have the .aws folder in your user directory, then run
aws configureit will require yourkey_idandaccess_keyand make an.awsfolder with credential info stored in your user directory.
- Go into the project directory
cd /path/to/js-exam - Run the command
amplify initand finish a few prompt questions as below- ? Do you want to use an existing environment?
Yes - ? Choose the environment you would like to use:
dev - ? Choose your default editor:
(select yours) - ? Do you want to use an AWS profile?
Yes - ? Please choose the profile you want to use
amplify-user
- ? Do you want to use an existing environment?
- If successful you'll see the following message:
Your project has been successfully initialized and connected to the cloud!🎉🎉🎉
- Go to the amplify -> CloudFormation->delete all the Stacks with status: "UPDATED Failed"

- Then redo the
amplify init - your
app_idinteam-provider-info.jsonshould be updated with with the Amplify Studio app_id(can be found in amplify->edit_backend)

- If you found there's no existing app or you constantly face errors, you can try deleting the existing app:

-
Then do the
amplify init, there will be some prompt questions as below:- **? Enter a name for the environment
dev - **? Please choose an authentication method:
AWS Profile - **? Do you want to update the code for your updated GraphQL API?
No
!!!!!!!!!THIS IS EXTREMELY IMPORTANT!!!!!!!!!!
!!!!!!!!DO NOT UPDATE GraphQL API!!!!!!
The reasons are as follows: The new version of amplify provides several new functionalities, but it requires the conflict resolver function, The schema was designed under the old version of Amplify, and turning on this functionality will cause the app not be able to do theUPDATEandDELETEqueries.
- **? Enter a name for the environment
-
If you finish the amplify init, please double confirm the conflict resolution function is closed by: type
amplify update api\-
**? Select from one of the below-mentioned services:
GraphQL- **Your terminal should prompt the current setting of api, and the Conflict detection should be disabled

- ** If you see the
Conflict Resolutionis set in other mode, please selectDisable conflict resolutionand type
amplify pushto make sure your setting is pushed to the cloud.
-
-
After you finish all the setup you can run
npm startto see if the app working on localhost
-
In order to log in to your app, you need a user account. Now navigate to Amazon Cognito service(Services->Cognito), create a new user(usually called Admin), your new account will be in
Force to update passwordstatus -
then type
aws cognito-idp admin-set-user-password \ --user-pool-id <your-user-pool-id> \ --username <username> \ --password <password> \ --permanent -
Refresh the page, your user status should be confirmed now
-
Do not forget to create an Interviewee account, it is required for the interviewee to successfully
-
Please enter a random email or phone and mark it as verified in cognito
- After the amplify init is finished, type
npm run build - then type
npm run deployNOTICE: if thenpm run deployhas fatal: remote hang up error, try it in another network environment (i.g personal hotspot) - Use the username and password you created in step 4 and go to https://innovap3.github.io/js-exam/, now you can log in.
npm run format
npm run test
if you are a new user of AWS amplify, the following guide may be helpful
https://ithelp.ithome.com.tw/articles/10188245
https://eyesofkids.gitbooks.io/react-basic-zh-tw/content/day27_redux_ex3/ give some concept of redux