Using Firebase as a Remote service
Ismael Sh edited this page Dec 6, 2022
·
2 revisions
To create a Firebase project and enable the Firebase Admin SDK, you will need to complete the following steps:
- Go to the Firebase website (https://firebase.google.com/) and click on the "Go to Console" button.
- If you already have a Google account, sign in to your account. If you don't have a Google account, click on the "Create account" button and follow the prompts to create a new account.
- Once you are signed in to your Google account, click on the "Add project" button in the Firebase console.
- Enter a name for your Firebase project, and then select your country/region. Click on the "Create project" button to create your Firebase project.
- After your project is created, click on the "Settings" icon in the left sidebar, and then click on the "Project settings" option.
- Go to the "Service Accounts" tab in the "Project Settings" section.
- Click on the "Generate New Private Key" button.
A JSON file containing your private key will be downloaded to your computer.
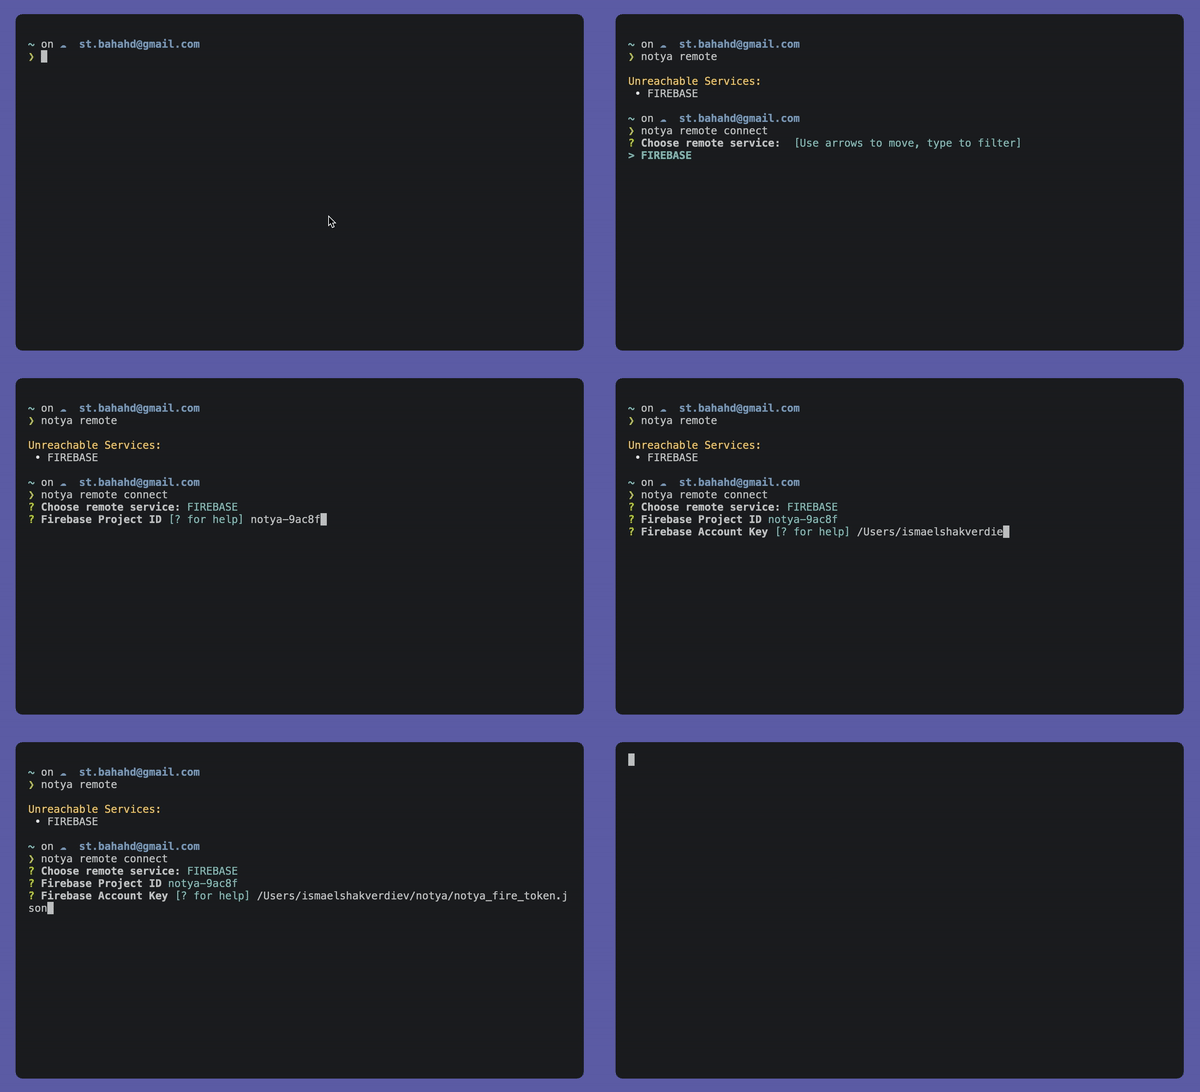
Use the private key file to authenticate with the Firebase Admin SDK and access your Firebase project's resources via notya.
Note: It is important to keep your private key file secure and to never share it with anyone. You should also rotate your private key periodically to maintain the security of your Firebase project.
You have successfully created a Firebase project, enabled Admin SDK, and downloaded Admin SDK key file.
Now, you can connect it to your notya app, via notya remote connect command.

