Read below to see how you can contribute or add your profile details.
-
Read the wonderful gitStarted Guide by GitHub Contributing to a forked repositiory
-
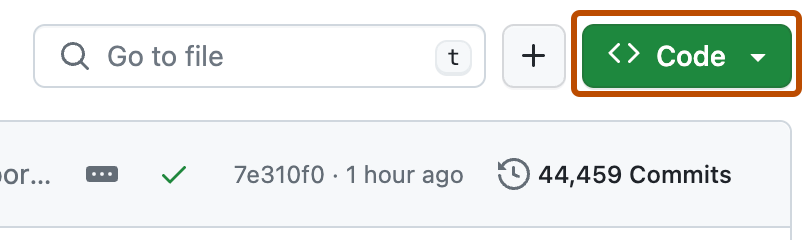
On the GitHub page for this repository, click on the Button "Fork".
-
Clone your forked repository to your computer:
For example, run this command inside your terminal:
git clone https://github.com/<your-github-username>/zuri-developers.git
Replace <your-github-username>!
Learn more about forking and cloning a repo.
-
Before you make any changes, keep your fork in sync to avoid merge conflicts:
git remote add upstream https://github.com/isiakaabd/zuri-developers.git
git pull upstream master
If you run into a merge conflict, you have to resolve the conflict, either making a pull from upstream main or reaching out to the community on slack group. There are a lot of guides online, or you can try this one by opensource.com.
-
On your computer, open your text editor, and add your name to the
CONTRIBUTORS.mdfile. -
Add the changes with
git add,git commit(write a good commit message, if possible):git add CONTRIBUTORS.md git commit -m "Add <your-github-username>"Replace <your-github-username>!
-
Push your changes to your repository:
git push origin master
-
Go to the GitHub page of your fork, and make a pull request:
Read more about pull requests on the GitHub help pages.
-
Wait until one of the maintainers merges your pull request. If there are any conflicts, you will get a notification.
-
Ensure you rename your image to your fullname


Every open source community is different.
Spending years on one open source project means you’ve gotten to know one open source project. Move to a different project, and you might find the vocabulary, norms, and communication styles are completely different.
That said, many open source projects follow a similar organizational structure. Understanding the different community roles and overall process will help you get quickly oriented to any new project.
A typical open source project has the following types of people:
Author: The person/s or organization that created the project.
Owner: The person/s who has administrative ownership over the organization or repository (not always the same as the original author).
Maintainers: Contributors who are responsible for driving the vision and managing the organizational aspects of the project (may also be authors or owners of the project).
Contributors: Everyone who has contributed something back to the project.
Community Members: People who use the project. They might be active in conversations or express their opinion on the project’s direction.
Bigger projects may also have subcommittees or working groups focused on different tasks, such as tooling, triage, community moderation, and event organizing. Look on a project’s website for a “team” page, or in the repository for governance documentation, to find this information.
A project also has documentation. These files are usually listed in the top level of a repository.
LICENSE: By definition, every open source project must have an open source license. If the project does not have a license, it is not open source.
README: The README is the instruction manual that welcomes new community members to the project. It explains why the project is useful and how to get started.
CONTRIBUTING: Whereas READMEs help people use the project, contributing docs help people contribute to the project. It explains what types of contributions are needed and how the process works. While not every project has a CONTRIBUTING file, its presence signals that this is a welcoming project to contribute to.
CODE_OF_CONDUCT: The code of conduct sets ground rules for participants’ behavior associated and helps to facilitate a friendly, welcoming environment. While not every project has a CODE_OF_CONDUCT file, its presence signals that this is a welcoming project to contribute to.
Other documentation: There might be additional documentation, such as tutorials, walkthroughs, or governance policies, especially on bigger projects.
Finally, open source projects use the following tools to organize discussion. Reading through the archives will give you a good picture of how the community thinks and works.
Issue tracker: Where people discuss issues related to the project.
Pull requests: Where people discuss and review changes that are in progress.
Discussion forums or mailing lists: Some projects may use these channels for conversational topics (for example, “How do I…“ or “What do you think about…“ instead of bug reports or feature requests). Others use the issue tracker for all conversations.
I have added my profile to the project.