If you’re looking to learn how to deploy your first smart contract and mint your first NFT, you’ve come to the right place. This is a tutorial on how to deploy an ERC-721 smart contract with unlimited minting functionality to the Polygon main network using Ankr’s public RPC.
-
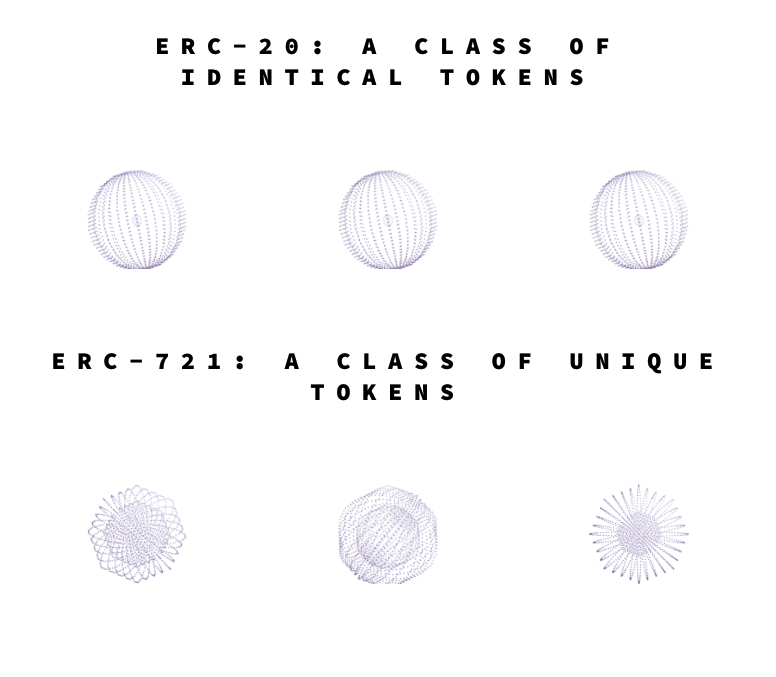
Take a look at the ERC-721 page below ⬇️
-
Here are the key points:
-
“ERC-721 is a free, open standard that describes how to build non-fungible or unique tokens on the Ethereum blockchain.”
-
“ERC-721 defines a minimum interface a smart contract must implement to allow unique tokens to be managed, owned, and traded. It does not mandate a standard for token metadata or restrict adding supplemental functions.”
-
Most tokens are fungible, but ERC-721 tokens are all unique. ERC-20 tokens are fungible = every token is the same as every other token
-
-
-
Take a look at the Ankr integration with Ethers.js
-
Add Polygon to your MetaMask wallet as a network at https://ankr.com/protocol/public by clicking the MetaMask button

-
In your terminal, make a new directory called
ankr-polygon-nftmkdir ankr-polygon-nft
-
Change directories into
ankr-polygon-nftcd ankr-polygon-nft -
Initialize the directory with npm
npm init -y
-
Add the dependencies using Yarn
yarn add dotenv hardhat @nomiclabs/hardhat-etherscan @openzeppelin/contracts
-
Open up VS Code and run
Command + Shift + P-
Type
shellinto the command pallette and hitenter, hitenteragain -
Open up VS Code from your terminal
code .
-
-
Initiate Hardhat
- What is Hardhat? An Ethereum development environment for testing and deploying smart contracts to the blockchain
- Pick
Create a basic sample projectand selectyesor pressenterto the default values
npx hardhat init
-
Delete
Greeter.solin theContractsfolder andsample-script.jsin theScriptsfolder. You can also delete theTestsfolder. -
Create a new file in
ContractscalledAnkrPolygonNFT.sol-
Add the following code
// SPDX-License-Identifier: MIT
pragma solidity ^0.8.0;

import "@openzeppelin/contracts/token/ERC721/extensions/ERC721URIStorage.sol";
import "@openzeppelin/contracts/utils/Counters.sol";
- Line 1 - declares the type of license associated with the contract, in this case, an MIT license
- Line 2 - declare the version of solidity to compile this contract
- Lines 4-5 - import ERC721 URI storage extension standard and
Counters.solwhich will help set token IDs from OpenZepplin
-
-
Now, we’ll write our contract ⬇️
// ...the code above...
// name your contract and set the storage type (inherited from OpenZeppelin)
contract AnkrPolygonNFT is ERC721URIStorage {

// set up our counters
    using Counters for Counters.Counter;
// use counter to store tokenIds
    Counters.Counter private _tokenIds;

// pass arguments for name and symbol
    constructor() ERC721("AnkrPolygonNFT", "ANKRPG") {}

// create mint function with argument for tokenURI which will be a JSON file on IPFS
    function mint(string memory tokenURI) public returns (uint256){

// use token increment function to count up
        _tokenIds.increment();

// fetch current tokenId
        uint256 newItemId = _tokenIds.current();

// safeMint requires address of who is interacting with contract (msg.sender) and tokenId from the line above
        _safeMint(msg.sender, newItemId);

// set newItemId and tokenURI
        _setTokenURI(newItemId, tokenURI);

// return newItemId
        return newItemId;
    }
}
-
Next, clear your
hardhat.config.jsfile and add the followingrequire("dotenv").config(); require("@nomiclabs/hardhat-waffle"); require("@nomiclabs/hardhat-etherscan"); module.exports = { solidity: "0.8.4", };
-
You can now specify the network, account and polygonscan key in
module.exports- Go to ankr.com/protocol/public and copy the RPC for Polygon:
https://rpc.ankr.com/polygon
// imports

module.exports = {
  solidity: "0.8.4",
  networks: {
    matic: {
      url: "https://rpc.ankr.com/polygon",
      accounts: [process.env.WALLET_PRIVATE_KEY],
    },
  },
  etherscan: {
    apiKey: process.env.POLYGONSCAN_API_KEY,
  },
};
- Go to ankr.com/protocol/public and copy the RPC for Polygon:
-
Create a
.envfile in your root directory-
Copy the private key from your MetaMask wallet with $MATIC in it


-
Register a new account, add a new API key, and copy the key from polygonscan.com. This will allow us to verify our contract on polygonscan once it has been deployed.

-
Paste these keys into your
.envfileWALLET_PRIVATE_KEY=[YOUR_PRIVATE_METAMASK_KEY] POLYGONSCAN_API_KEY=[YOUR_POLYGONSCAN_API_KEY]
-
-
Create a new
Deploy.jsfile in thescriptsdirectory// open main asynchronous function will handle deployment const main = async () => { try { // use hre object that allows us to pass the name of our contract to getContractFactory const nftContractFactory = await hre.ethers.getContractFactory( "AnkrPolygonNFT" ); // create variable to allow us to use the deploy function of getContractFactory const nftContract = await nftContractFactory.deploy(); // await deployment of contract await nftContract.deployed(); // log the address of the Contract in our console console.log("Contract deployed to:", nftContract.address); process.exit(0); // catch error, if any, and log in console } catch (error) { console.log(error); process.exit(1); } }; main();
-
Run the following command in your terminal to deploy your smart contract to the Polygon Blockchain, a L2 on Ethereum
npx hardhat run scripts/Deploy.js --network matic
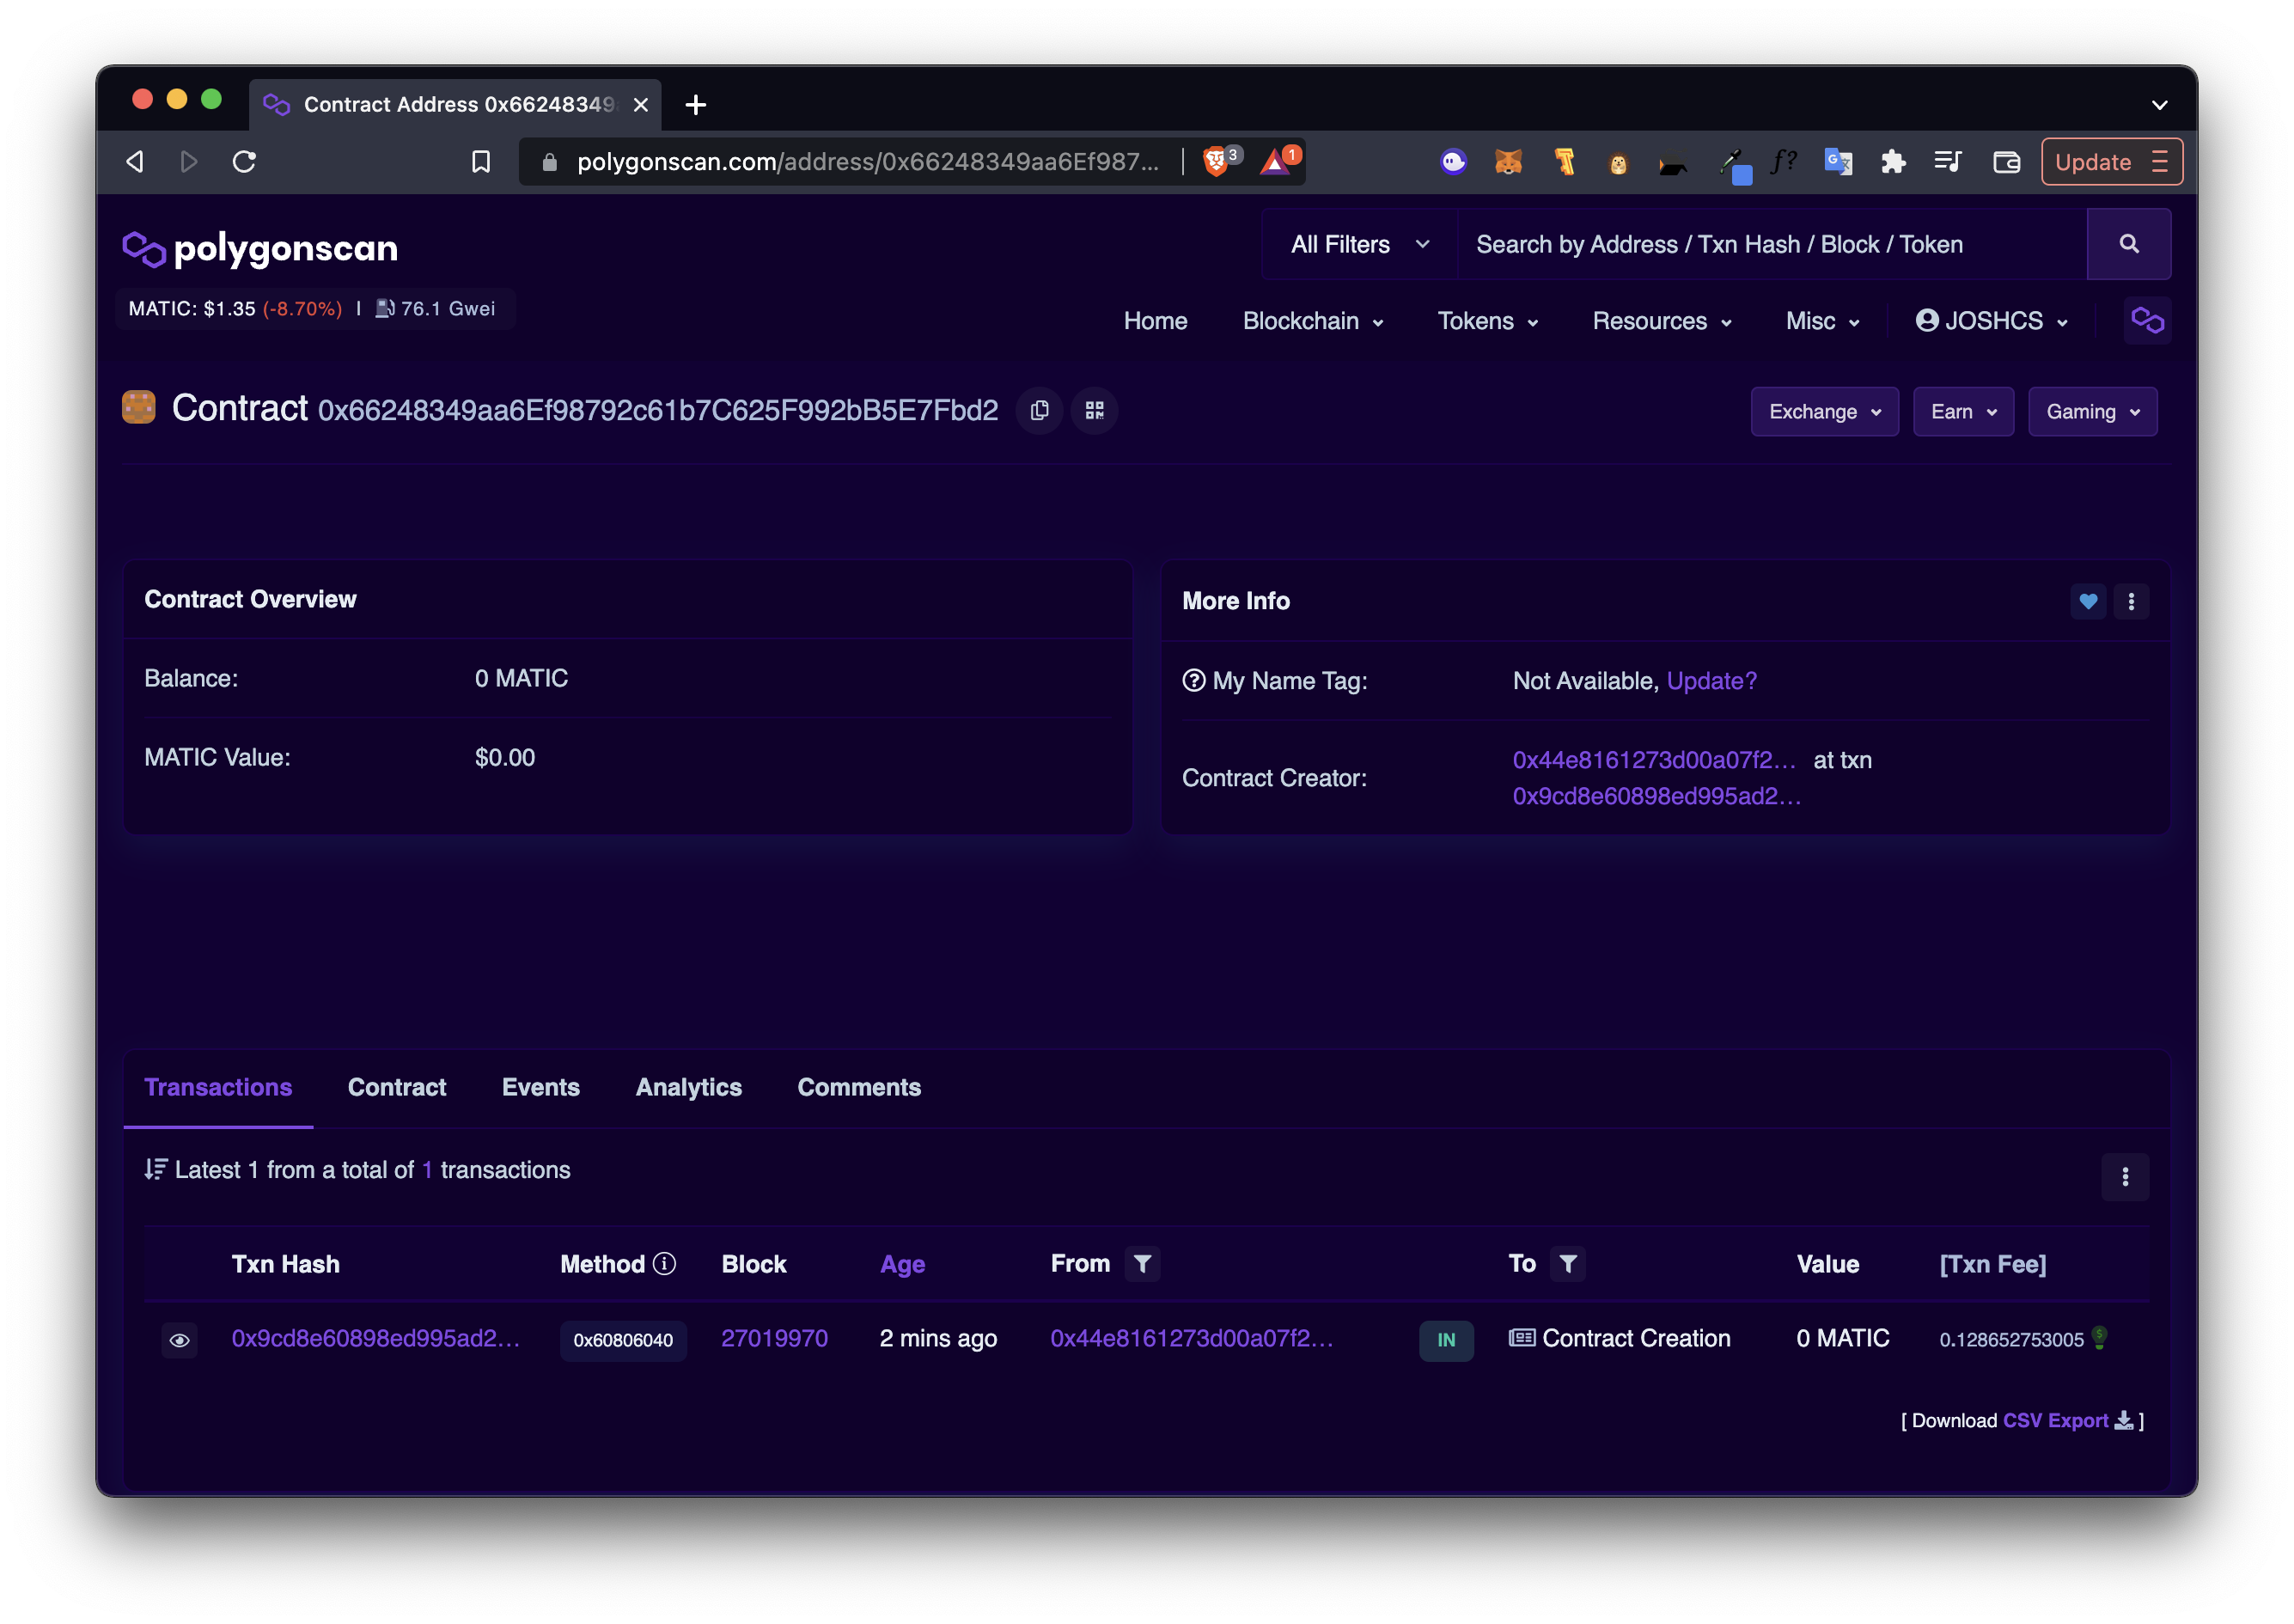
- If the contract was successfully deployed to Polygon’s blockchain, the output should look like this ⬇️
Downloading compiler 0.8.4
Compiled 12 Solidity files successfully
Contract deployed to: 0x66248349aa6Ef98792c61b7C625F992bB5E7Fbd2
-
Copy the contract address and find it in polygonscan at polygonscan.com
-
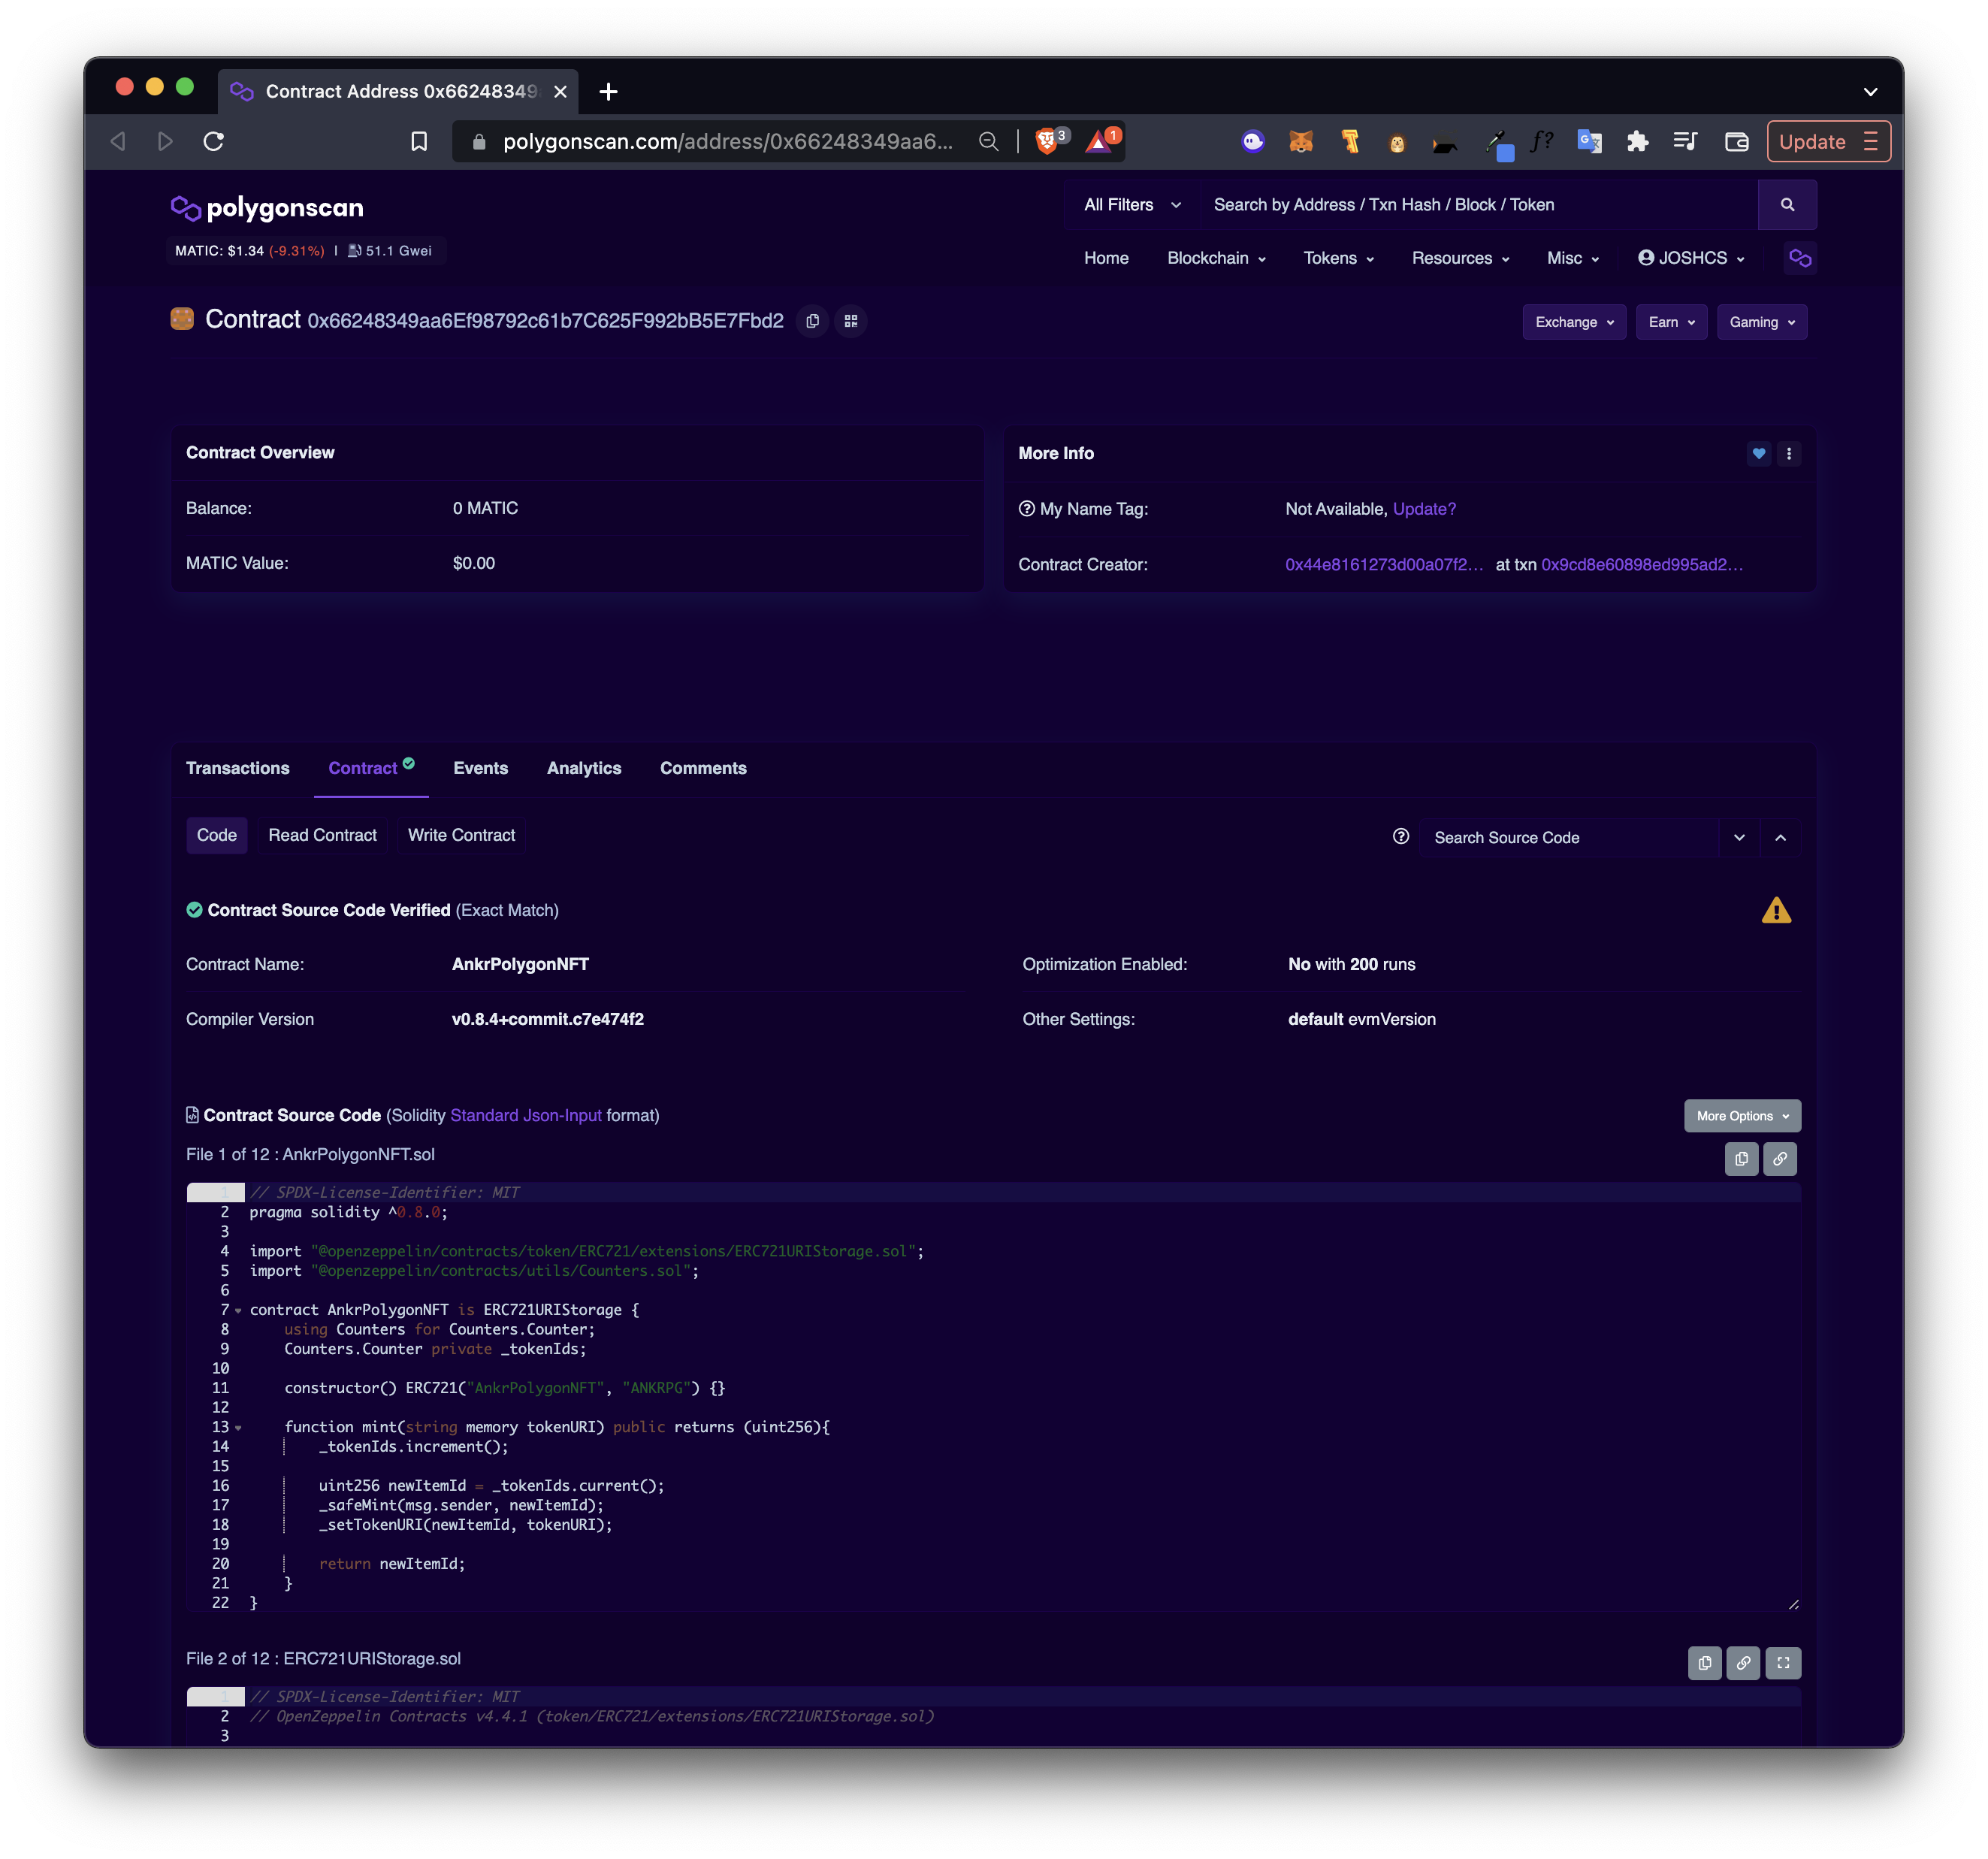
Be sure your Polygon Scan API key is in your
.envfile and then run the following command to verify your contract on polygonscan. Be sure to replace the address with your contract address from Step 18. ⬇️npx hardhat verify 0x66248349aa6Ef98792c61b7C625F992bB5E7Fbd2 --network matic
// your output will look similar to the below
joshstein@Joshs-MacBook-Pro ankr-polygon-nft % npx hardhat verify 0x66248349aa6Ef98792c61b7C625F992bB5E7Fbd2 --network matic
Nothing to compile
Successfully submitted source code for contract
contracts/AnkrPolygonNFT.sol:AnkrPolygonNFT at 0x66248349aa6Ef98792c61b7C625F992bB5E7Fbd2
for verification on the block explorer. Waiting for verification result...

Successfully verified contract AnkrPolygonNFT on Etherscan.
https://polygonscan.com/address/0x66248349aa6Ef98792c61b7C625F992bB5E7Fbd2#code
-
Our contract is now verified on polygonscan, along with 11 other contracts from Open Zeppelin included in the compilation
-
In polygonscan, we are ready to call our function. First, select
Contract ✅and thenWrite Contract. Locate themintfunction (this should be #2)-
Next, click
🔴 Connect to Web3to connect your MetaMask wallet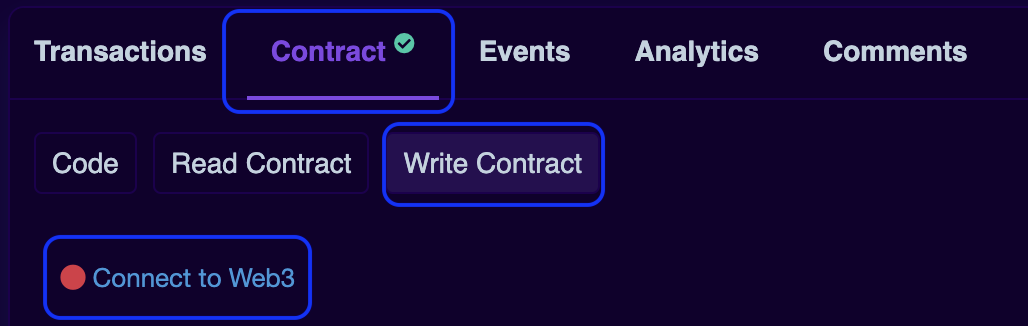
-
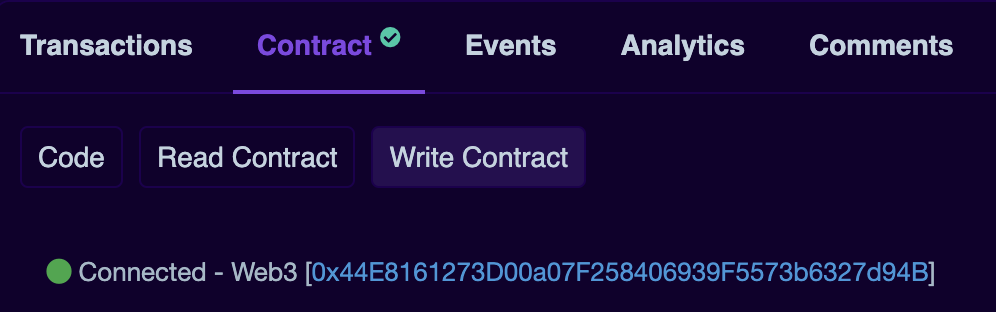
If you connect to your wallet, it will now look like this ⬇️
-
-
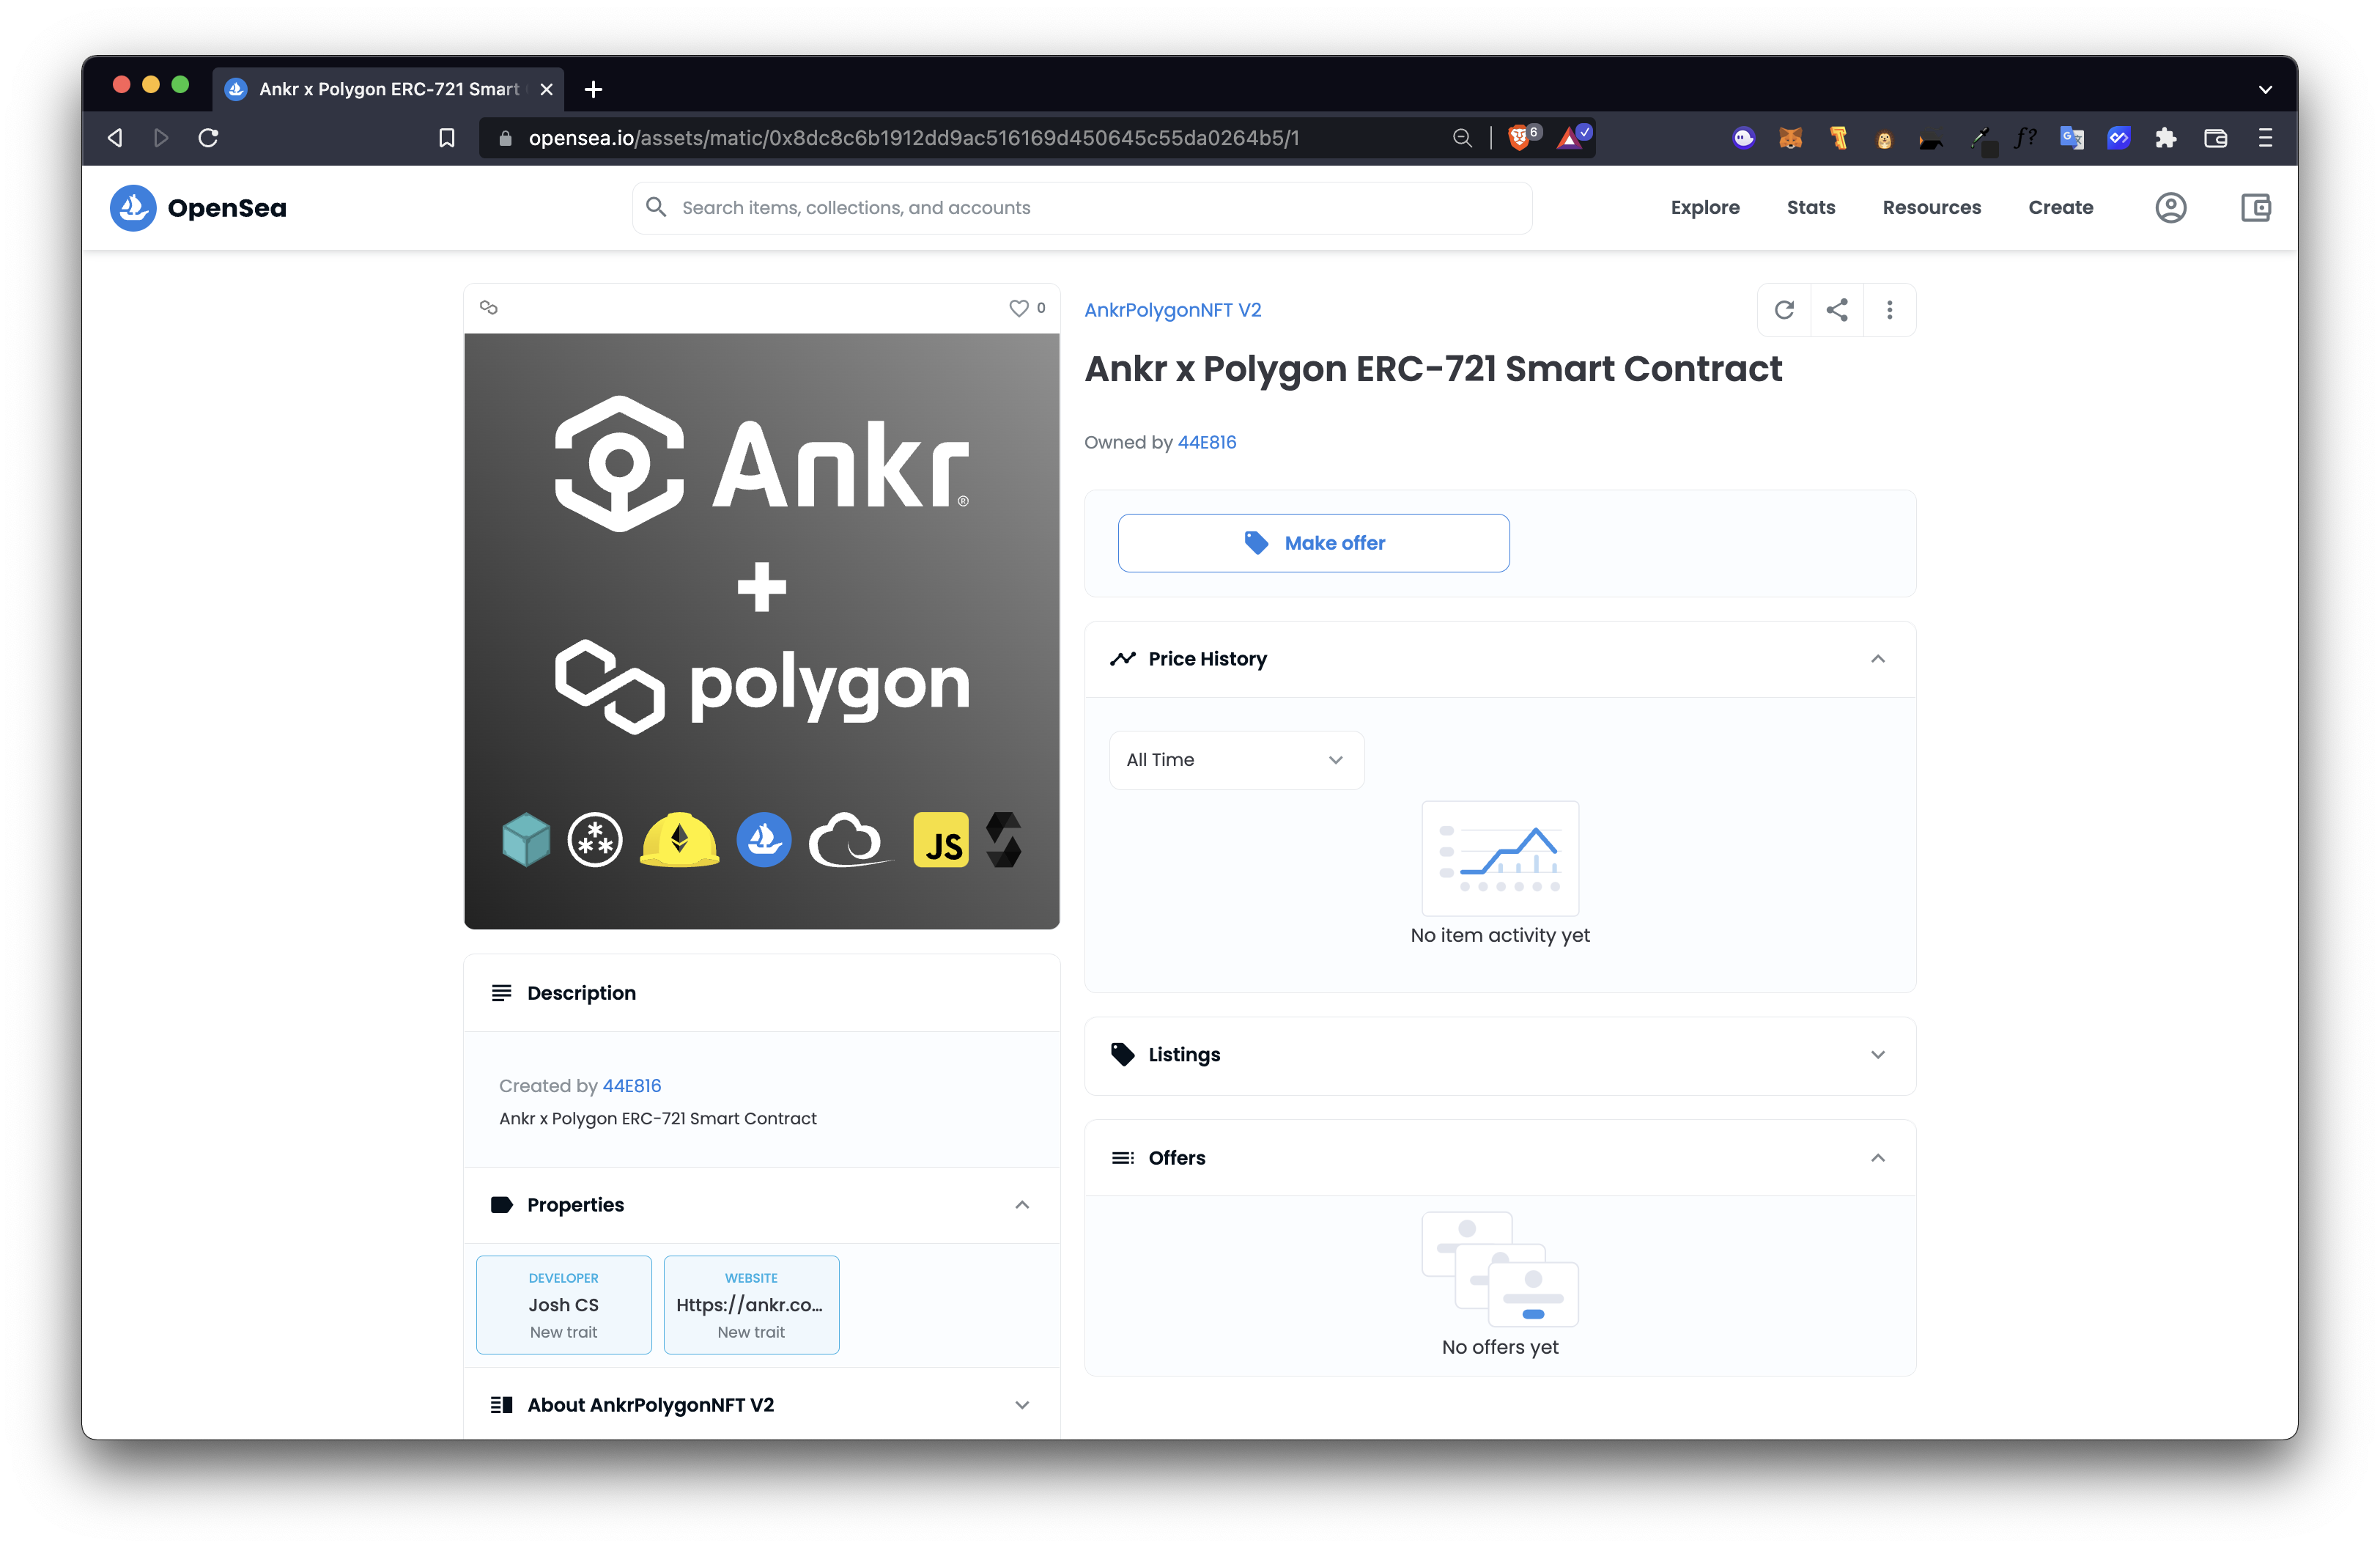
We will now need to set the Token URI and can use web3.storage to store our image and data. This will be in the form of a URL to a JSON file. I’ve gone ahead and made an image with the tools we’ve used on this tutorial. You can use whatever you’d like!
- You can learn more about how to structure your JSON file from OpenSea’s metadata standards
{ "name": "Ankr x Polygon ERC-721 Smart Contract", "description": "Ankr x Polygon ERC-721 Smart Contract", "image": "https://ipfs.io/ipfs/bafybeidtawmsmymozum2ndgjsnzf4pgct3rt4p5x6ywcrkiun7sogcsoi4/Ankr-Polygon.svg", "attributes": [ { "trait_type": "Developer", "value": "Josh CS" }, { "trait_type": "Website", "value": "https://ankr.com" } ] } -
After uploading to web3.storage, paste the URL to your JSON file and select
Mintand thenConfirmthe MetaMask transaction
-
Check out your OpenSea gallery to see your NFT!