For the JHU Python workshop series we recommend Anaconda, an all-in-one installer for Python. Anaconda Python includes a user interface to make it easy to launch Python applications and manage packages and environments without using command-line commands.
We will be using Python 3 for the JHU Python workshop series, so if you choose not to install Python using Anaconda (although we recommend it) please ensure you install Python version 3.x (e.g., 3.8 is fine).
We will teach Python using Jupyter Notebooks, a programming environment that runs in a web browser (Jupyter Notebook will be installed by Anaconda). For this to work you will need a reasonably up-to-date browser. The current versions of the Chrome, Safari and Firefox browsers are all supported (some older browsers, including Internet Explorer version 9 and below, are not).
- Download the Windows Anaconda installer.
- Double click the installer .exe to to launch.
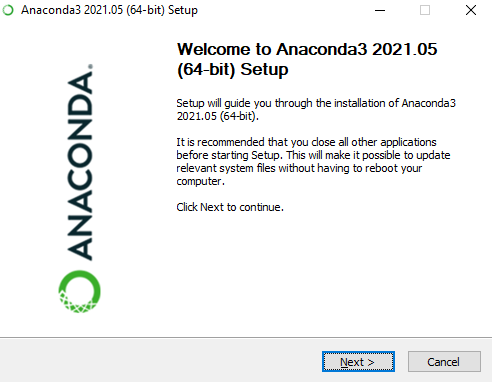
- Click next on the setup window.
- Review the licensing terms and select "I Agree" if you accept the terms of the agreement.

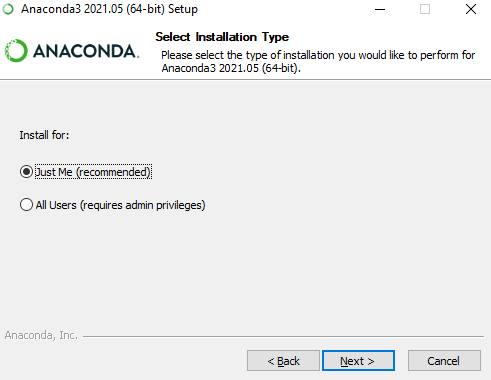
- Ensure the Install for: "Just Me (recommended)" radio button is selected, then press "Next".
- Select a destination folder to install Anaconda, then press the "Next" button. You should not need to change the default path.

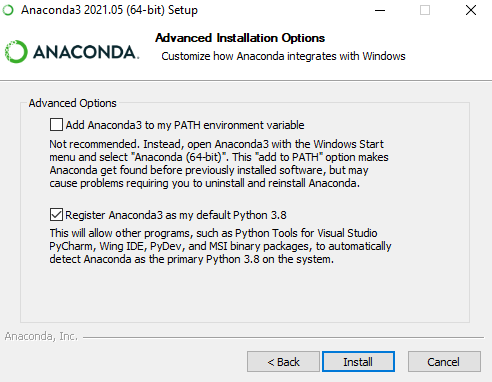
- At the Advanced Installation Options window, ensure that "Add Anaconda3 to my PATH environment variable" is not selected, and "Register Anaconda3 as my default Python 3.8" is selected. Then select "Install". If you have an existing Python installation that you are currently using, then do not select "Register Anaconda3 as my default Python 3.8", as this will replace your current Python version as the default.
- Finally, press "Next" on the following pop-up dialog boxes. After a successful installation you will see the “Thanks for installing Anaconda” dialog box. You may then press the "Finish" button. This concludes your Anaconda Python installation.

-
Download the macOS Anaconda installer.
If you have an M1 Mac, download the M1 macOS Anaconda installer instead.
-
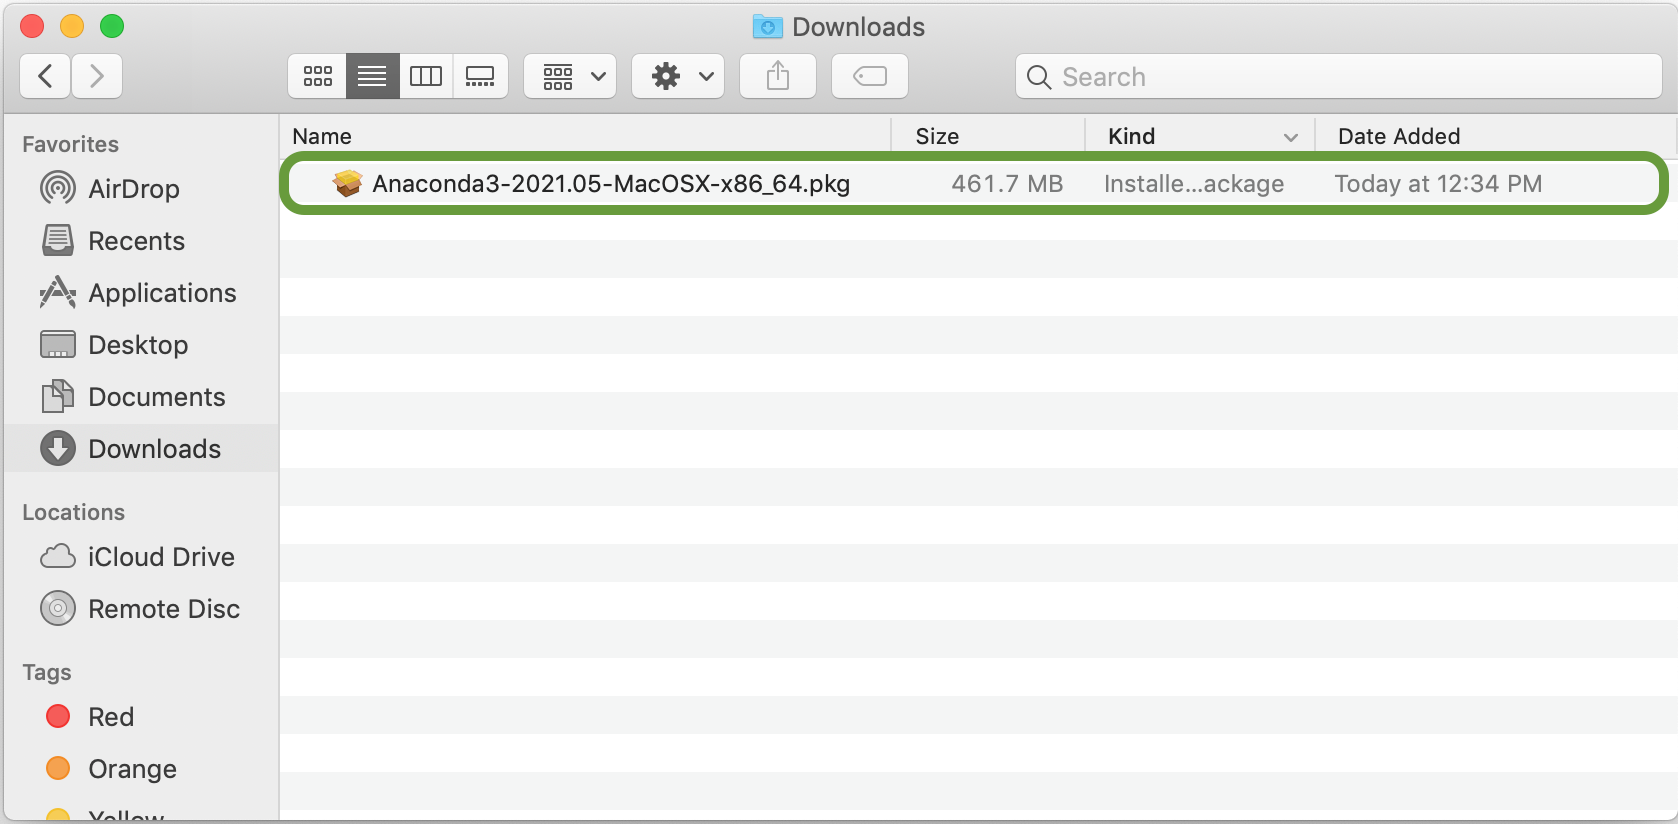
Double click the .pkg installer in your Downloads folder.
-
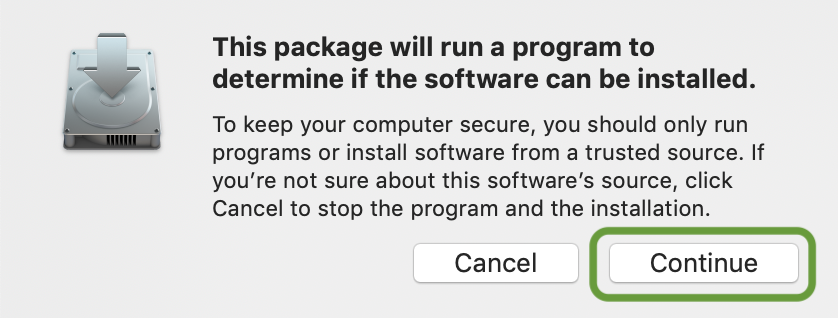
You will receive a security prompt letting you know that the Anaconda installer will check your computer to see if it can be installed. Press "Continue" to proceed with the installation.
-
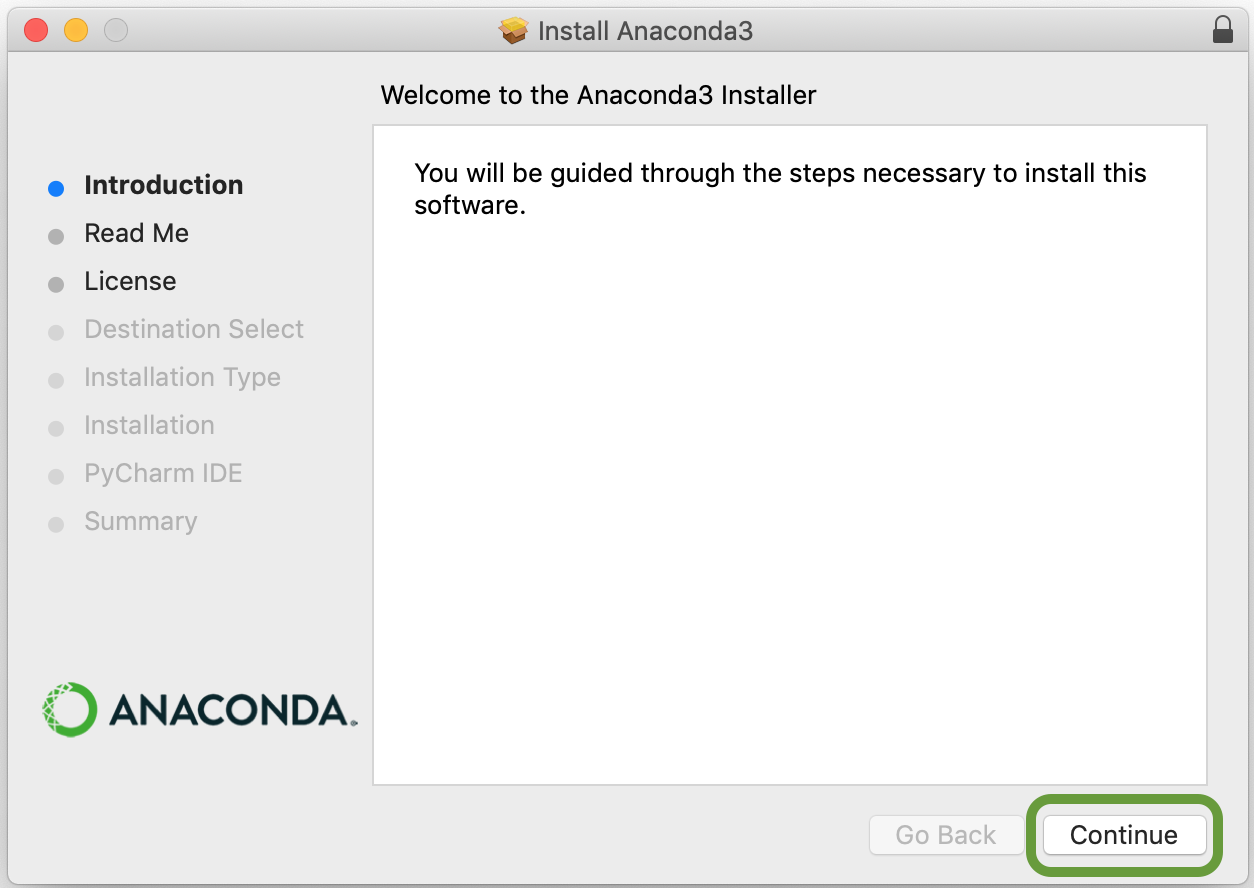
Now the Anaconda installer will begin. On the Welcome window select "Continue" to proceed with the installation.
-
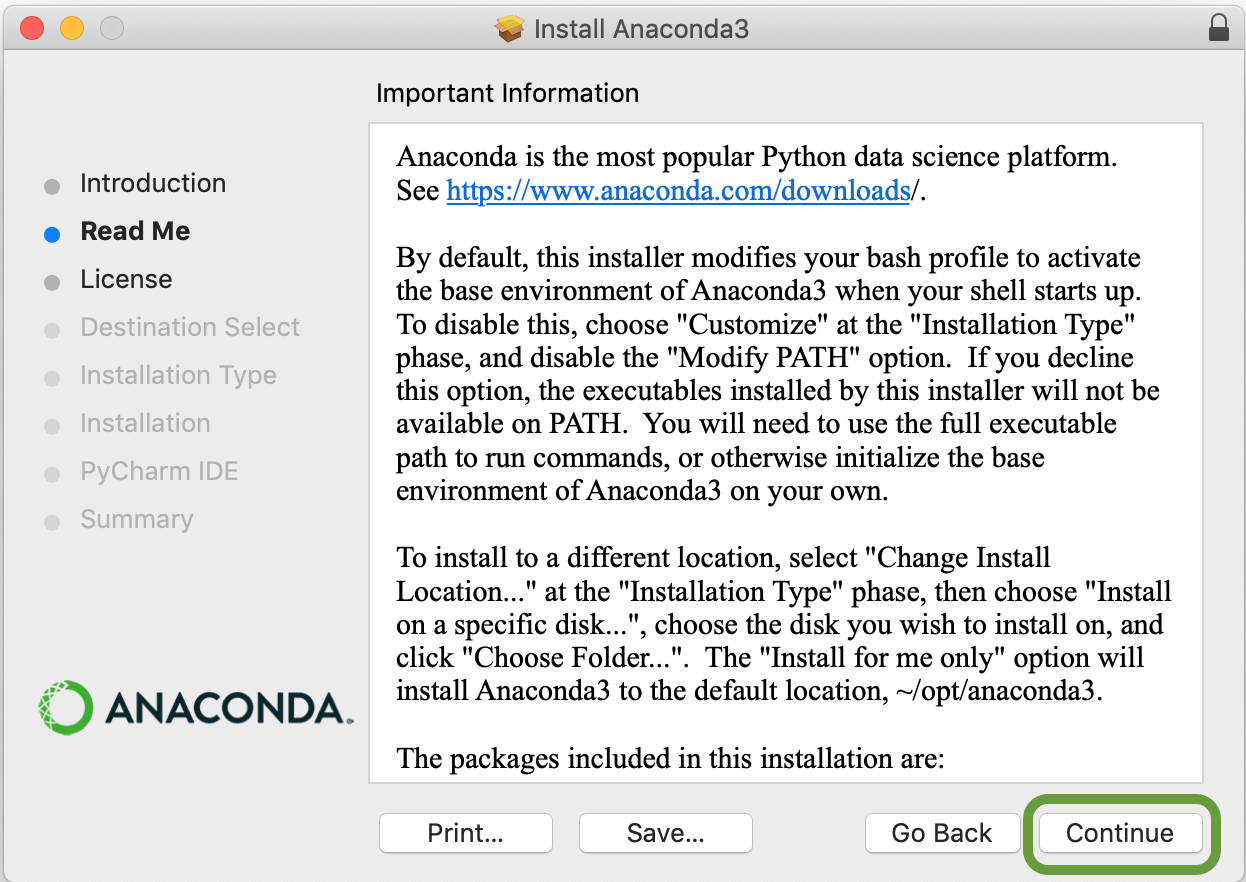
Press "Continue" at the Read Me window. The Important Information box contains information about advanced configuration of Anaconda, but the defaults settings are preferred for the JHU Python workhsop series.
-
Review the licensing terms, and then select "Continue".

-
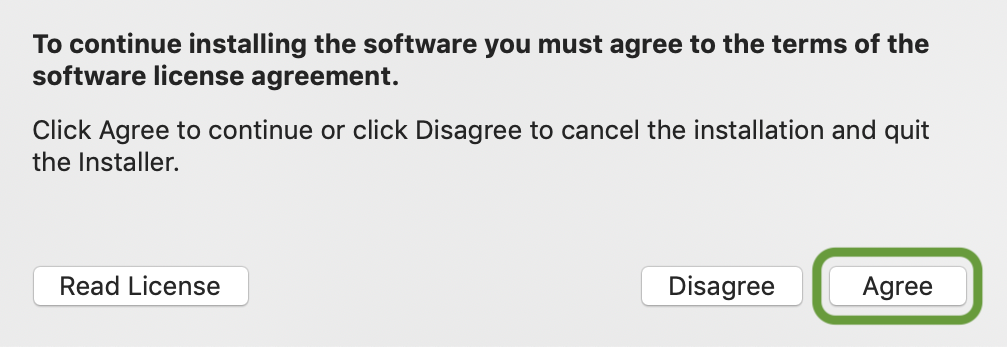
A dialog box will pop-up asking if you accept the terms of the license agreement. If you do, press "Agree".
-
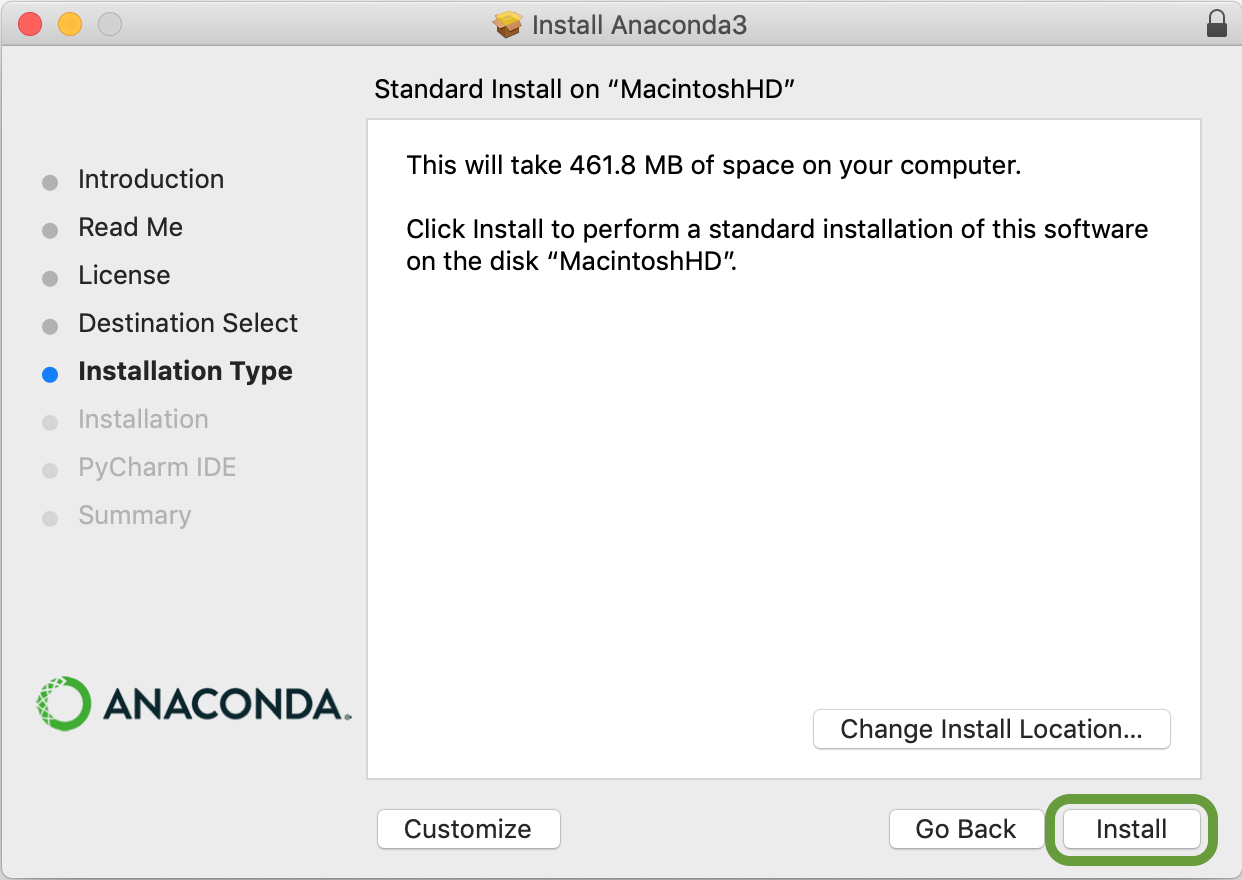
The installation window will now install Anaconda on your disk. Press "Install" to begin the installation process.
-
Finally the installation will prompt you to install PyCharm. Press "Continue" to finish the installation without installing PyCharm.

-
Your installation will complete. To finish your installation press "Close" on the final installation window.
- Download the Linux Anaconda installer.
- Navigate to the installer location using your preferred terminal emulator. If your default folder is
Downloadsthen you can use the commandcd ~/Downloads.

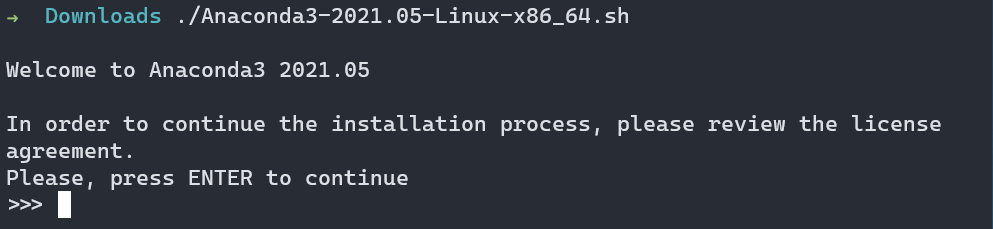
- Run the installation shell script using the command
./Anaconda3-2021.05-Linux-x86_64.sh. You will be prompted to review a license agreement, press Enter to continue.
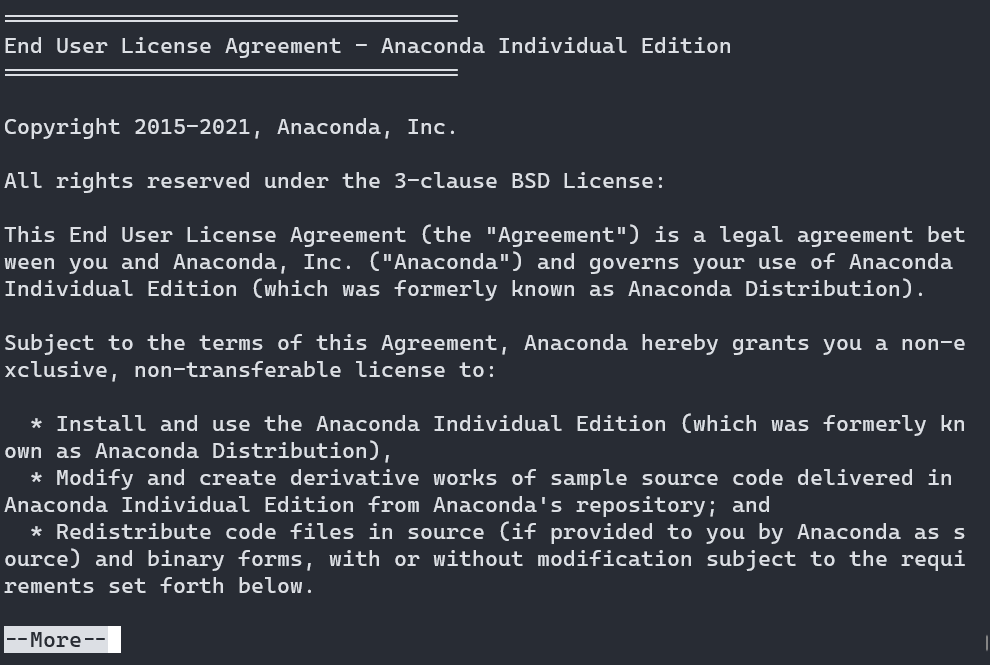
- A license will be displayed in the terminal window. Review the license, and pan down using either Enter to move a line at a time, or Page Down to move a page at a time.
- When you have reached the end of the license, type
yesand press Enter if you agree with the terms of the license.

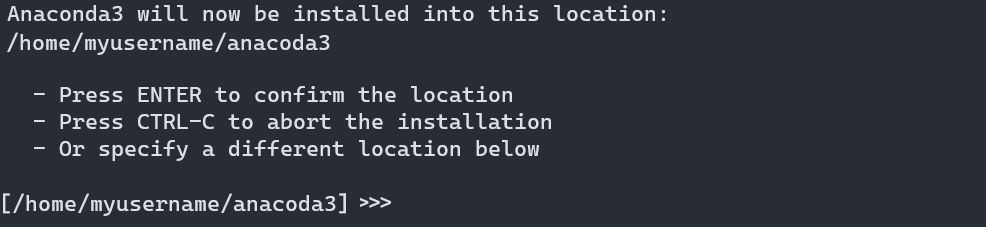
- The installer will then notify you that Anaconda3 will be installed into your home folder. Press Enter to accept.
- The installation process will begin. This will take a few minutes, this might be a good time for a cup of coffee (or tea if that's your thing). Once the installer is done, it will ask if you would like to initialize Anaconda3. Type
yesand press Enter to do so. This will allow you to run Anaconda commands directly from your terminal.

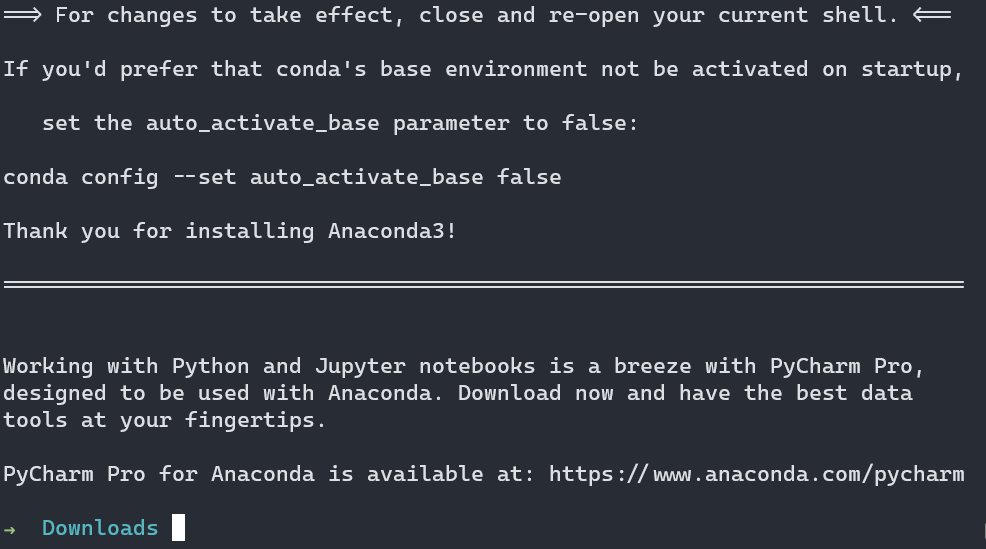
- After Anaconda as been initialized you will receive a prompt similar to that below. Your installation is complete! Restarting your terminal will allow the changes to take effect and you will then be able to run Anaconda commands directly from the terminal.
This documentation is licensed under CC0 1.0 Universal
